
You can get started in Ads Manager in two ways: use your website URL to create an ad and build your first campaign during signup, or skip that step and create a campaign after you enter Ads Manager. Both paths let you create an advertiser account and finish setup in Ads Manager.
Have one person create the advertiser account, then invite anyone else who needs access. If your business already has an account, ask its administrator to invite you.
1. Sign in or create an account
Go to ads.openai.com and select Login or Sign up. Sign in with the OpenAI account you use for ChatGPT, or create an account if you do not already have one.
You can then choose whether to start with your website URL or go directly to Ads Manager.
2. Choose how to get started
Option 1: Create your first ad and campaign during signup
Enter your website URL when prompted. Ads Manager uses your website to help create your first ad.
Review the ad and make any changes you need.
Continue to create your first campaign from that ad.
Review and confirm your campaign details.
Enter your advertiser name and the other required account details to create your advertiser account.
For ads created during signup, the onboarding notice below explains: “Your ads will go live once they pass review.” Your submitted ads can begin running after approval when billing, account readiness and campaign settings allow delivery. Advertising spend can then accrue.
Select Go to Ads Manager to review your campaign’s status, budget, schedule and any actions that need your attention. If you are not ready to advertise, pause the campaign and confirm its status.
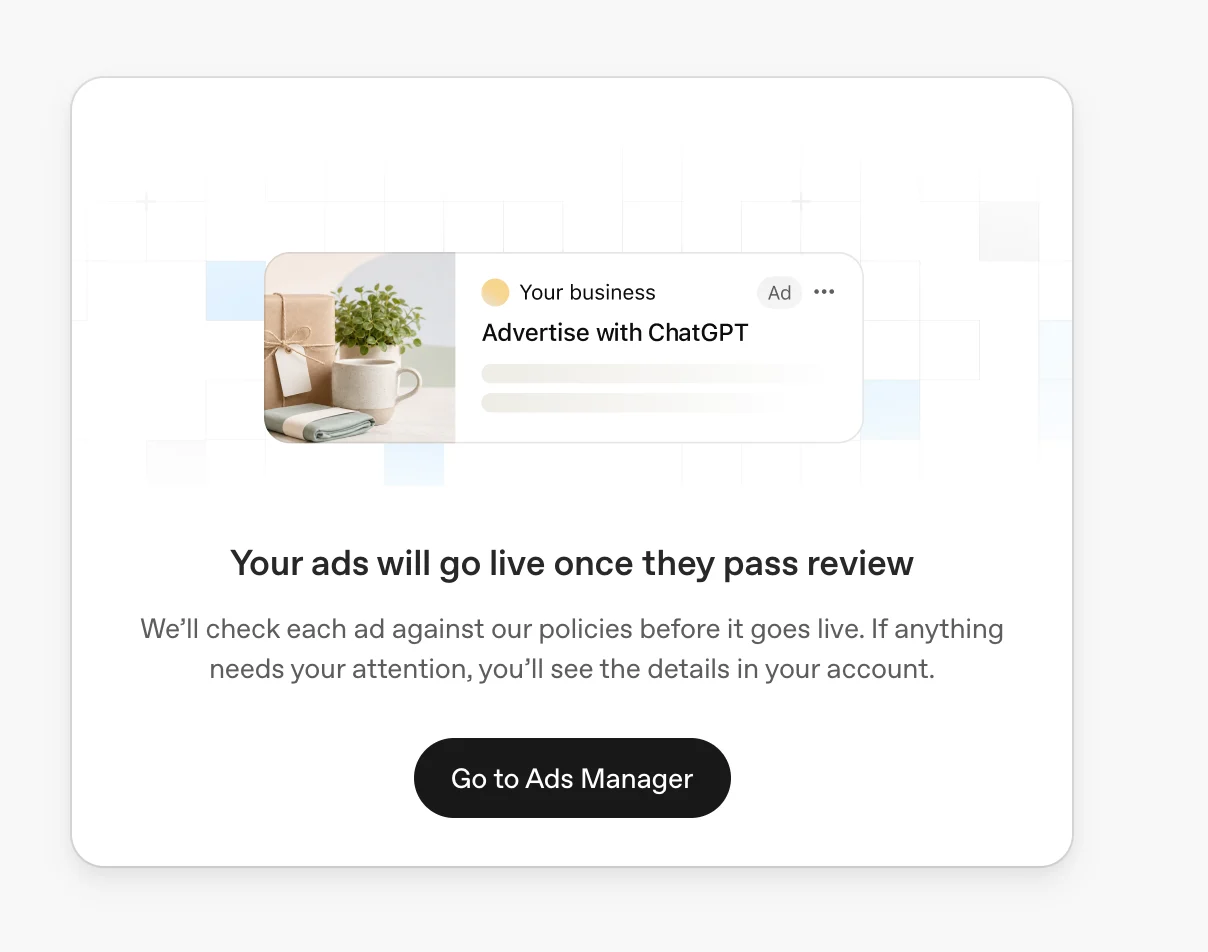
Example onboarding notice: “Your ads will go live once they pass review.” Ads can begin delivering after approval when account, billing and campaign requirements are also met.
The advertiser name you enter initially becomes your Account Name, Brand Name, and Legal Name. After creating your account, you can change each name separately in Settings → General. See “Understand your account, brand, and legal names” below for details.
Option 2: Skip ad creation and go directly to Ads Manager
When prompted to enter your website URL, choose the option to skip this step and continue to Ads Manager.
Enter your advertiser name and the other required account details to create your advertiser account.
Once you are in Ads Manager, create your first campaign when you are ready.
This path uses the same name defaults: your advertiser name initially fills your Account Name, Brand Name, and Legal Name. You can edit these separately after account creation.
Understand your account, brand, and legal names
Ads Manager uses three names for different purposes. They can be the same, or you can use different names for your internal account, public brand, and registered business.
Account Name: The name you use to identify and manage your account within Ads Manager.
Brand Name: The public name shown alongside your ads in ChatGPT.
Legal Name: Your business’s registered legal name, used for billing and business verification.
During signup, the single advertiser name you enter is used for all three fields. After your account is created, go to Settings → General to update them separately. Changing your Brand Name or Legal Name triggers review; see the final section of this article for details.
Review all required account details before submitting, including your country or region, currency, and time zone where shown. These three settings cannot be changed after account creation. By creating an ad account, you agree to the Terms and acknowledge the Privacy Policy presented during signup.
3. Complete setup in Ads Manager
Whichever signup path you choose, finish the following steps in Ads Manager before your campaigns start delivering.
Set up billing
Open Billing and complete the setup prompts. Enter your credit card information and any required billing profile details, such as your business name, billing address, and invoice delivery email. Billing must be set up before your campaigns can deliver.
For more information, see Billing & Payment.
Confirm your logo and account names
Go to Settings → General to review your logo, Account Name, Brand Name, and Legal Name. Confirm or update your logo and make sure your Brand Name represents how you want your business to appear in ads. Use your registered business name for Legal Name.
Invite users, if needed
To give teammates access, go to Settings → Users, select Invite, and enter their email addresses. Choose a role for each person you invite:
Admin: Full access to the platform.
Member: Create and manage campaigns.
Viewer: View content only.
Invite users to the existing advertiser account so they can work in the same account.
Review your first campaign
If you created a campaign during signup, review it in Ads Manager. If you skipped that step, create your first campaign now. Make sure your campaign details are correct and required setup and reviews are complete before launching.
If you manage multiple advertisers
Create a separate account for each advertiser. You can use the same OpenAI login to access the accounts you belong to and switch between them.
Creating additional ad accounts in Ads Manager
You can use the same OpenAI login to access multiple advertiser accounts. Eligible self-serve advertisers can also create additional accounts for their business.
Once you belong to 10 or more ad accounts, you cannot create another ad account yourself. This is a limit on creating accounts, not on membership: you can still be invited to additional existing ad accounts.
How the account-creation limit works
The limit considers the ad accounts you belong to, including accounts you created and accounts you joined through an invitation. It is not a separate allowance of 10 accounts you can create in addition to the accounts you already belong to.
For example:
If you belong to 9 ad accounts, you may be able to create one more, provided you meet the other account-creation requirements.
If you created 2 accounts and joined 8 others, you belong to 10 accounts and cannot create another yourself.
If you belong to 10 or more accounts, an administrator of another existing ad account can still invite you through the usual access process. The creation limit does not prevent that membership.
Create an additional ad account
Sign in to Ads Manager with your existing OpenAI account.
Select an existing eligible self-serve ad account that uses credit-card billing.
Open the account menu and select Create account, when available.
Follow the setup prompts and check the business and account details before submitting.
Complete any required billing, verification, and account-review steps for the new account.
The additional-account option depends on eligible self-serve credit-card billing, organization permissions, and remaining account-creation capacity. Having fewer than 10 accounts does not by itself guarantee eligibility. Follow the setup flow above to complete the full account setup process.
Why is Create account missing or blocked?
You may have reached the 10-account creation limit, or the selected account or organization may not meet the requirements for creating another account.
Check that you are signed in with the intended OpenAI login. If the error asks you to contact an organization administrator, follow the permission guidance in Troubleshooting Common Issues.
If you belong to fewer than 10 accounts and still cannot create another, contact support using the details below. Support can help identify the blocker.
Access an account that already exists
Ask an administrator of that ad account to invite you. In Ads Manager, they can go to Settings > Users > Invite and enter the email address you use to sign in.
You do not need to create another account to access an advertiser account that already exists. Creating additional accounts does not bypass verification, account review, or other eligibility requirements.
Helpful details for support
Contact ads-support@openai.com or use the support widget in the bottom-right corner of the Help Center. Include:
The email address you use to sign in.
The name and ID of the ad account selected when the issue occurs, if available.
How many ad accounts you currently belong to, including accounts you joined by invitation.
Whether Create account is missing or you receive an error after selecting it.
The exact error text or a screenshot, plus the date, time, and time zone of the attempt.
The organization shown in the setup flow, if the issue concerns permissions.
Do not include passwords, payment-card details, or other sensitive credentials.
Already have an account? Update your account, brand, and legal names
As of Sep 25, 2026, you can manage Account Name, Brand Name, and Legal Name separately in Ads Manager.
For accounts created before this update, all three fields initially use the same name. To change them, open Settings → General and update the relevant field.
Account Name changes affect only Ads Manager and do not trigger review.
Brand Name changes trigger brand review and pause ad serving until the new name is approved.
Legal Name changes restart business review and may pause ad serving.