To connect your Google Workspace to ChatGPT using admin-managed setup, you'll first configure access in Google’s admin consoles:
Create a service account with read-only access to Google Drive, users, and groups.
This service account is strongly recommended to be created under the same Google account that is associated with your ChatGPT Workspace. If the accounts in the ChatGPT workspace have a different email domain than that used in Google Workspace, there are additional steps you have to follow to enable this connector for your users.
Create an admin account that the service account will act on behalf of.
Then, complete the setup in the ChatGPT admin console:
Upload the service account’s private key (a JSON file from Google)
Specify the admin account (no credentials required).
Select which files to sync and choose the users who will have access to the connection.
This guide walks through each of these 6 steps.
Setting up a Service Account
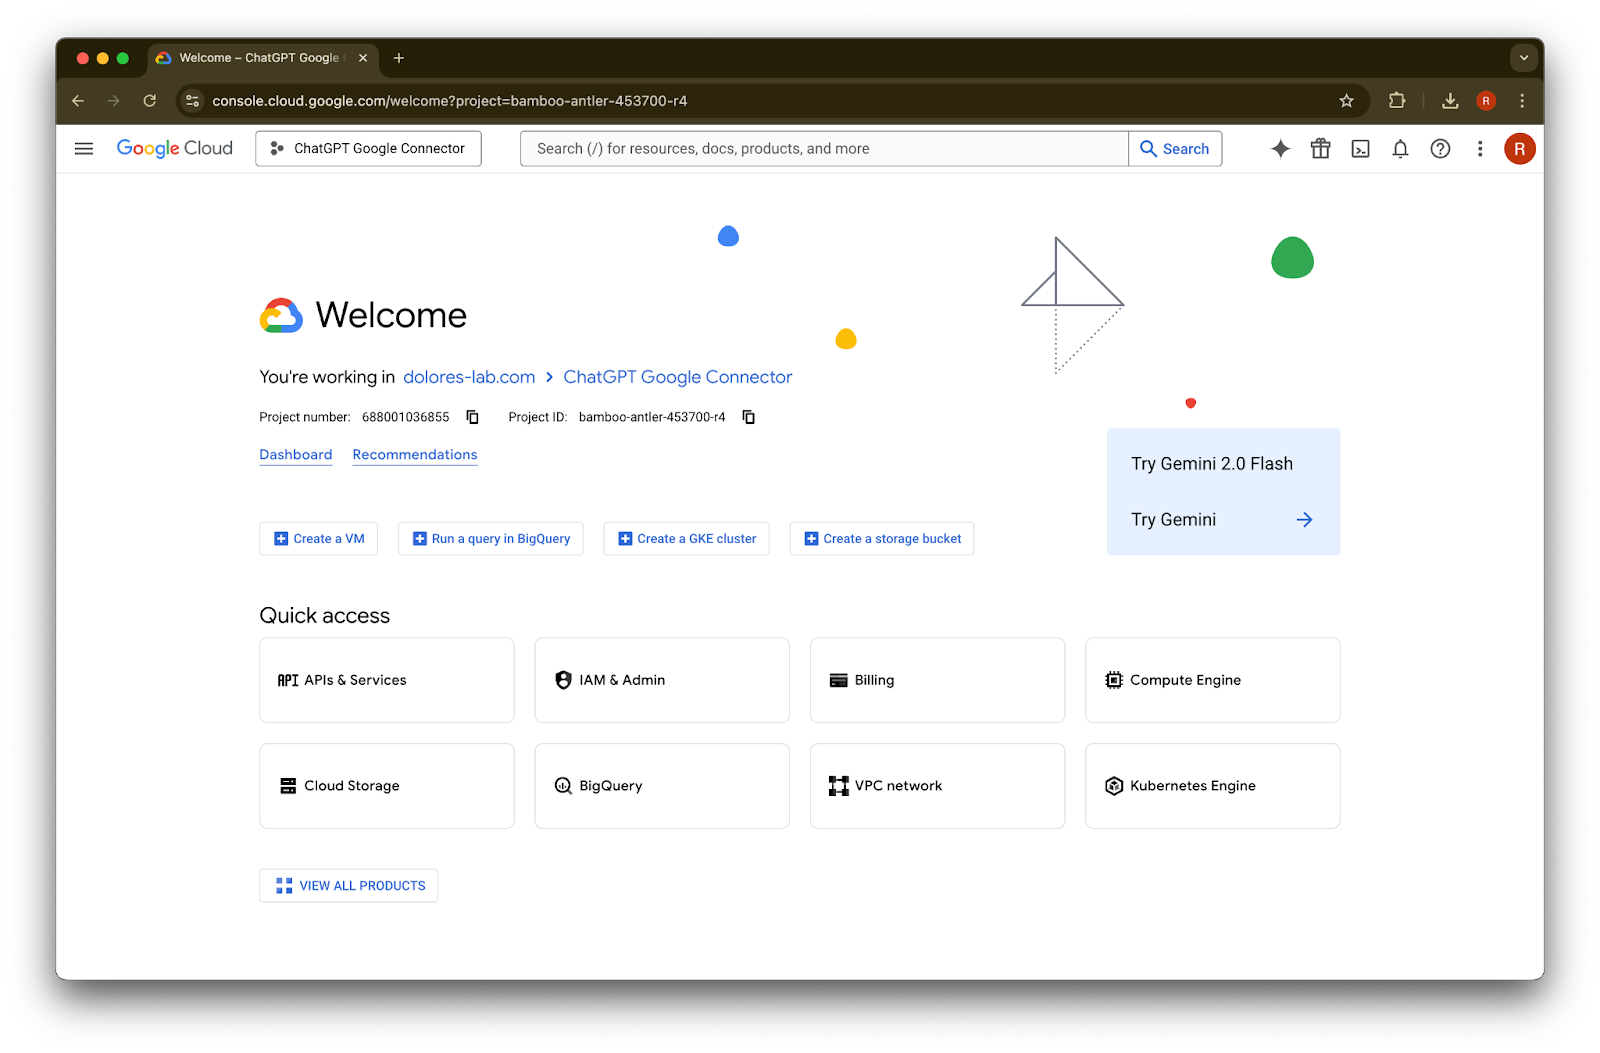
Navigate to console.cloud.google.com.
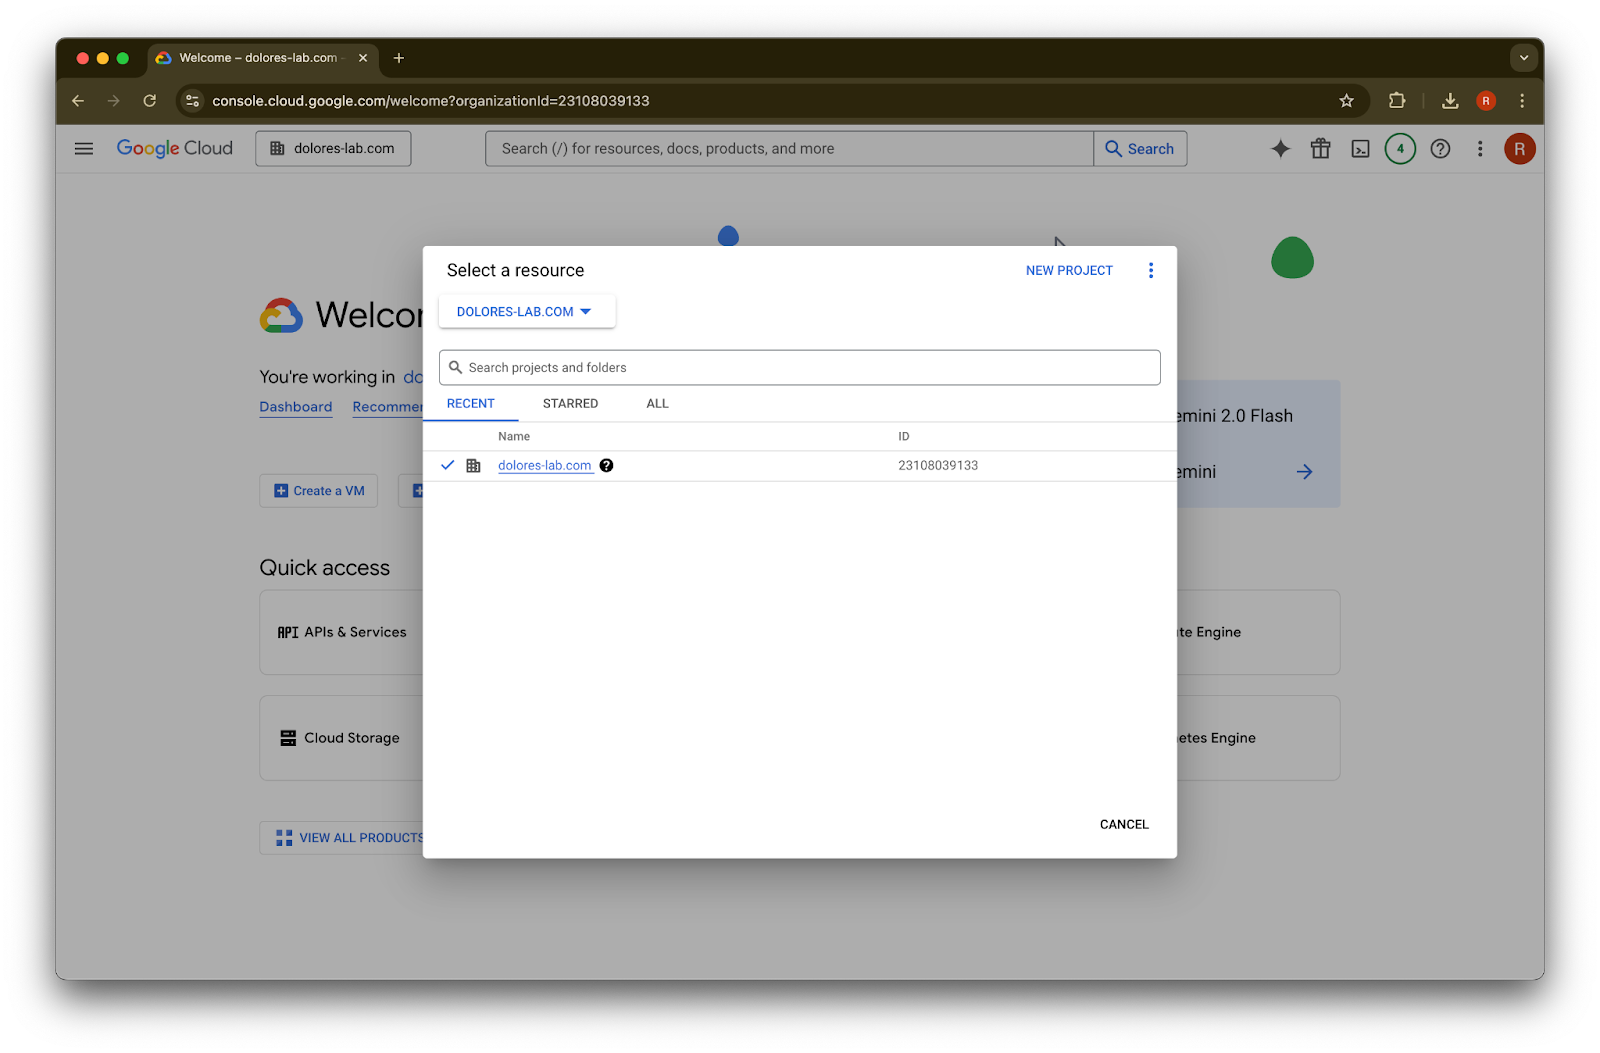
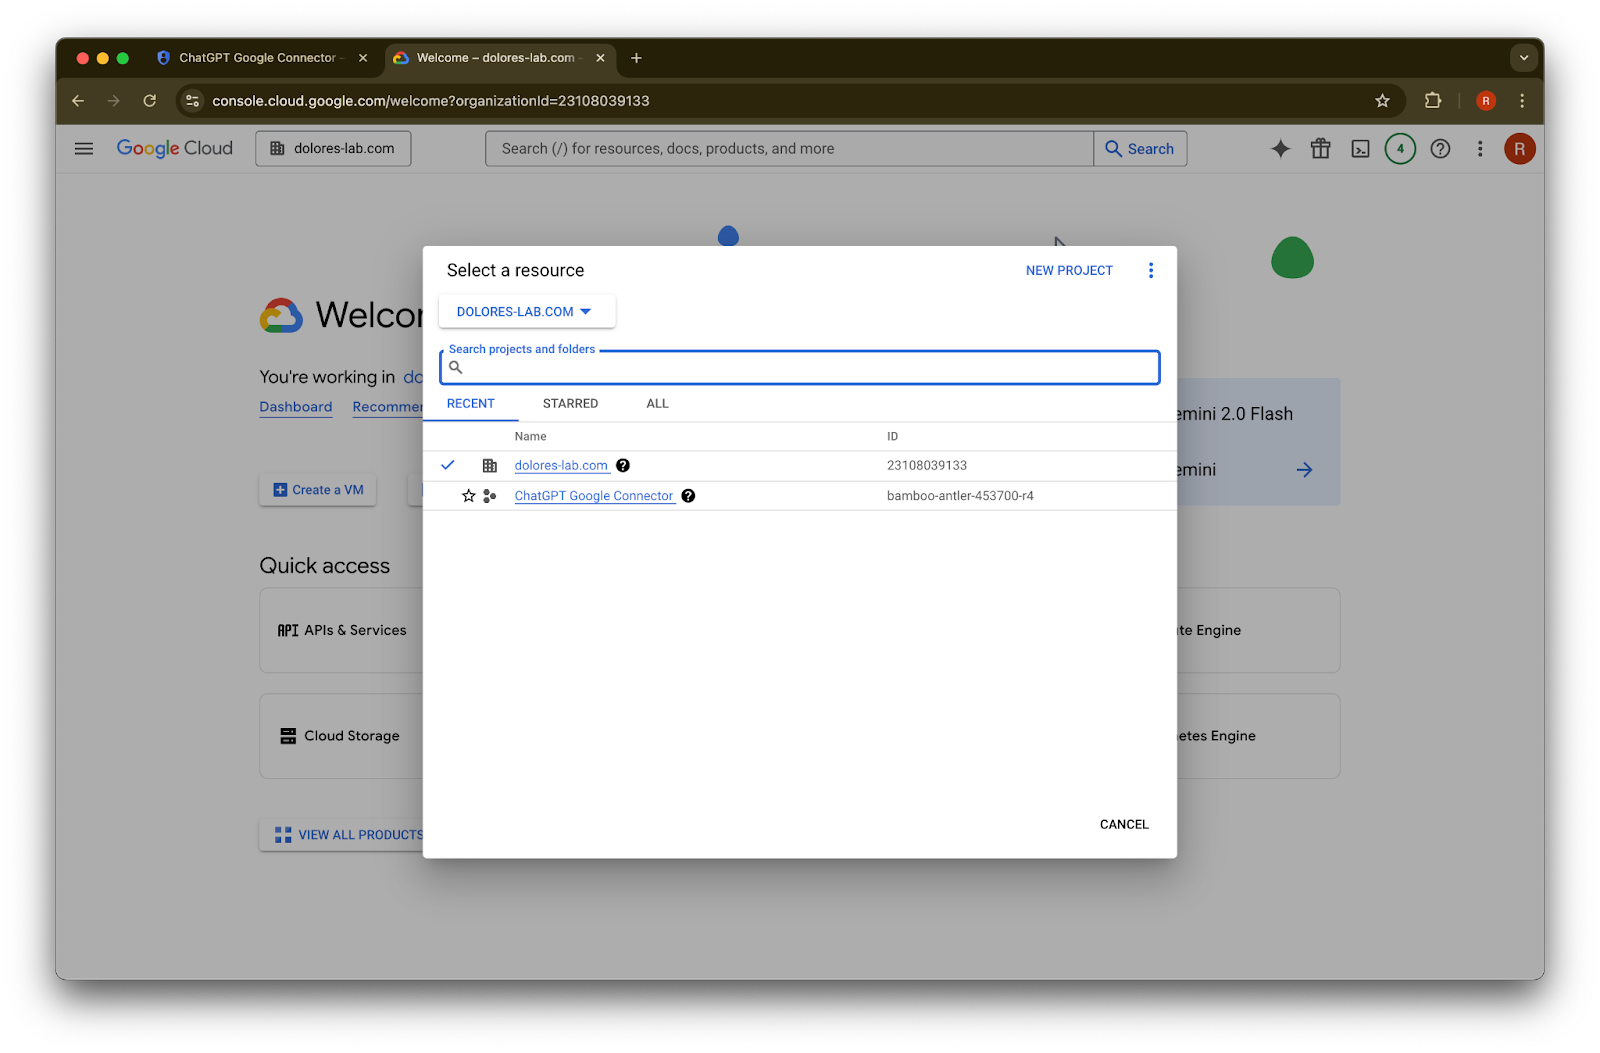
Click on the projects dropdown.ImageEnsure you are logged into the same Google workspace as the one associated with your ChatGPT workspace (if you do not have a Google workspace associated with your ChatGPT workspace and have different emails between the two, you will have to follow additional steps, otherwise your users may not be able to use Google Drive synced connectors).
Choose New Project
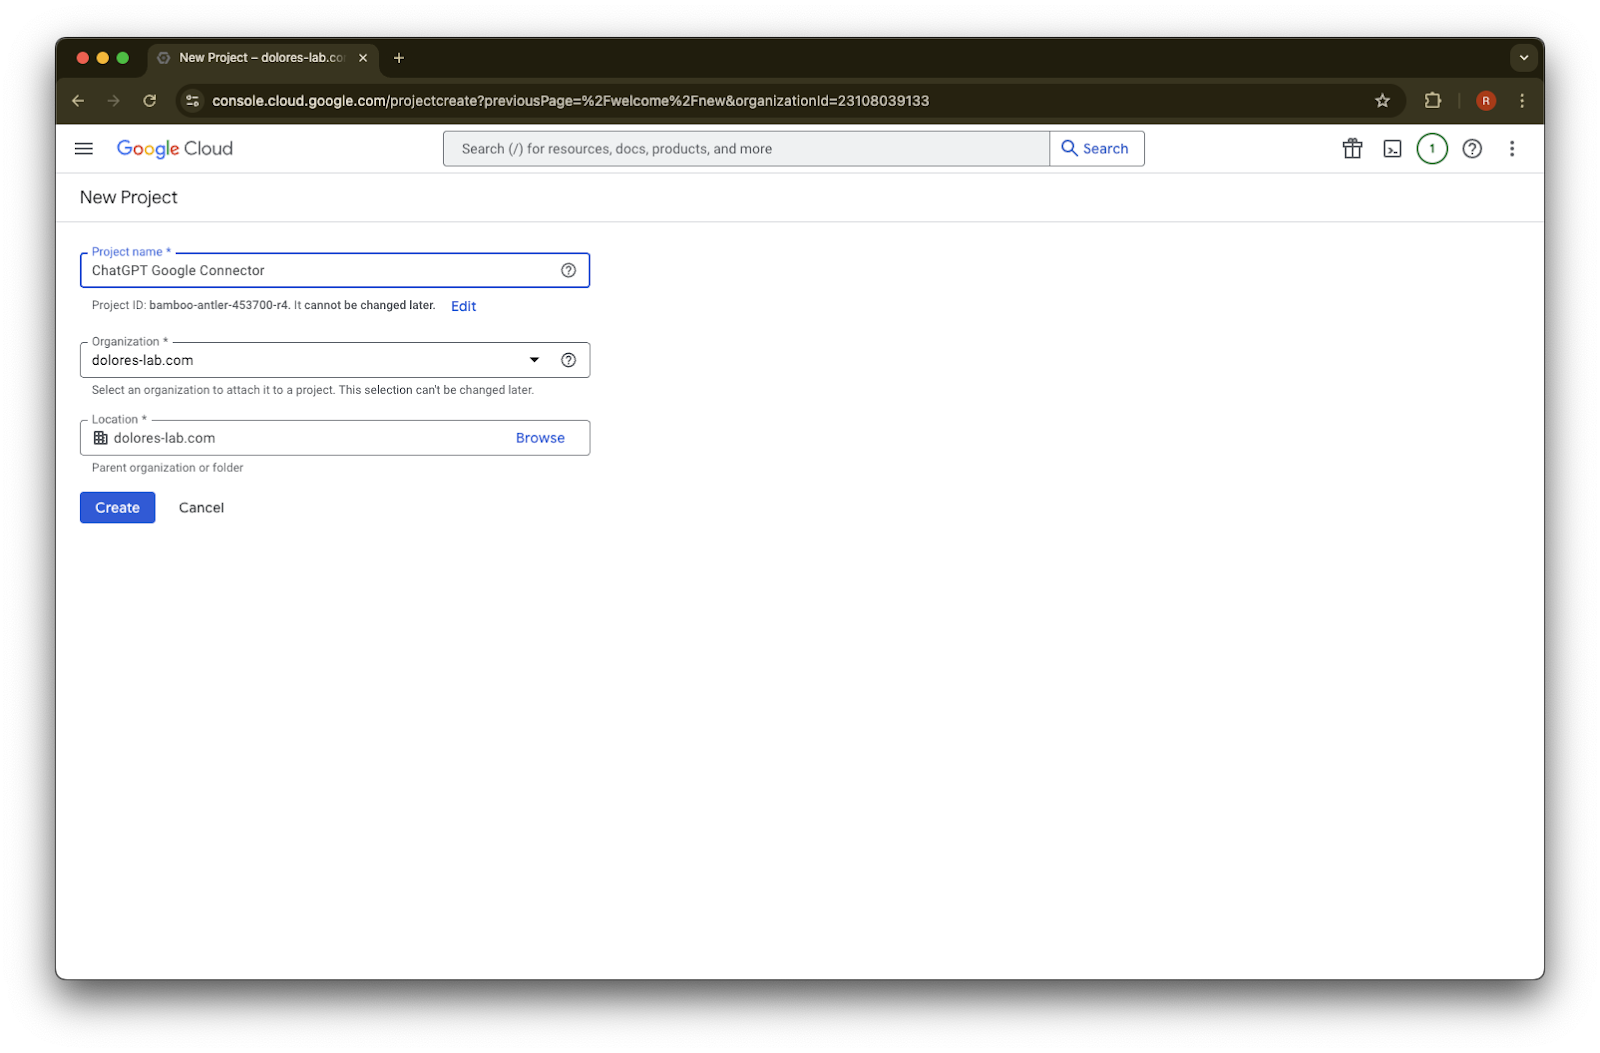
Input a Project Name
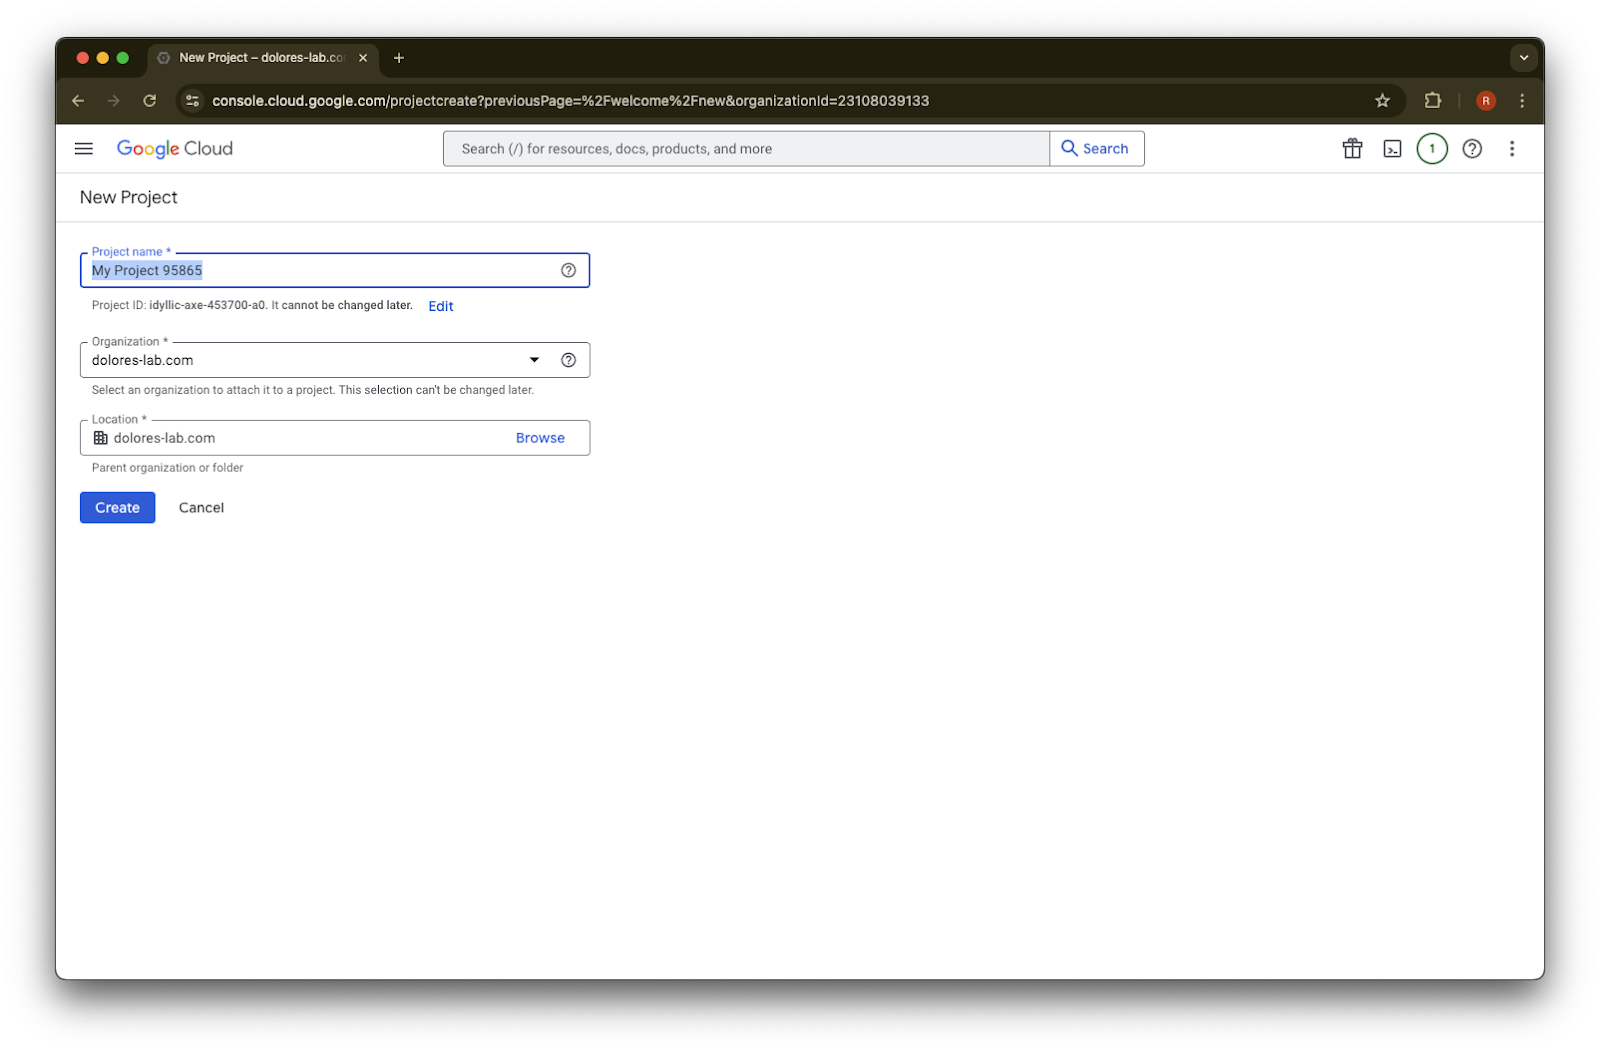
Create the project
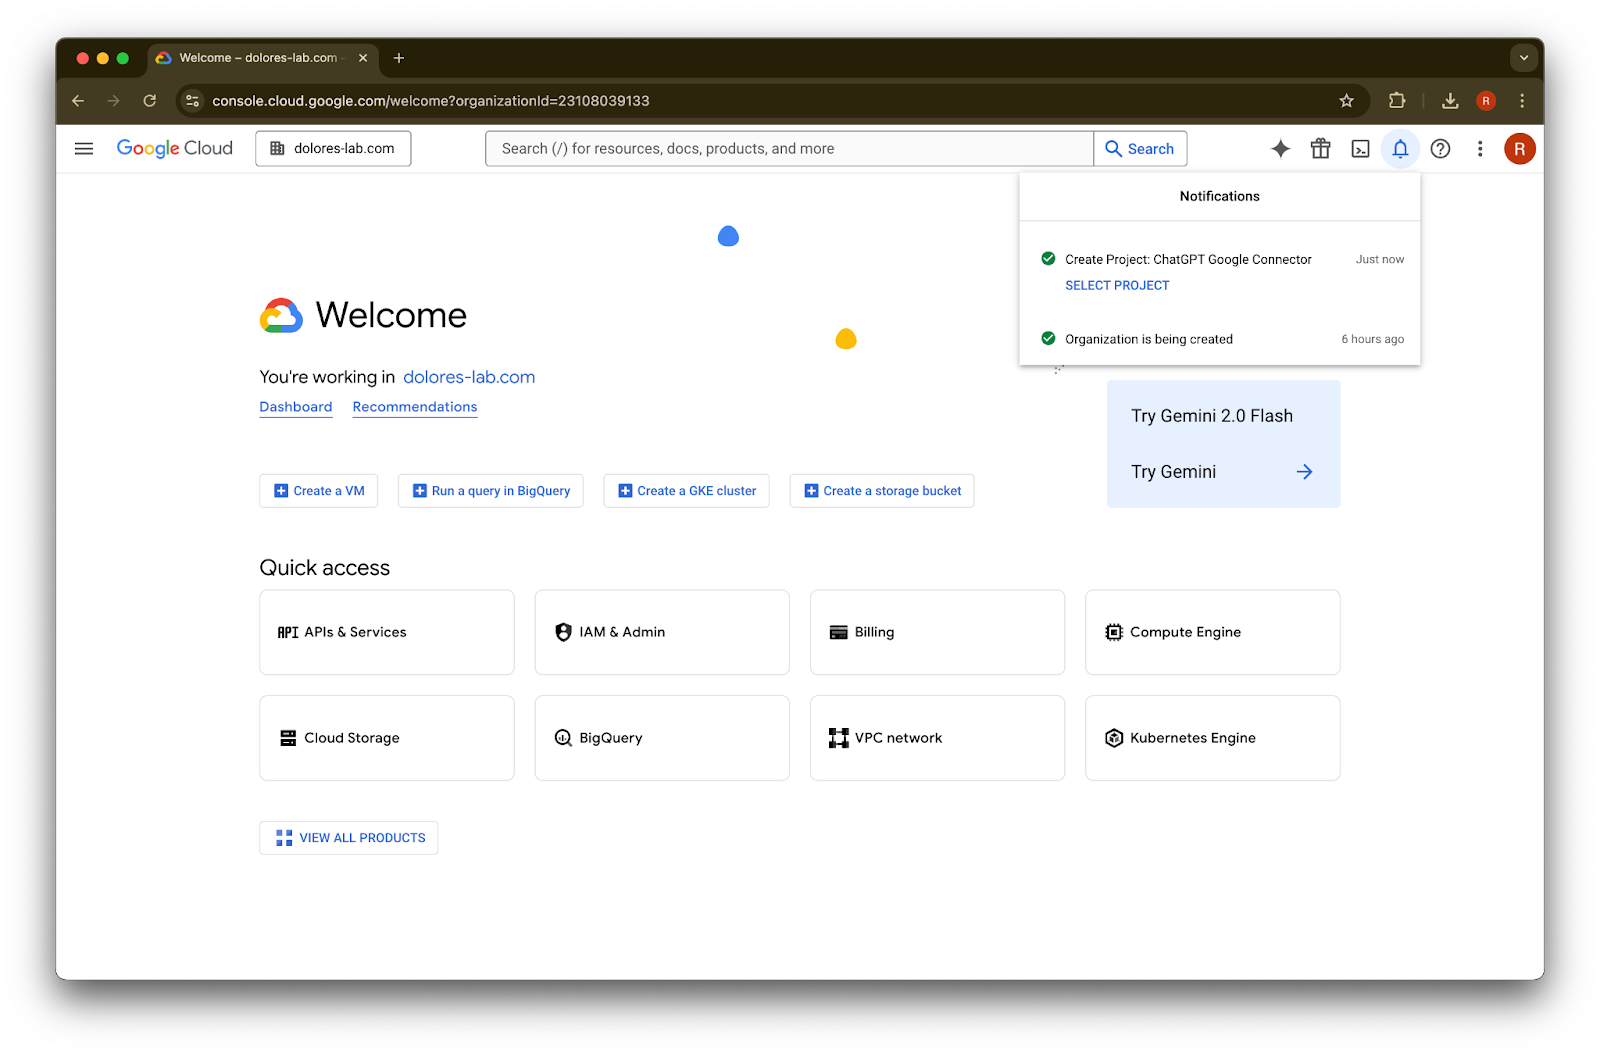
Wait until the project has been created, then click on Select Project
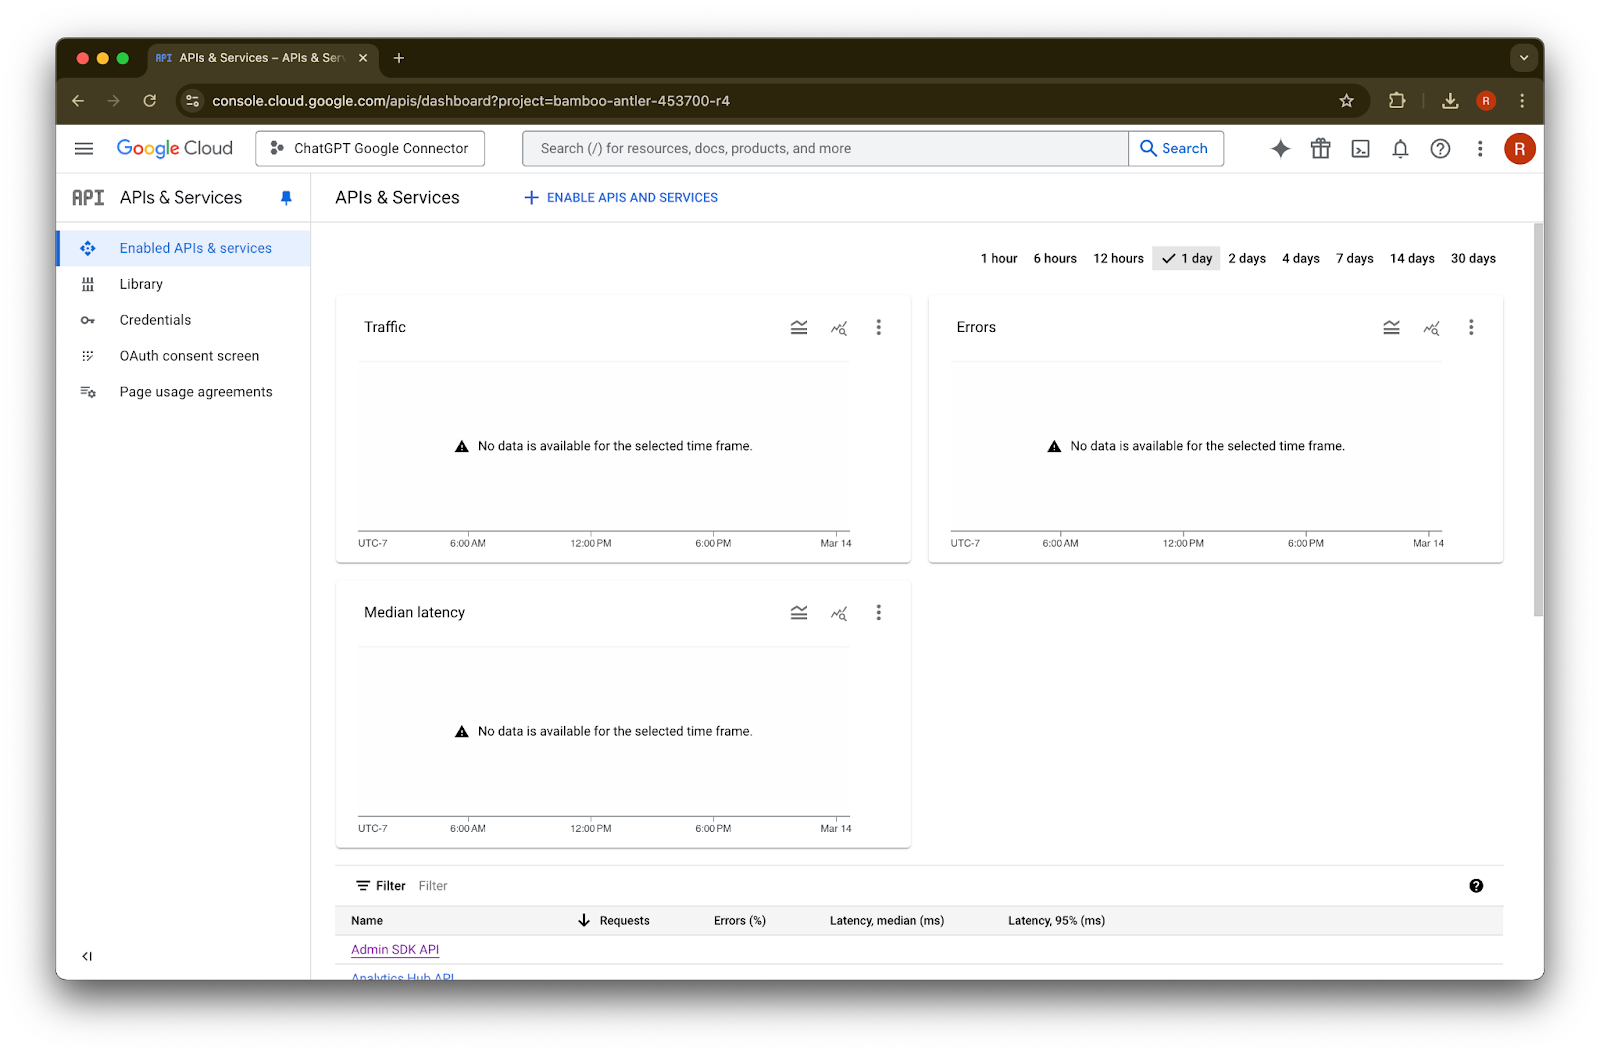
Click on APIs & Services
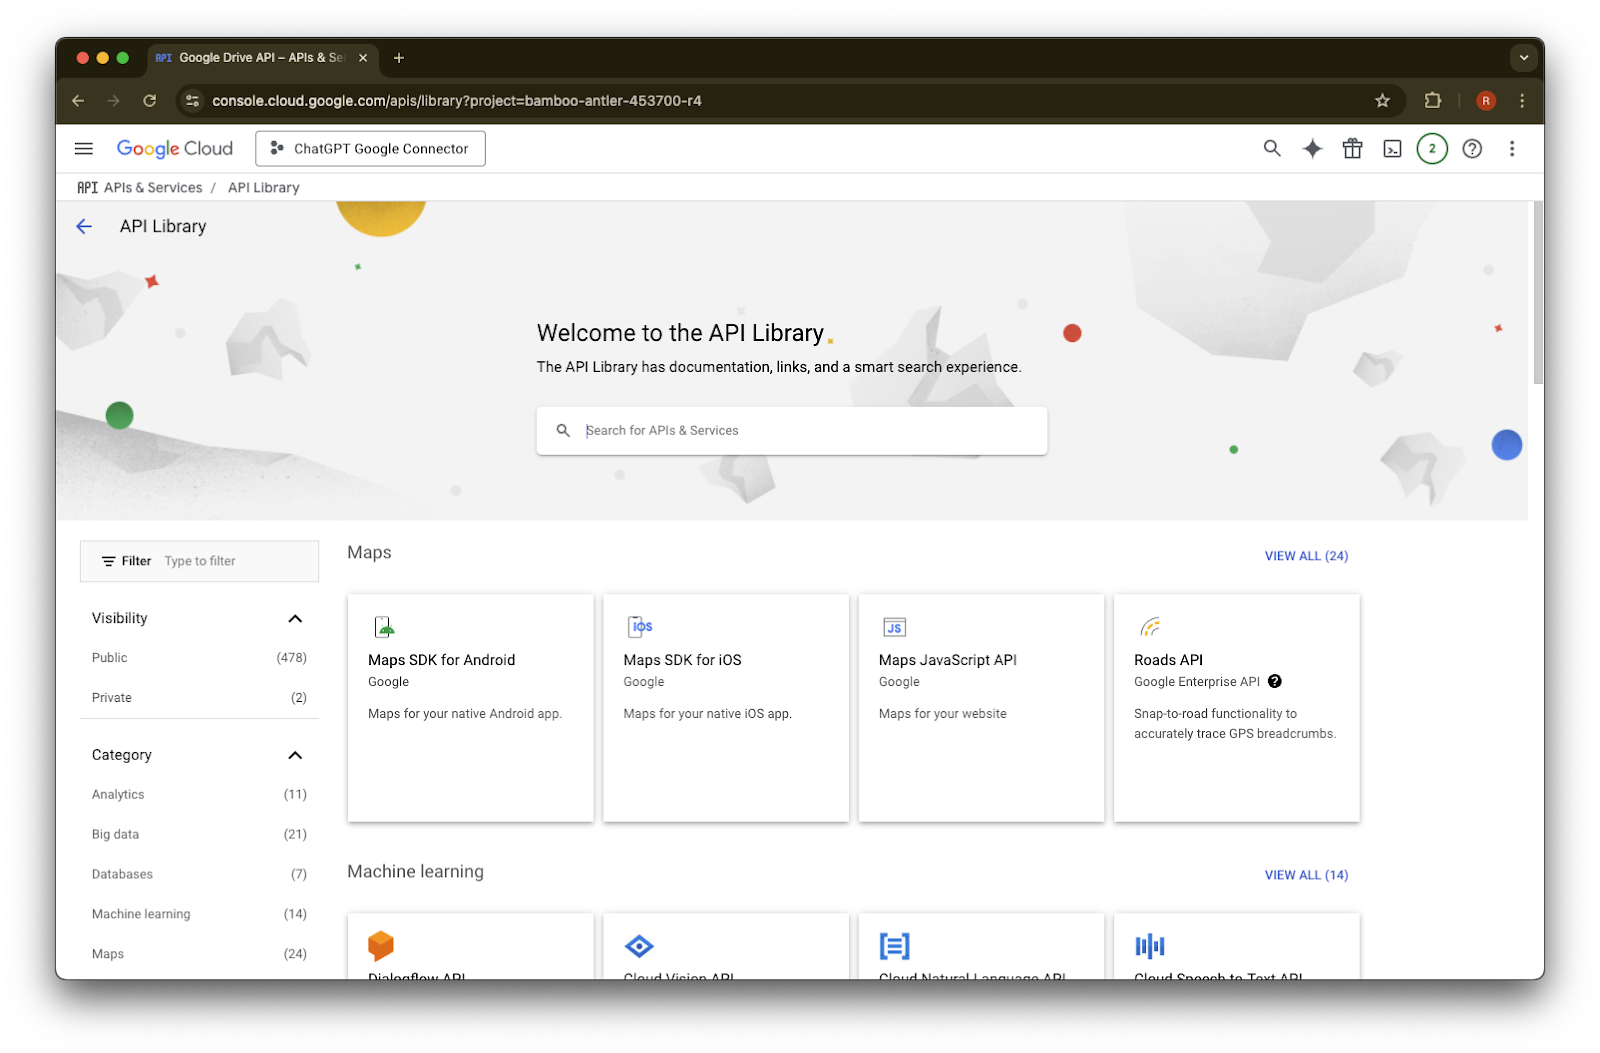
Click on Library
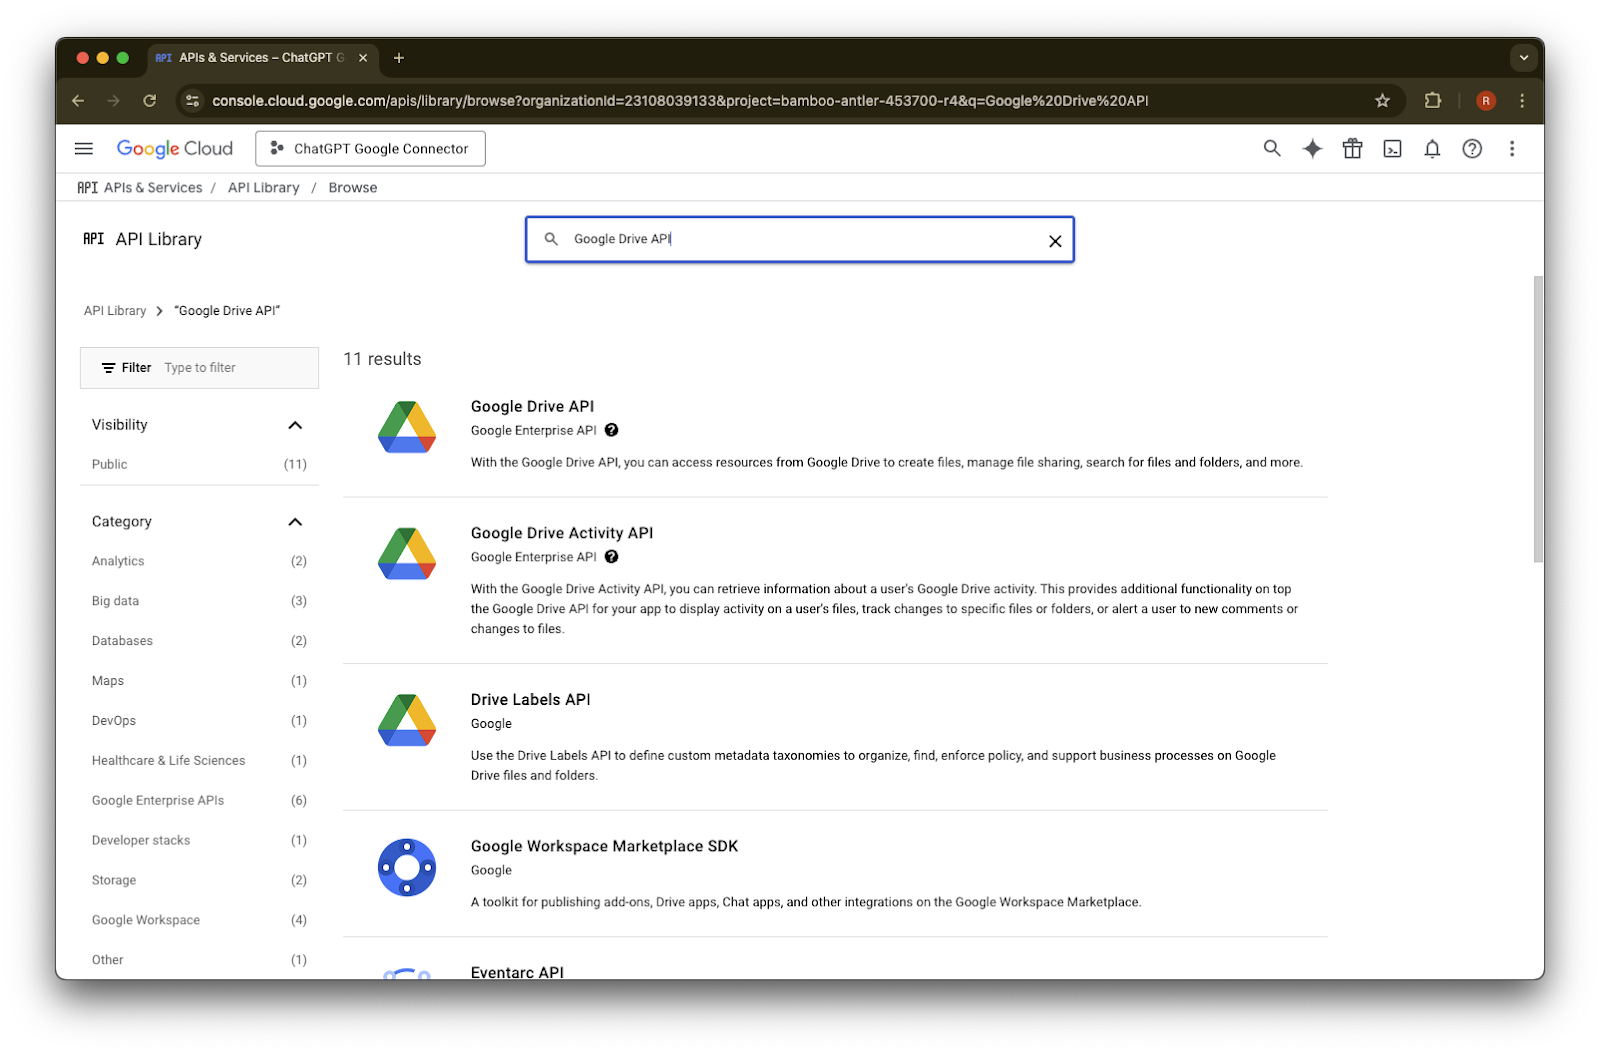
We’re now going to add three APIs, using the search box to find them

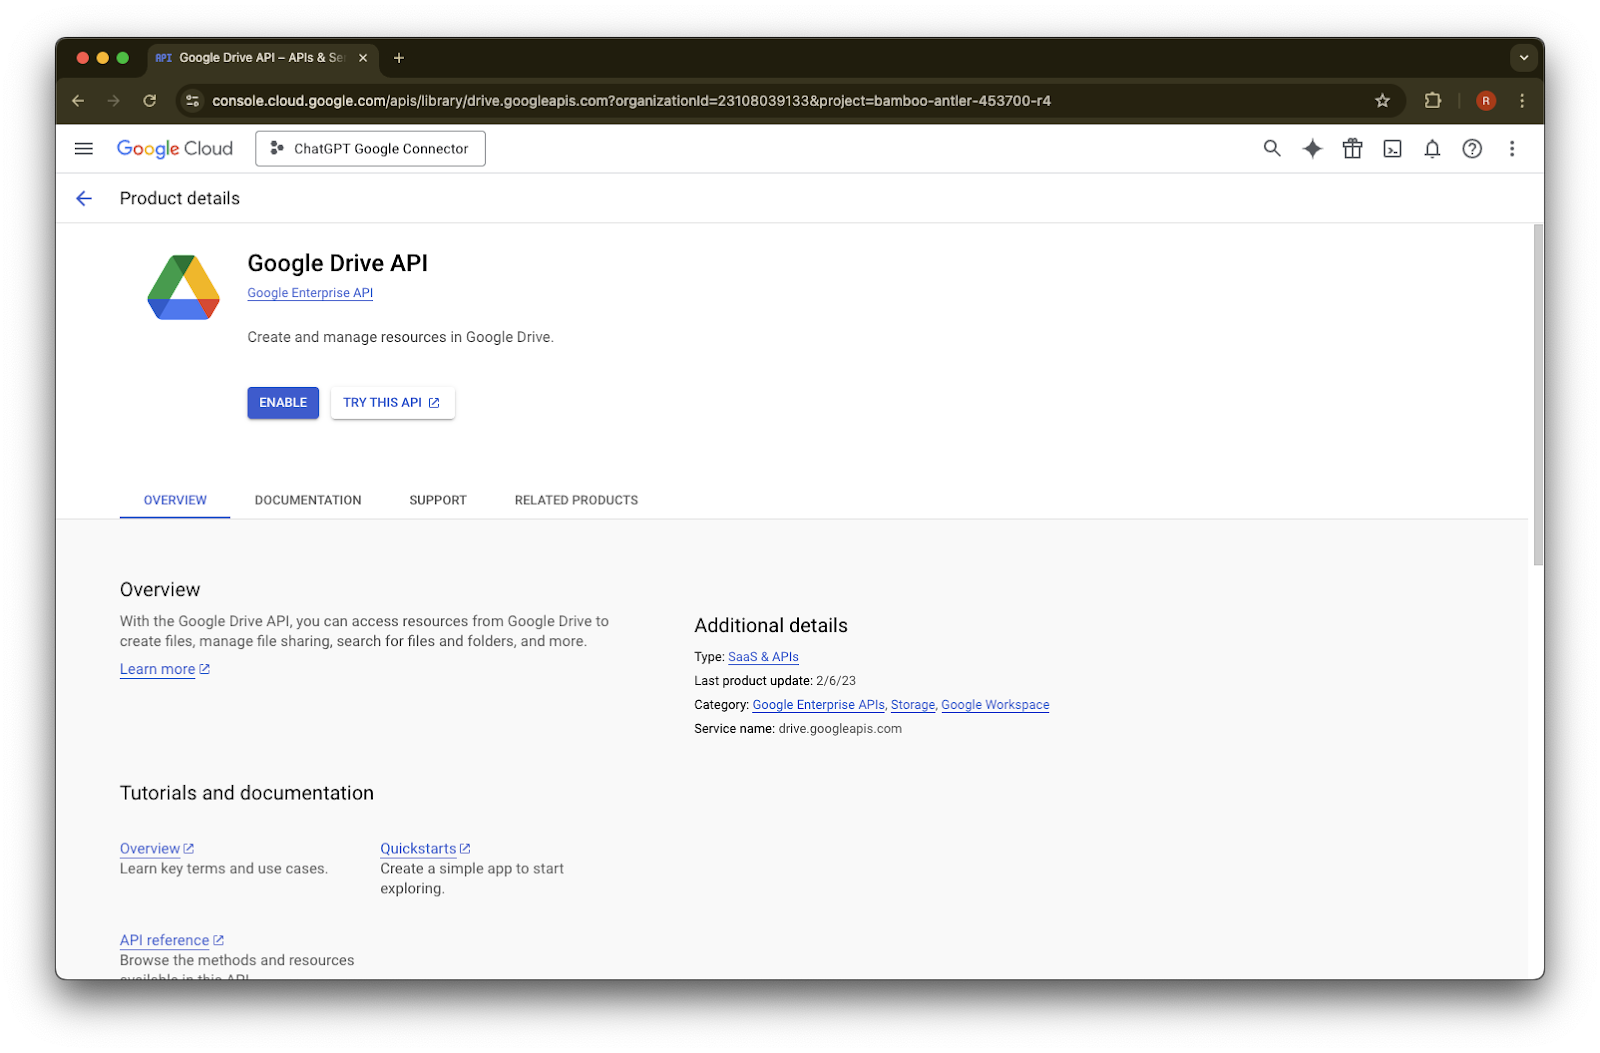
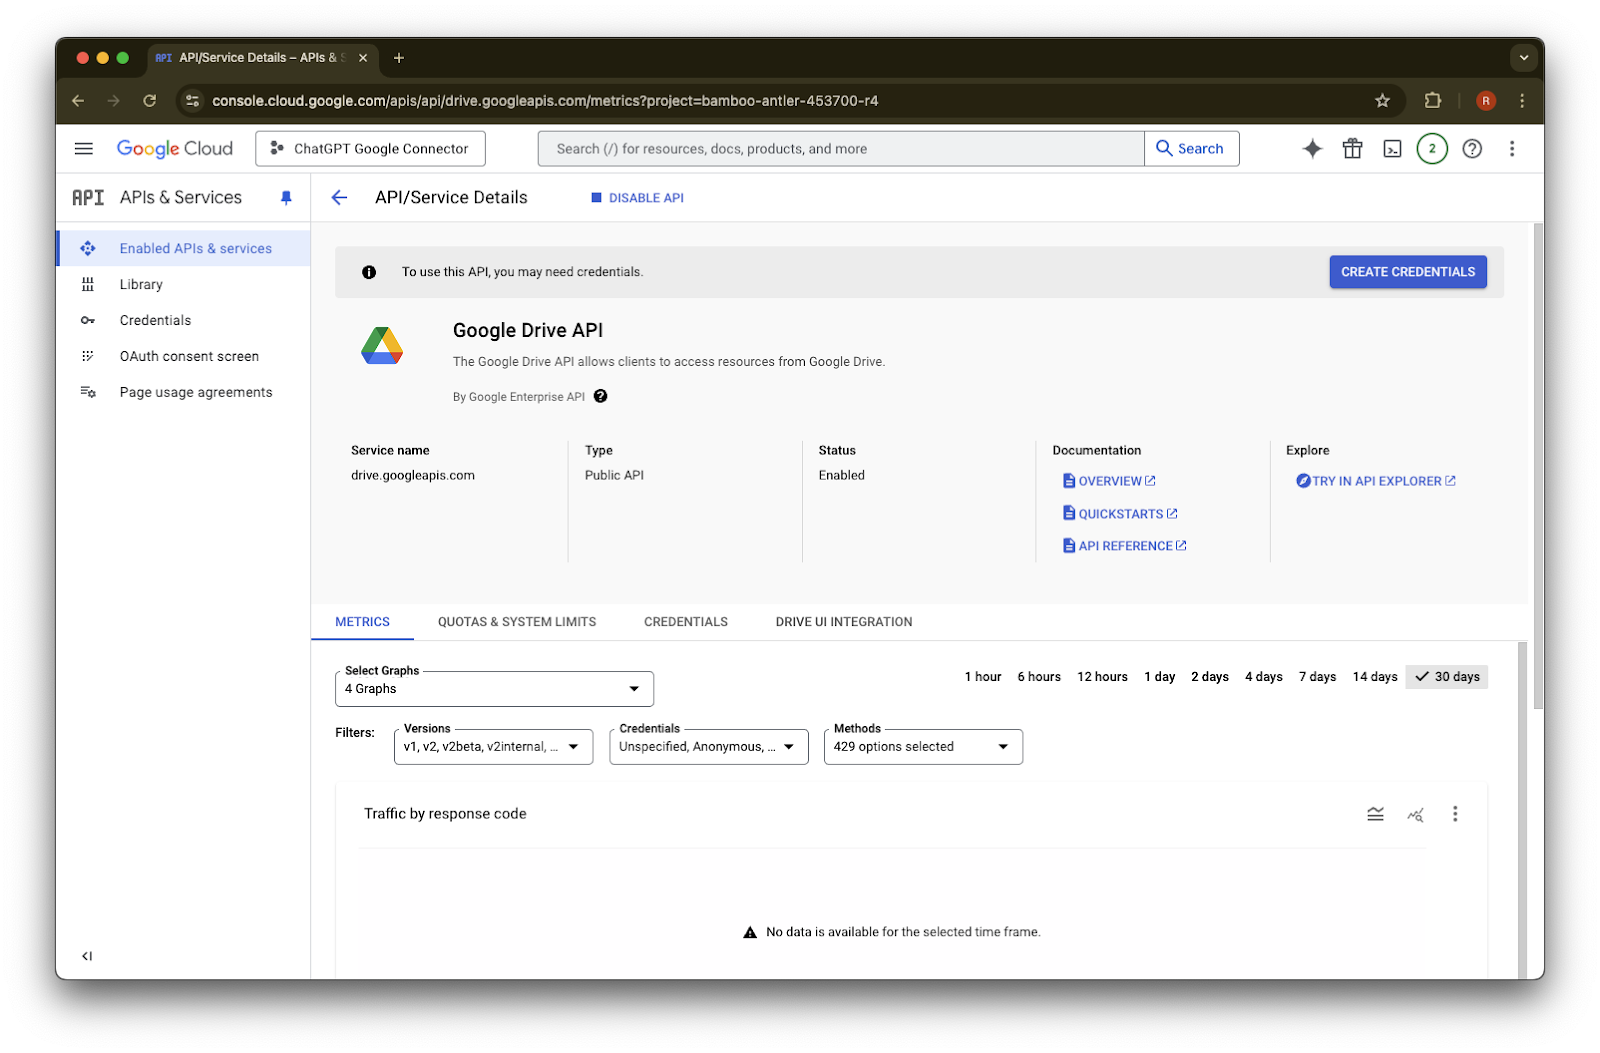
Search for and choose Google Drive API
Click Enable
Click on Library
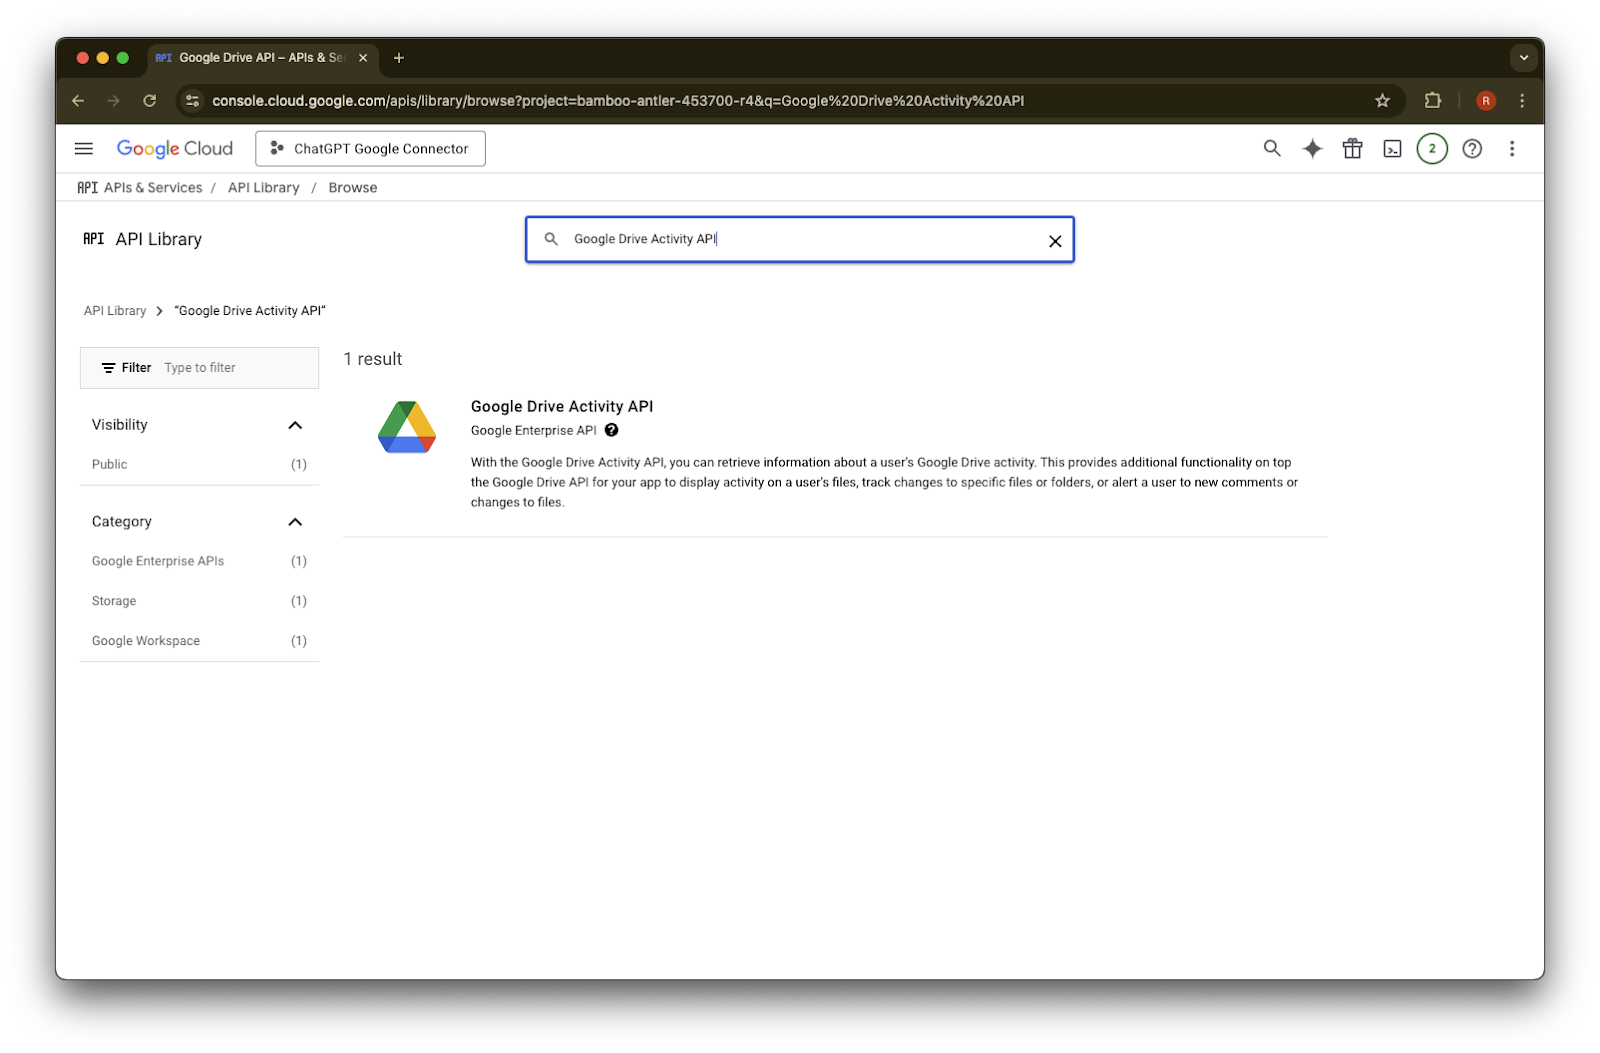
Search for Google Drive Activity
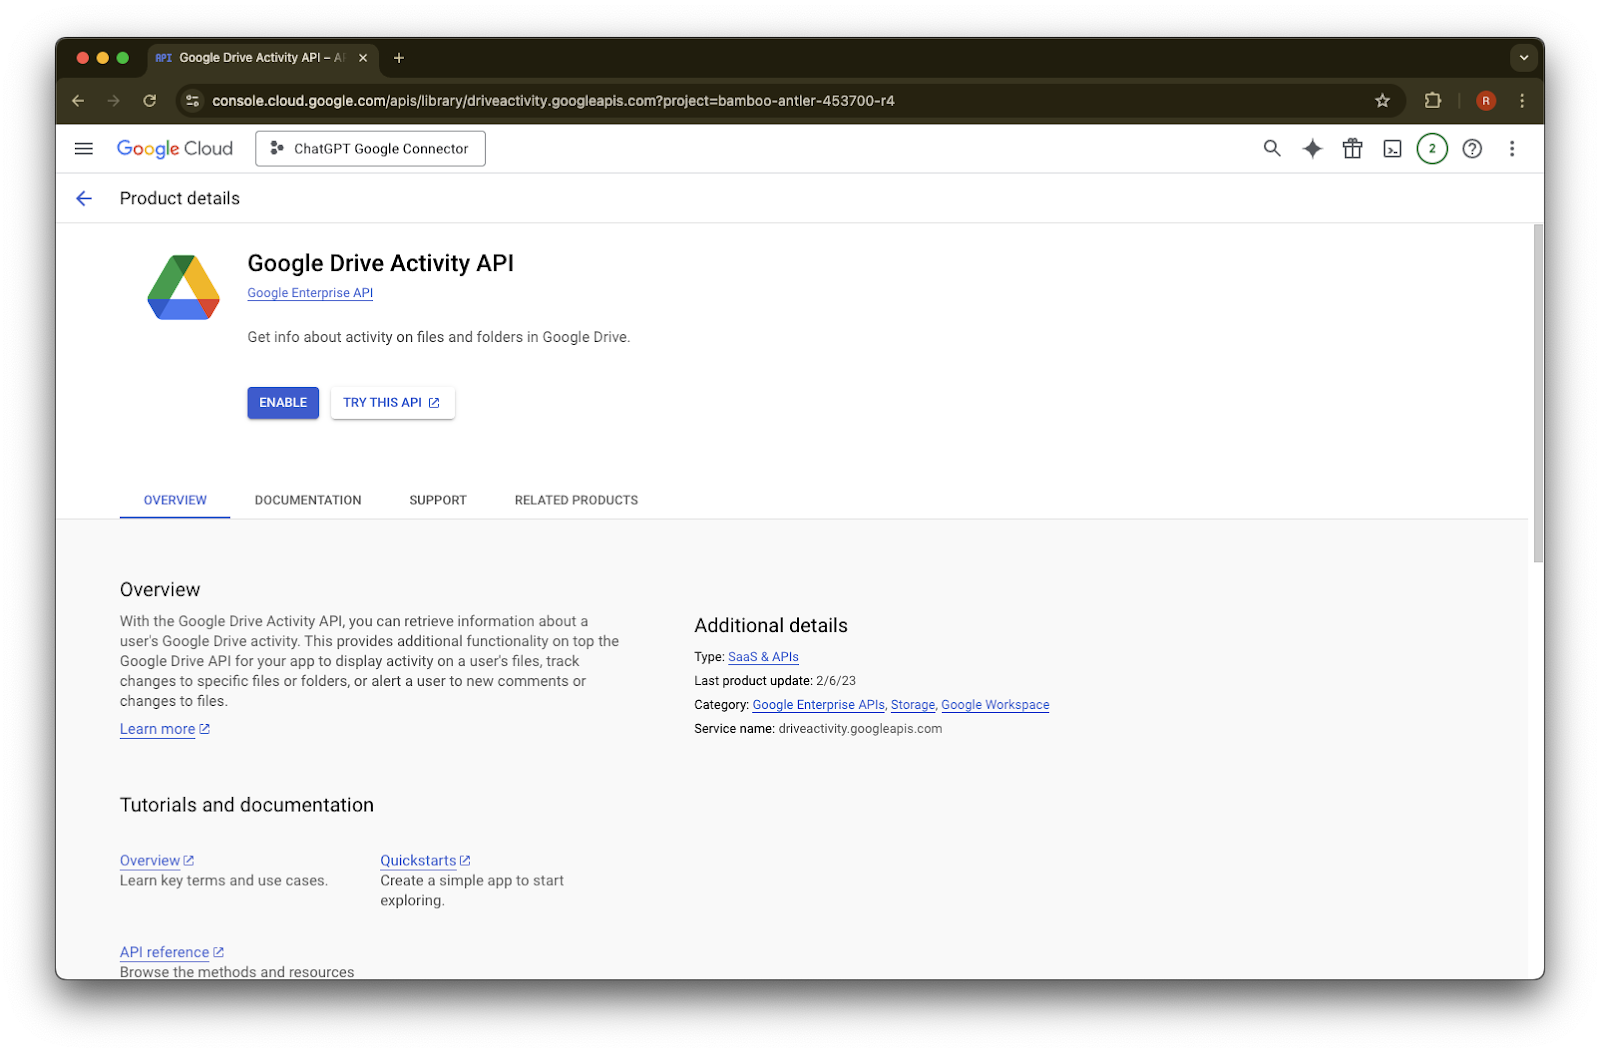
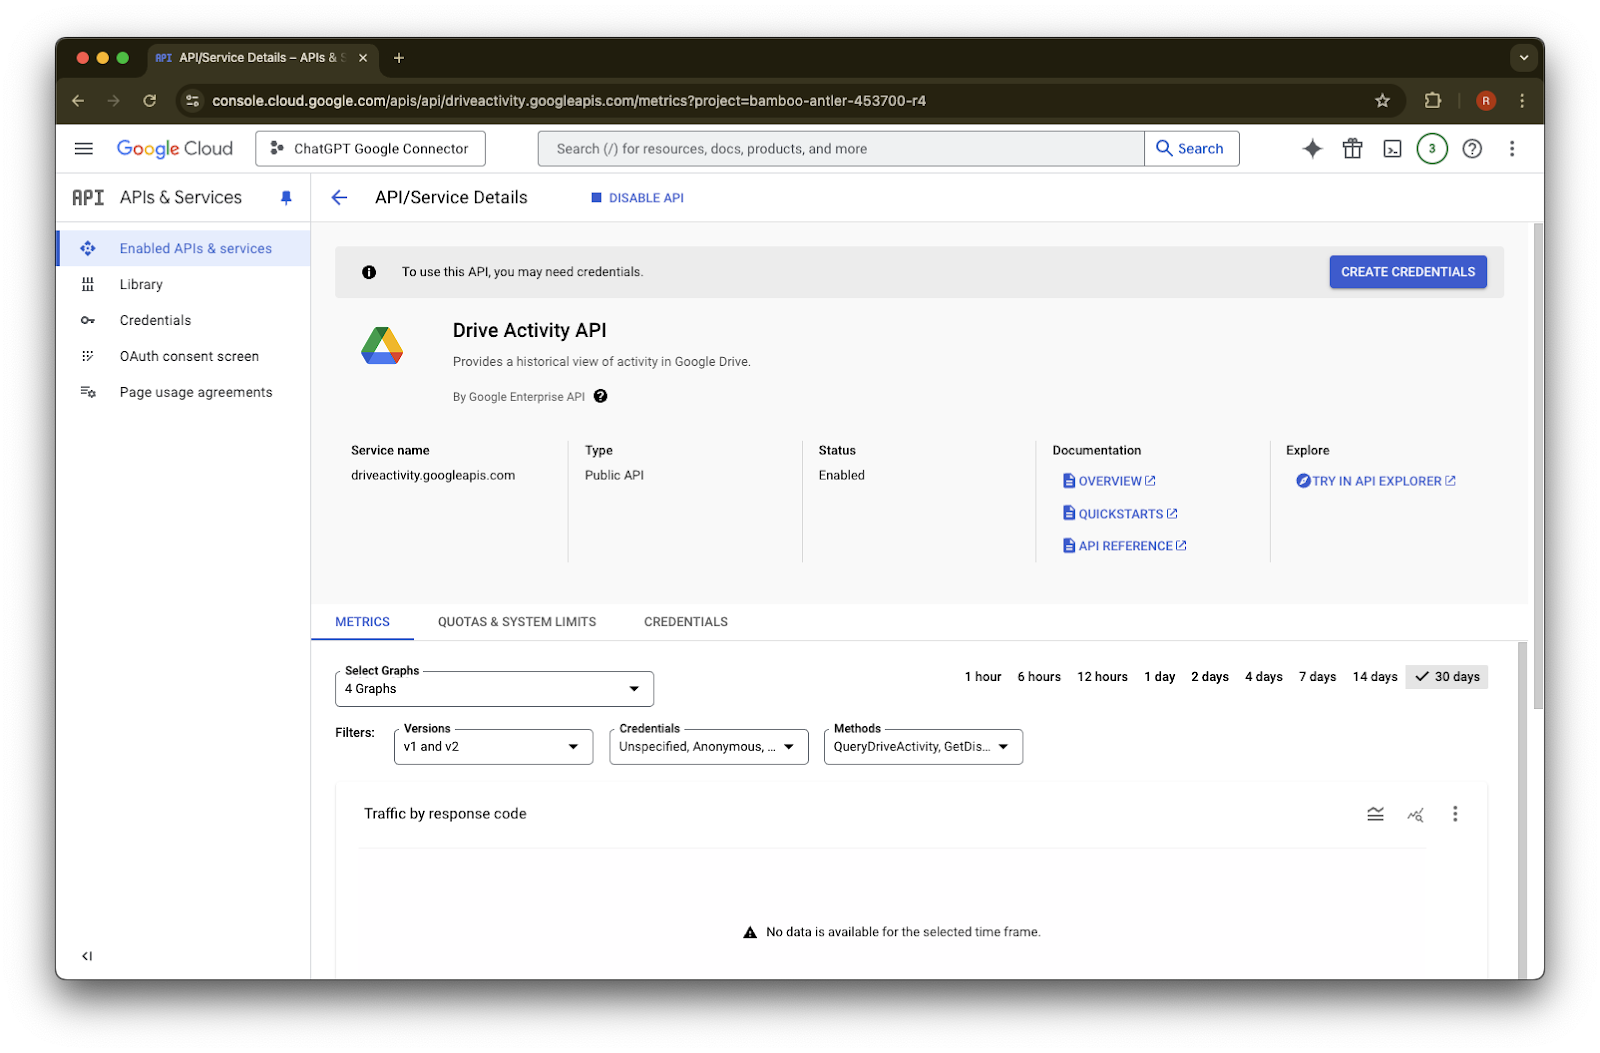
Choose Google Drive Activity API
Click Enable
Click on Library
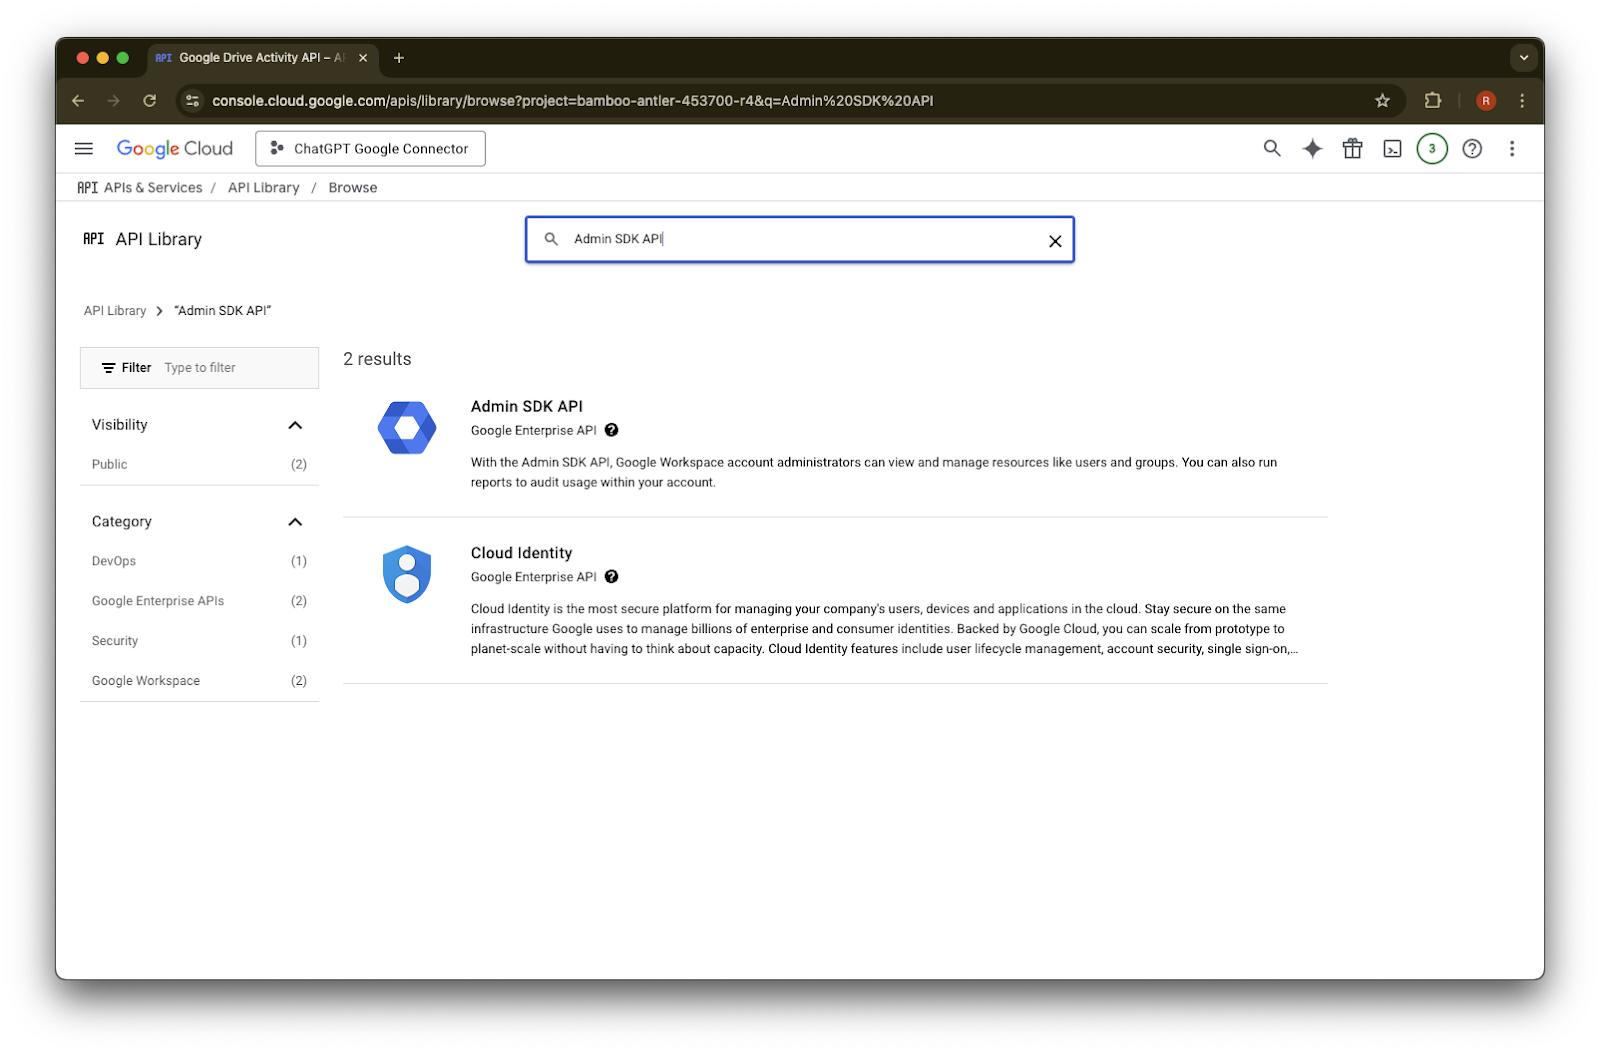
Search for Admin SDK API

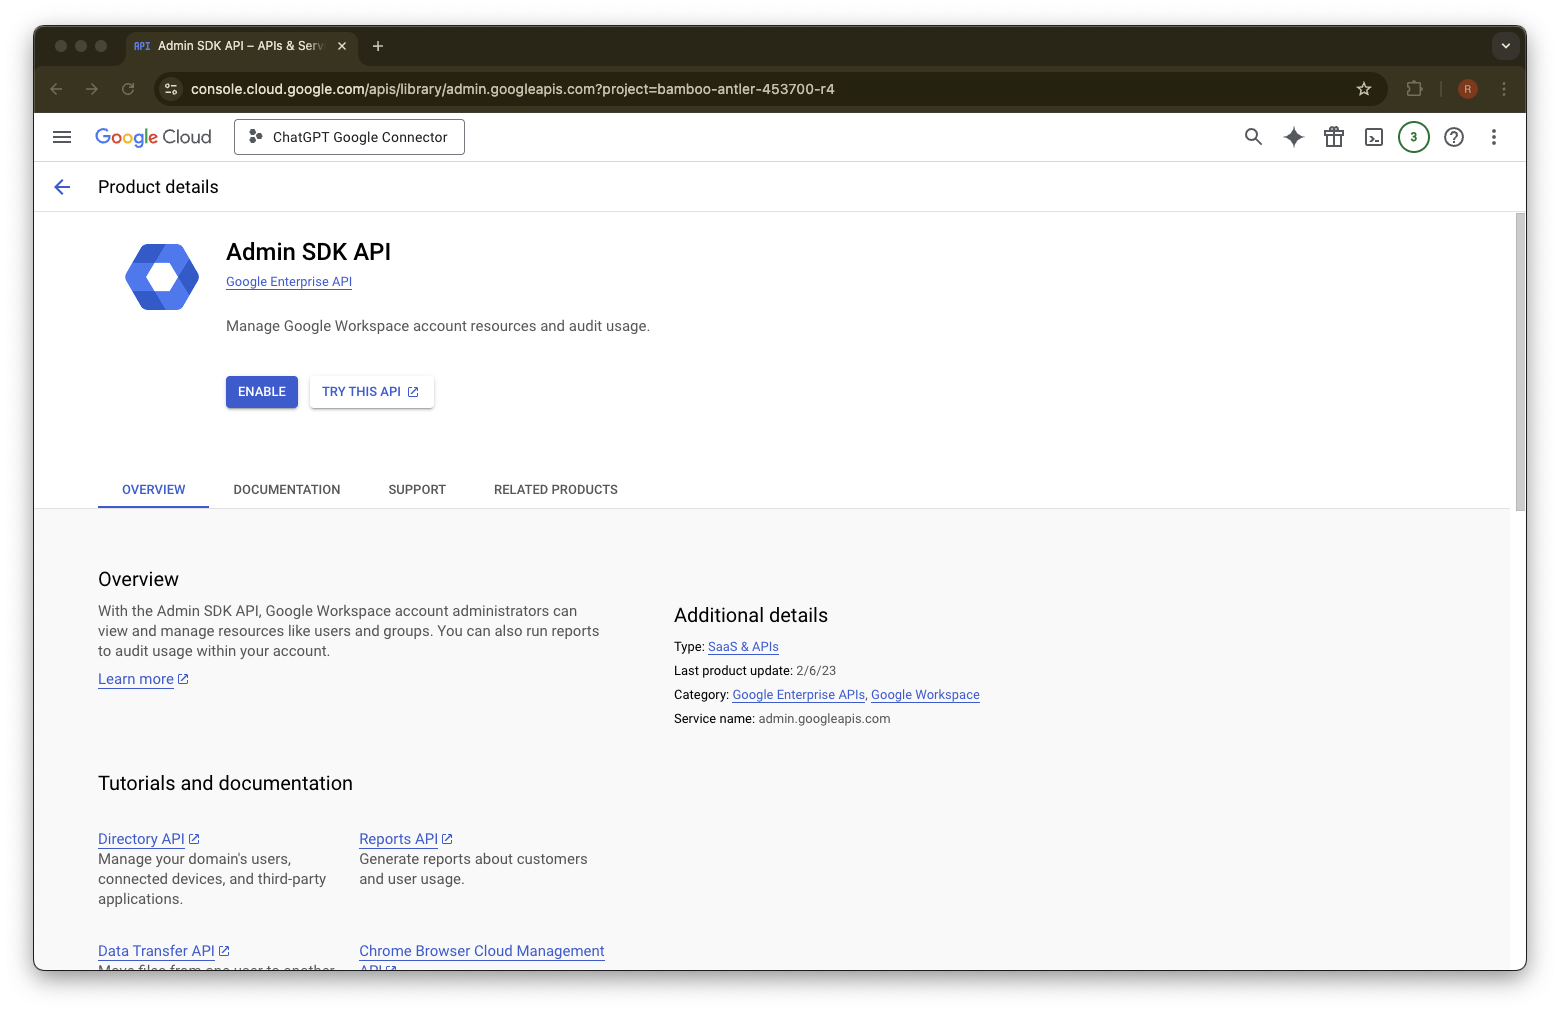
Choose Admin SDK API
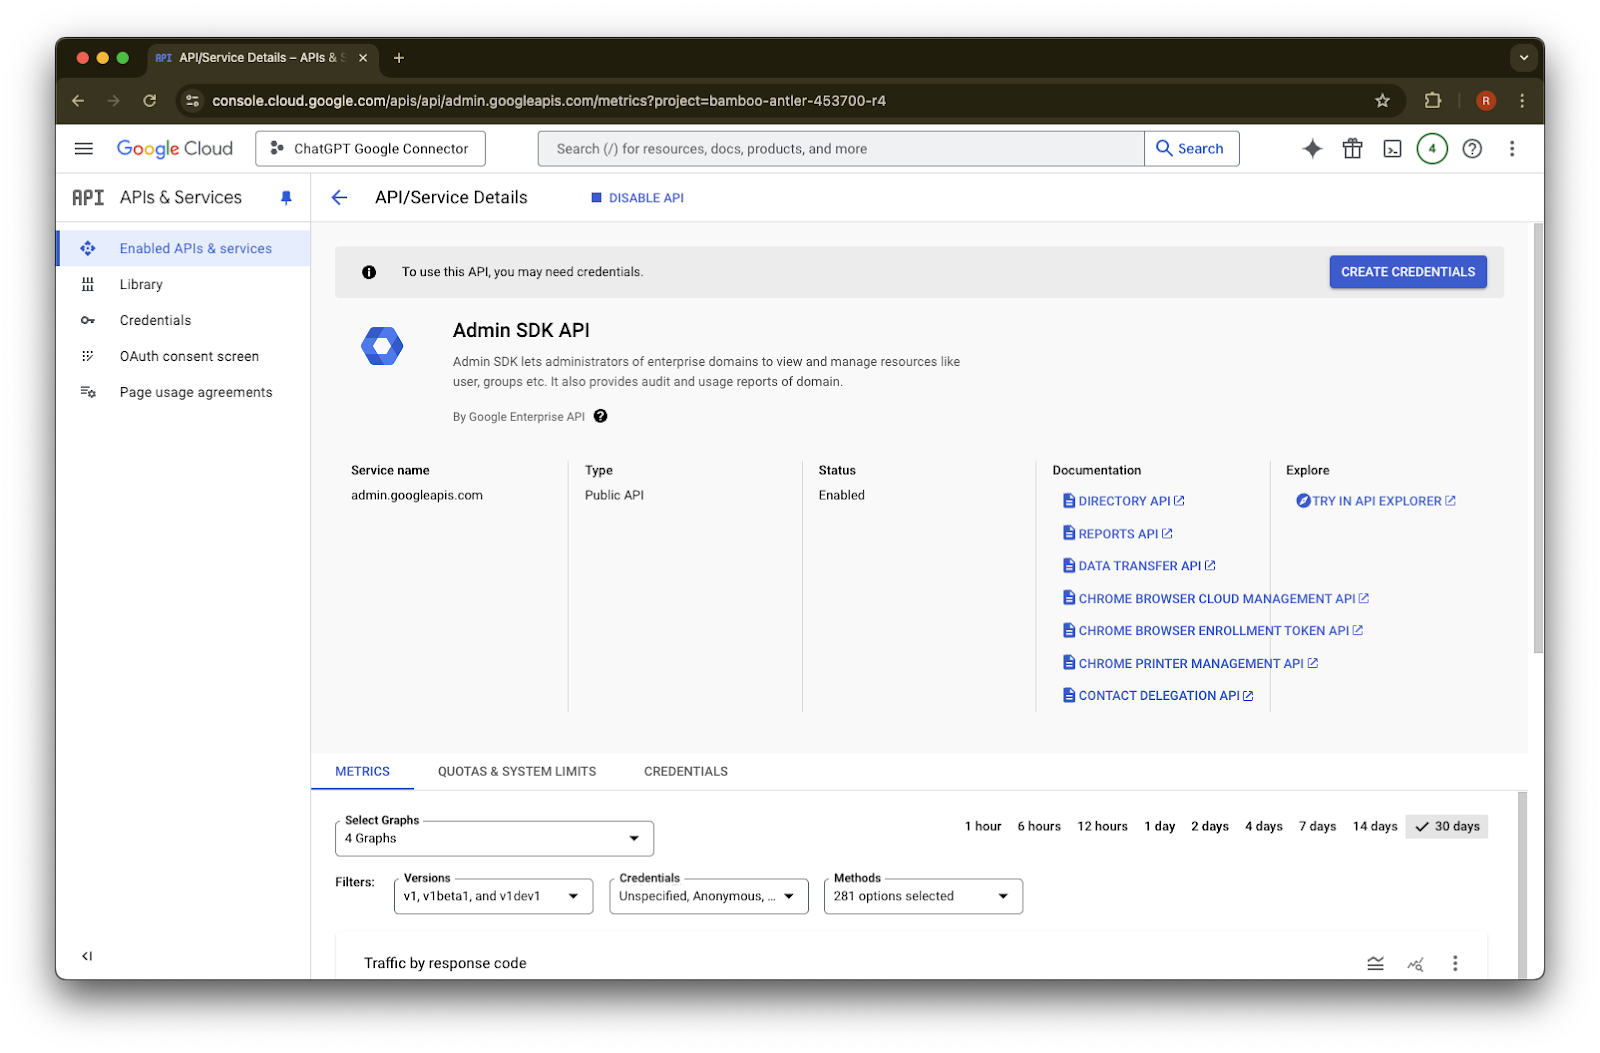
Click Enable
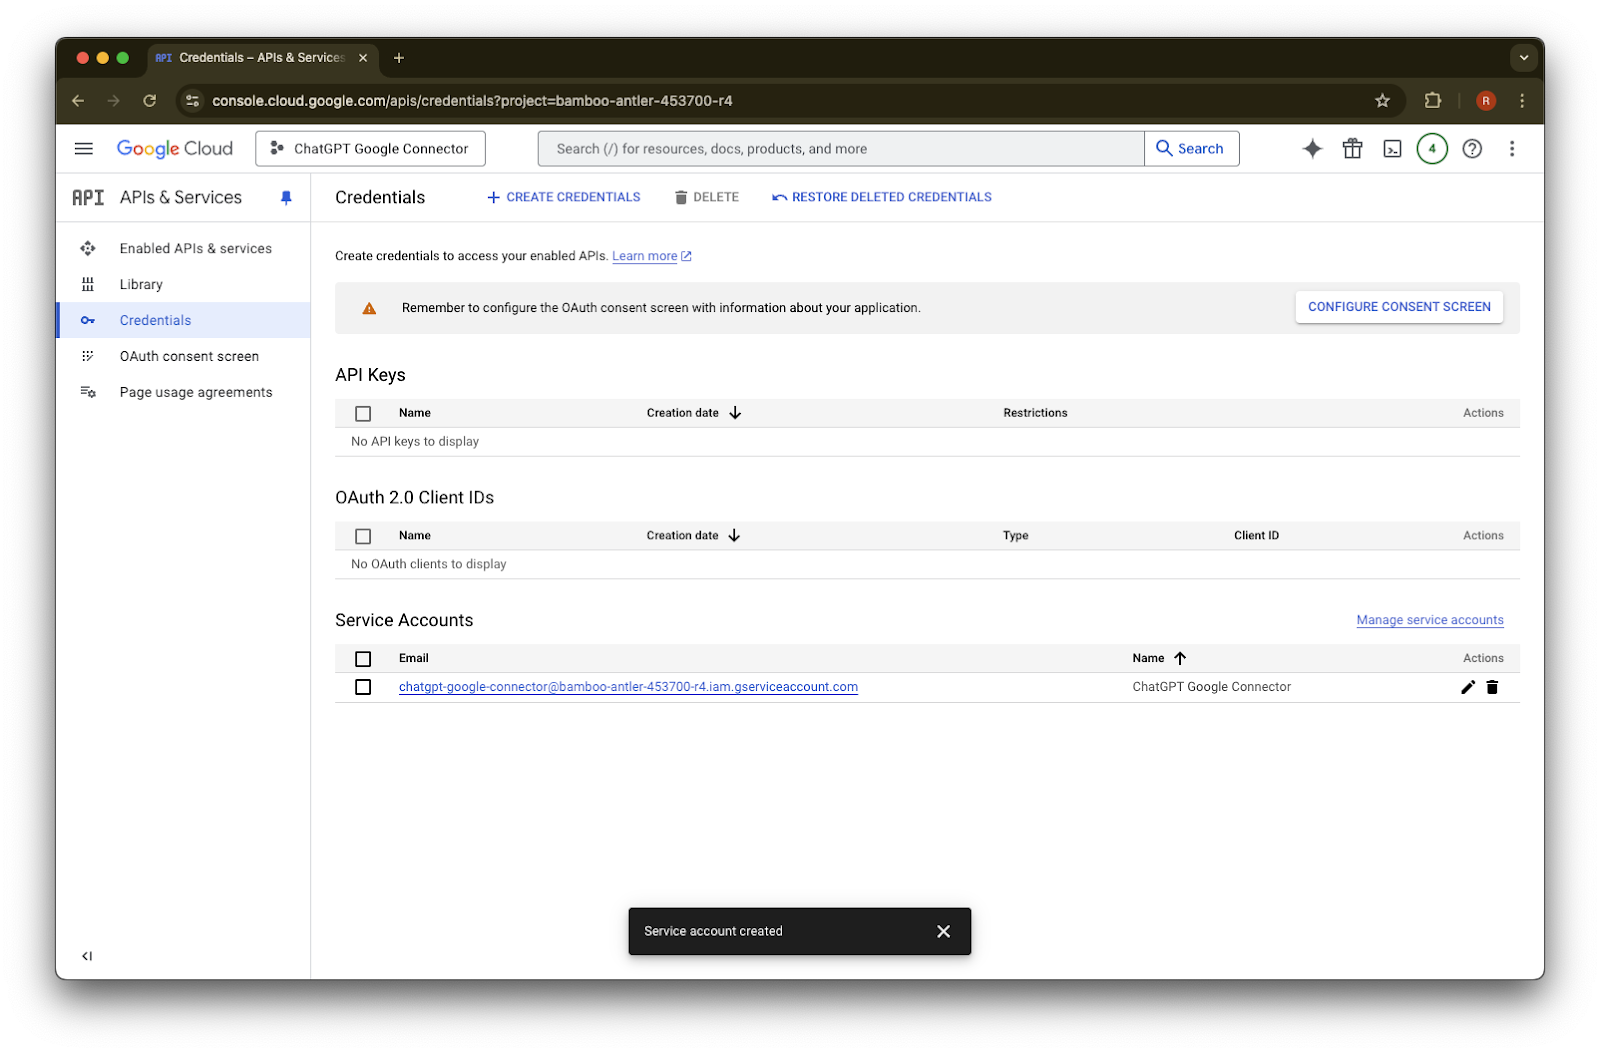
Click on Credentials
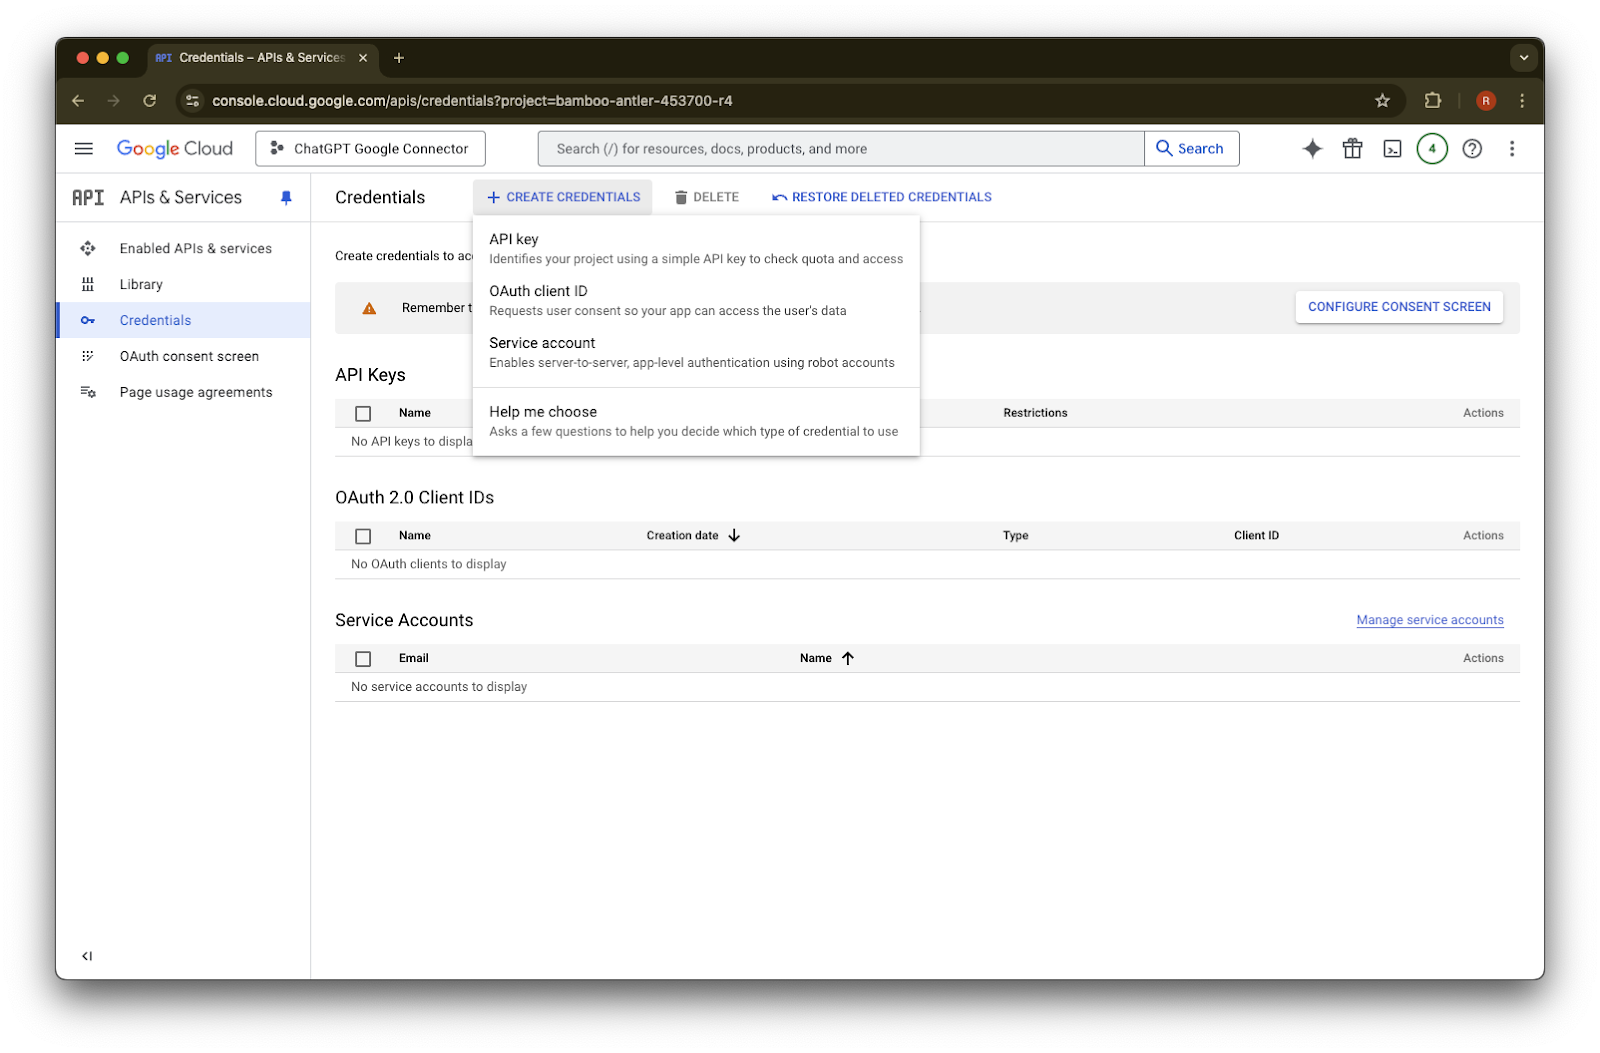
Click on Create Credentials
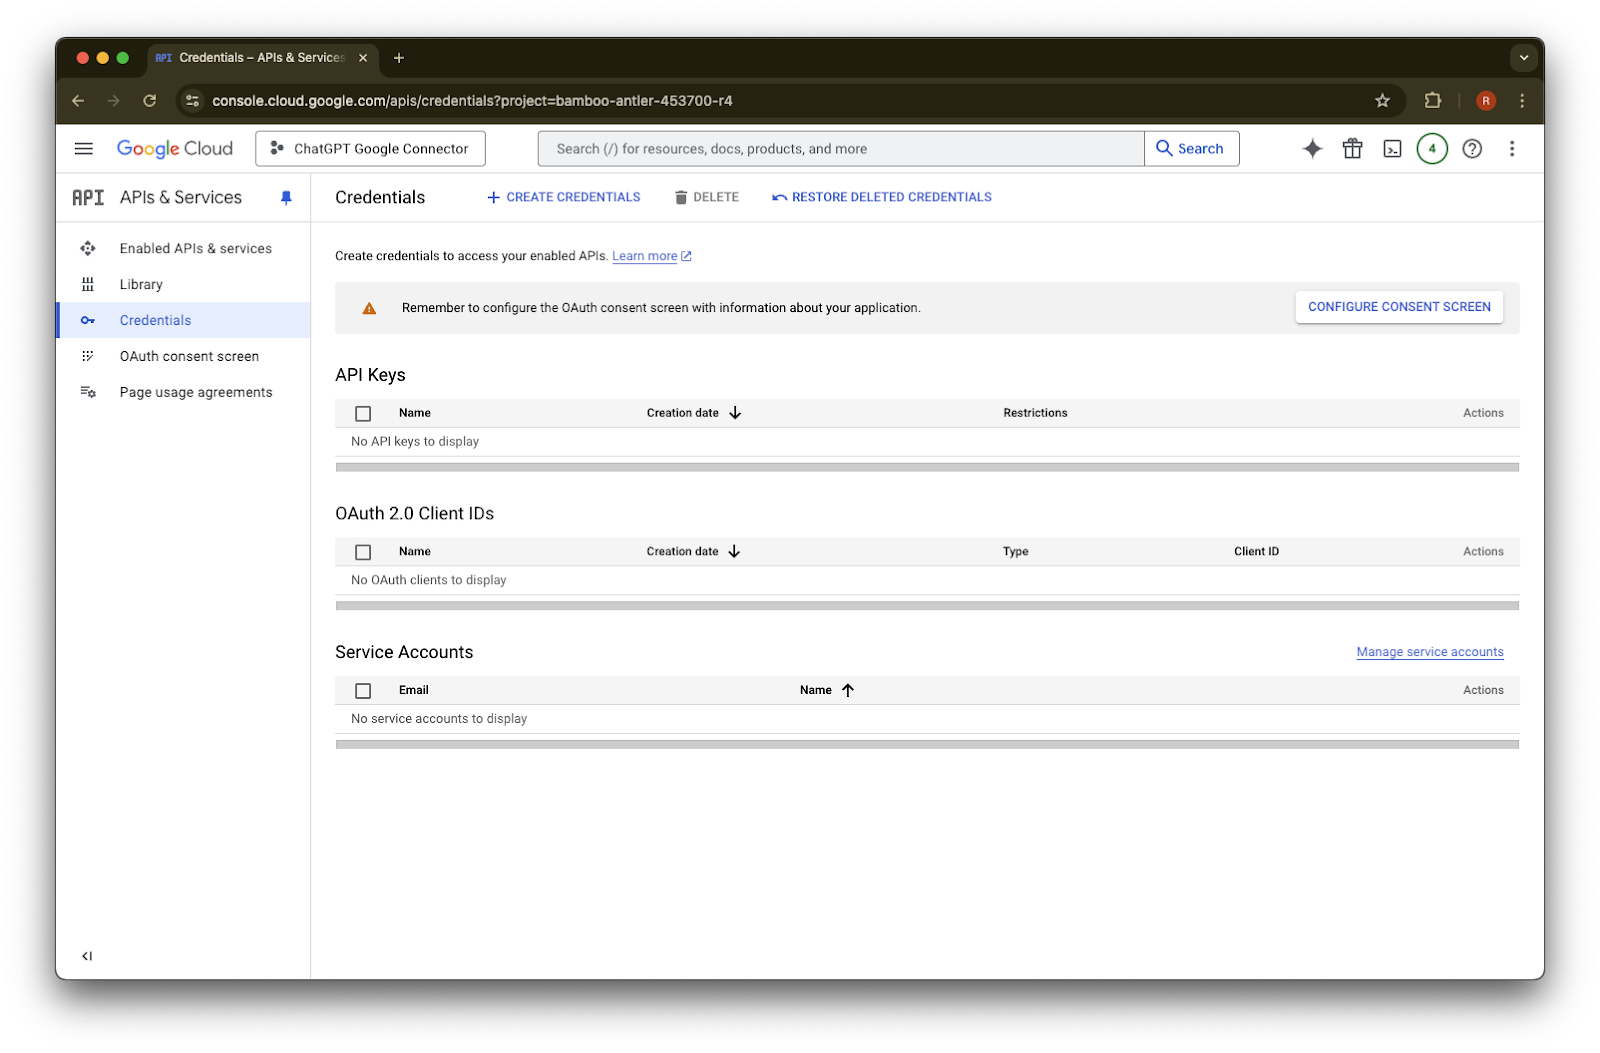
Click on Service account
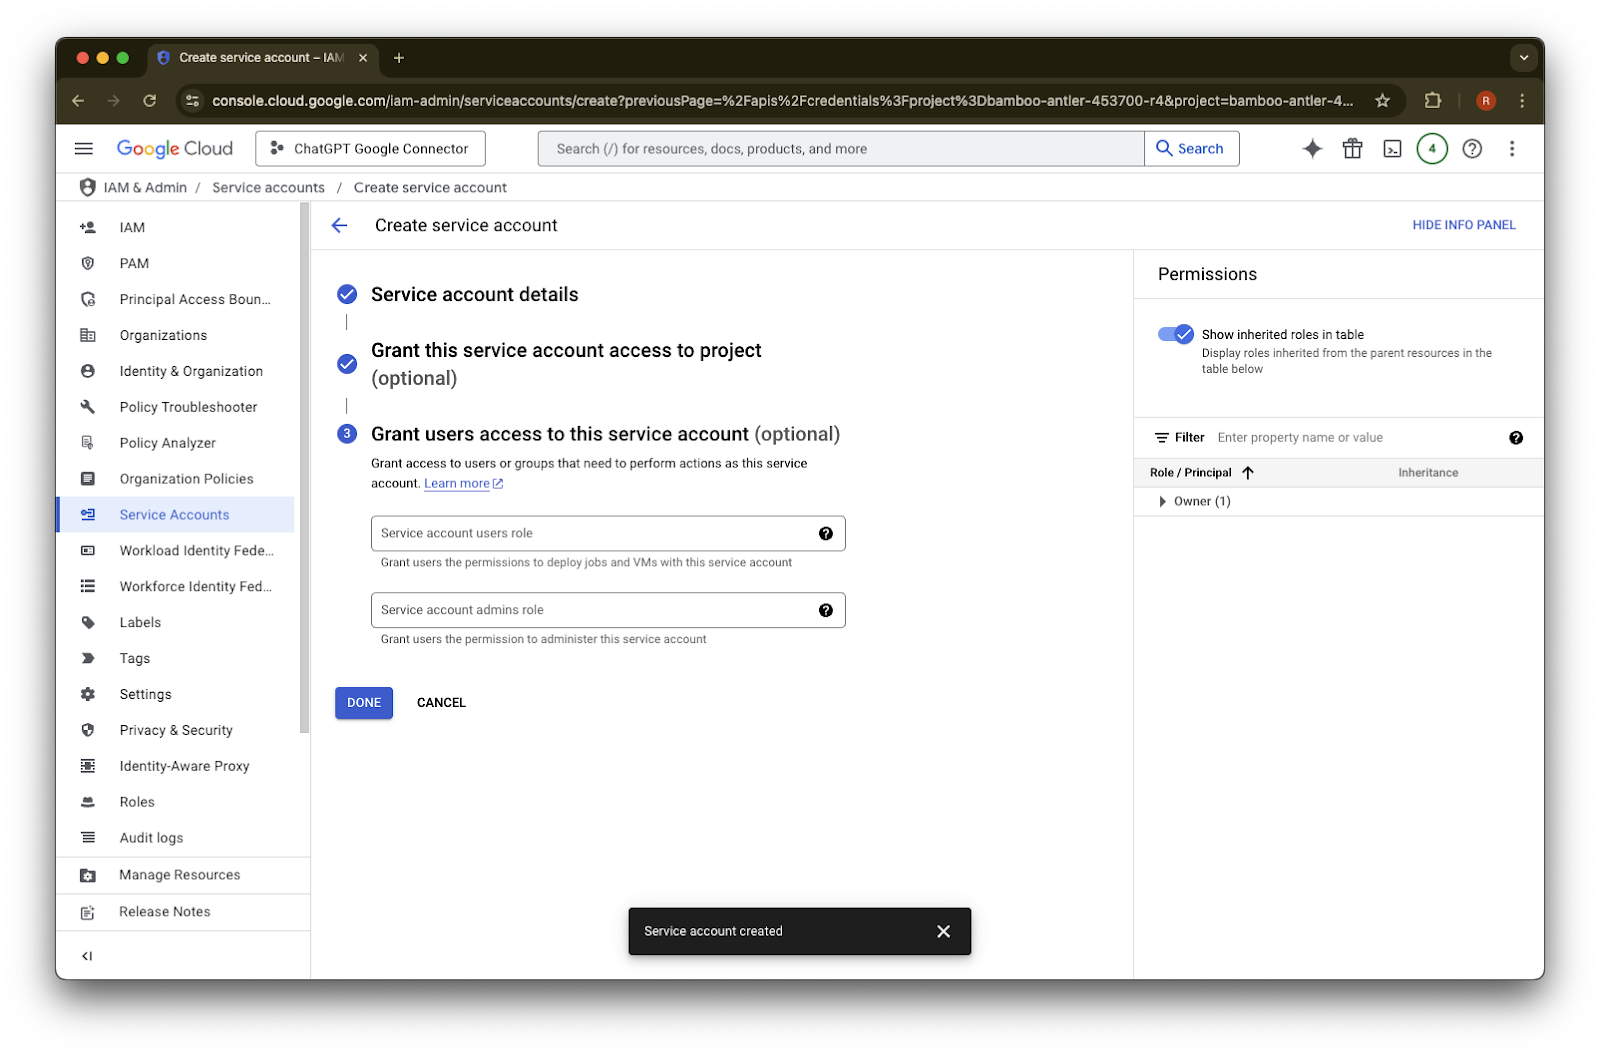
Provide a name and description of your choice for this service account
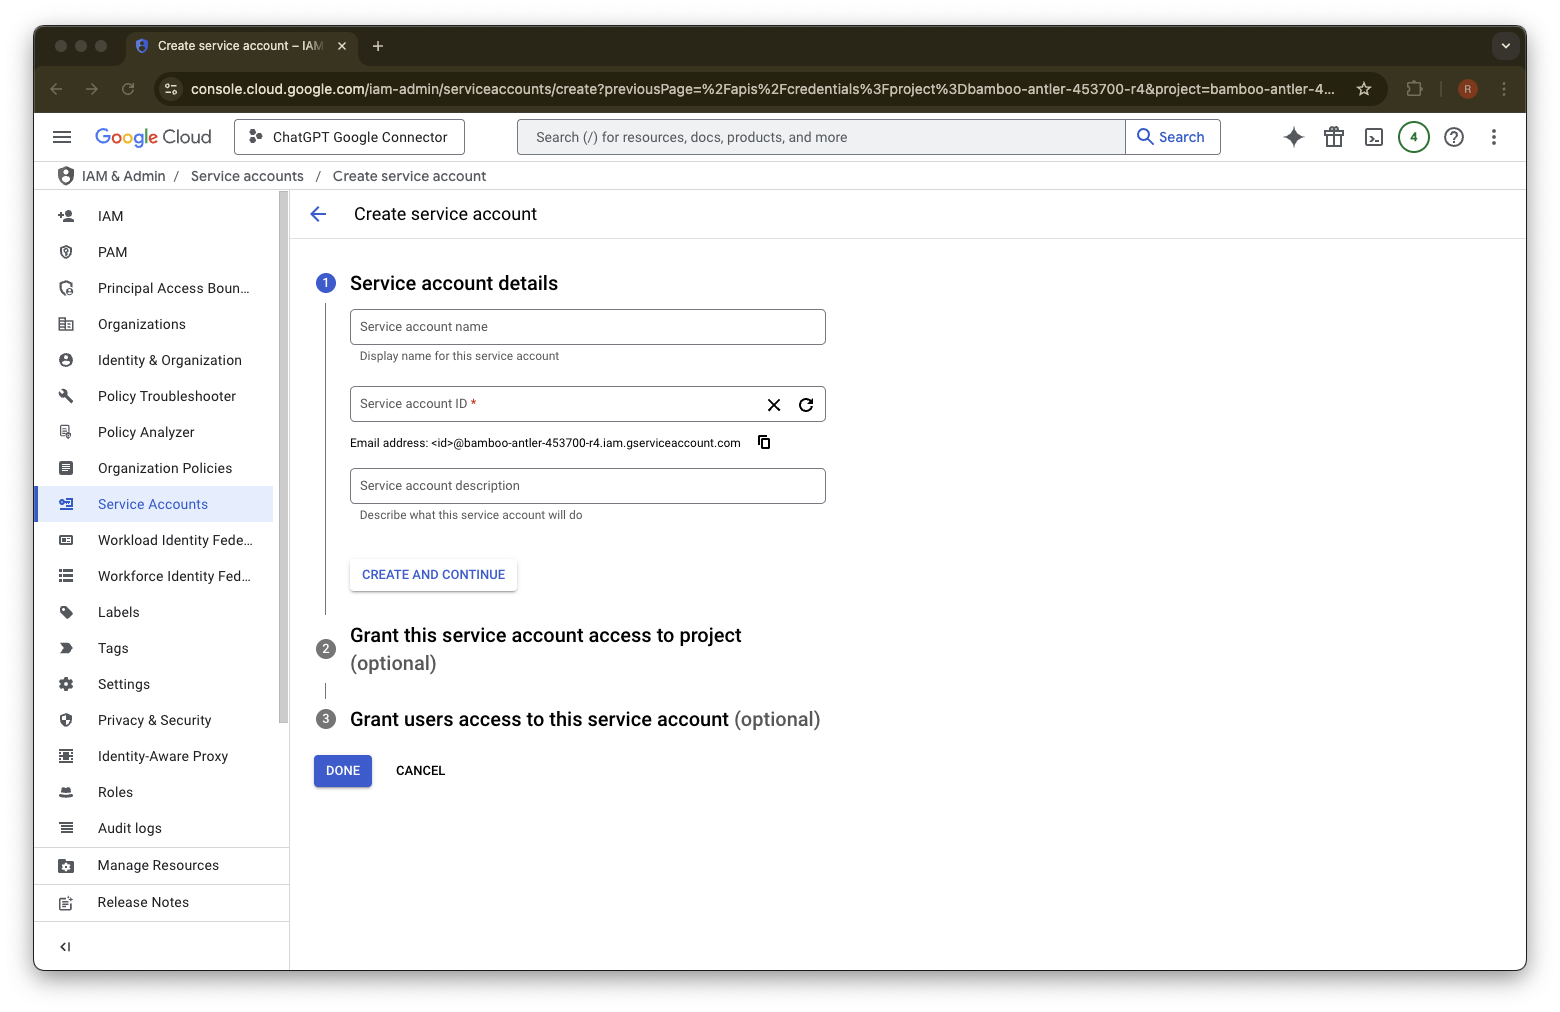
(Optional) You can assign a role - this is not required by ChatGPT.
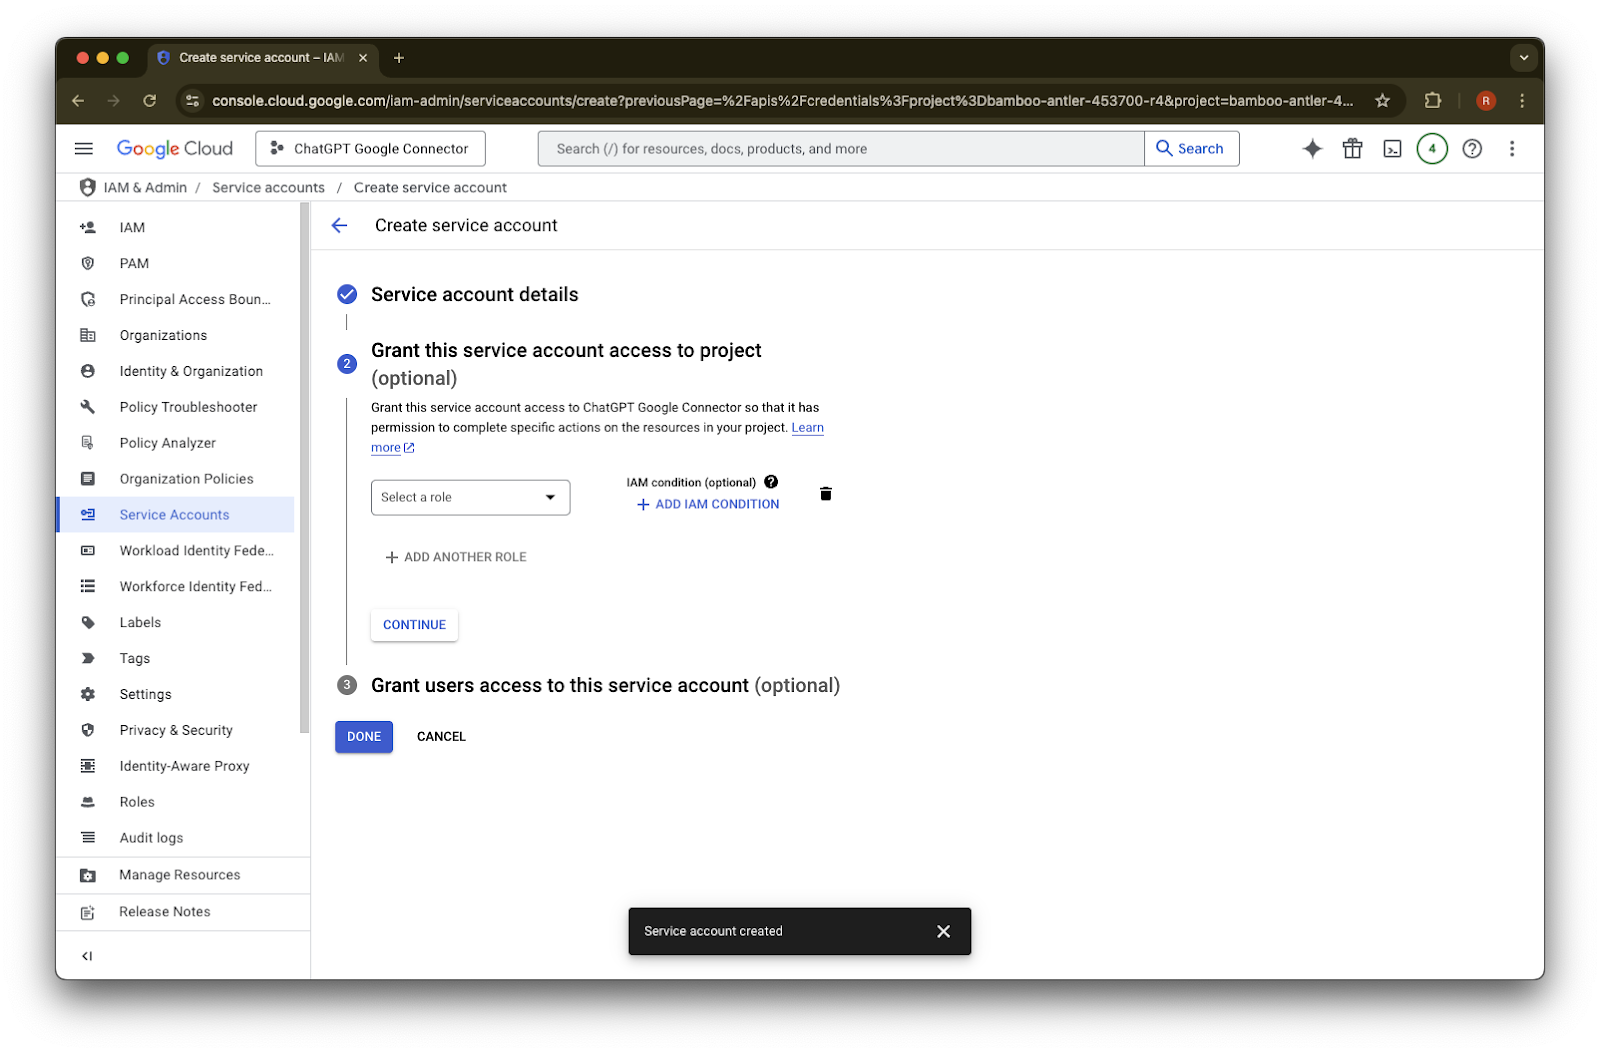
(Optional) You can grant access to the service account - this is not required by ChatGPT.

Click Done.
Click on the service account which has now been created.
Click on keys.
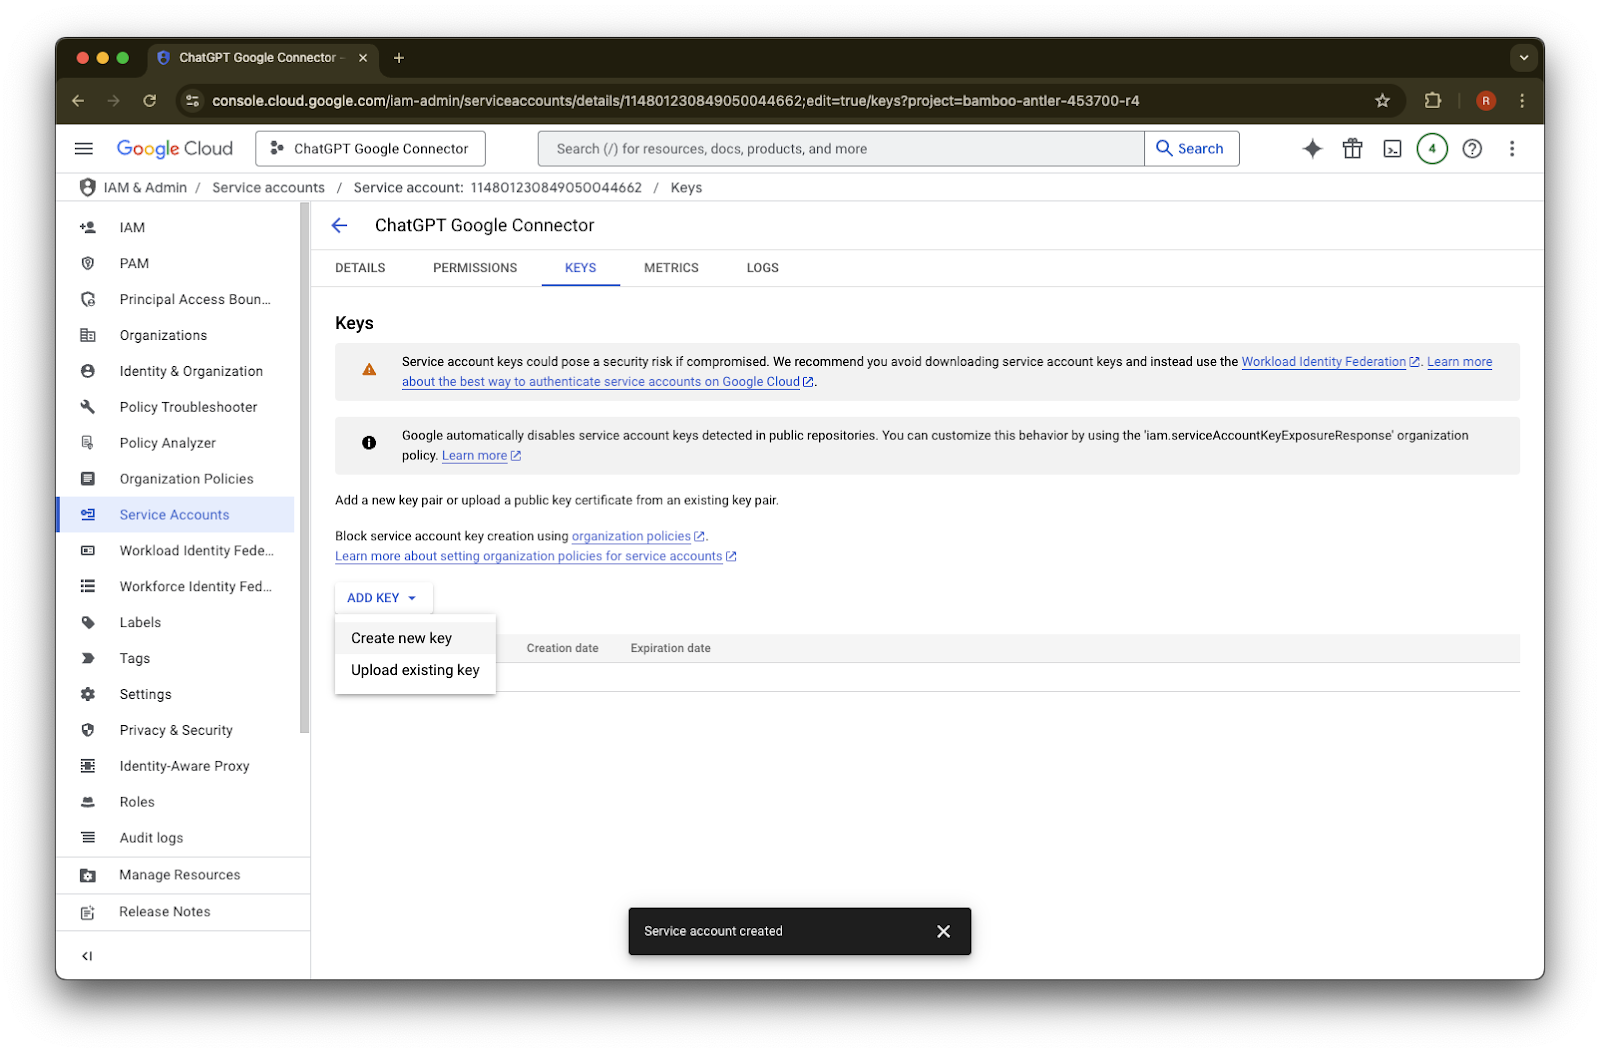
Click on Add Key
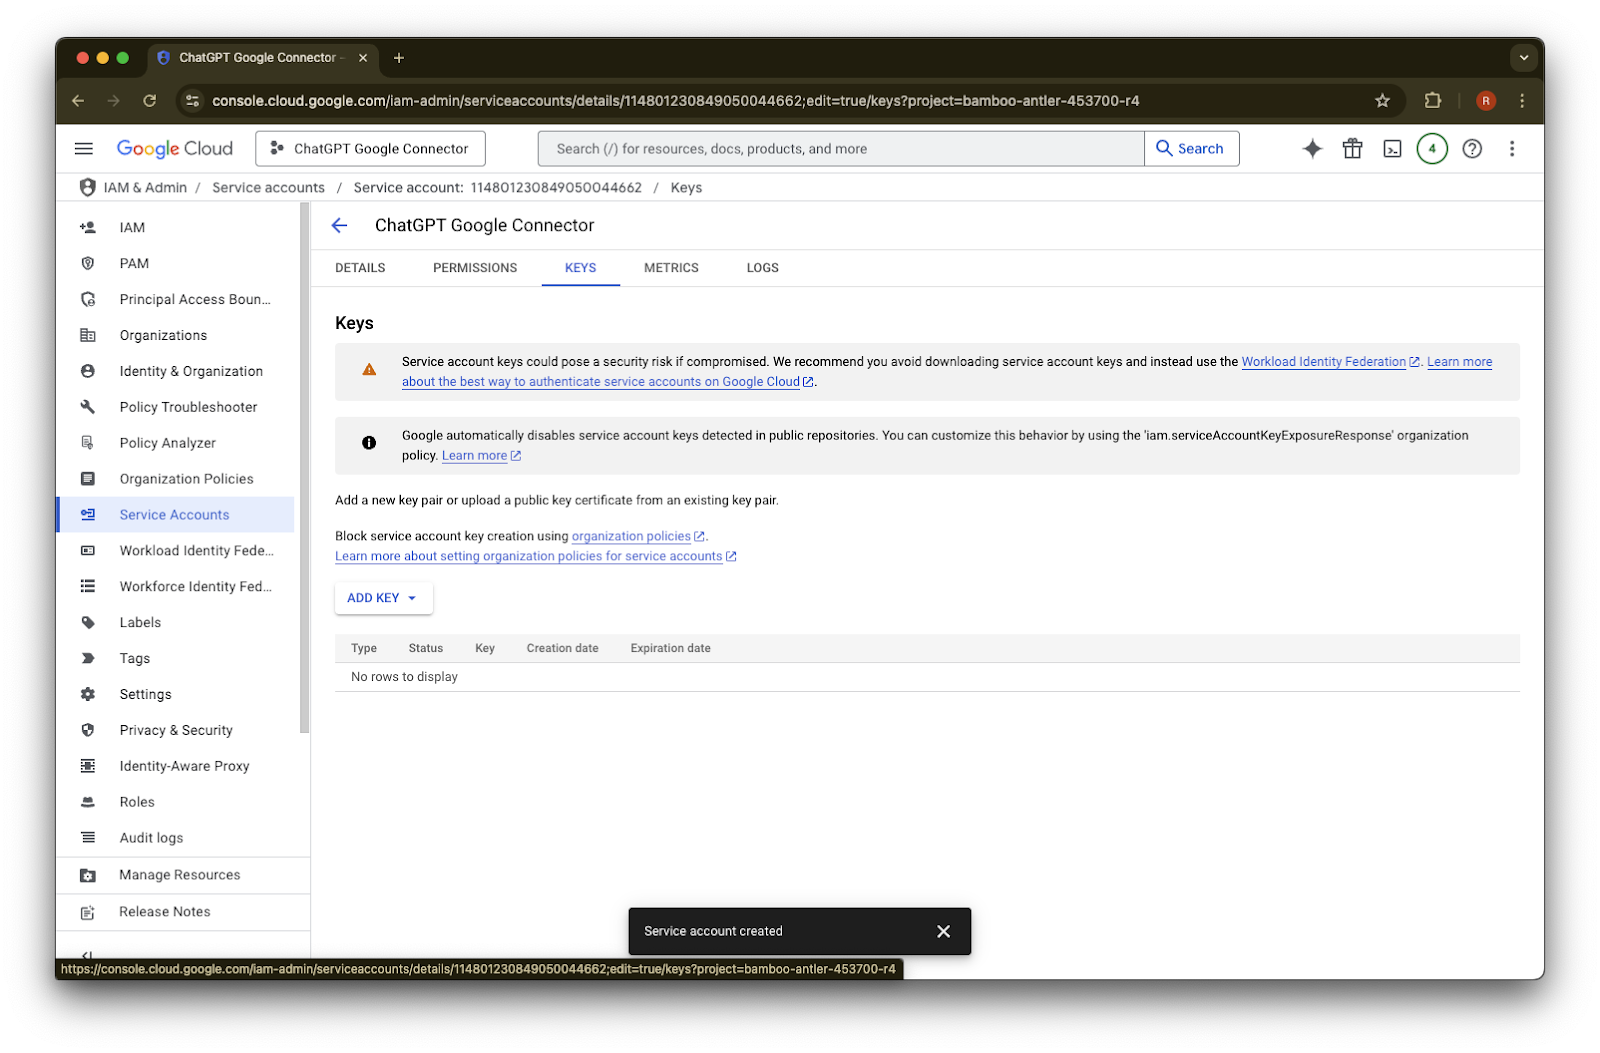
Click on Create new key
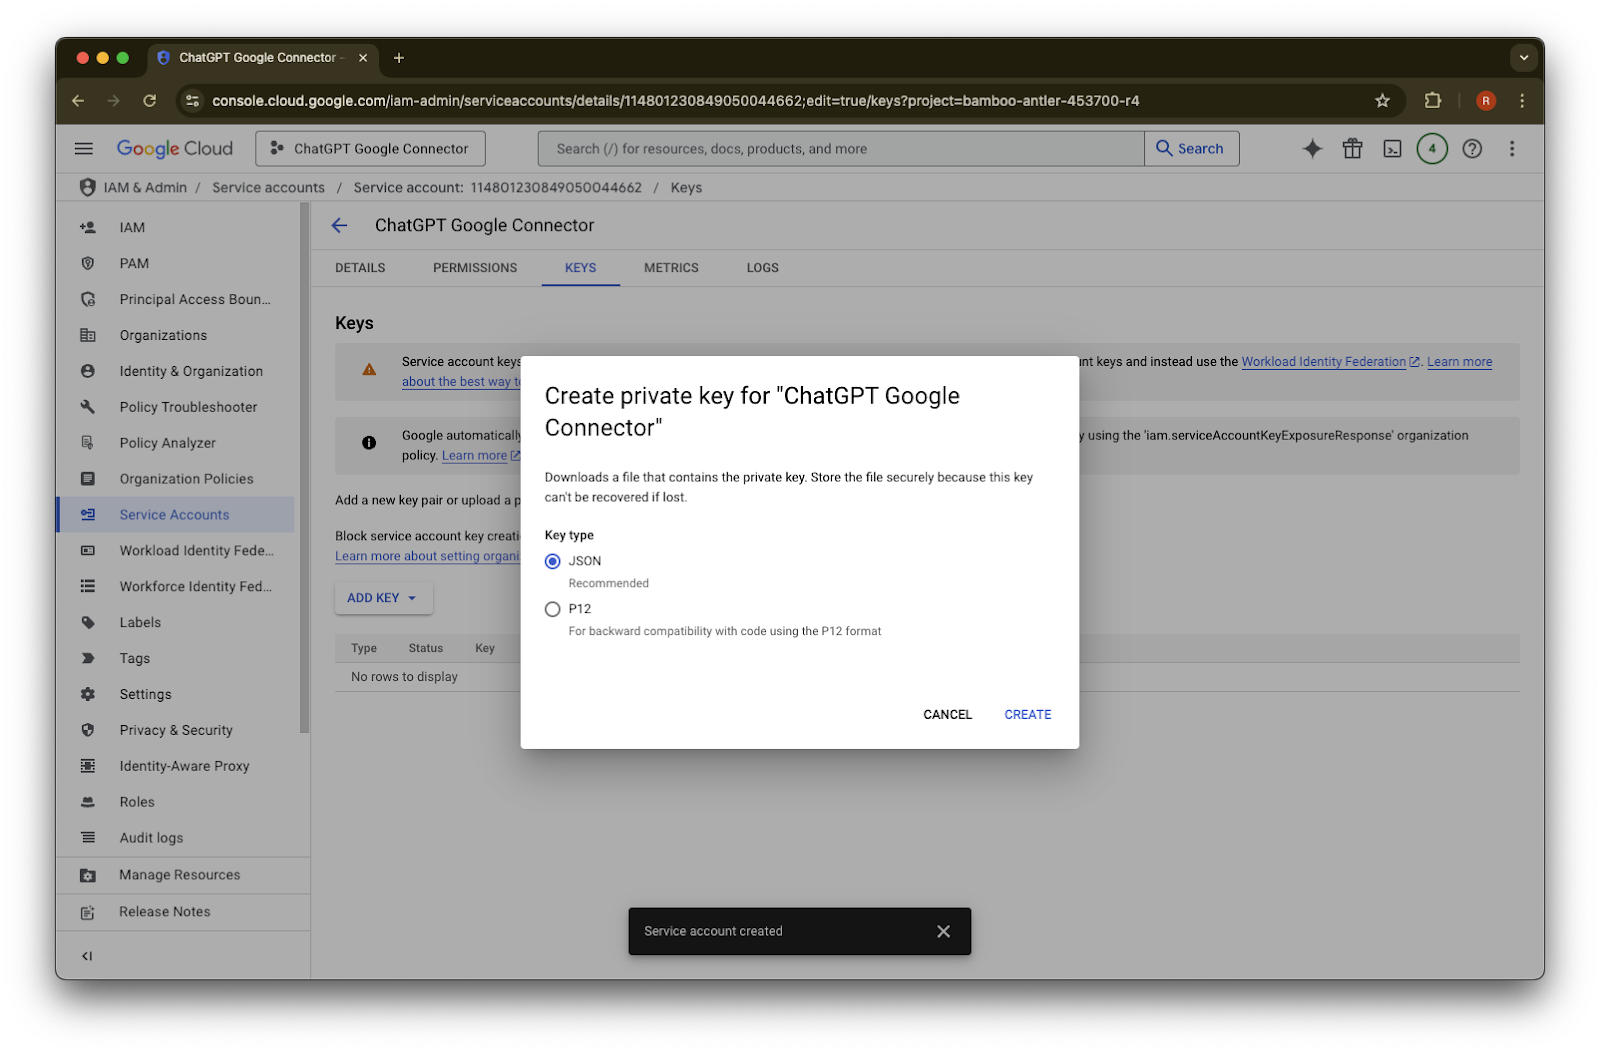
Keep the default JSON key type and click Create
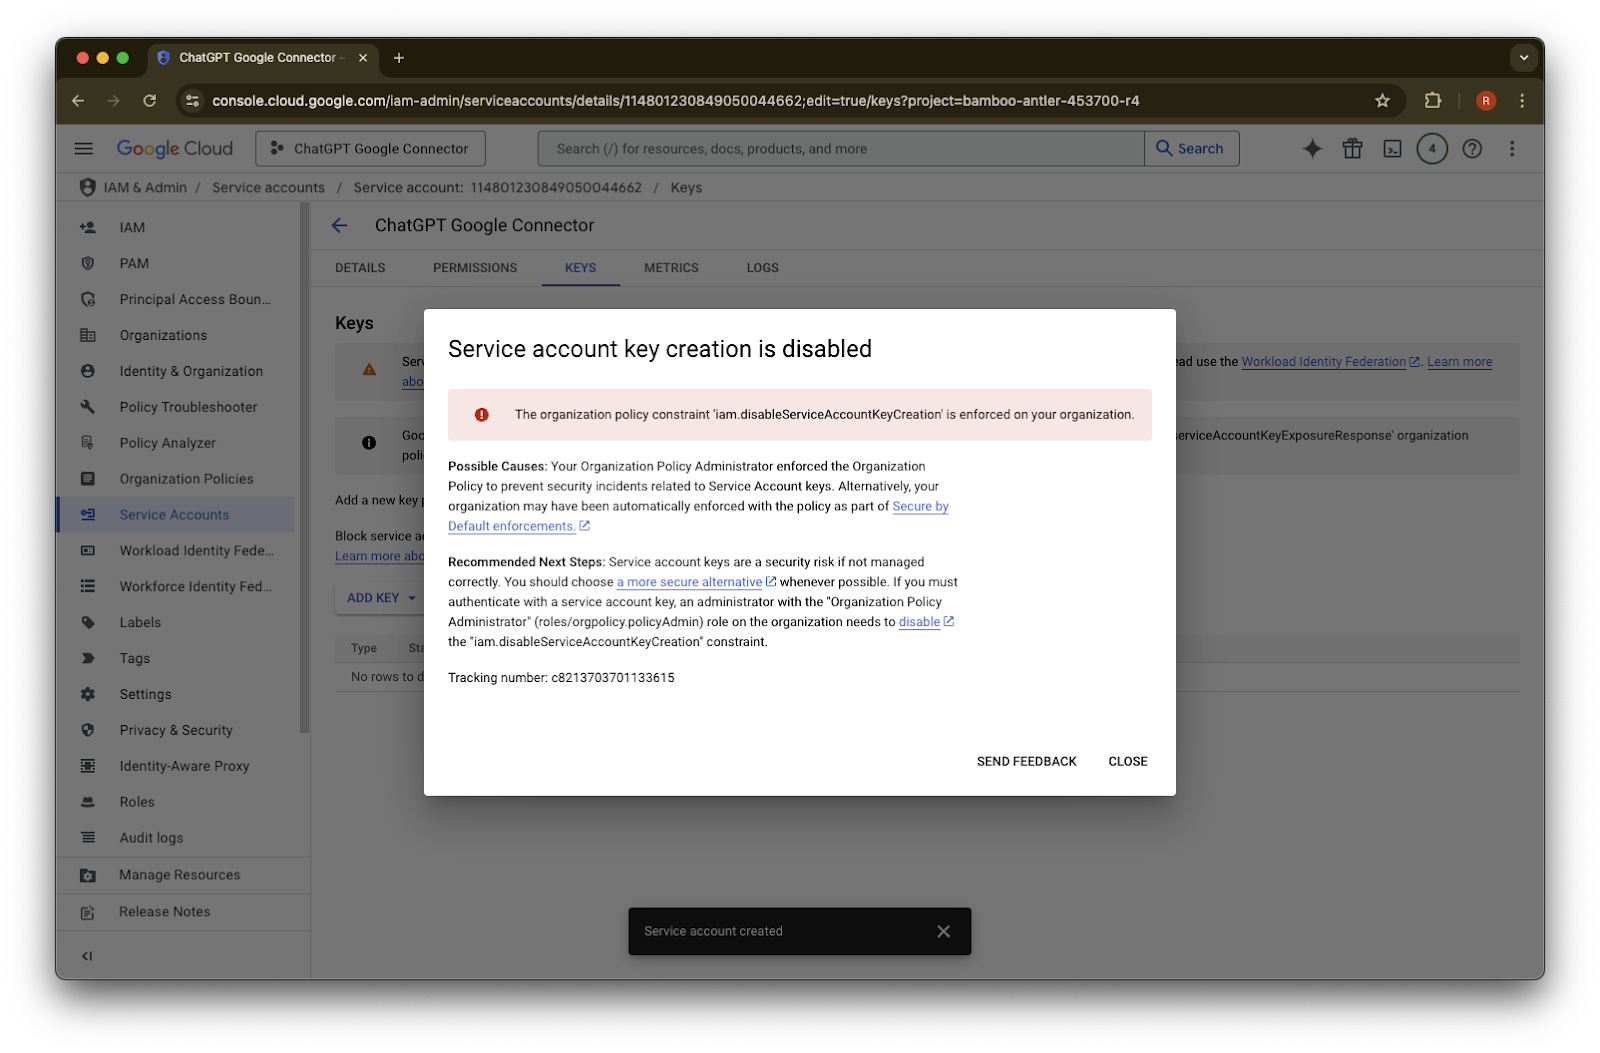
If you see an error message that says “Service account key creation is disabled” follow these steps to enable creation.
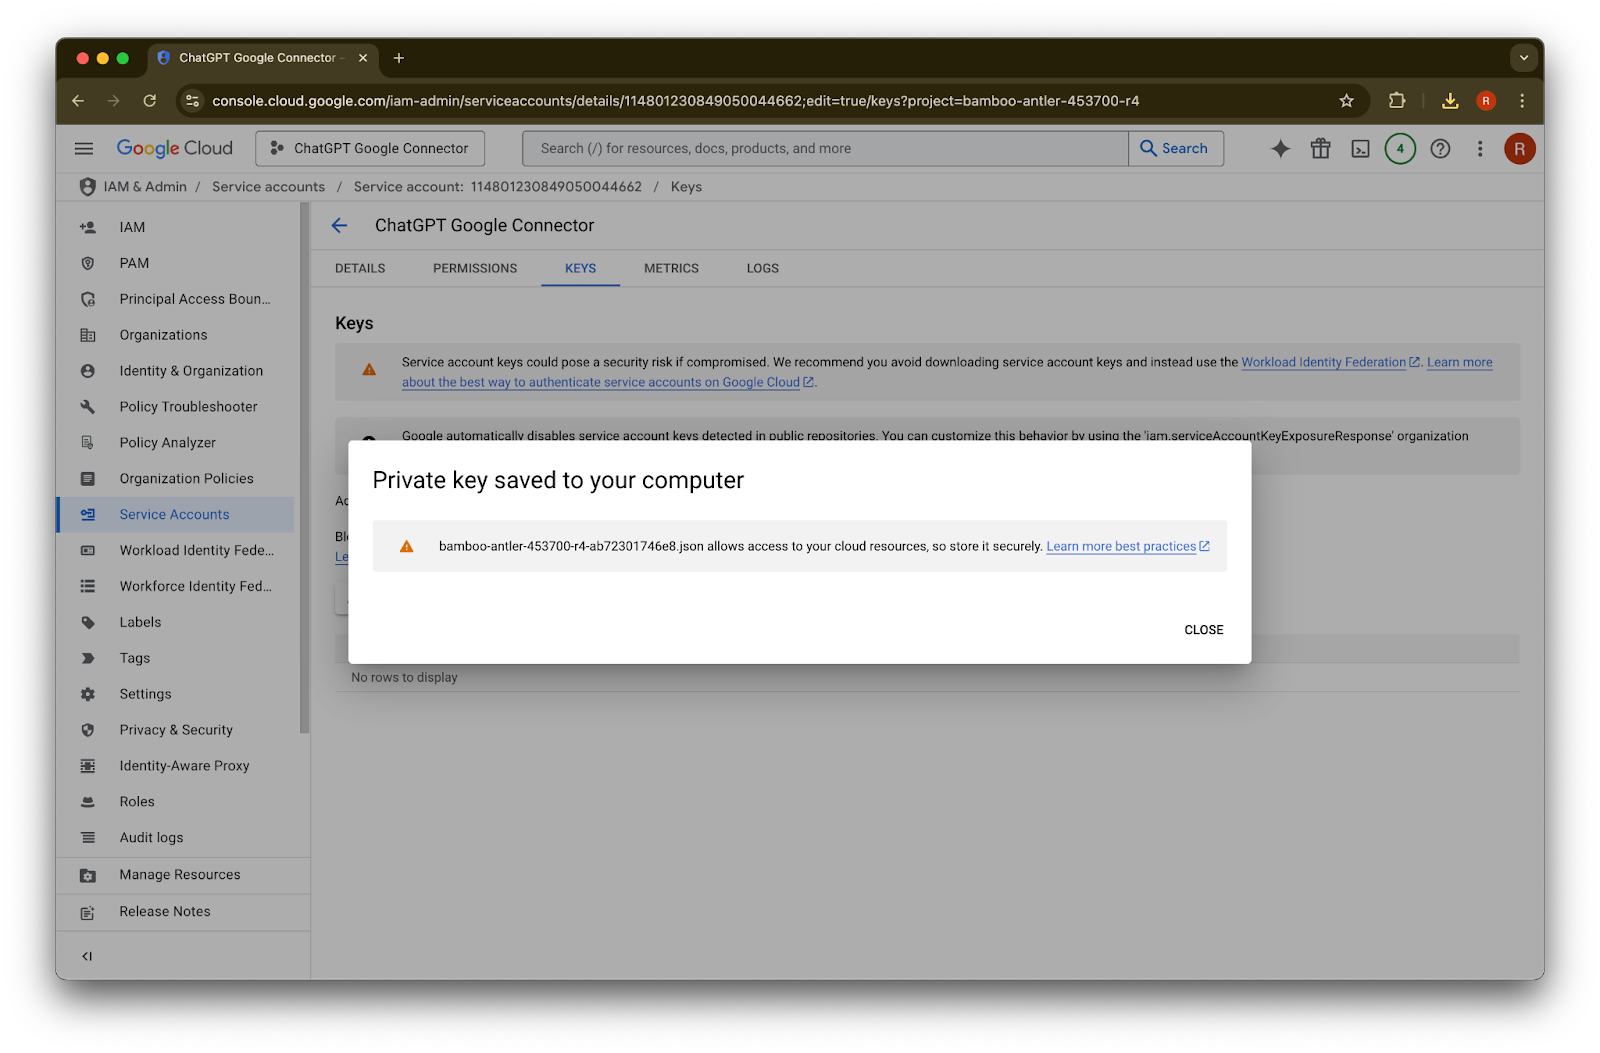
Click Close. The key has now been downloaded to your computer. You will later upload this to the ChatGPT admin console.
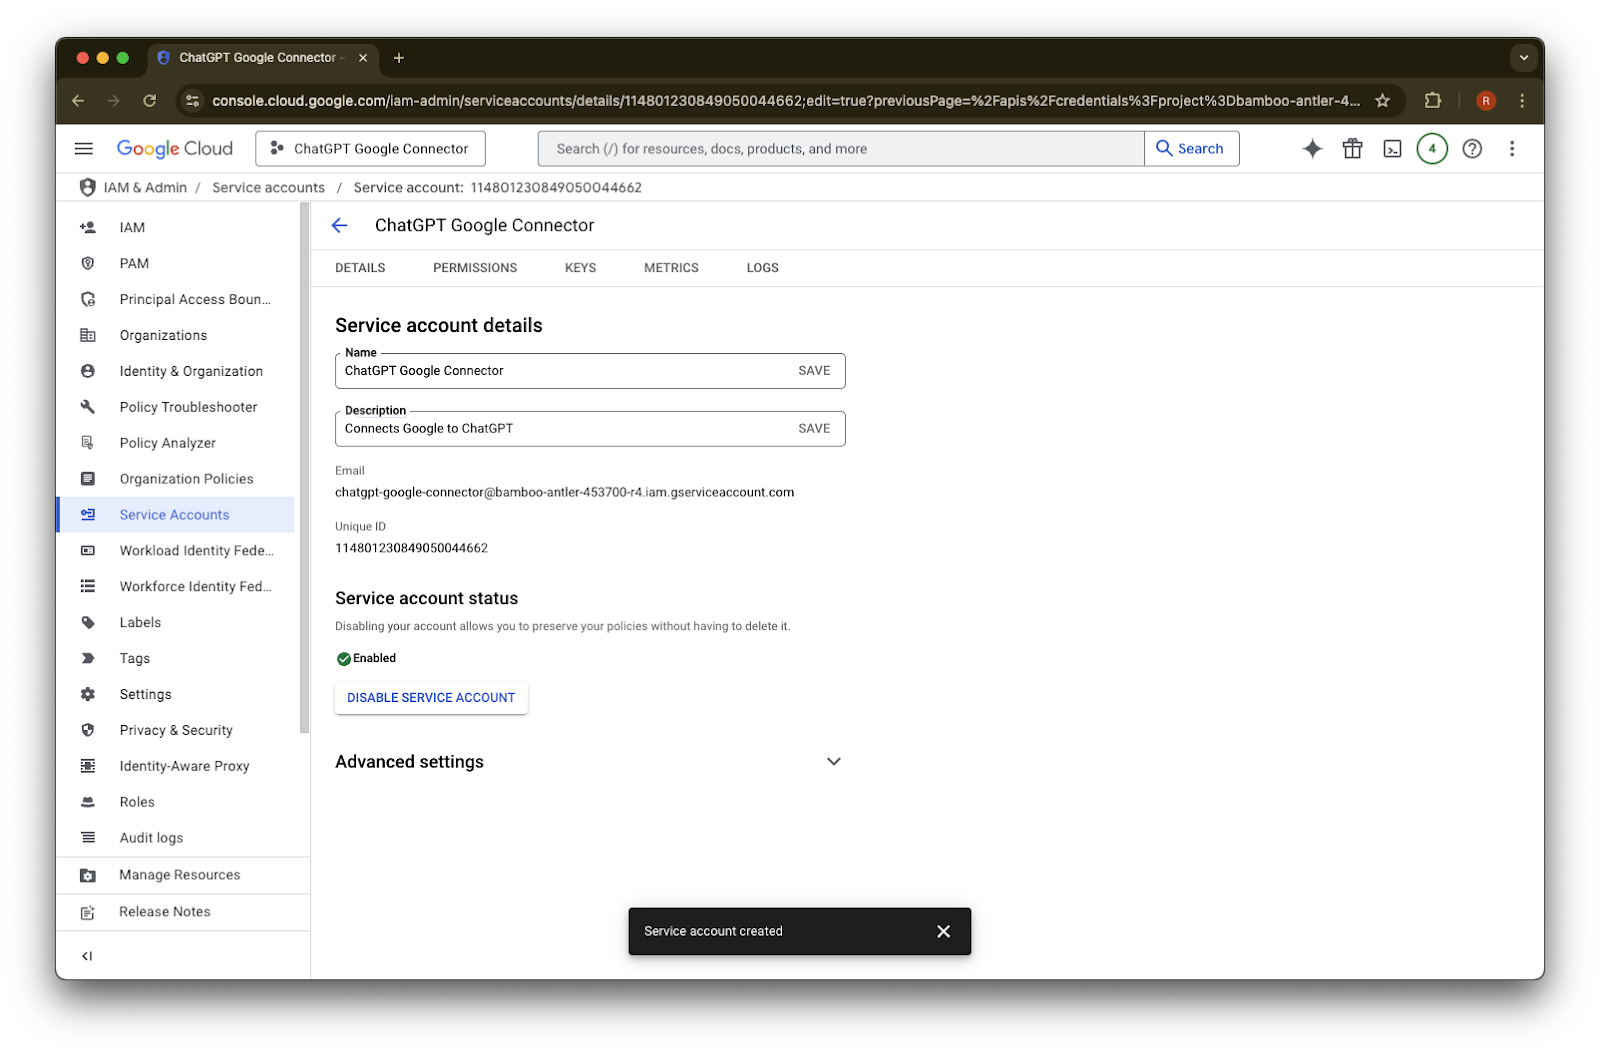
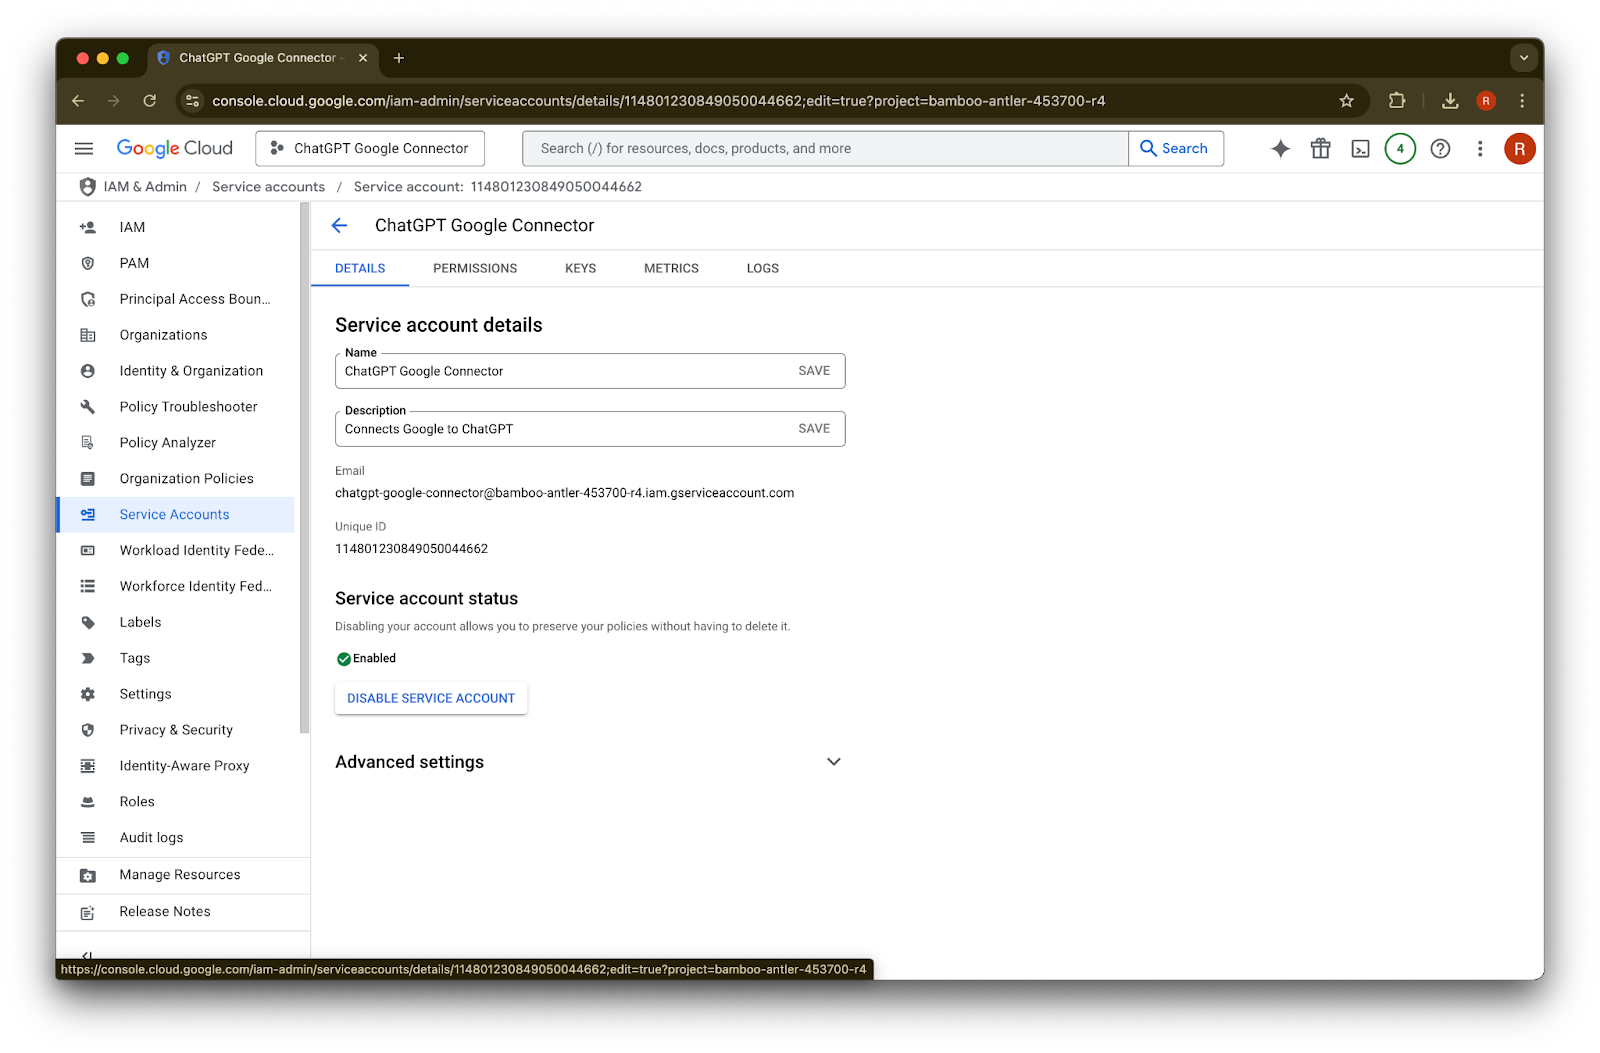
Click on details
Note that the Unique ID. This will be needed in Step 42.
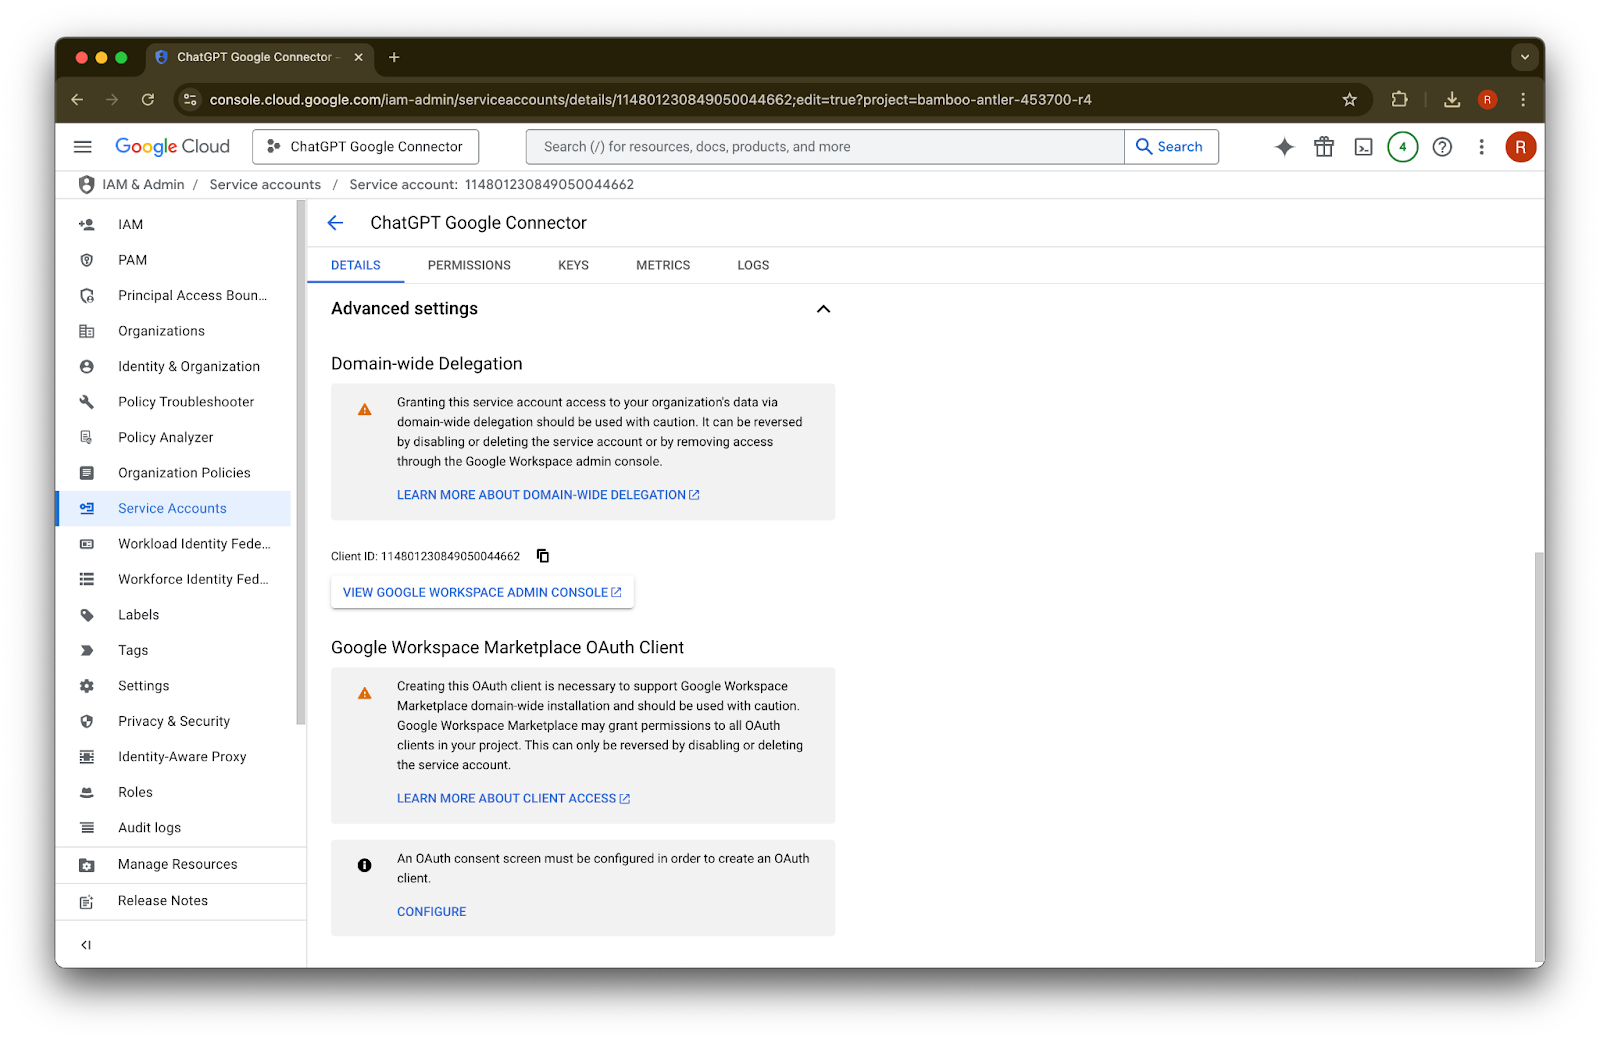
Expand Advanced settings

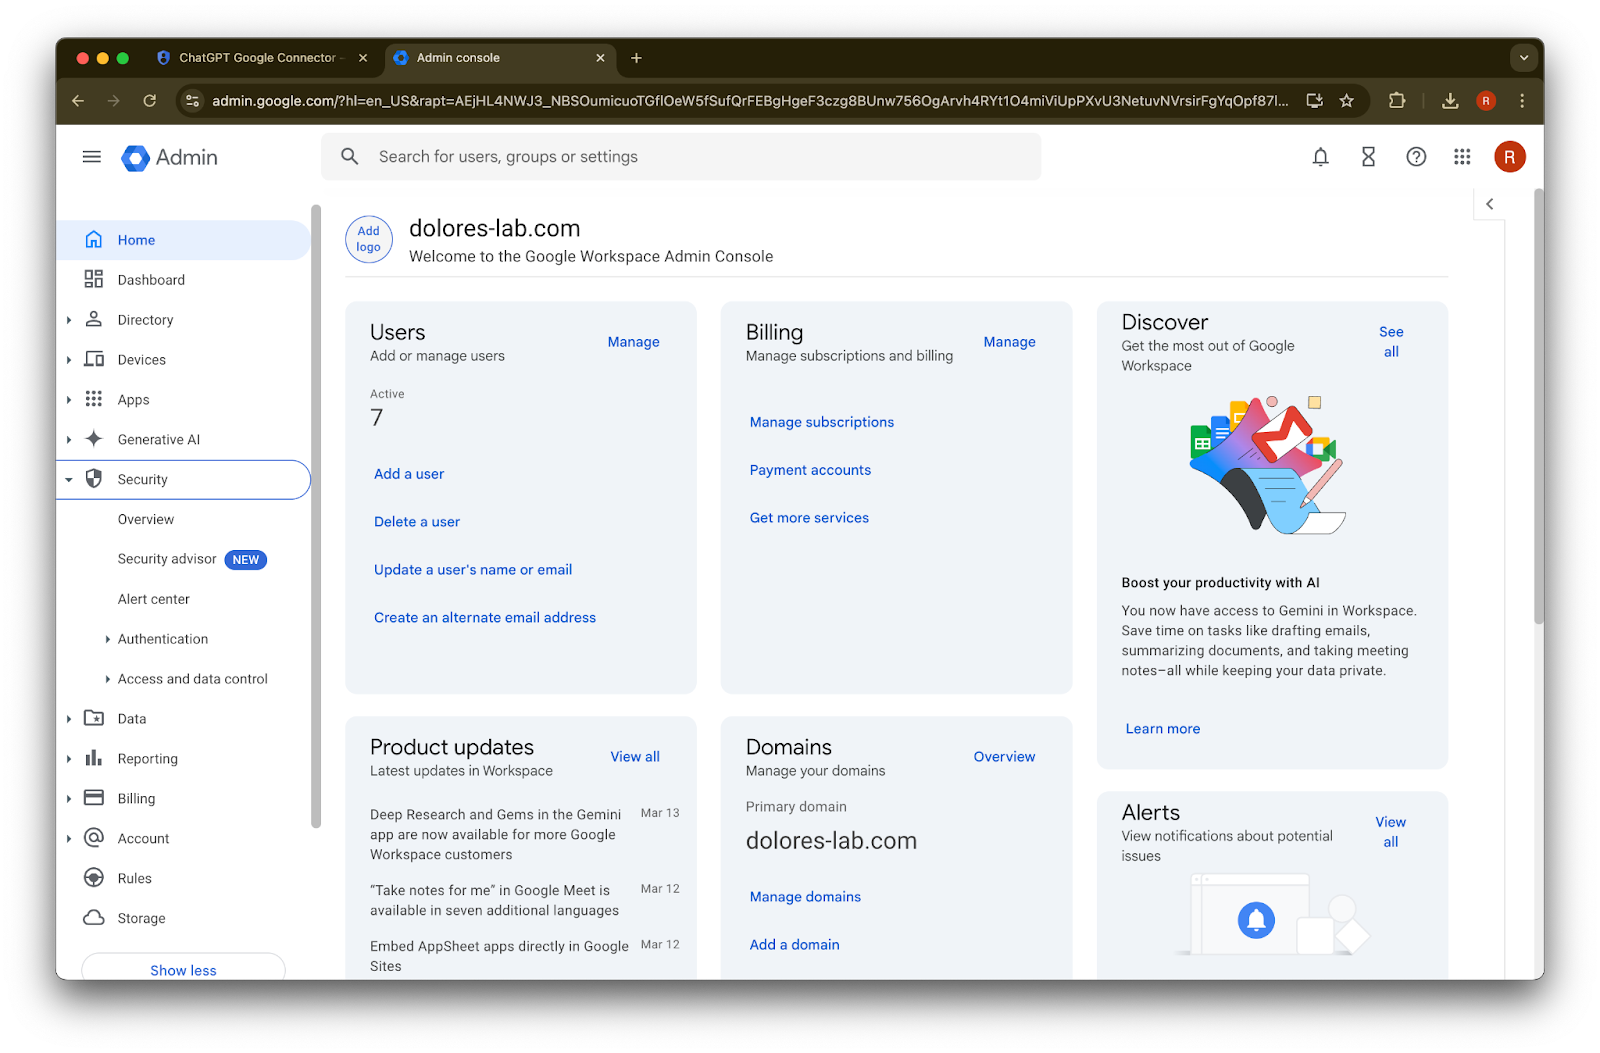
Scroll down and click on View Google Workspace Admin Console. The Google Workspace console will open in a new tab.
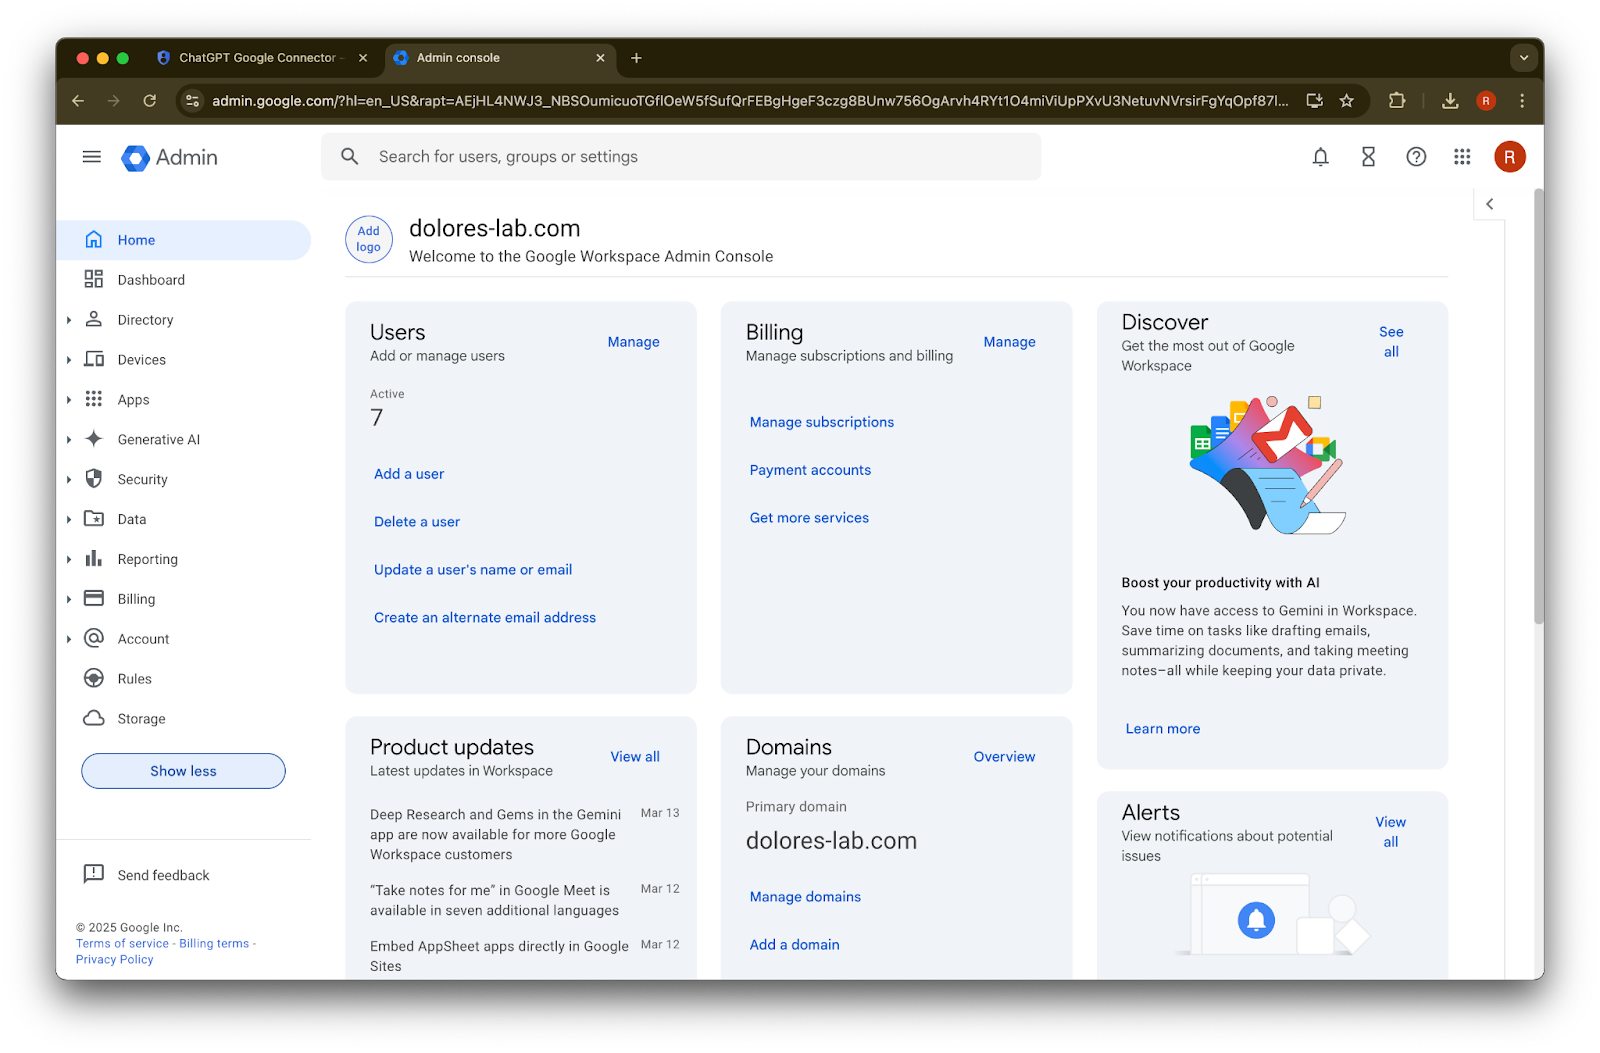
Click Show more
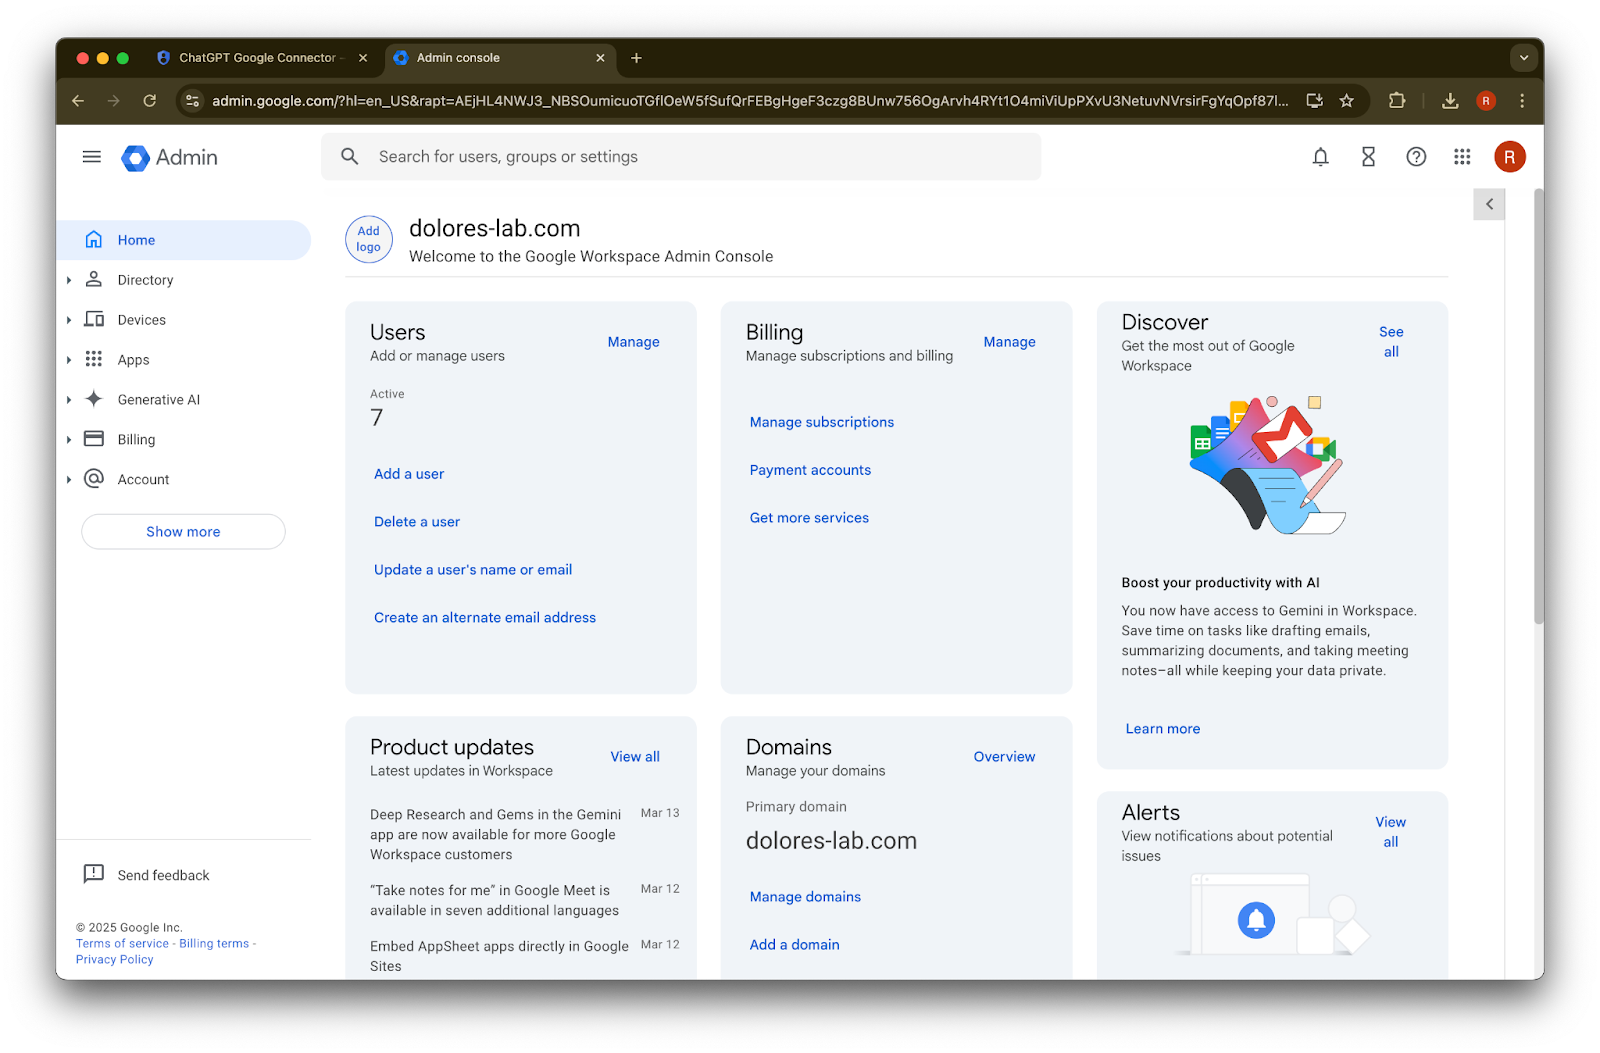
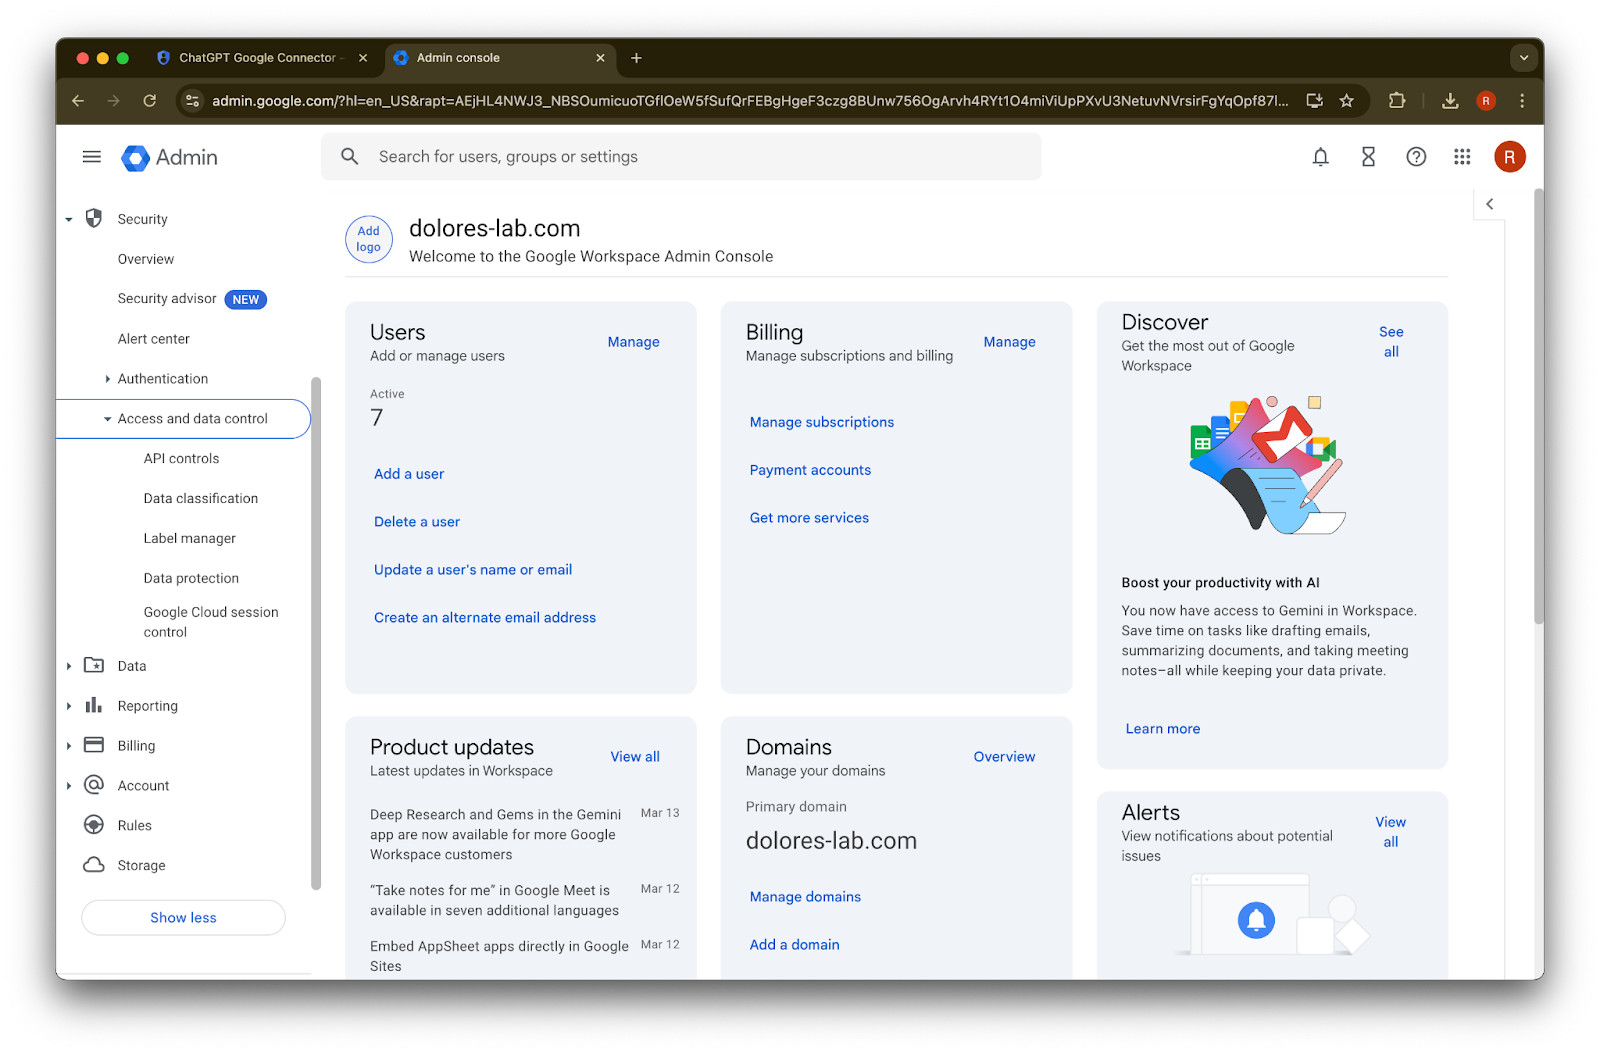
Expand the Security section
Expand the Access and data controls section
Click on the API controls section
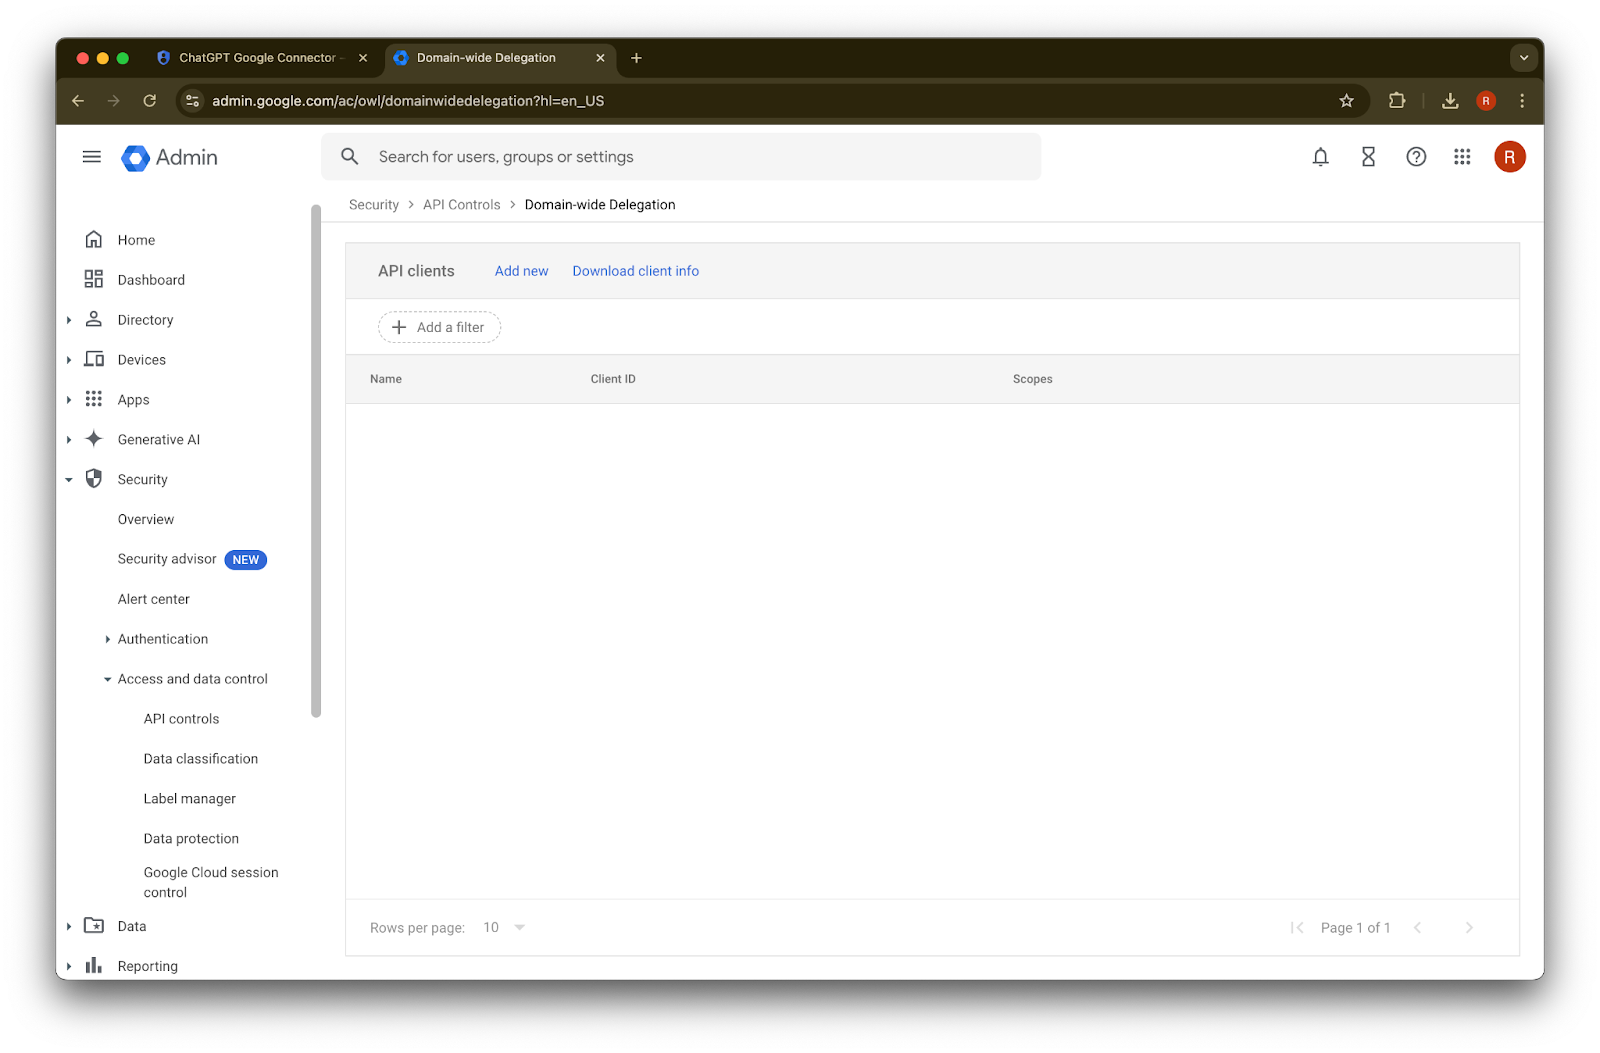
Click on Manage Domain Wide Delegation

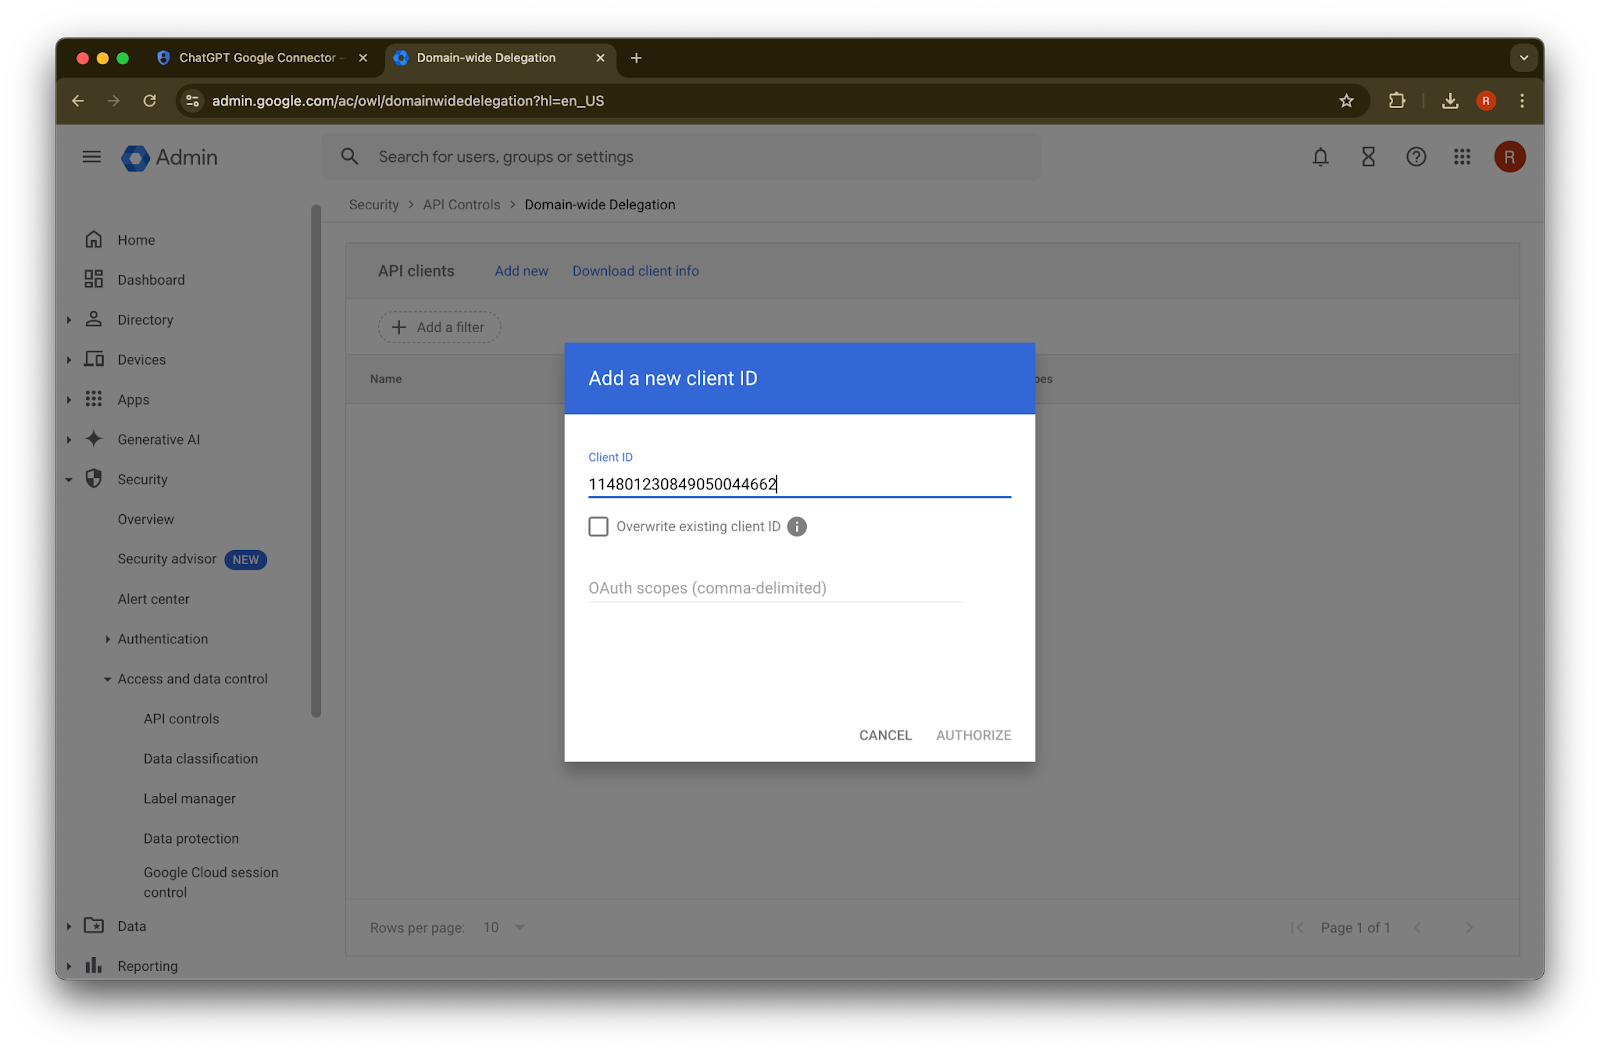
Click on Add new
Use the Unique ID previously noted as the value for this Client ID
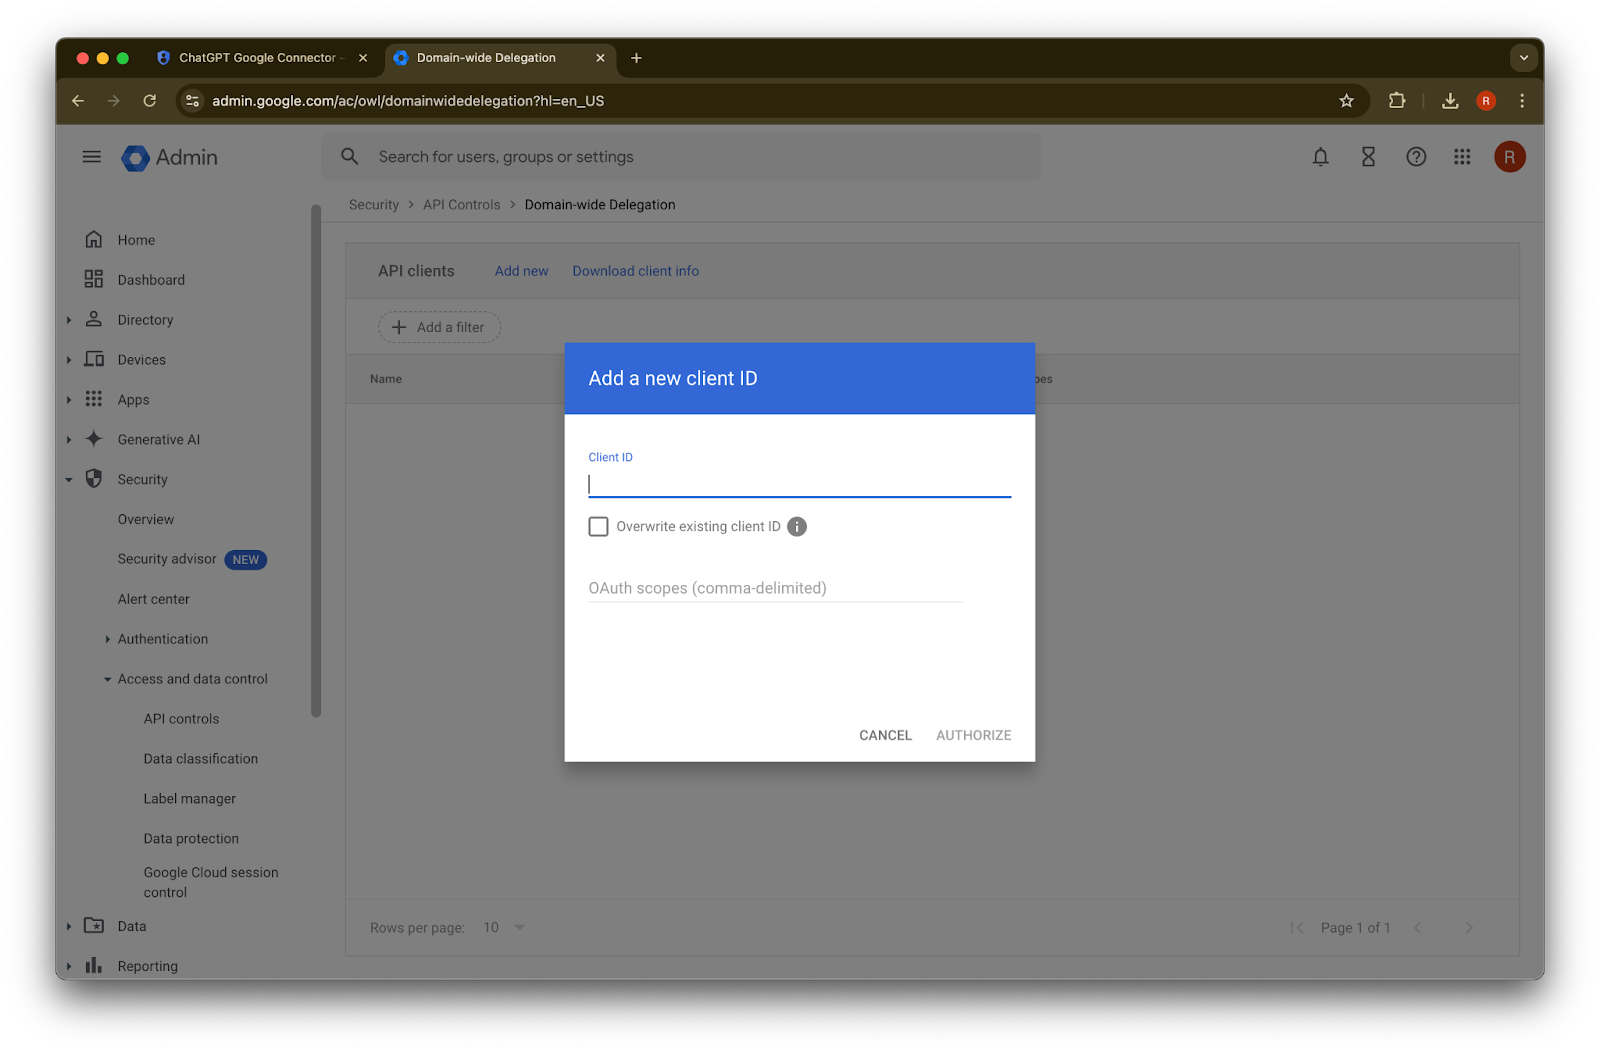
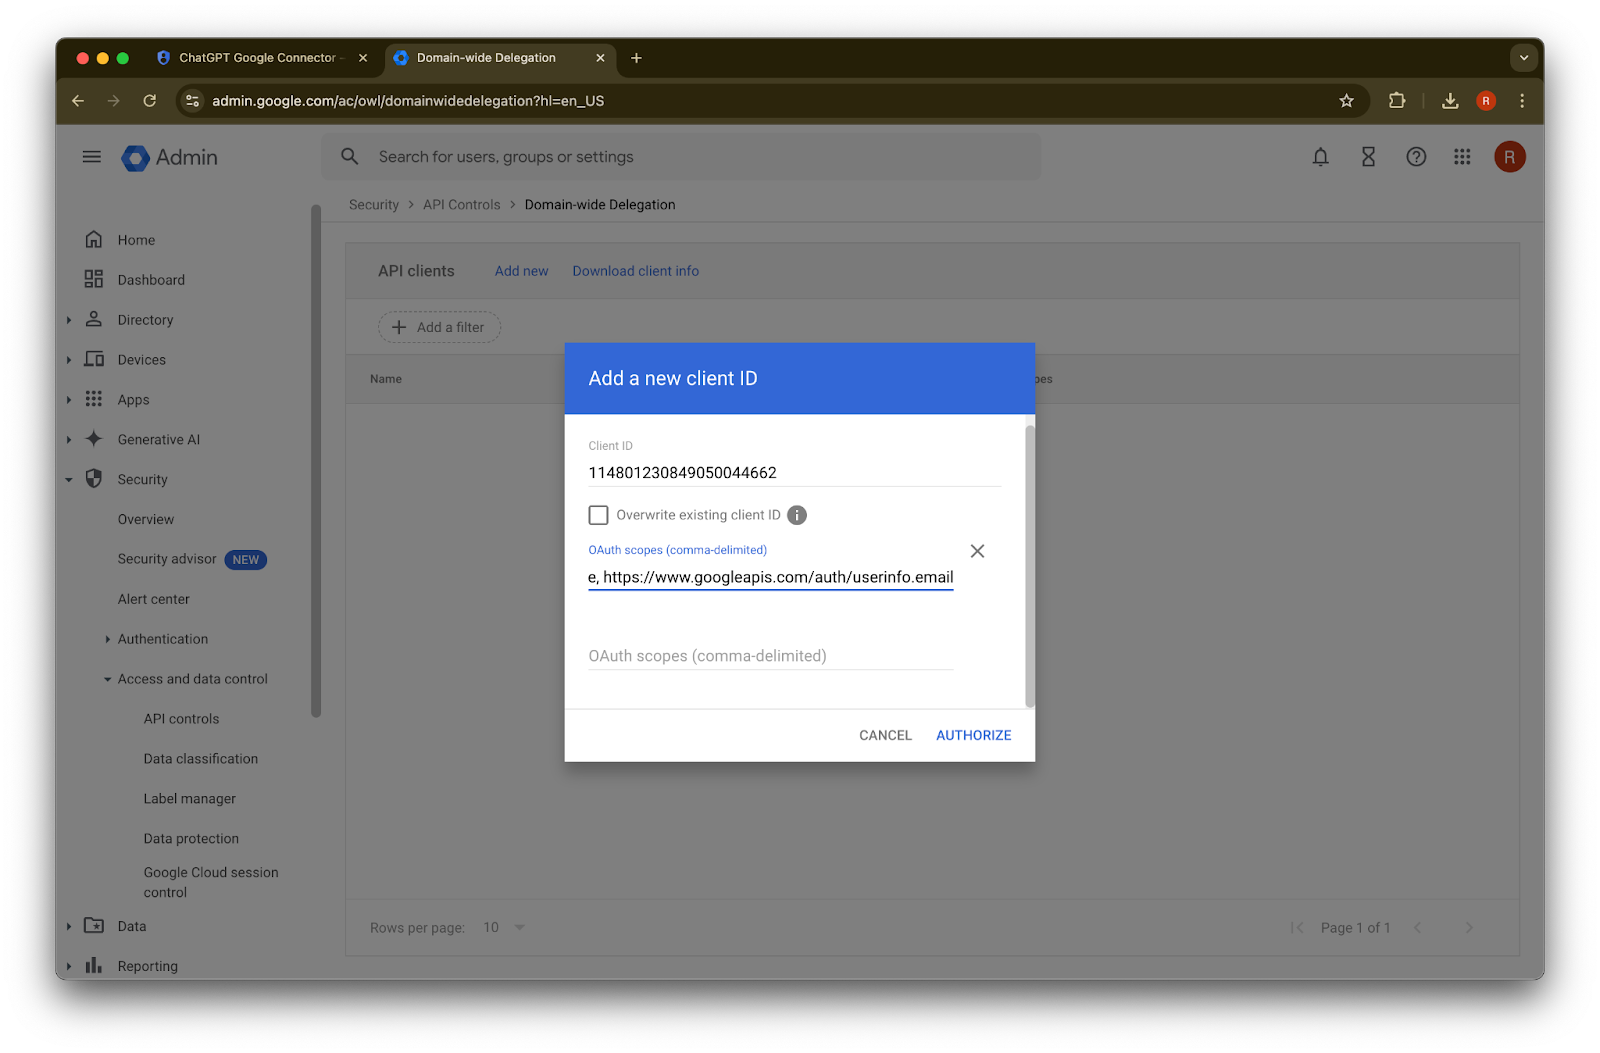
For the OAuth scopes, refer to the following comma de-limited auth scopes values that you'll need to copy and paste:
https://www.googleapis.com/auth/admin.directory.group.readonly, https://www.googleapis.com/auth/admin.directory.group.member.readonly, https://www.googleapis.com/auth/admin.directory.user.readonly, https://www.googleapis.com/auth/admin.directory.user.alias.readonly, https://www.googleapis.com/auth/drive.activity.readonly, https://www.googleapis.com/auth/drive.metadata.readonly, https://www.googleapis.com/auth/drive.readonly, https://www.googleapis.com/auth/userinfo.profile, https://www.googleapis.com/auth/userinfo.email| Scope | Reasoning |
| admin.directory.group.readonly | enforce group-based permissions |
| admin.directory.group.member.readonly | enforce group-based permissions |
| admin.directory.user.alias.readonly | handle cases where the user is granted permission via an alias |
| drive.activity.readonly | to be notified when changes occur to files |
| drive.metadata.readonly | sync file content and associated metadata (ex. last modified date) |
| drive.readonly | sync file content and associated metadata (ex. last modified date) |
| userinfo.profile | determine the users for whom we’re syncing files |
| userinfo.email | determine the users for whom we’re syncing files |
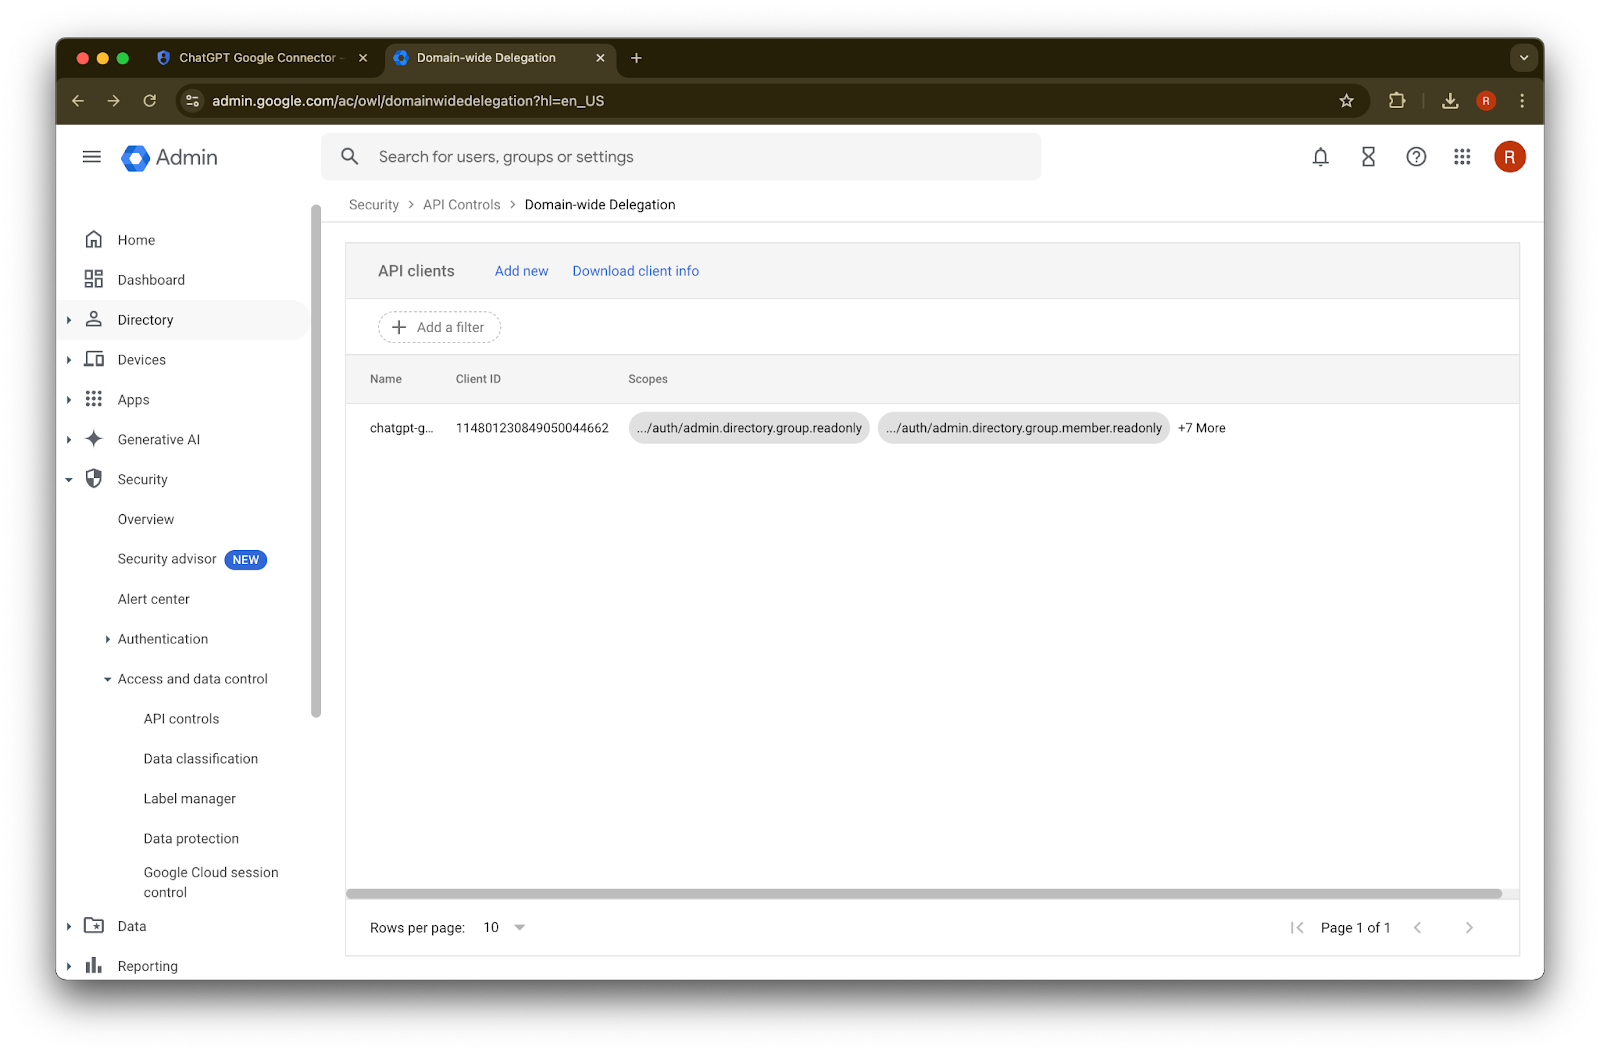
45. Click Authorize
46. Success!
Setting up the Admin Account
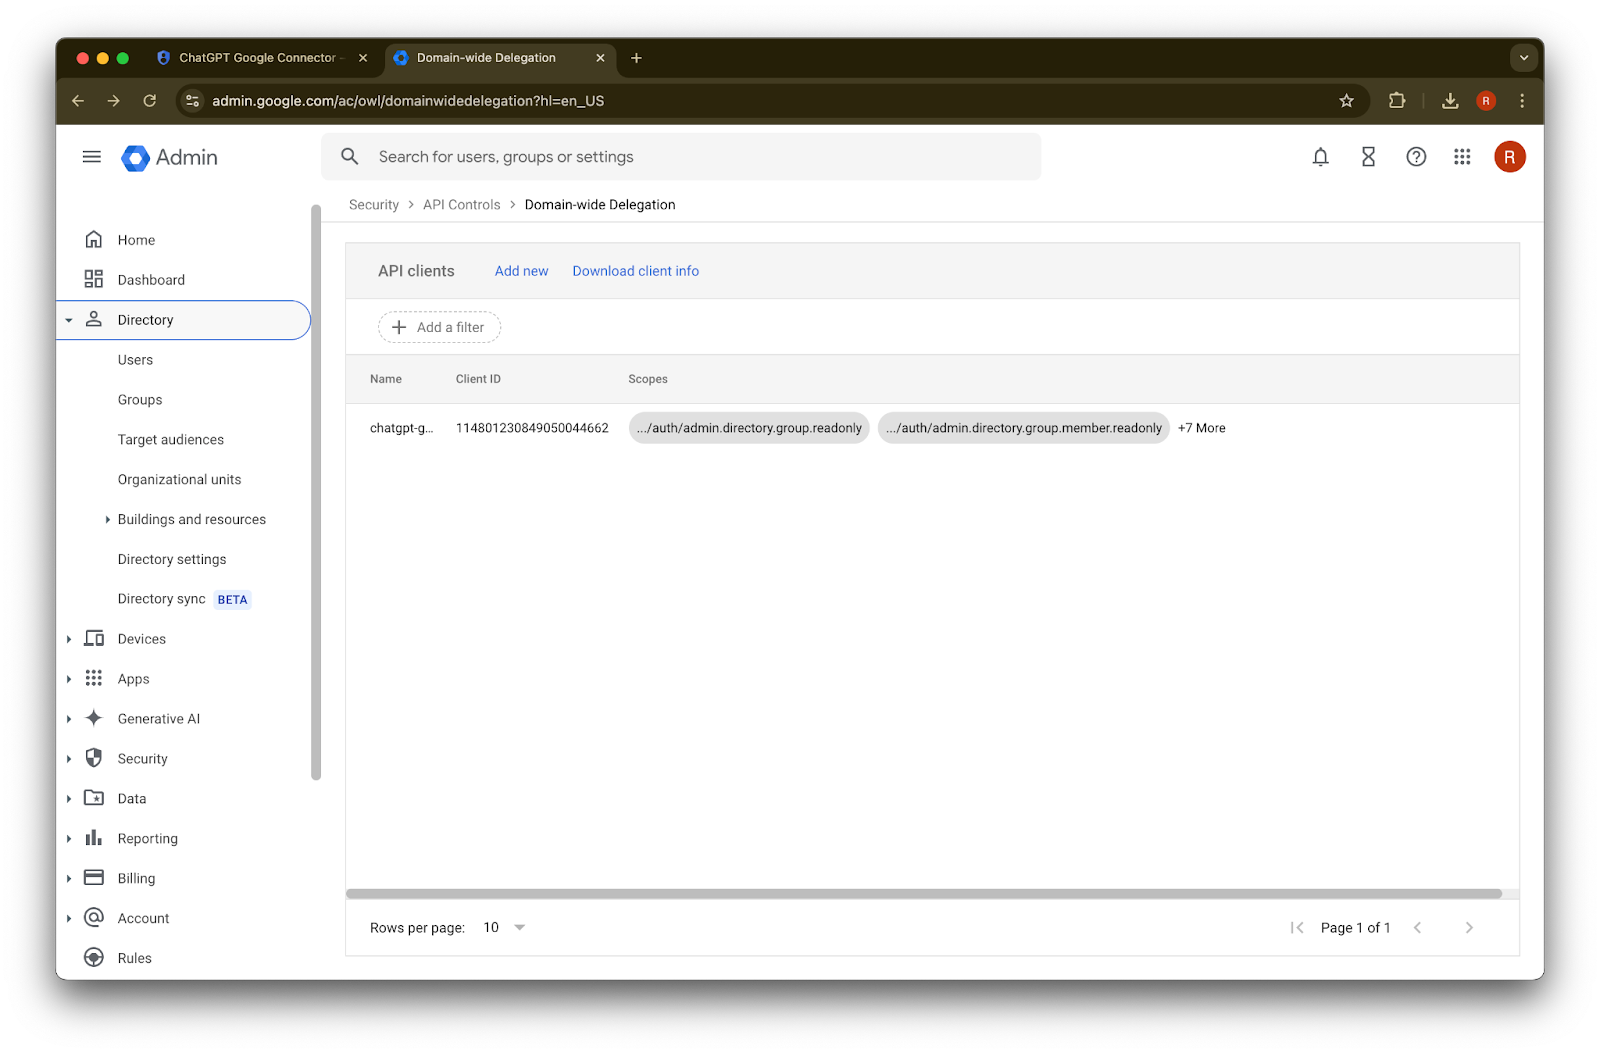
Expand Directory

Click on Users
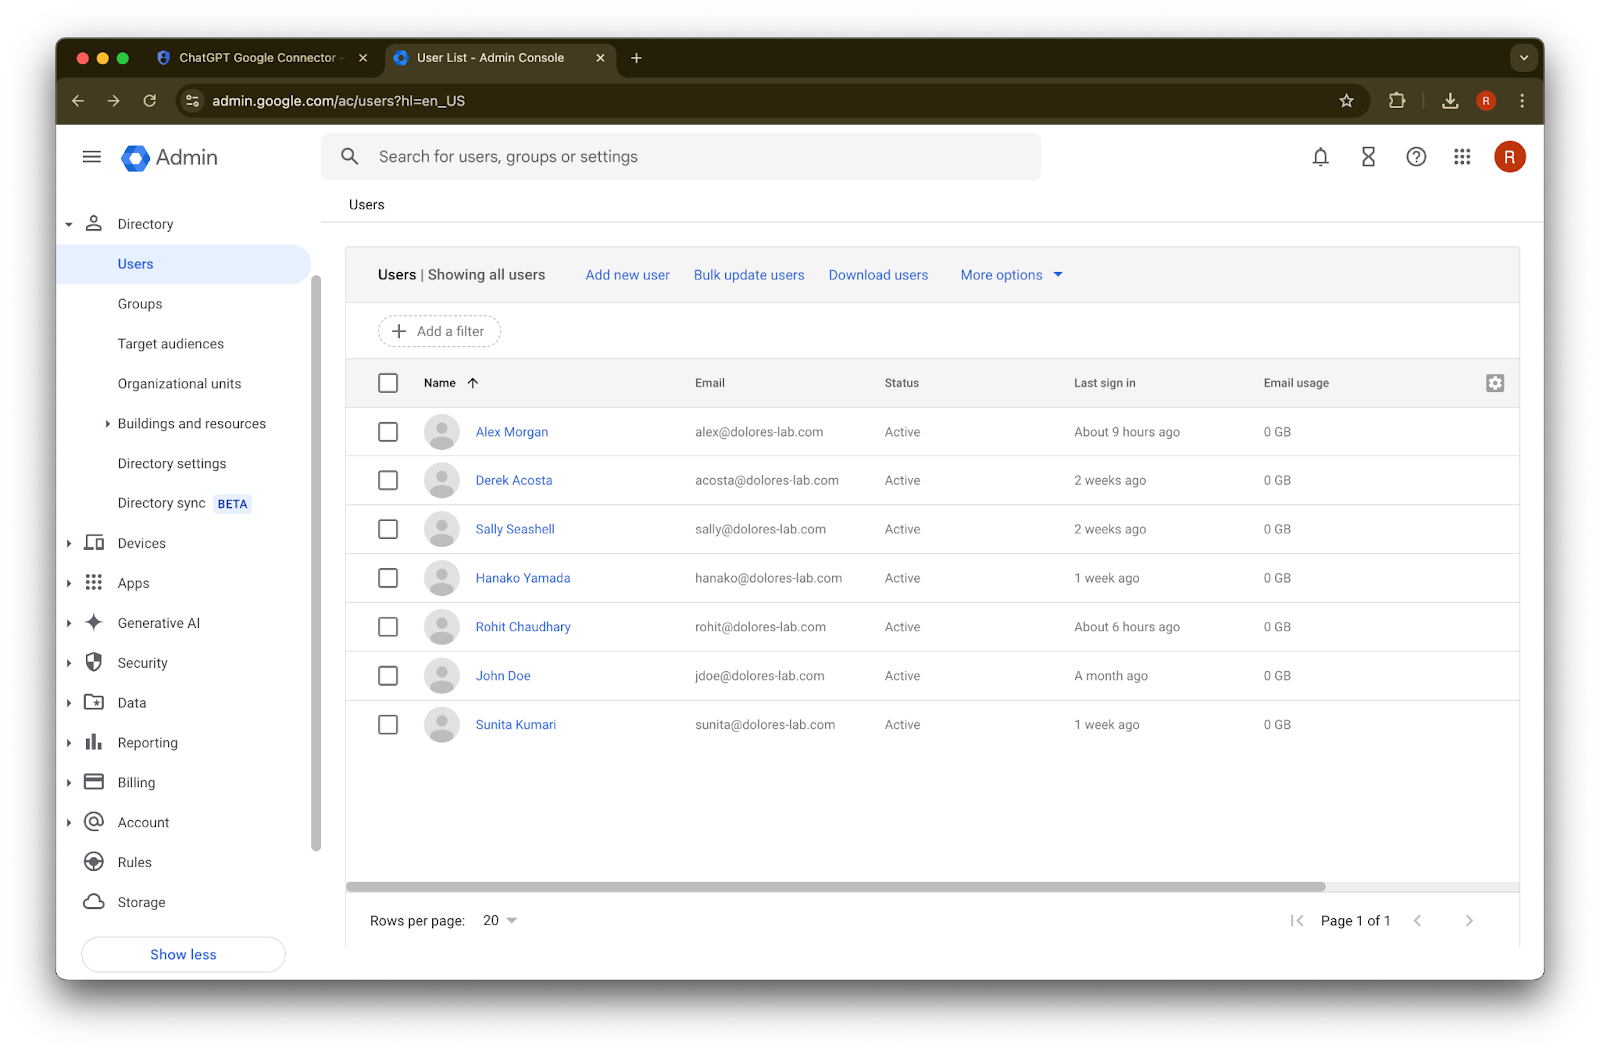
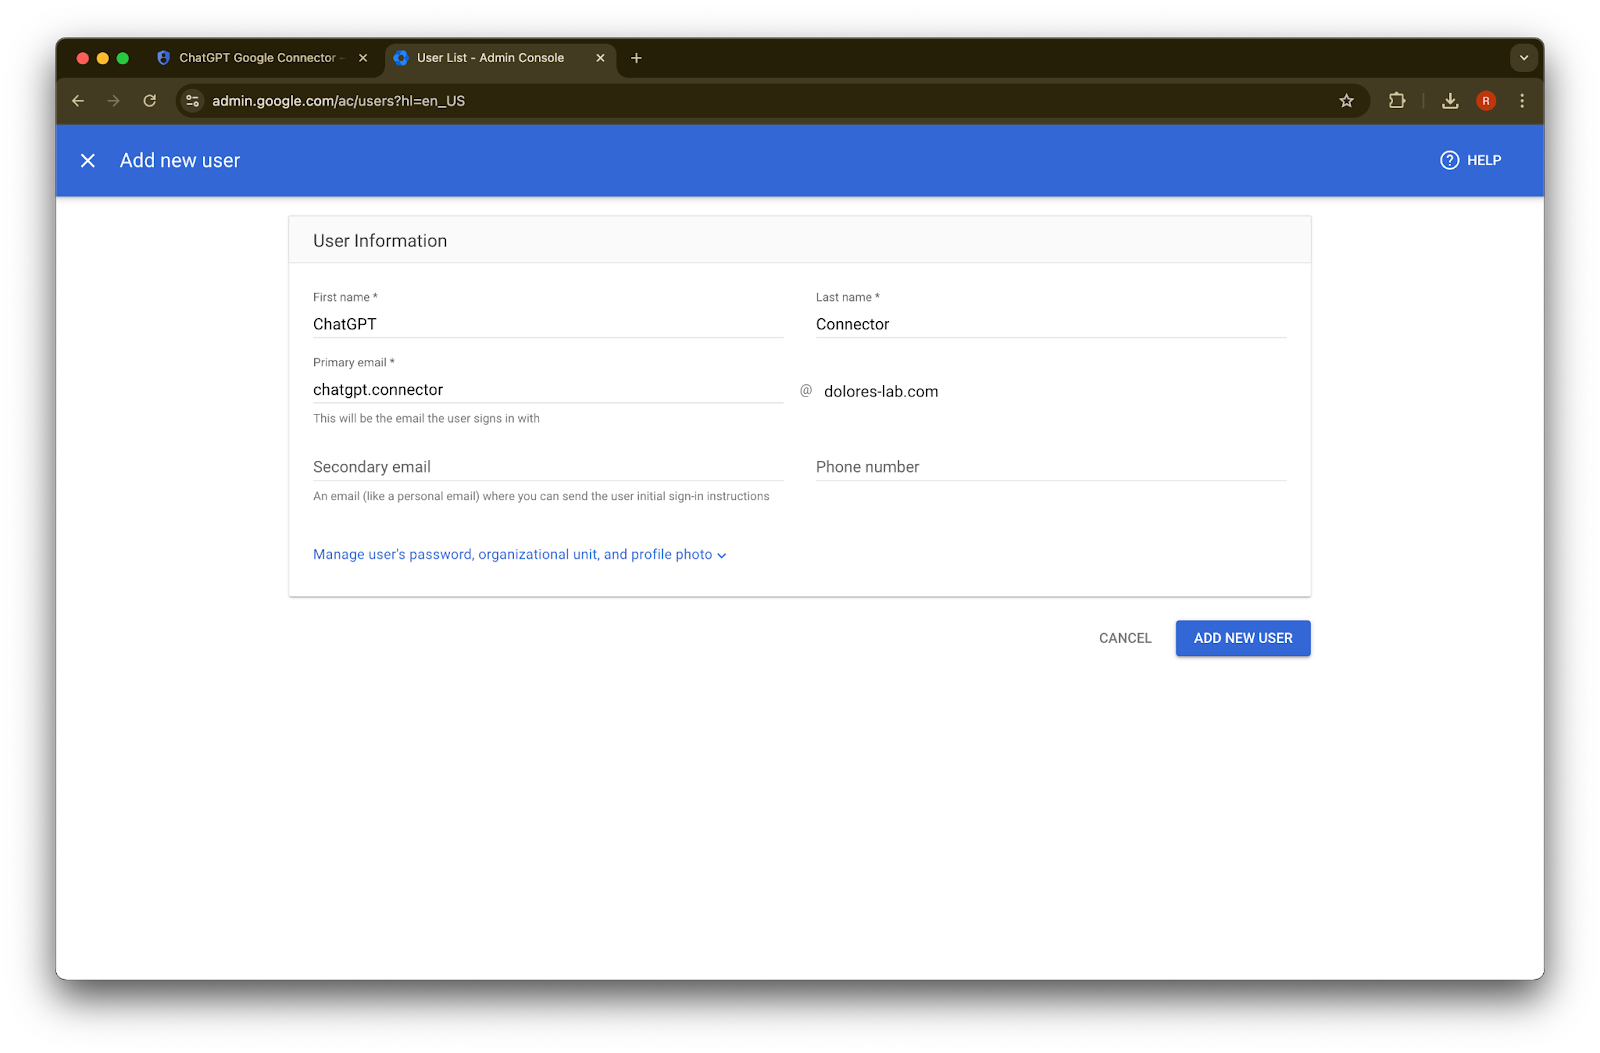
Provide a first name, last name, and primary email address of your choosing
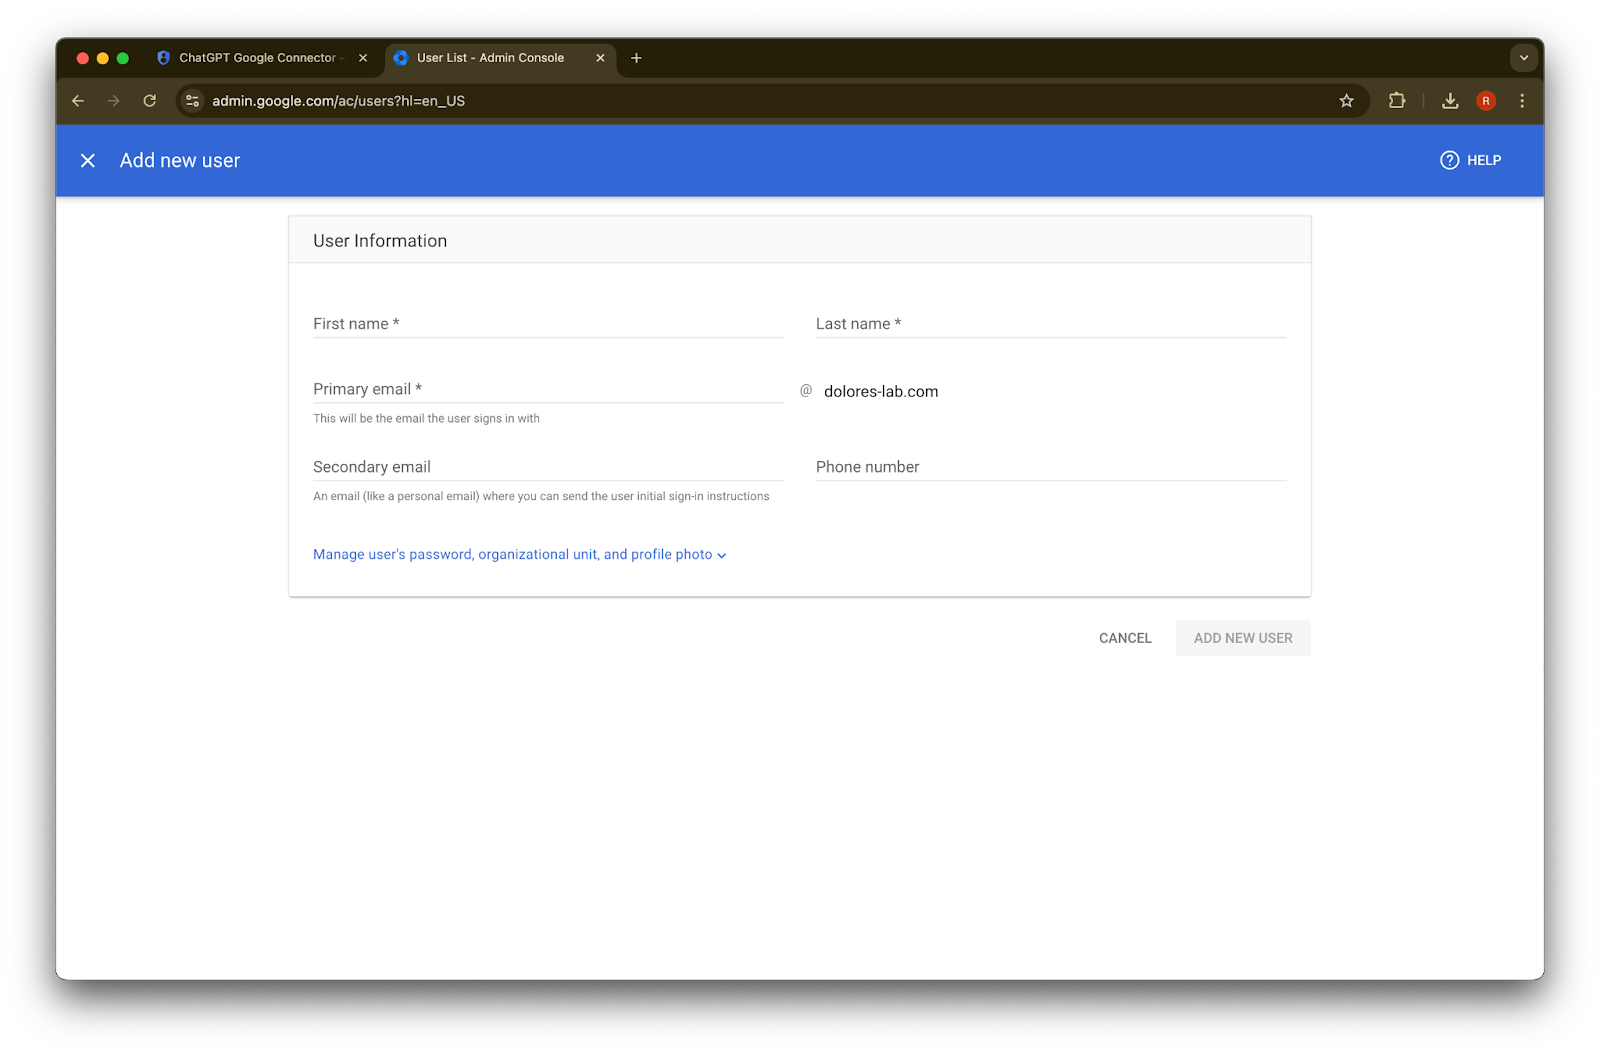
Click Add new user
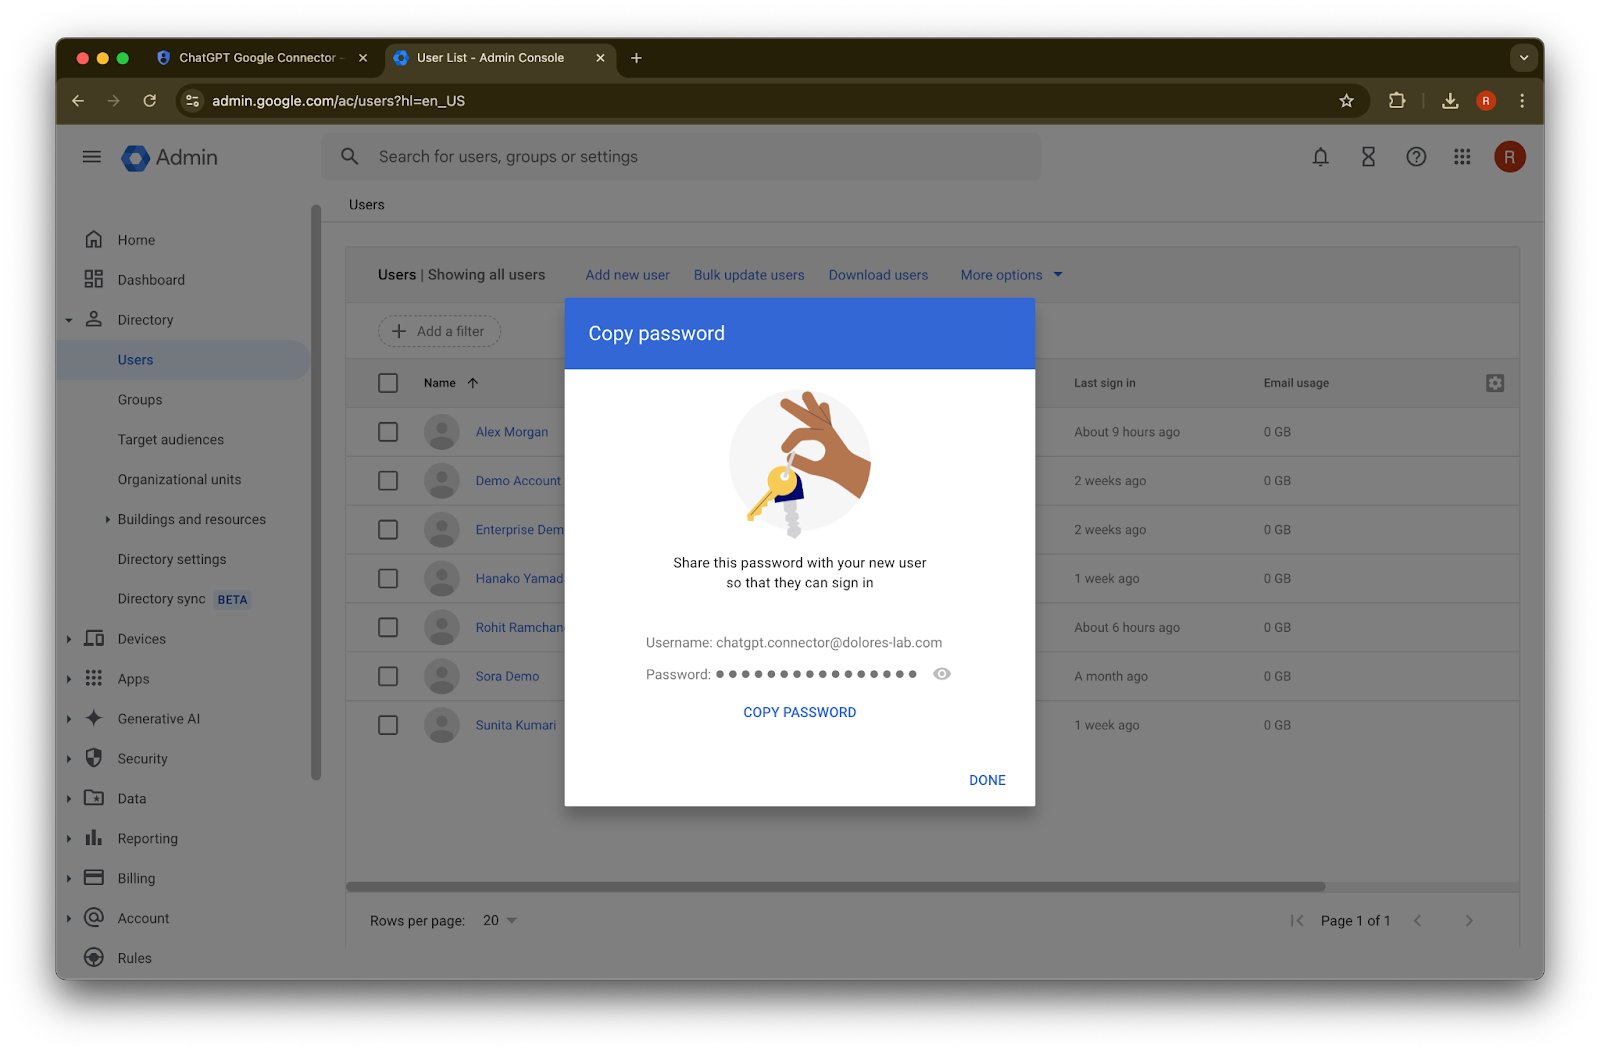
(Optional) Record these credentials. ChatGPT does not need these credentials.
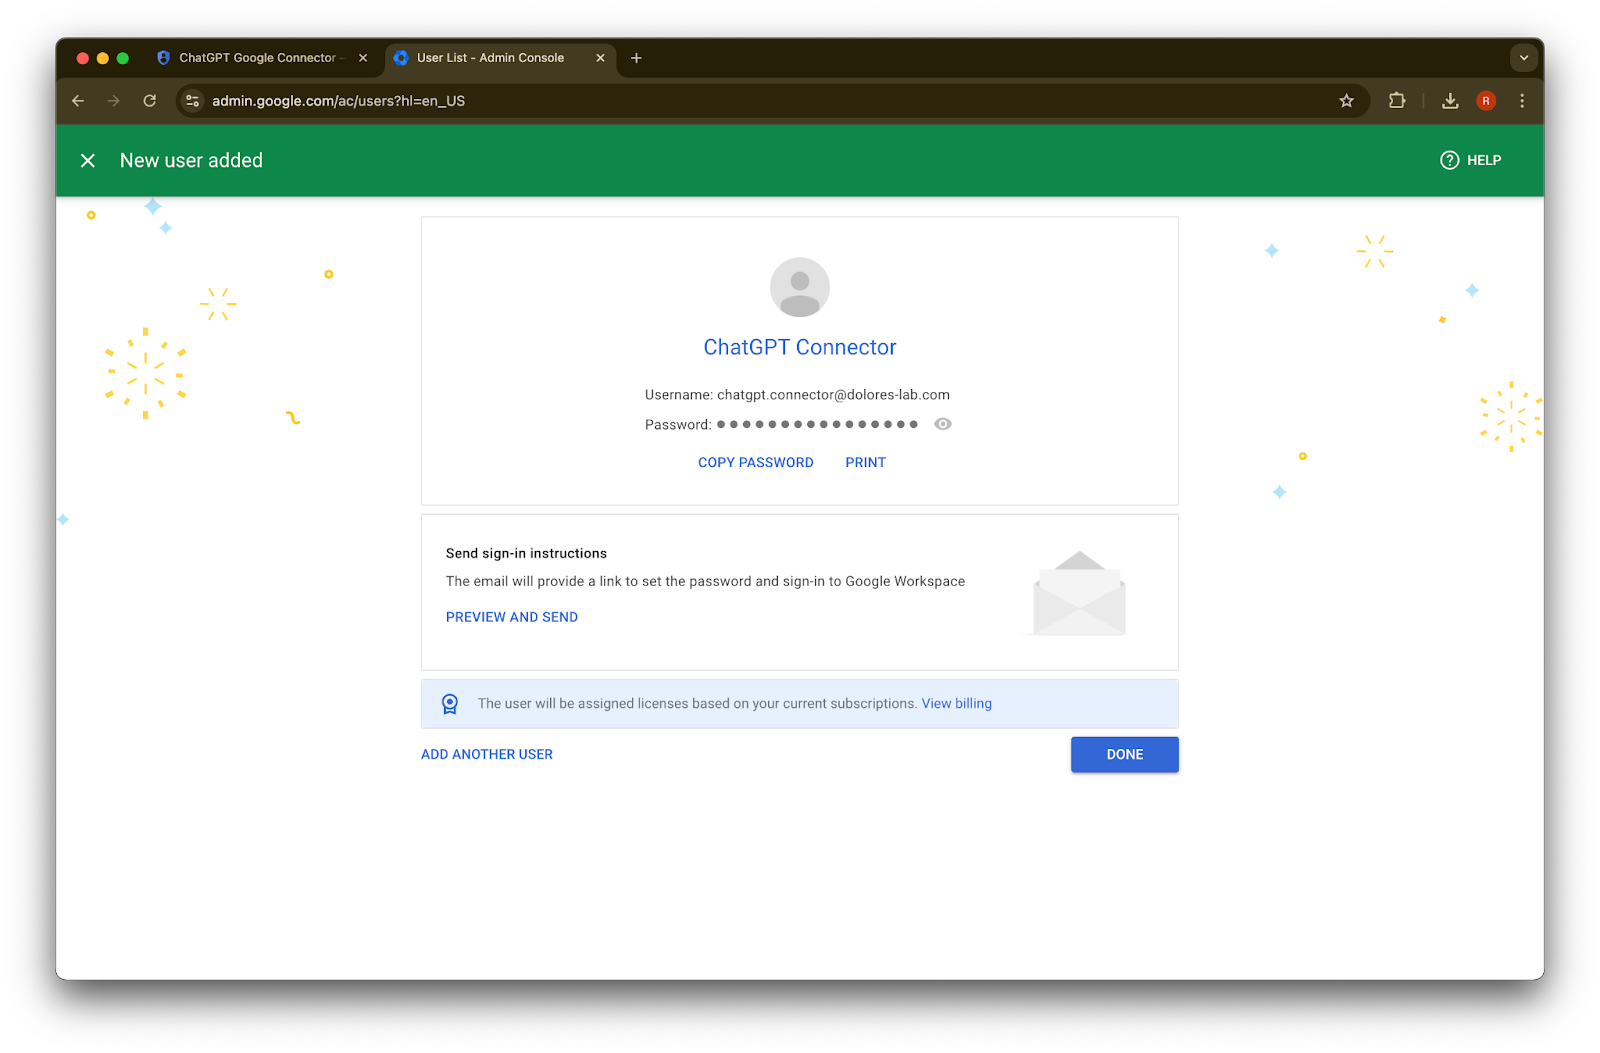
Click Done.
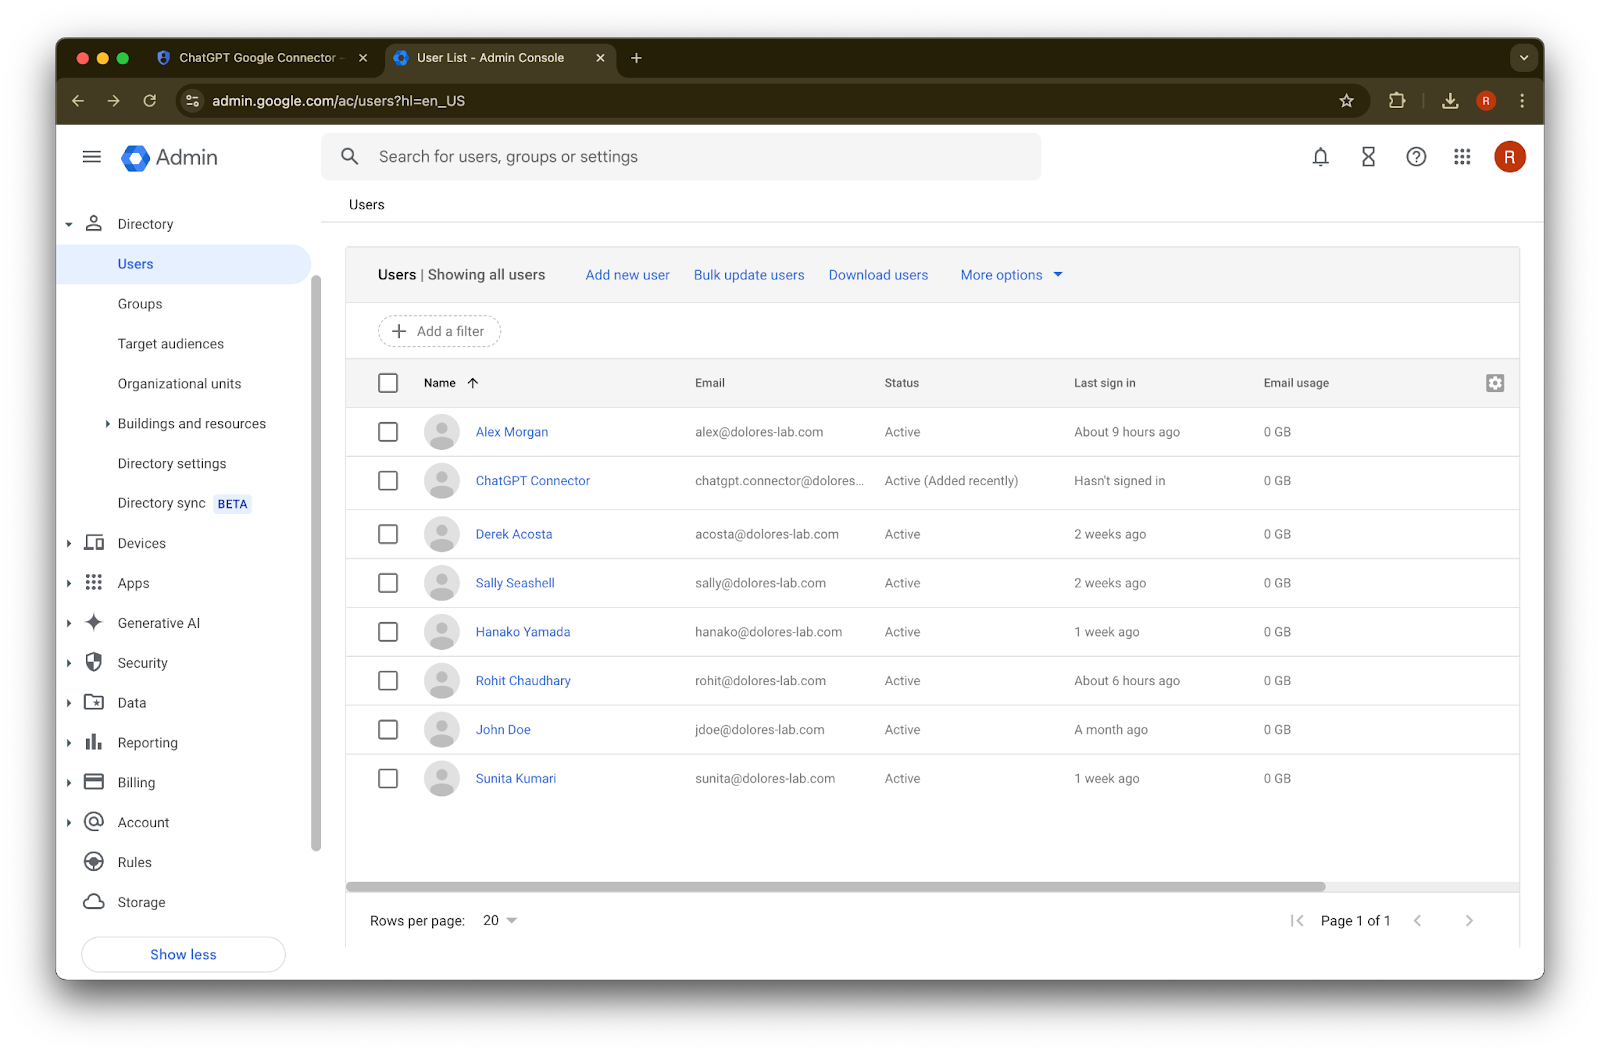
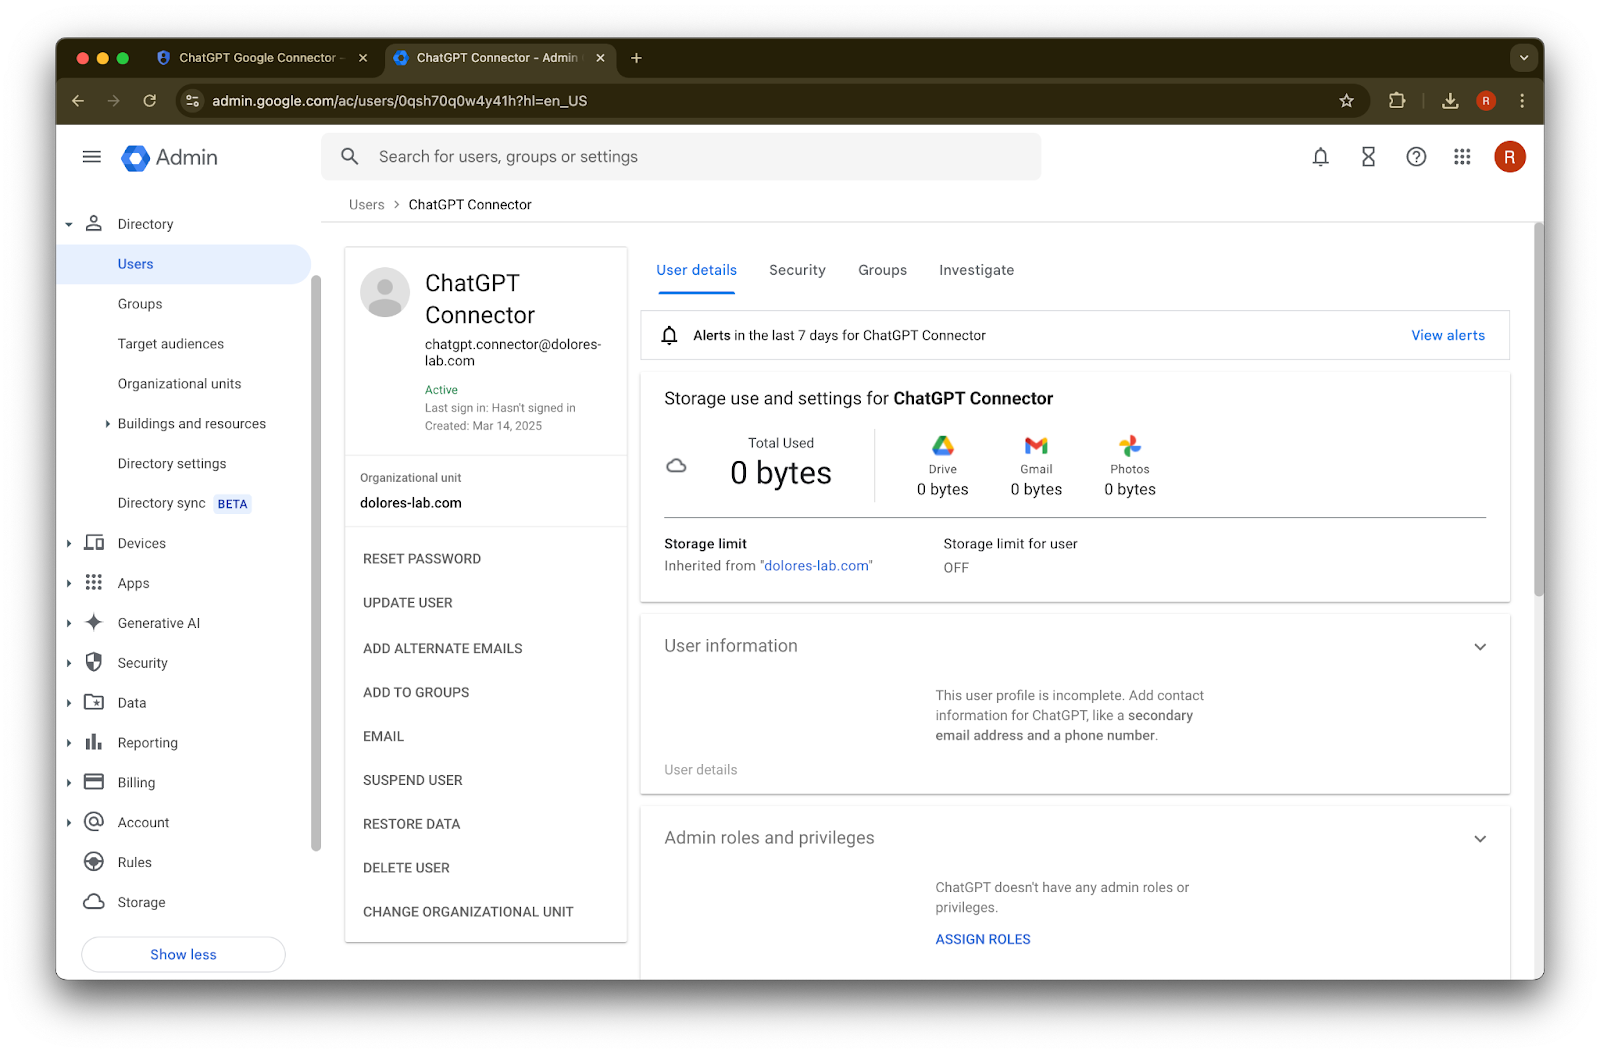
Click on the account you just created. If it does not appear in the list, refresh the page or clear your cache and cookies and try again.
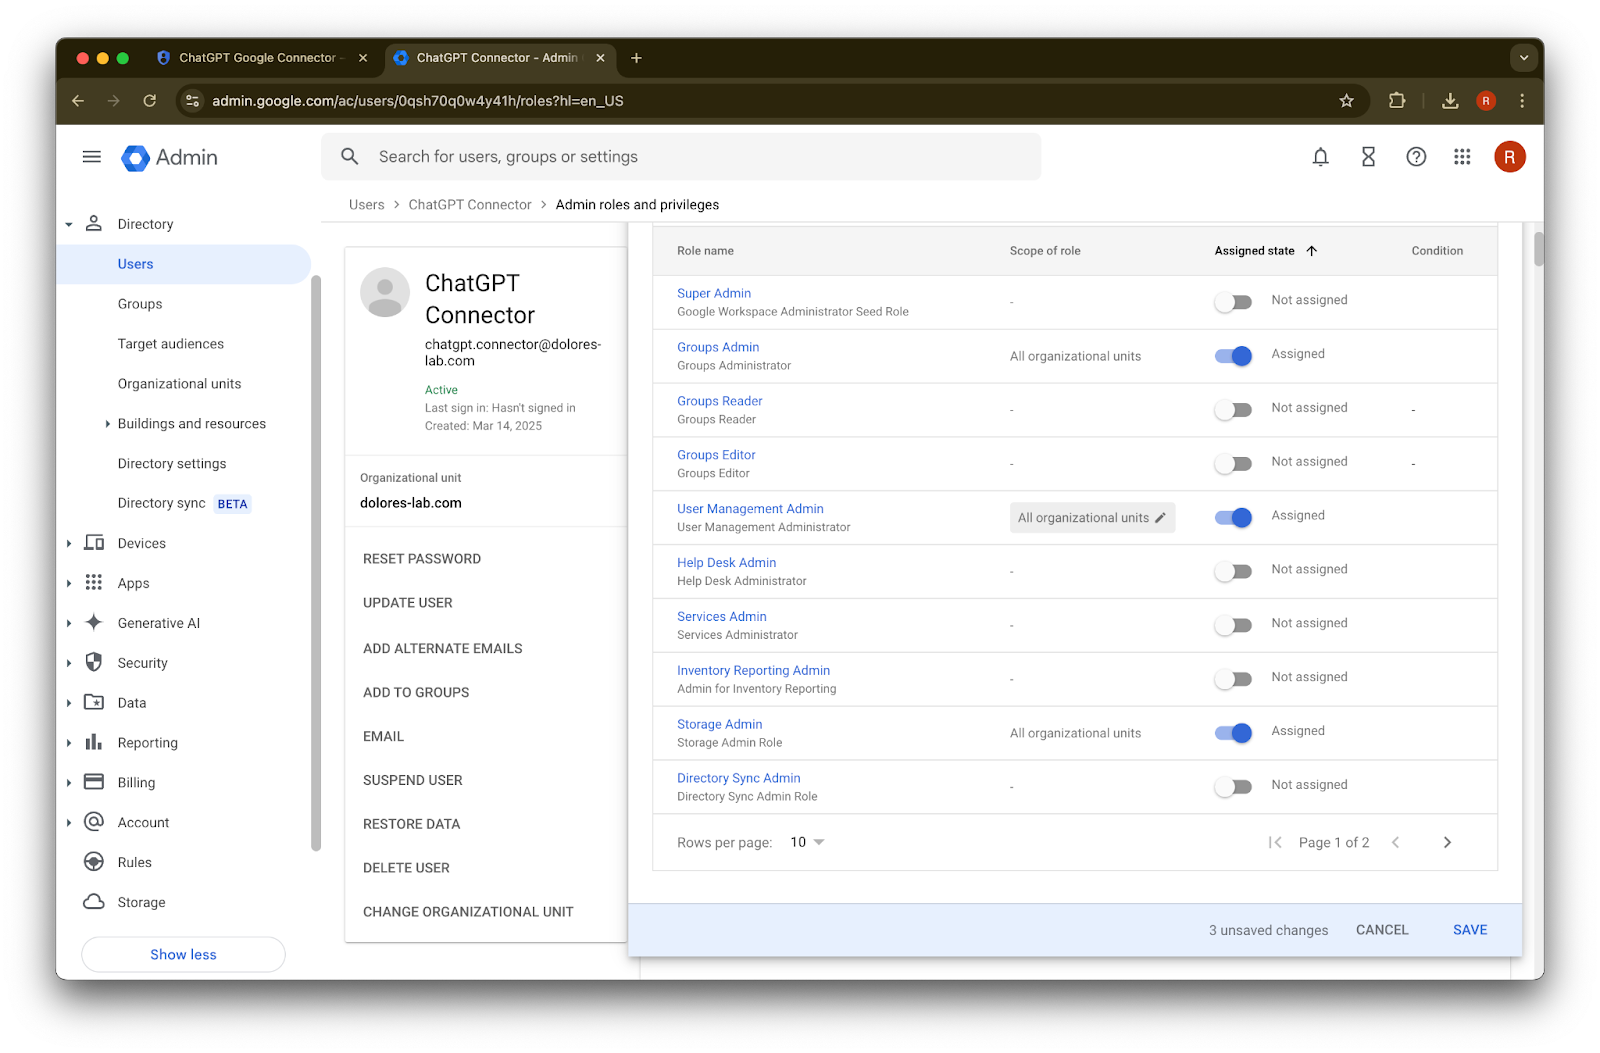
Click on assign roles.
Toggle on the Groups Reader, User Management Admin, and Storage Admin roles.
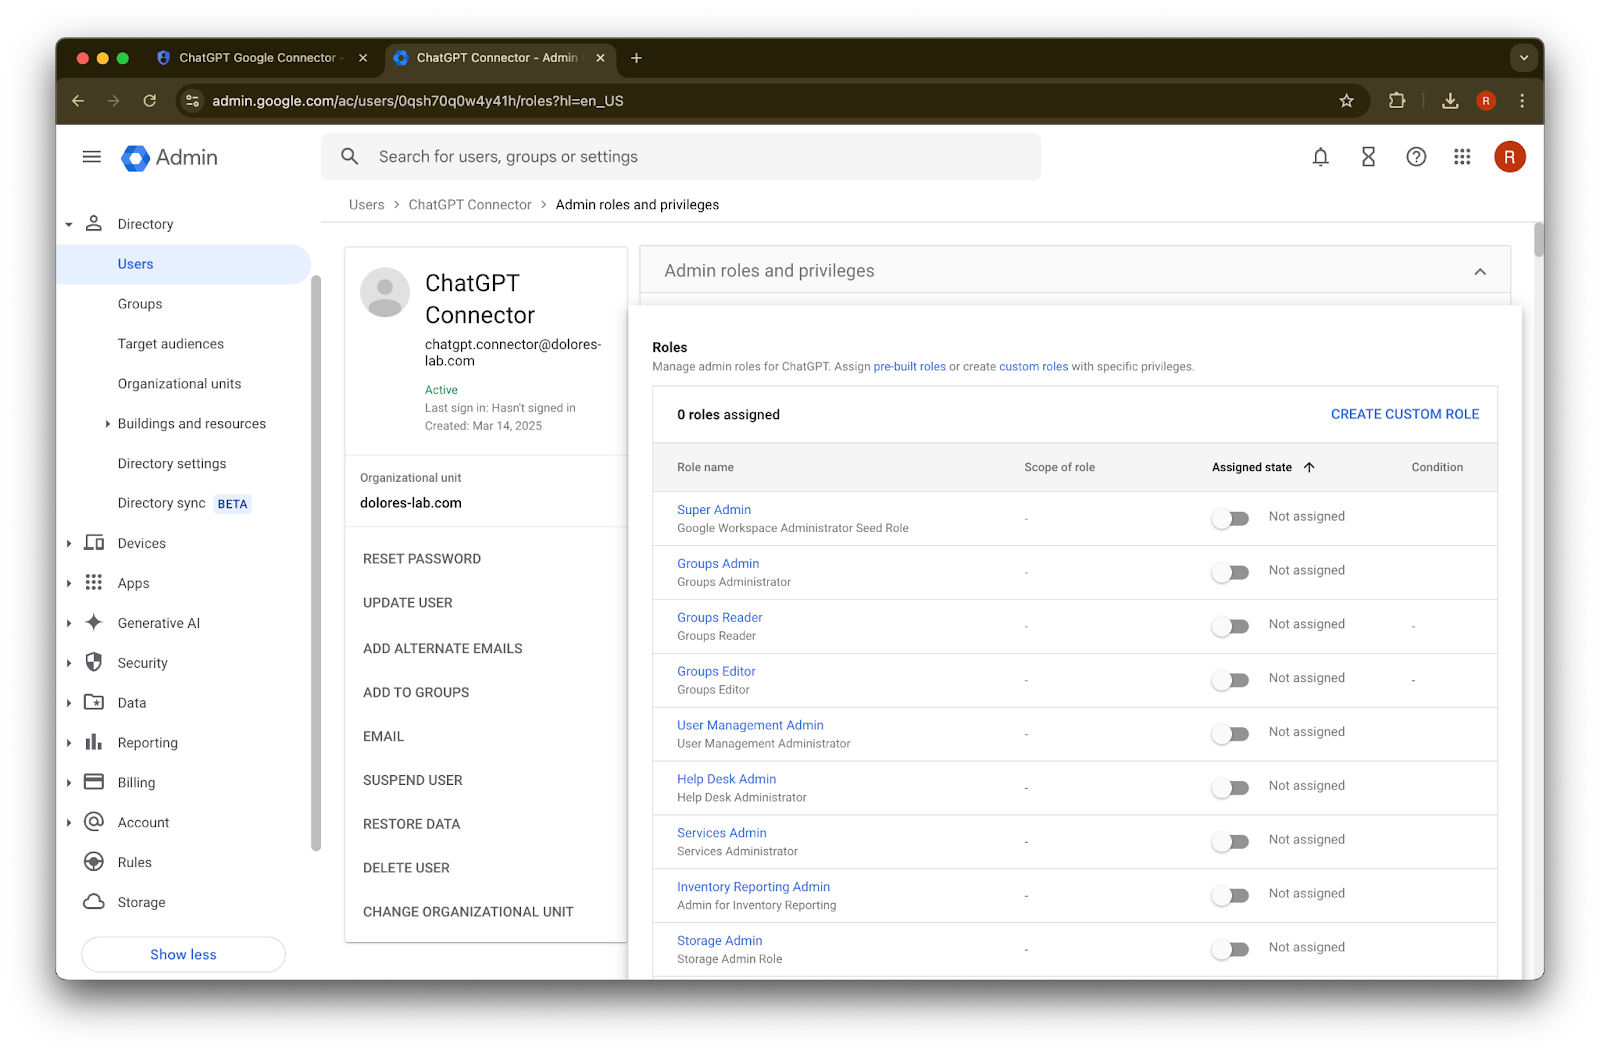
Scroll down and click Save. The admin account has now been successfully created and configured.
Completing setup on the ChatGPT Admin Console
Navigate to ChatGPT and click on the profile icon on the upper right corner of the page.
Click on Manage workspace

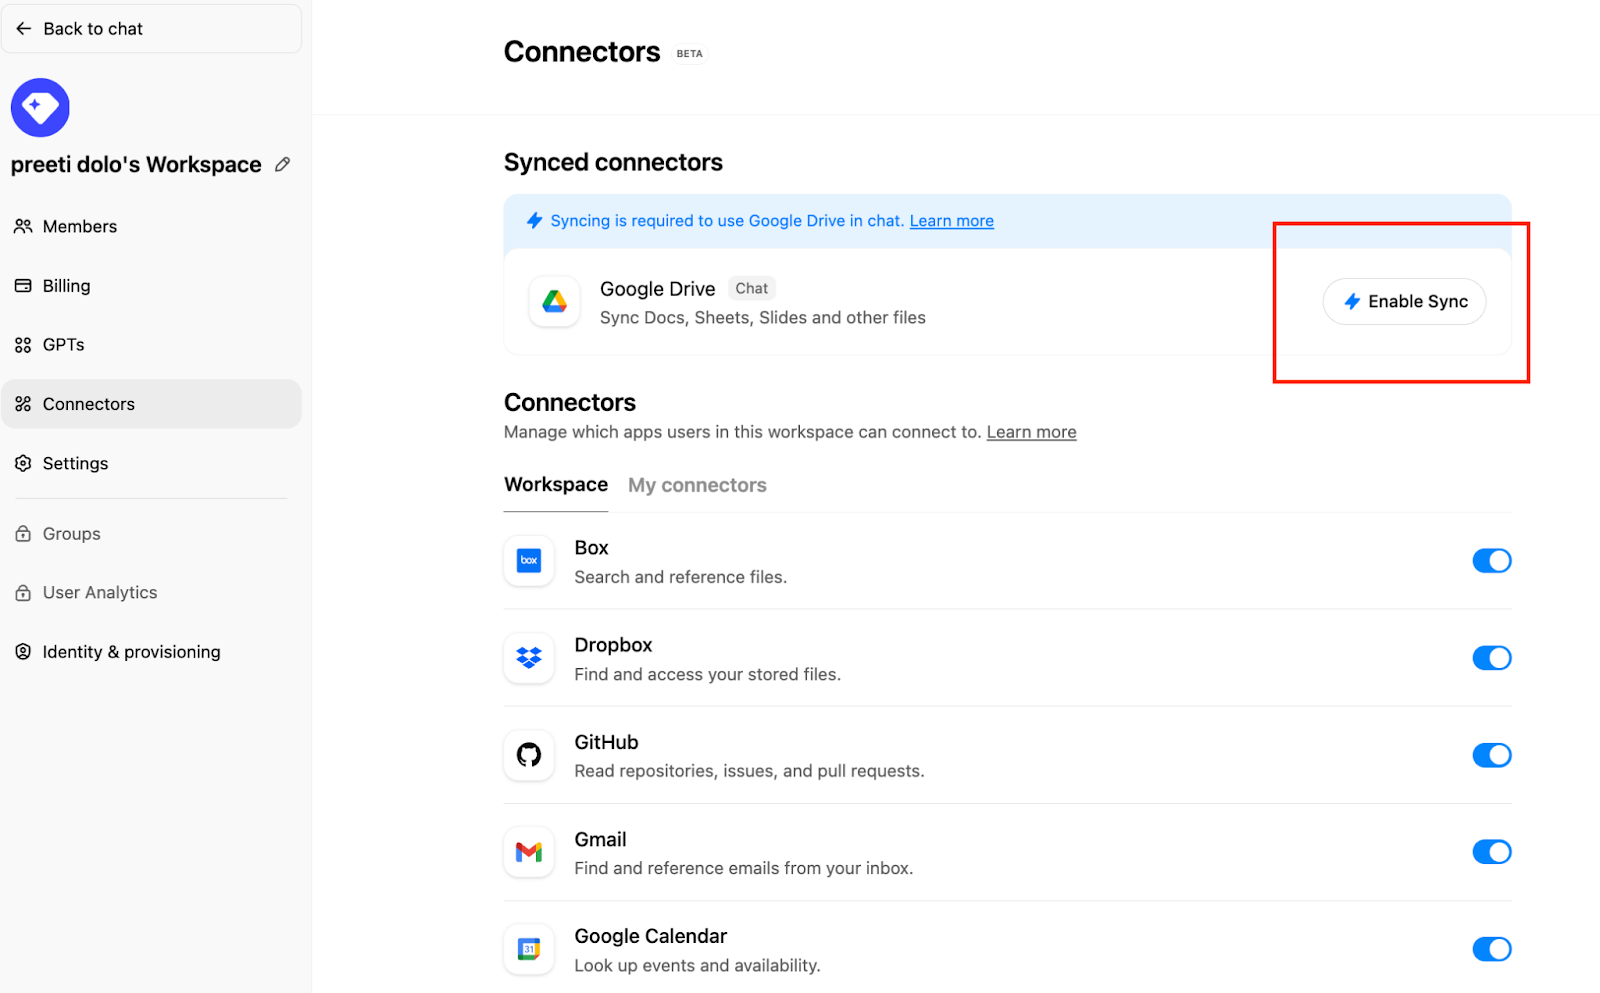
Click on Connections and then under ‘Synced connectors’ → Enable Sync
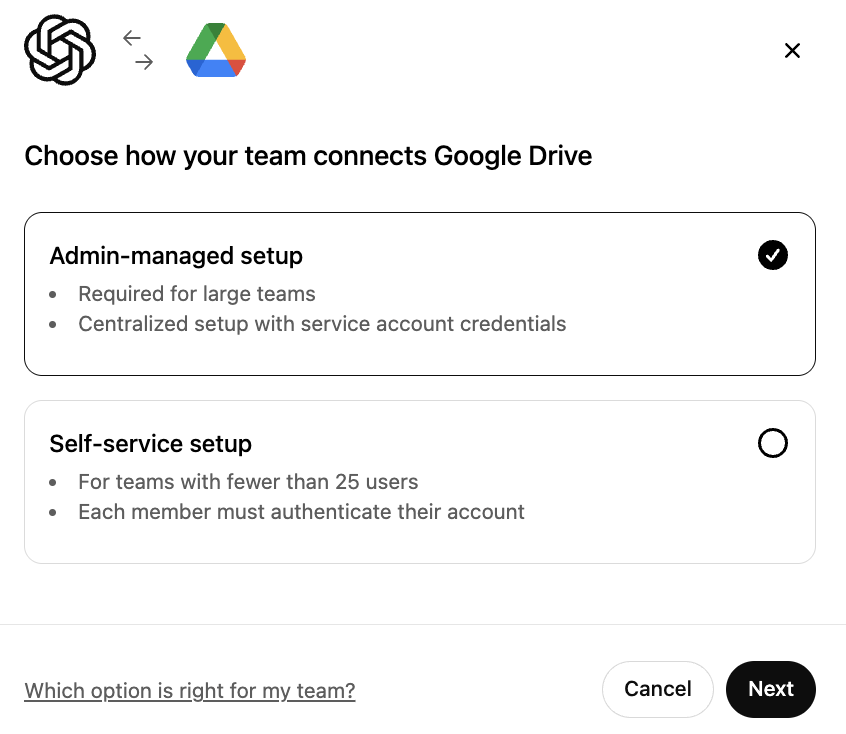
Ensure Admin-managed is selected and click on Next
Type in a display name. We recommend using the name of your Google Workspace.
Please note that we currently do not support changing the name of your connection.
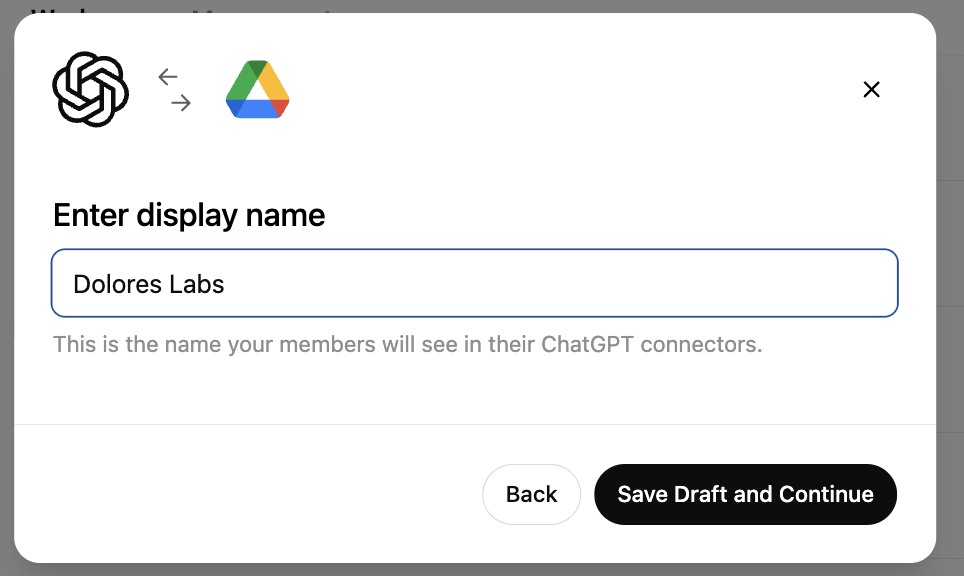
Click Save Draft and Continue
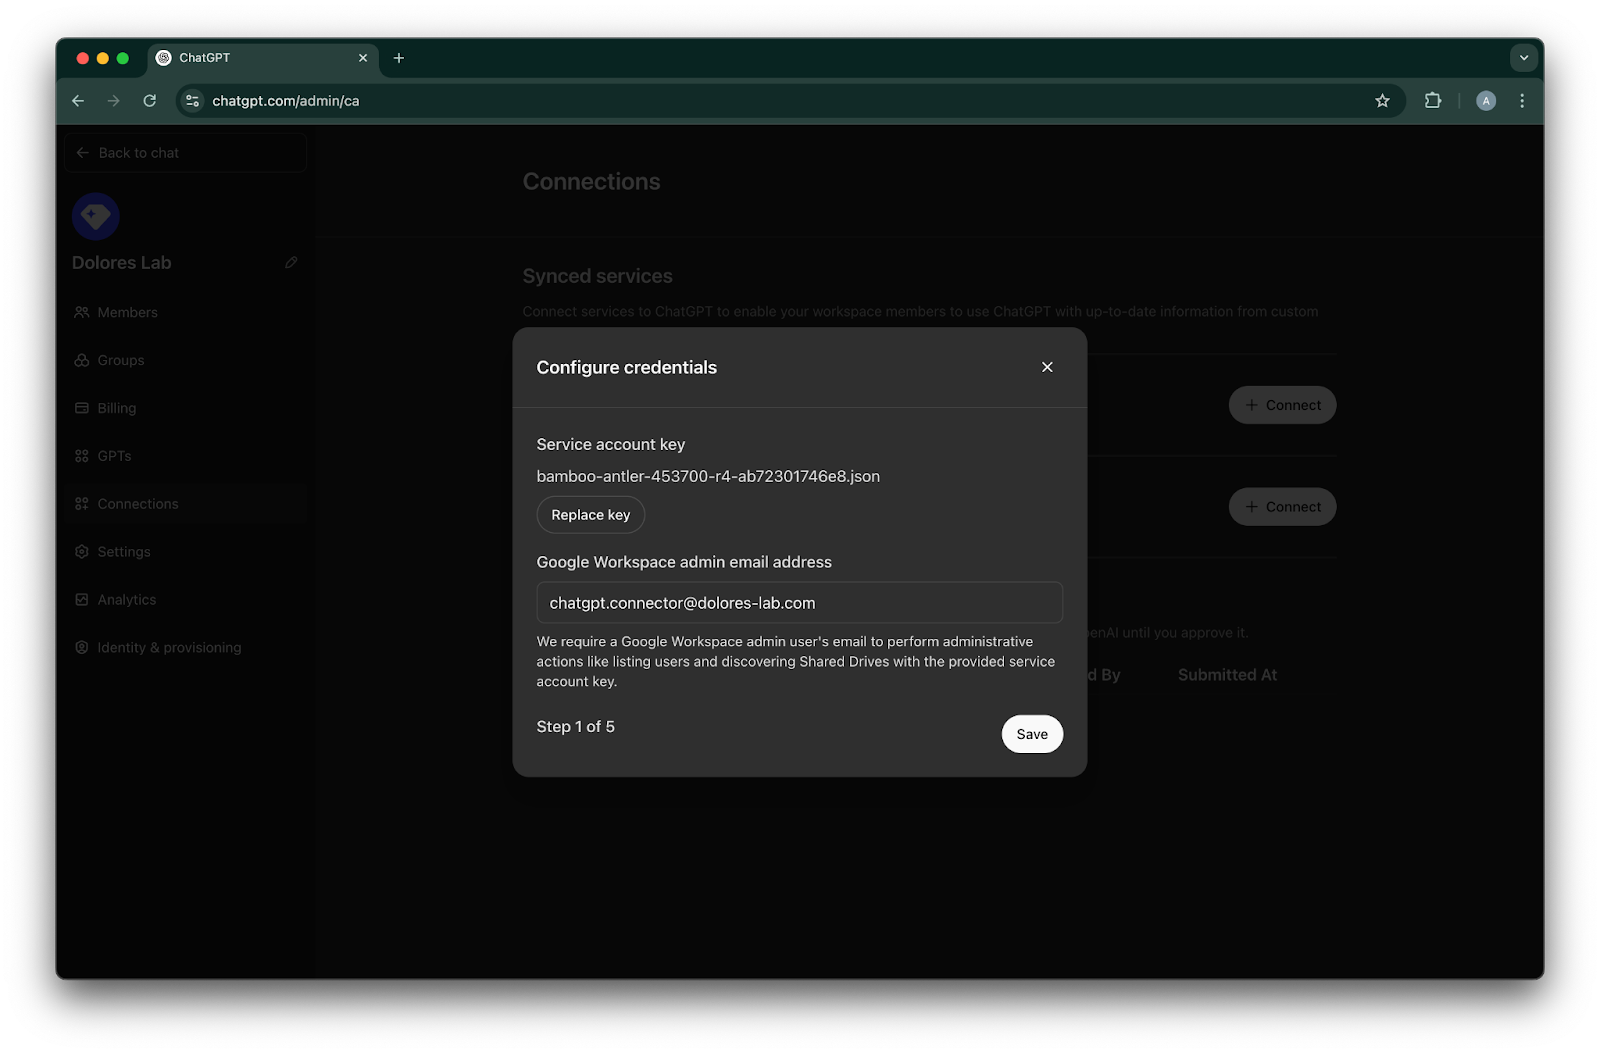
Click Upload key. Choose the JSON file, which is the key you downloaded as part of setting up the service account above. Ensure this key is accurate
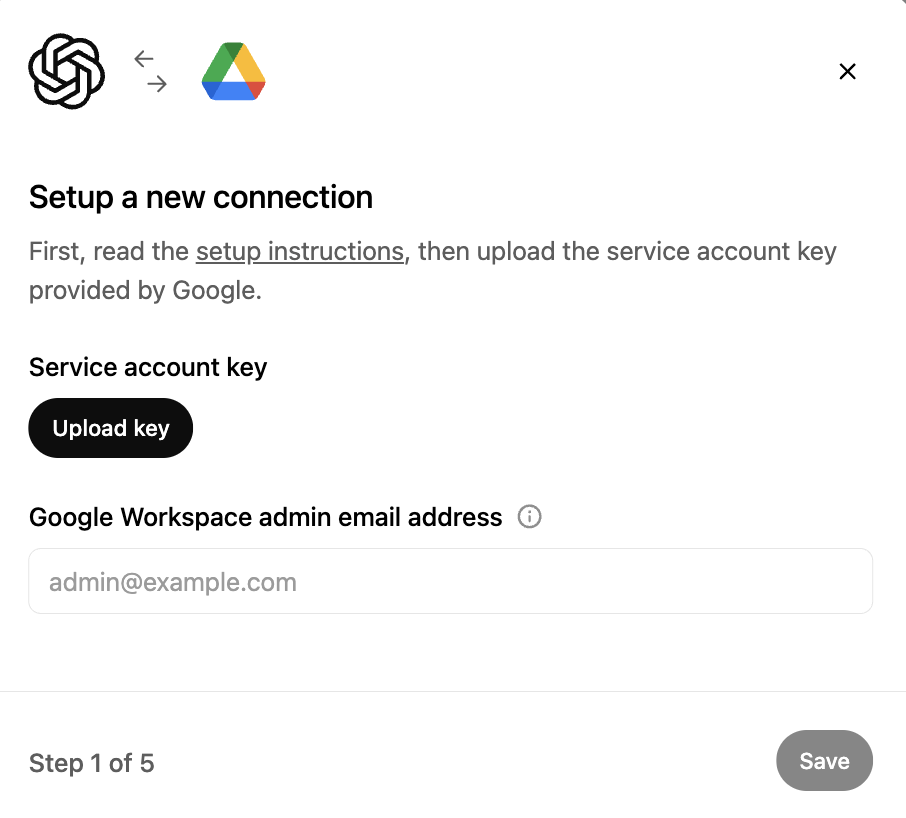
Type in the admin email address. This is the admin account you created previously.
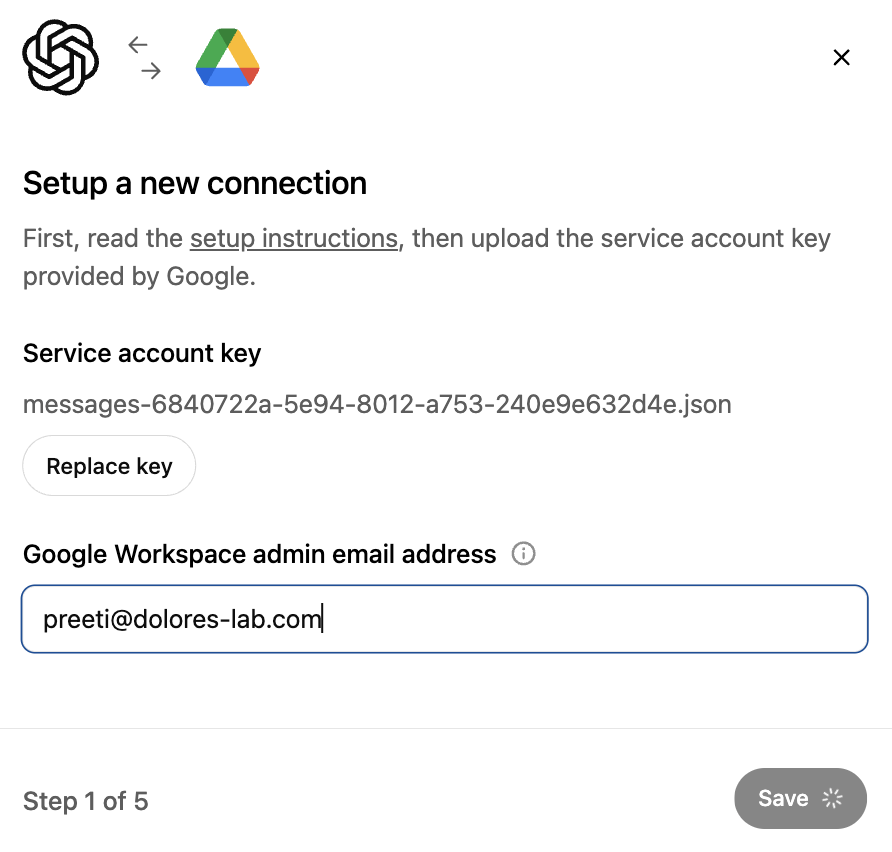
Click Save.
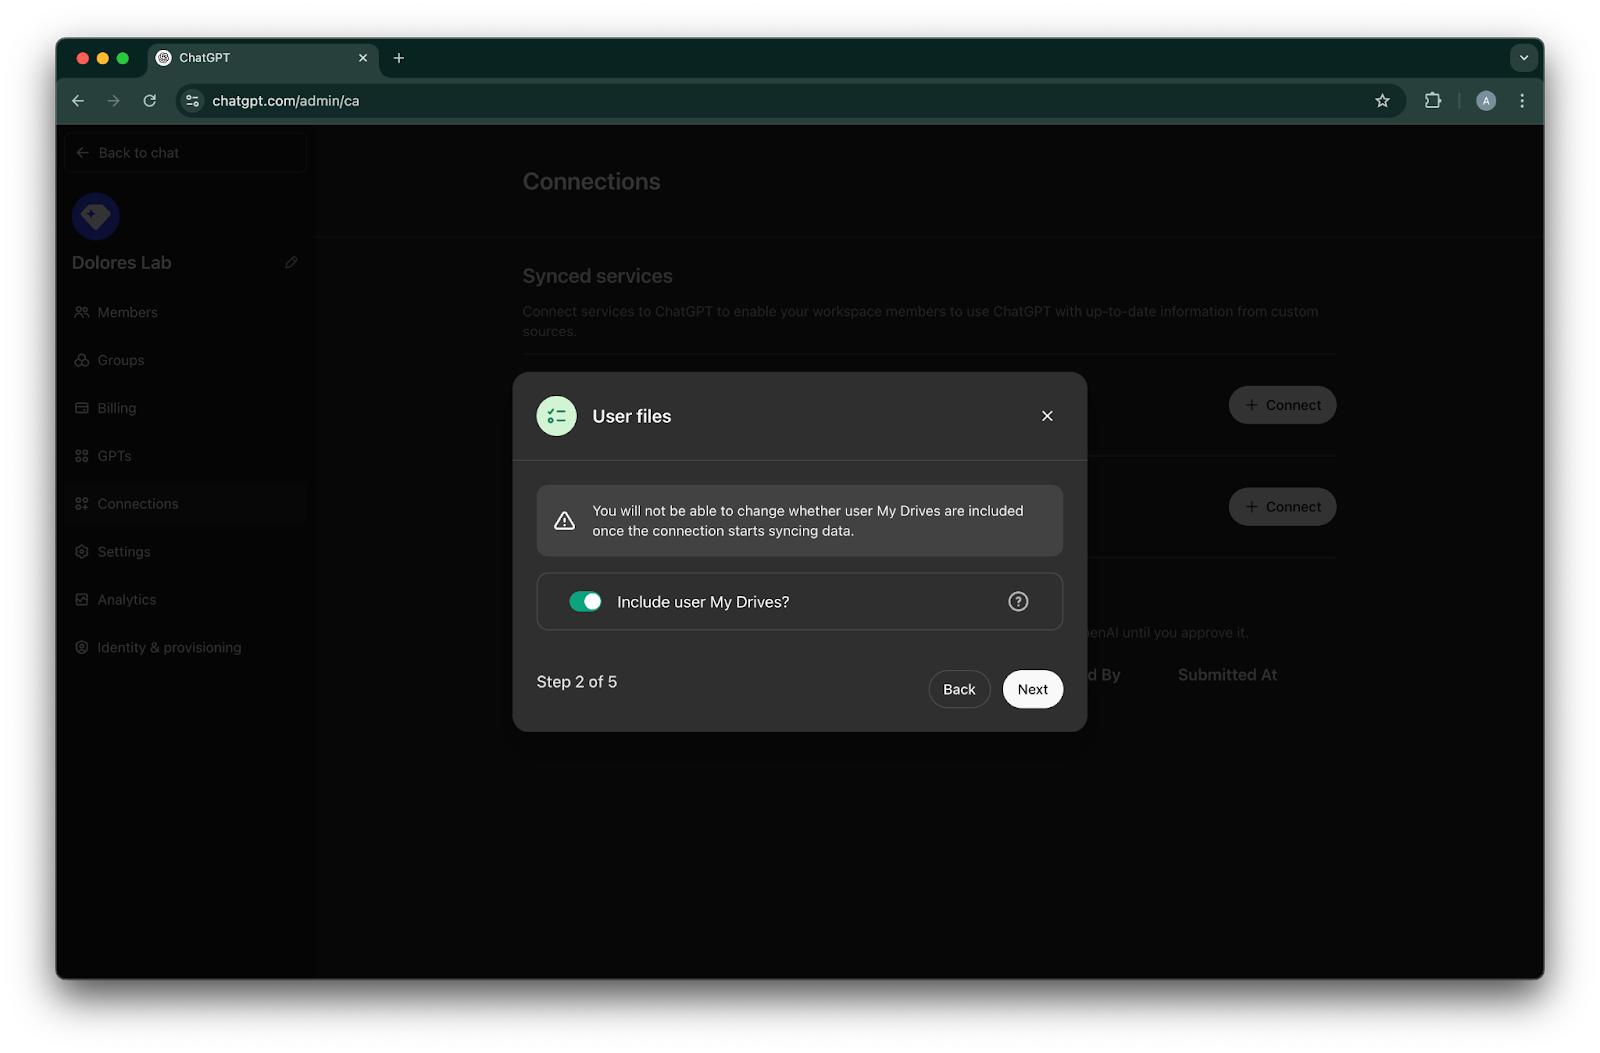
Choose whether you want the files in all of your users’ My Drives to be included.

Click Next
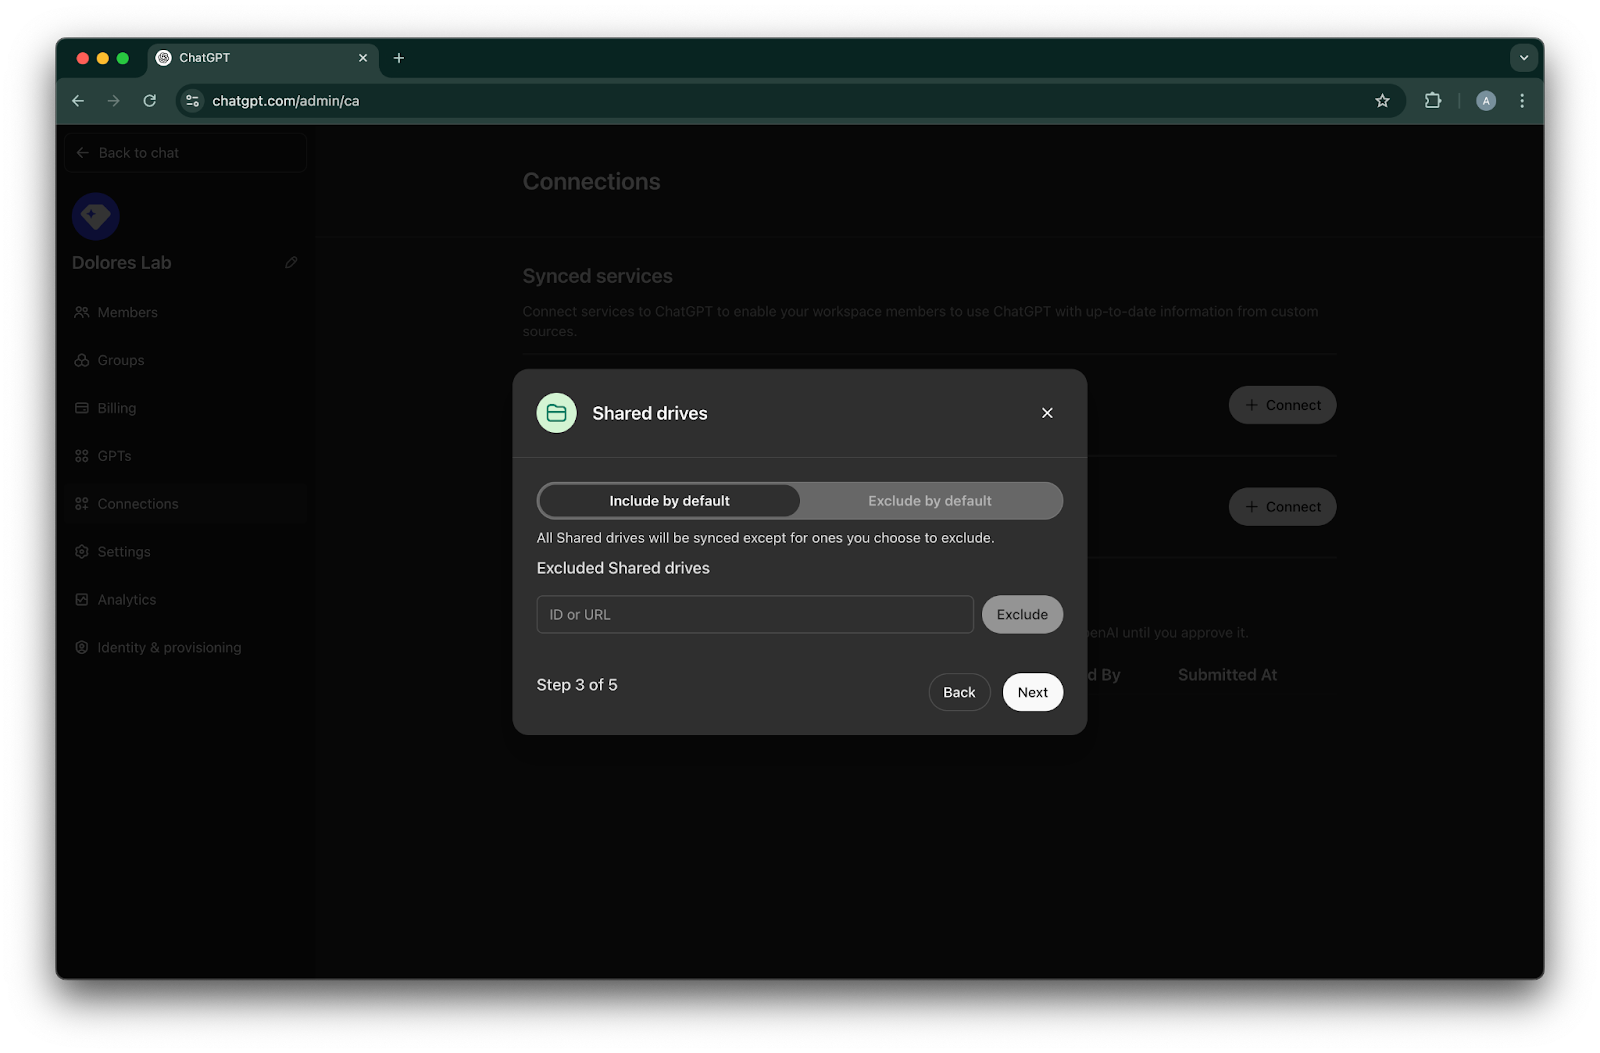
Choose how to manage shared drives. We support the following three scenarios:
If you want to include all shared drives, then choose Include by default and do not add shared drive IDs to be excluded
If you want to include most shared drives, then choose Include by default and add the IDs for the shared drives you want excluded
If you want to exclude most shared drives, then choose Exclude by default and add the IDs for the shared drives you want included
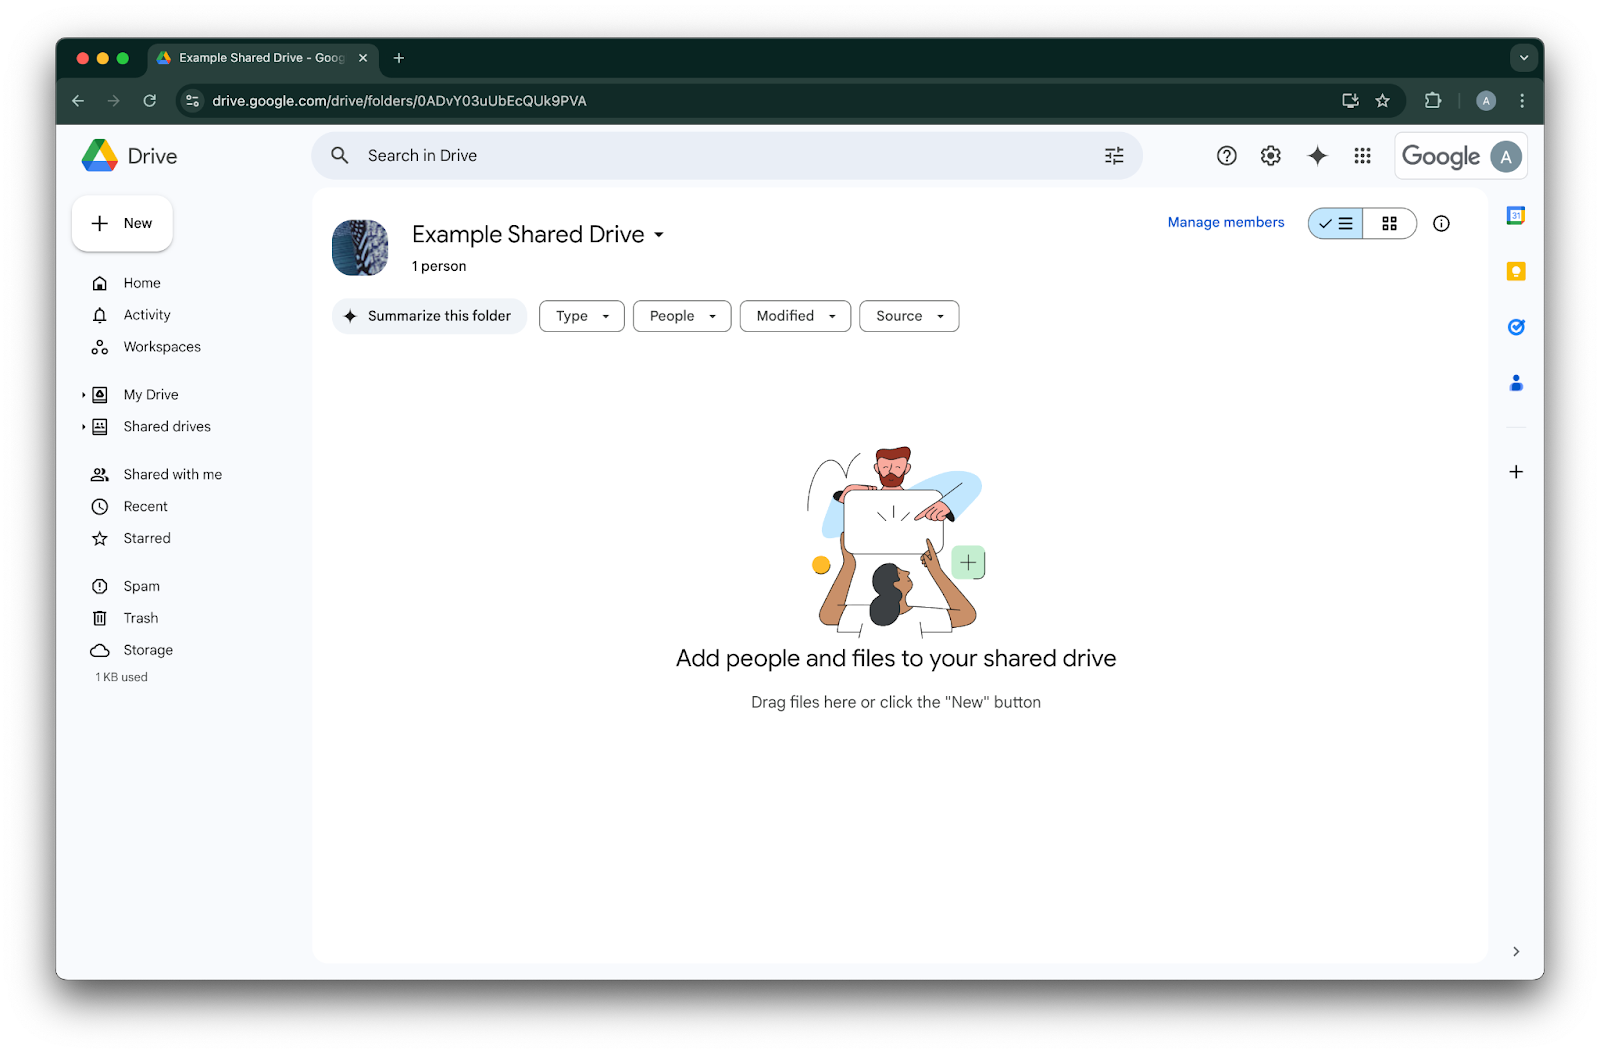
To look up the ID for a shared drive, navigate to it in a web browser. The last portion of the URL is the shared drive ID.
In the following example, it is 0ADvY03uUbEcQUk9PVA'
Click Next

Choose who should have access to the Google Drive connection. You can either select Admins of the ChatGPT workspace only, or enable it for everyone. If enabled for everyone, new users added to the workspace will automatically be included.
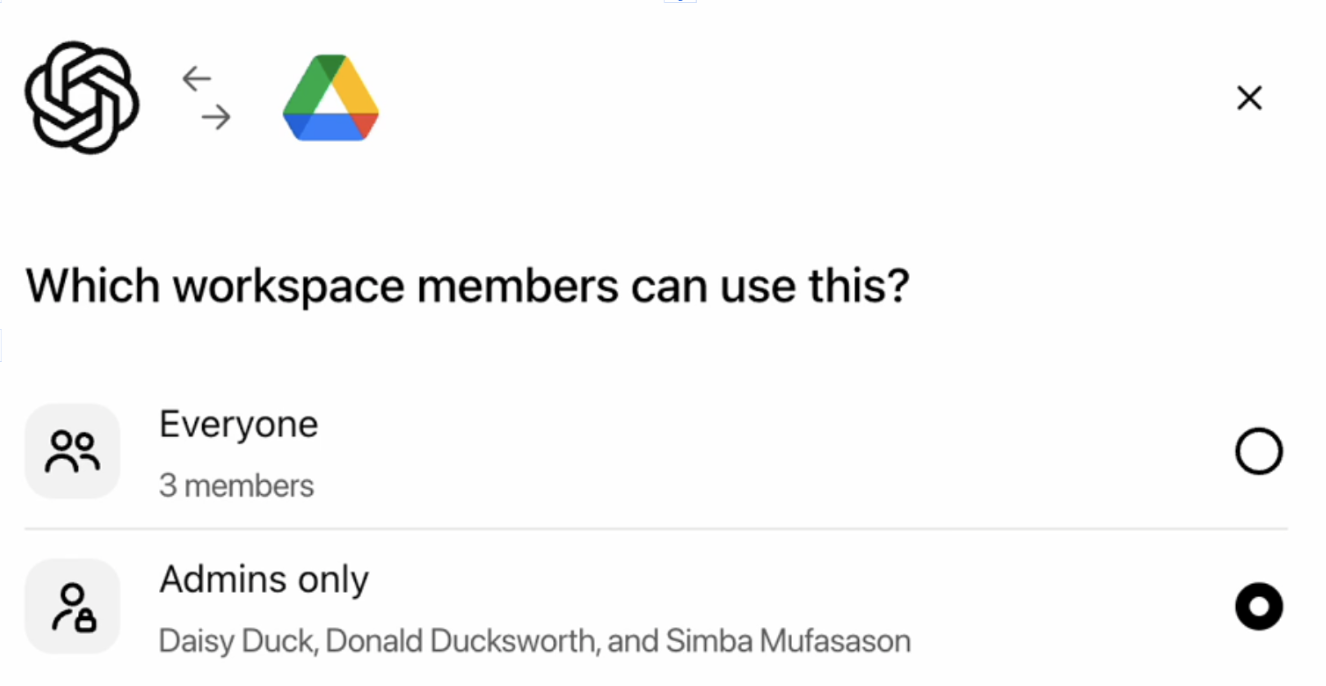
Click Start syncing
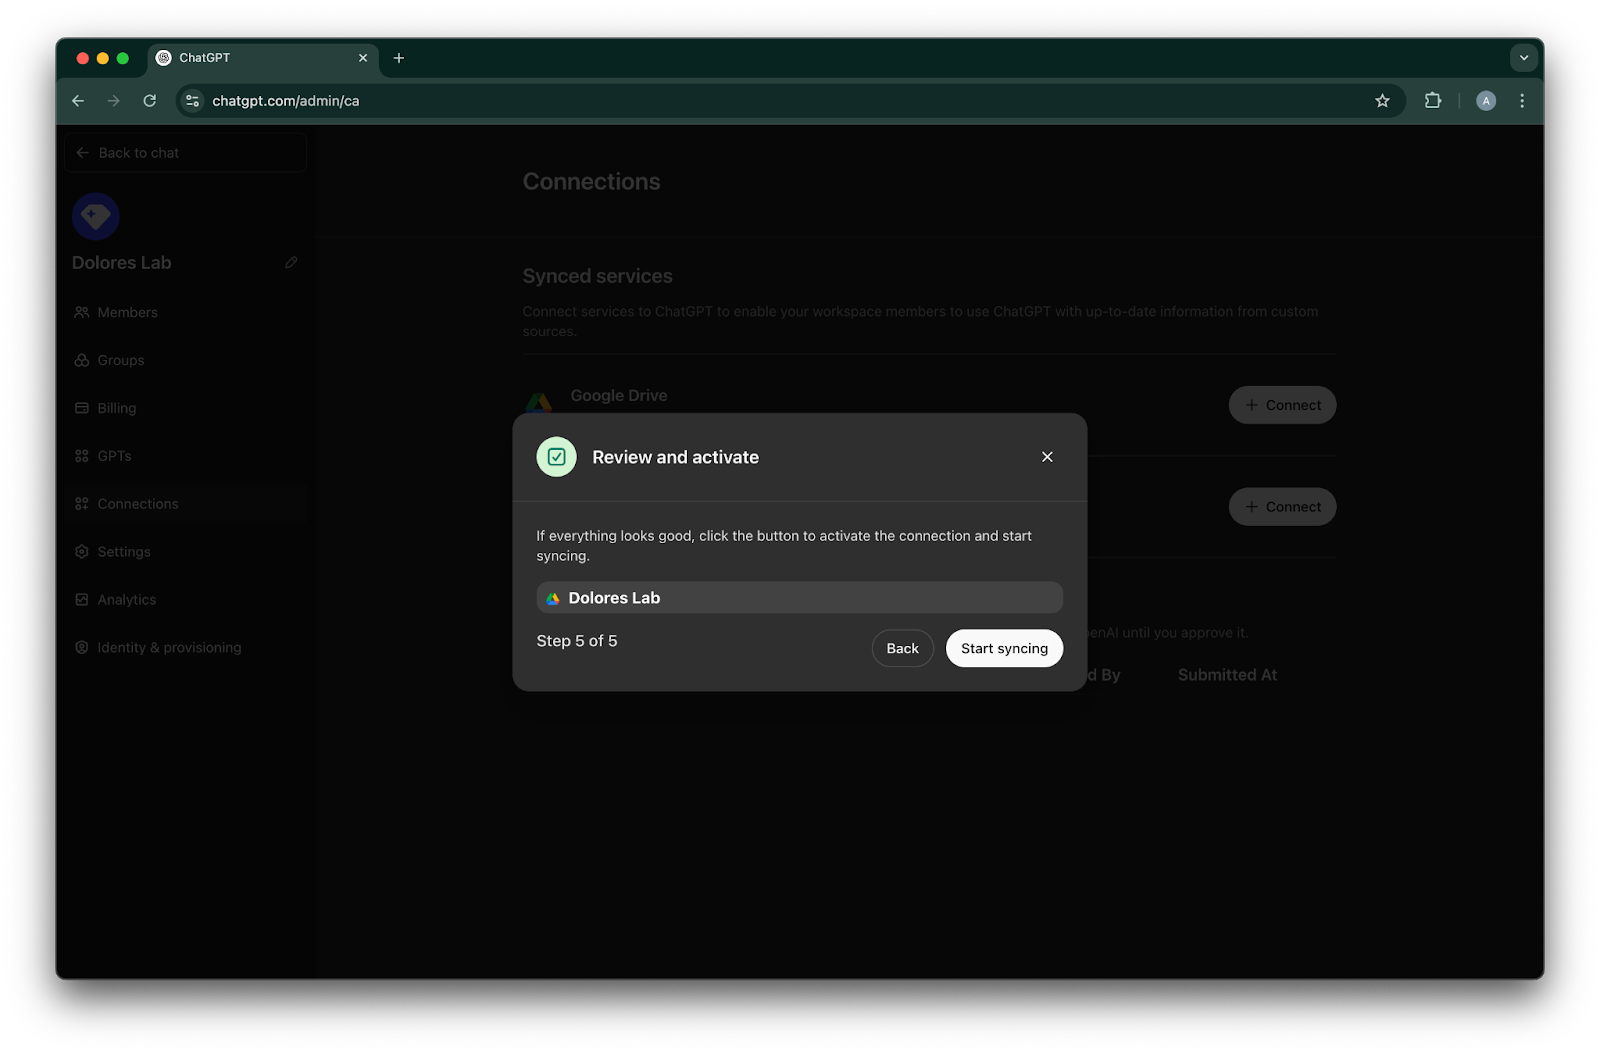
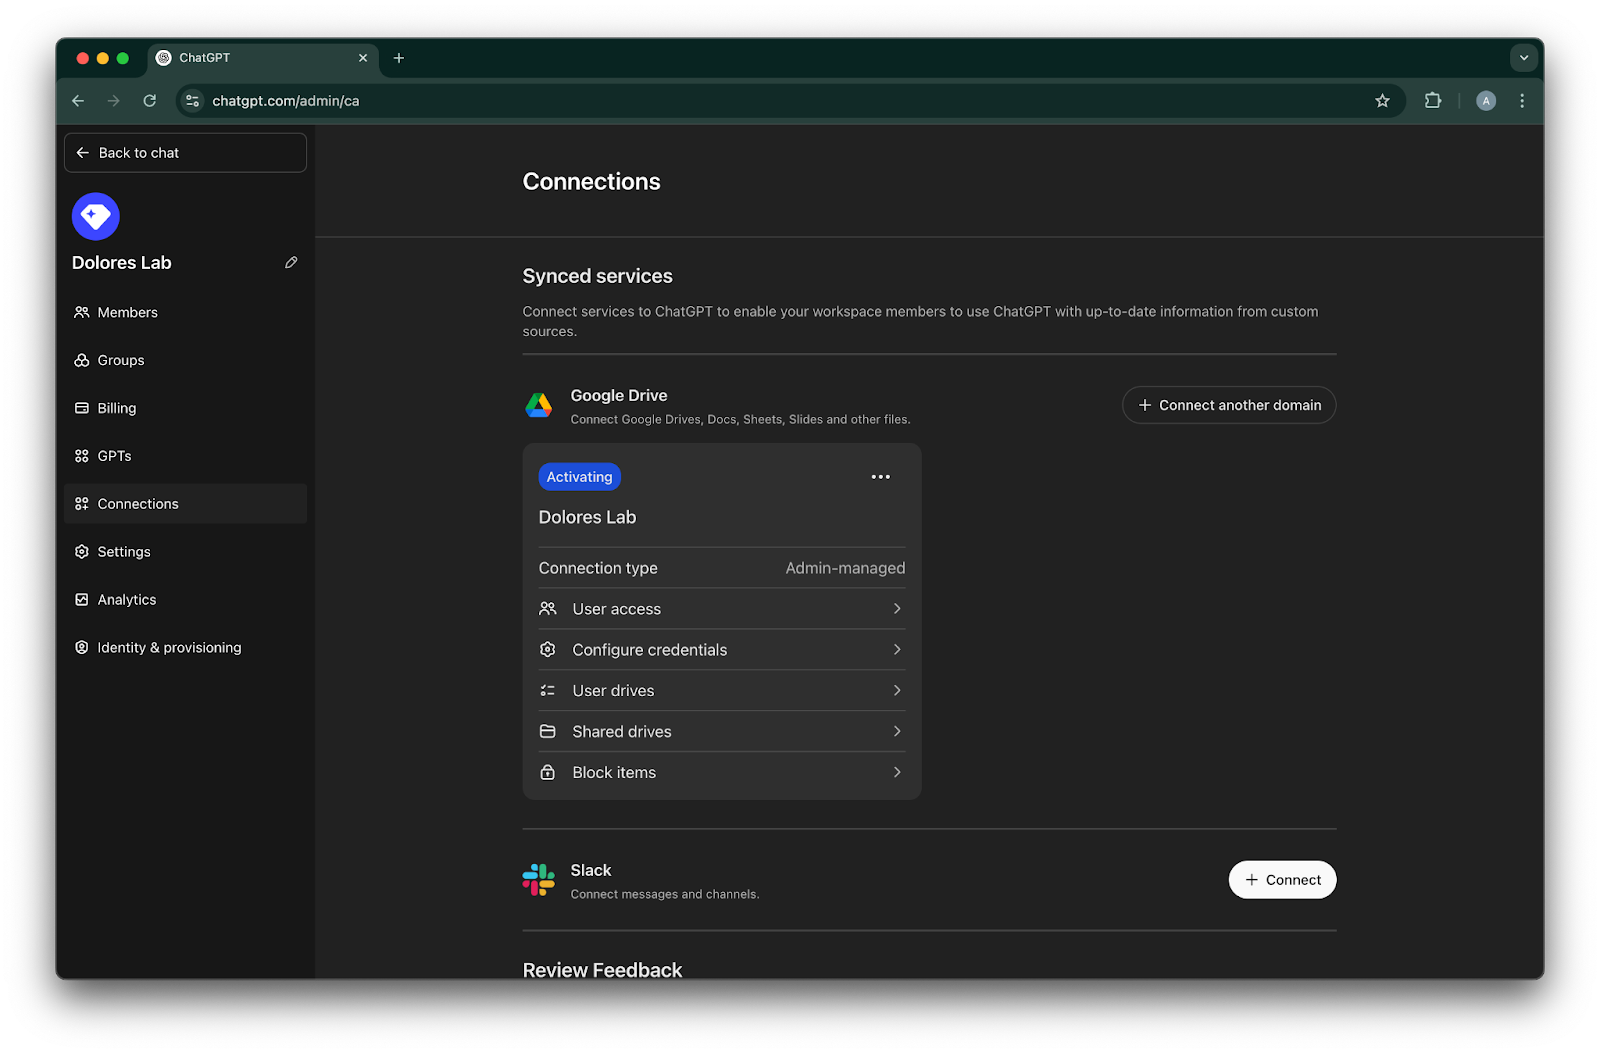
Your Google Drive connection has now been successfully created!
Please note that, while it will start syncing immediately, it can take hours to days to complete depending on how many files were included based on your settings. Once files added/edited in the past 30 days have finished syncing, the connector will become available to the users you enabled it for.
Enabling service account key creation
If you receive the following error, you will need to enable service account creation for this specific project:
The organization policy constraint ‘iam.disableServiceAccountKeyCreation’ is enforced on your organization.
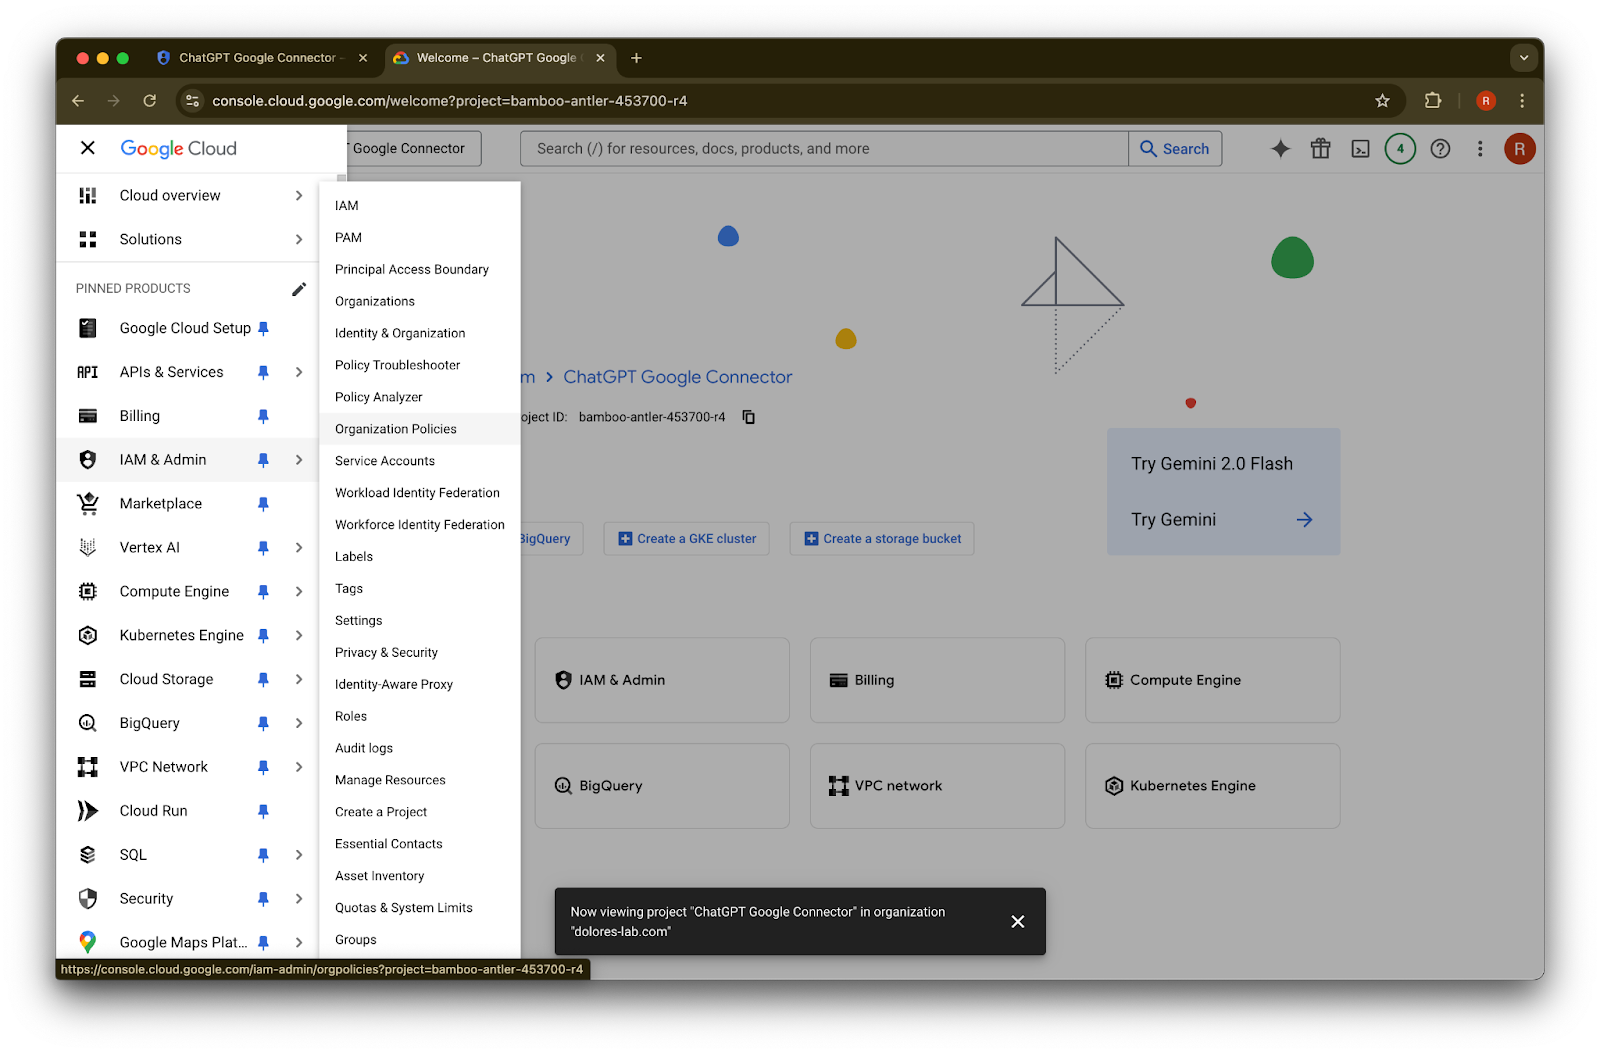
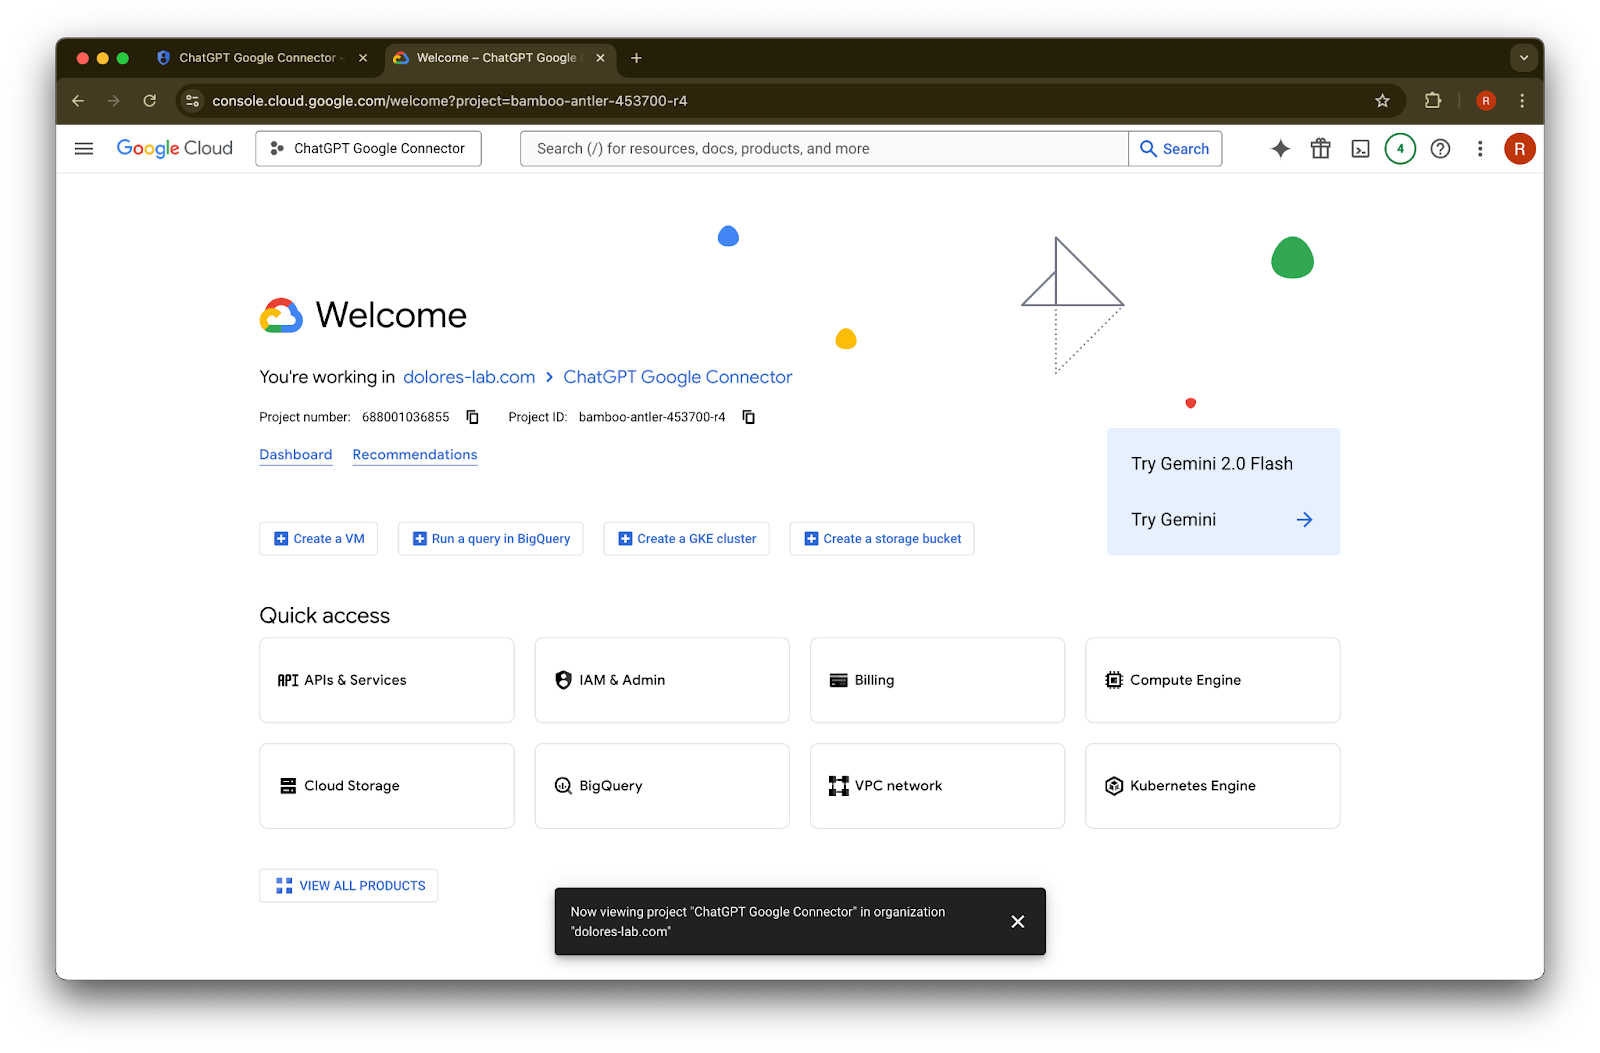
Open up a new tab and navigate to console.cloud.google.com. Make sure the selected project is the one you’ve already selected.
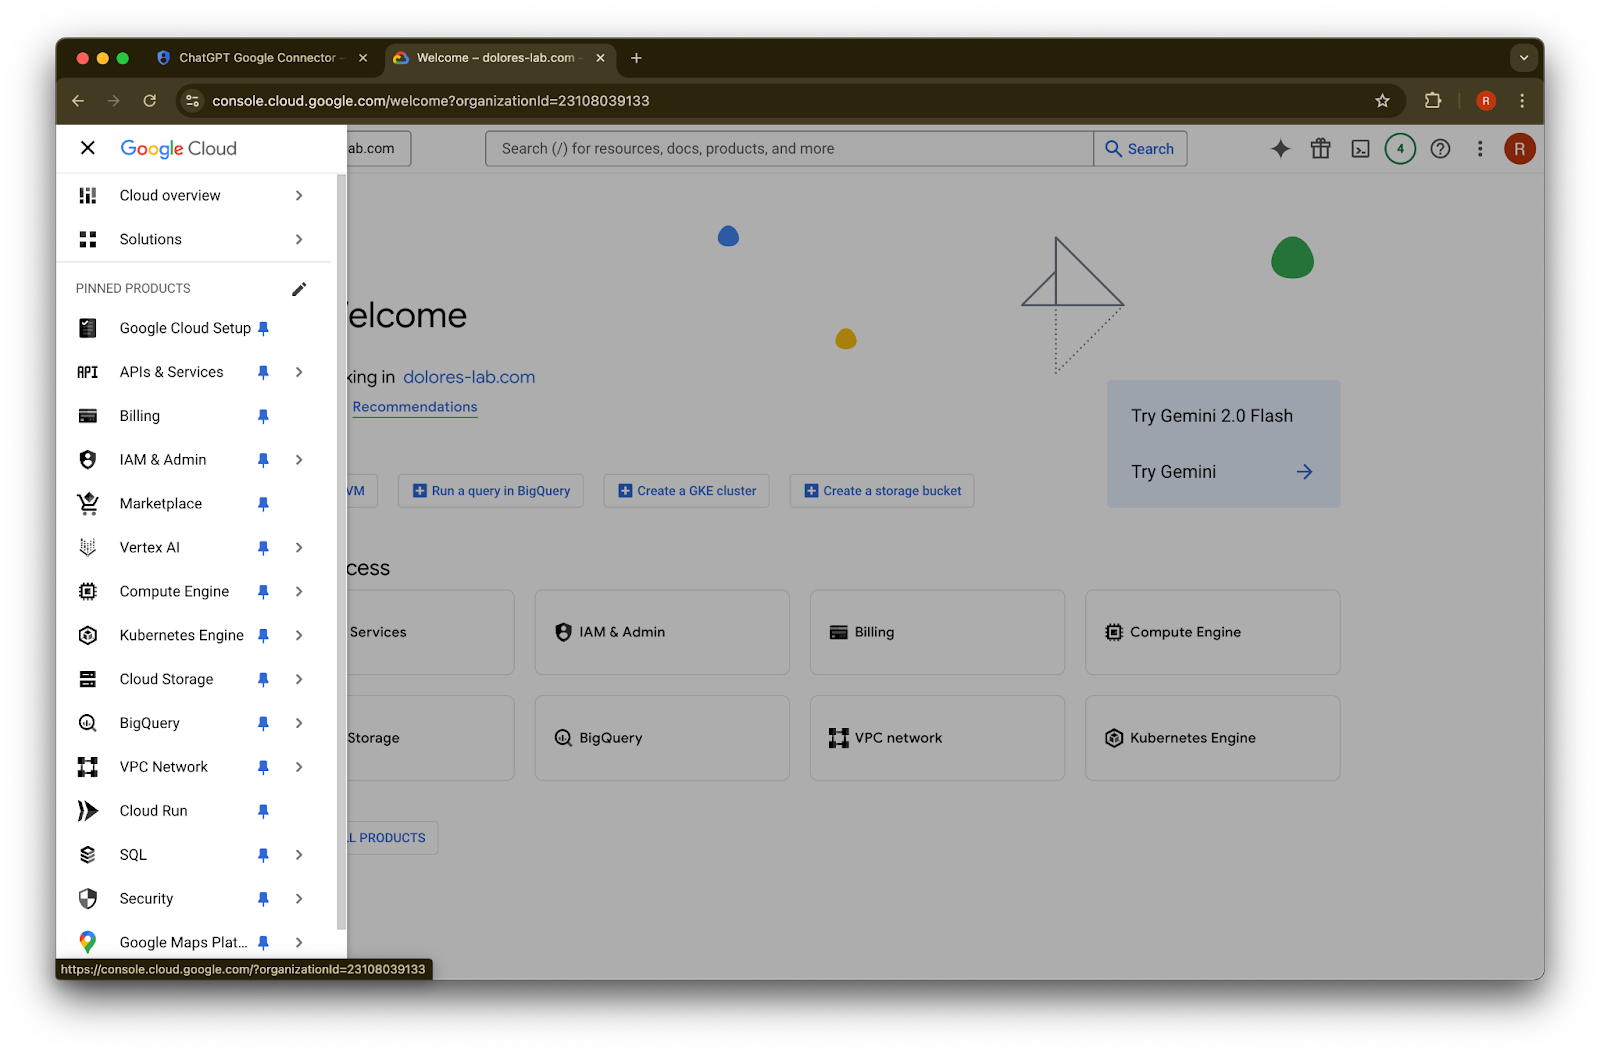
Click on the menu icon in the upper left corner.

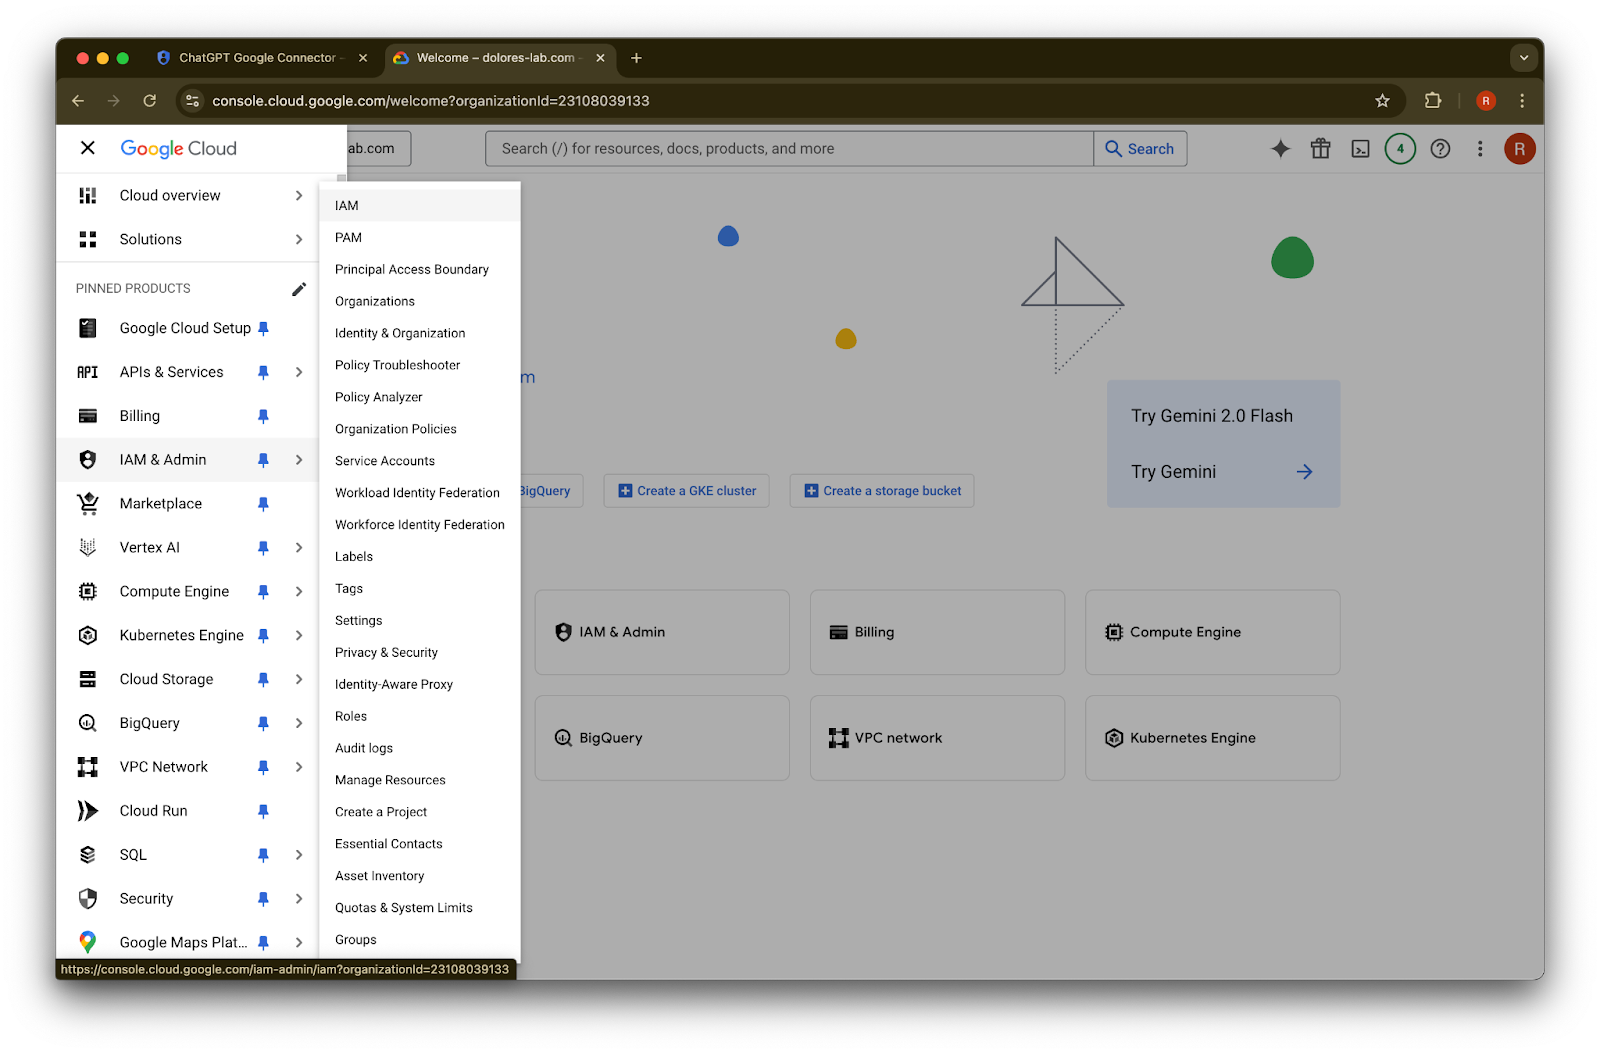
Hover over IAM & Admin

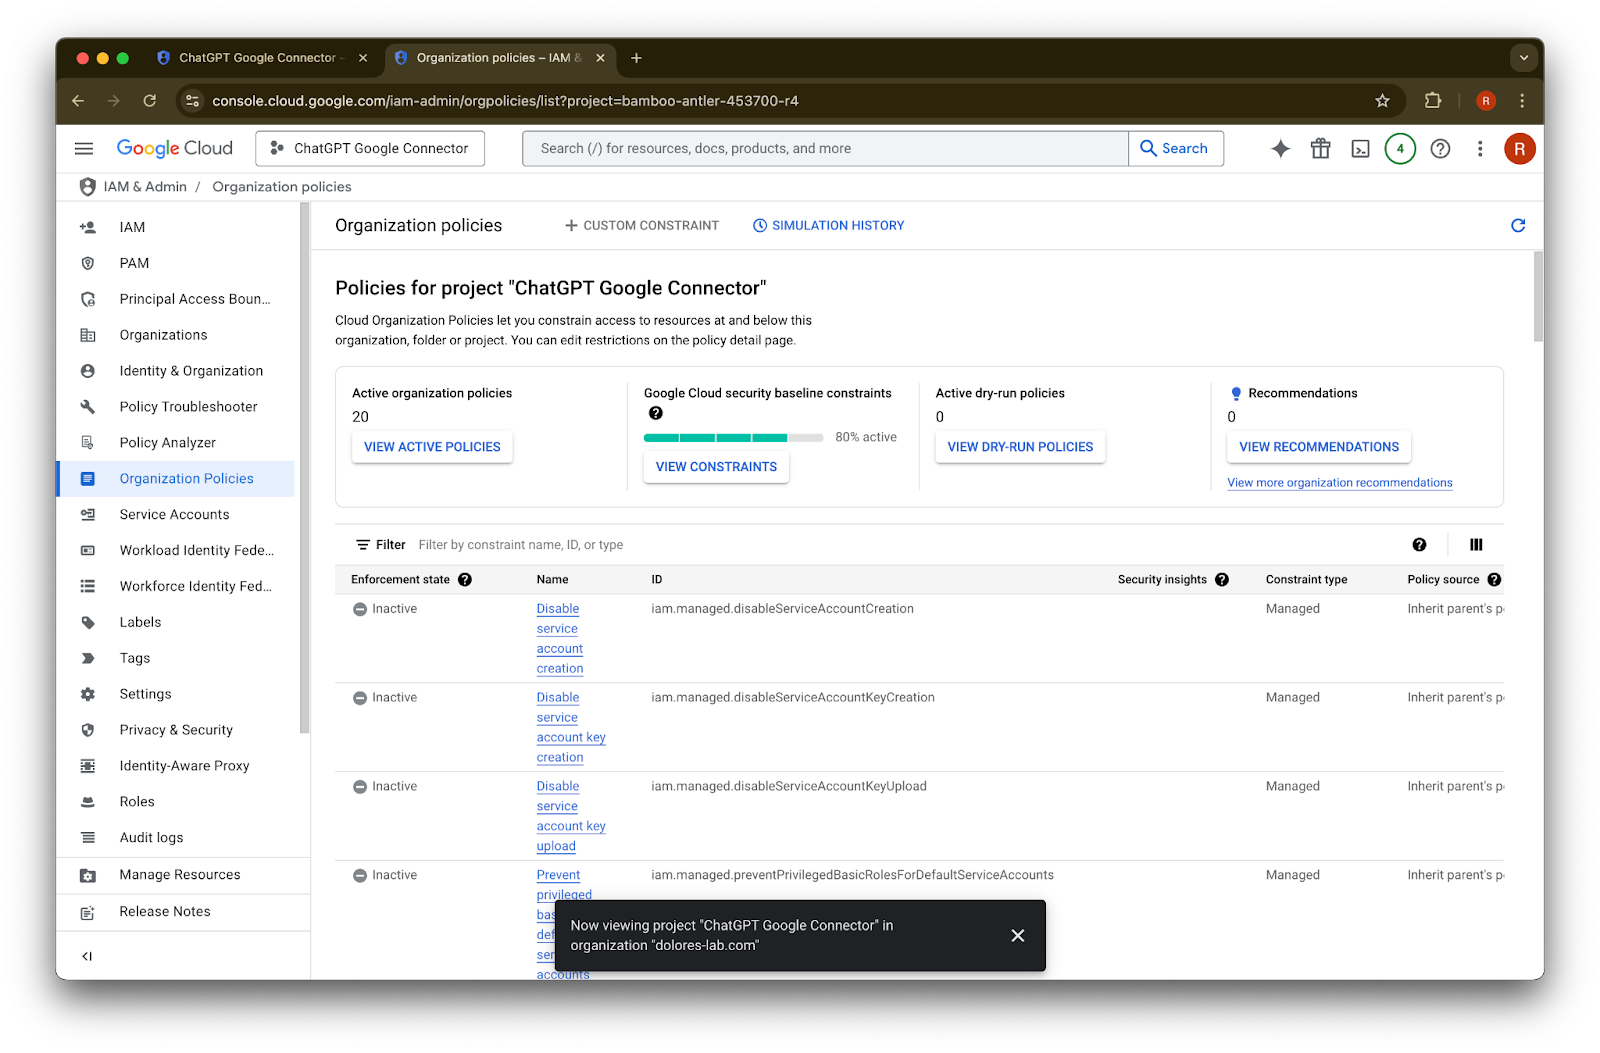
Click on Organizational Policies
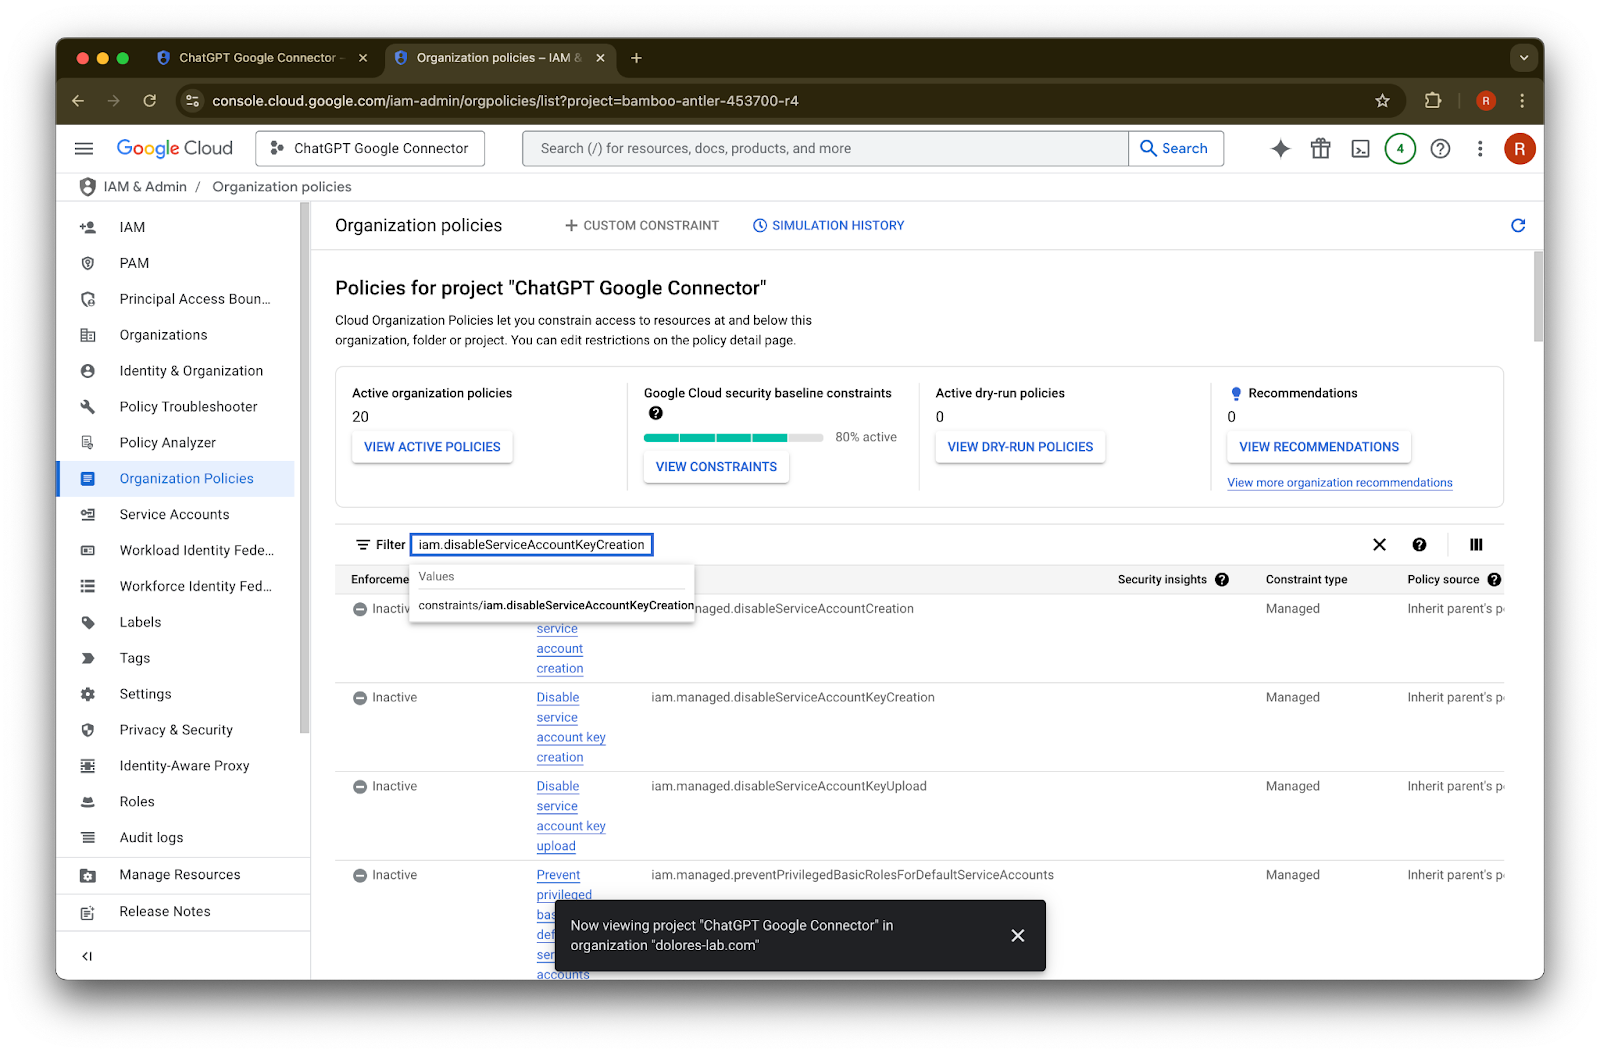
Search for iam.disableServiceAccountKeyCreation
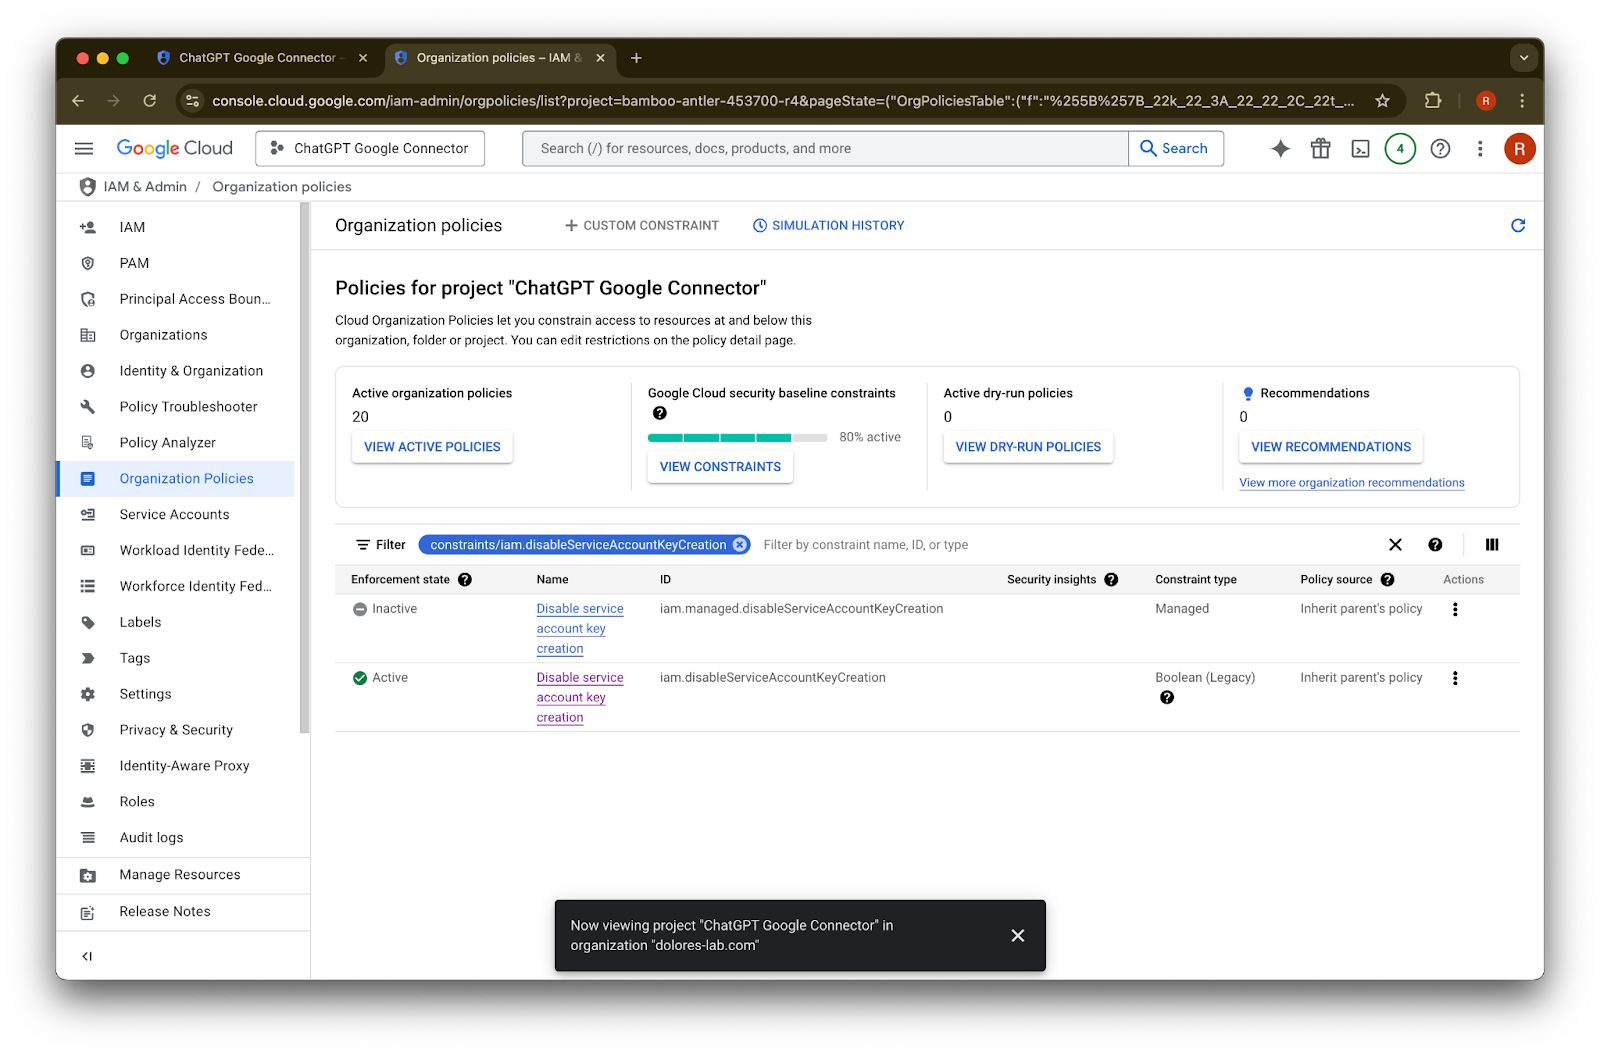
Click on the result for constraints/iam.disableServiceAccountKeyCreation
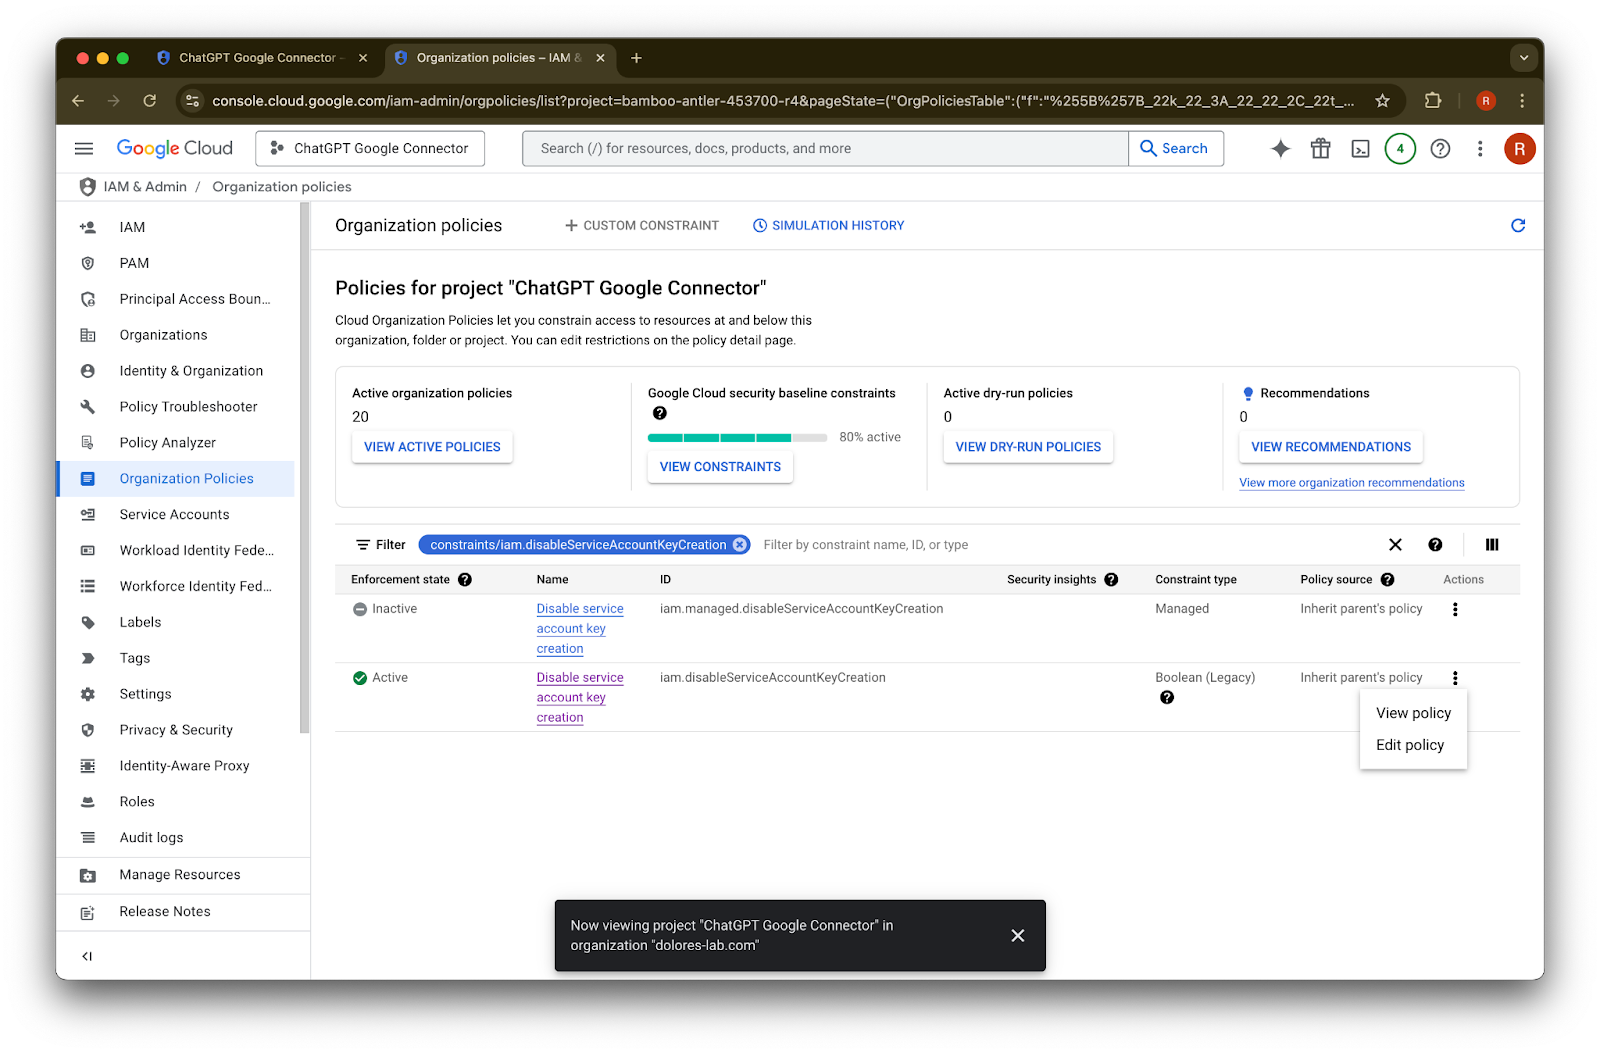
Click on the … for the row with the ID of iam.disableServiceAccountKeyCreation
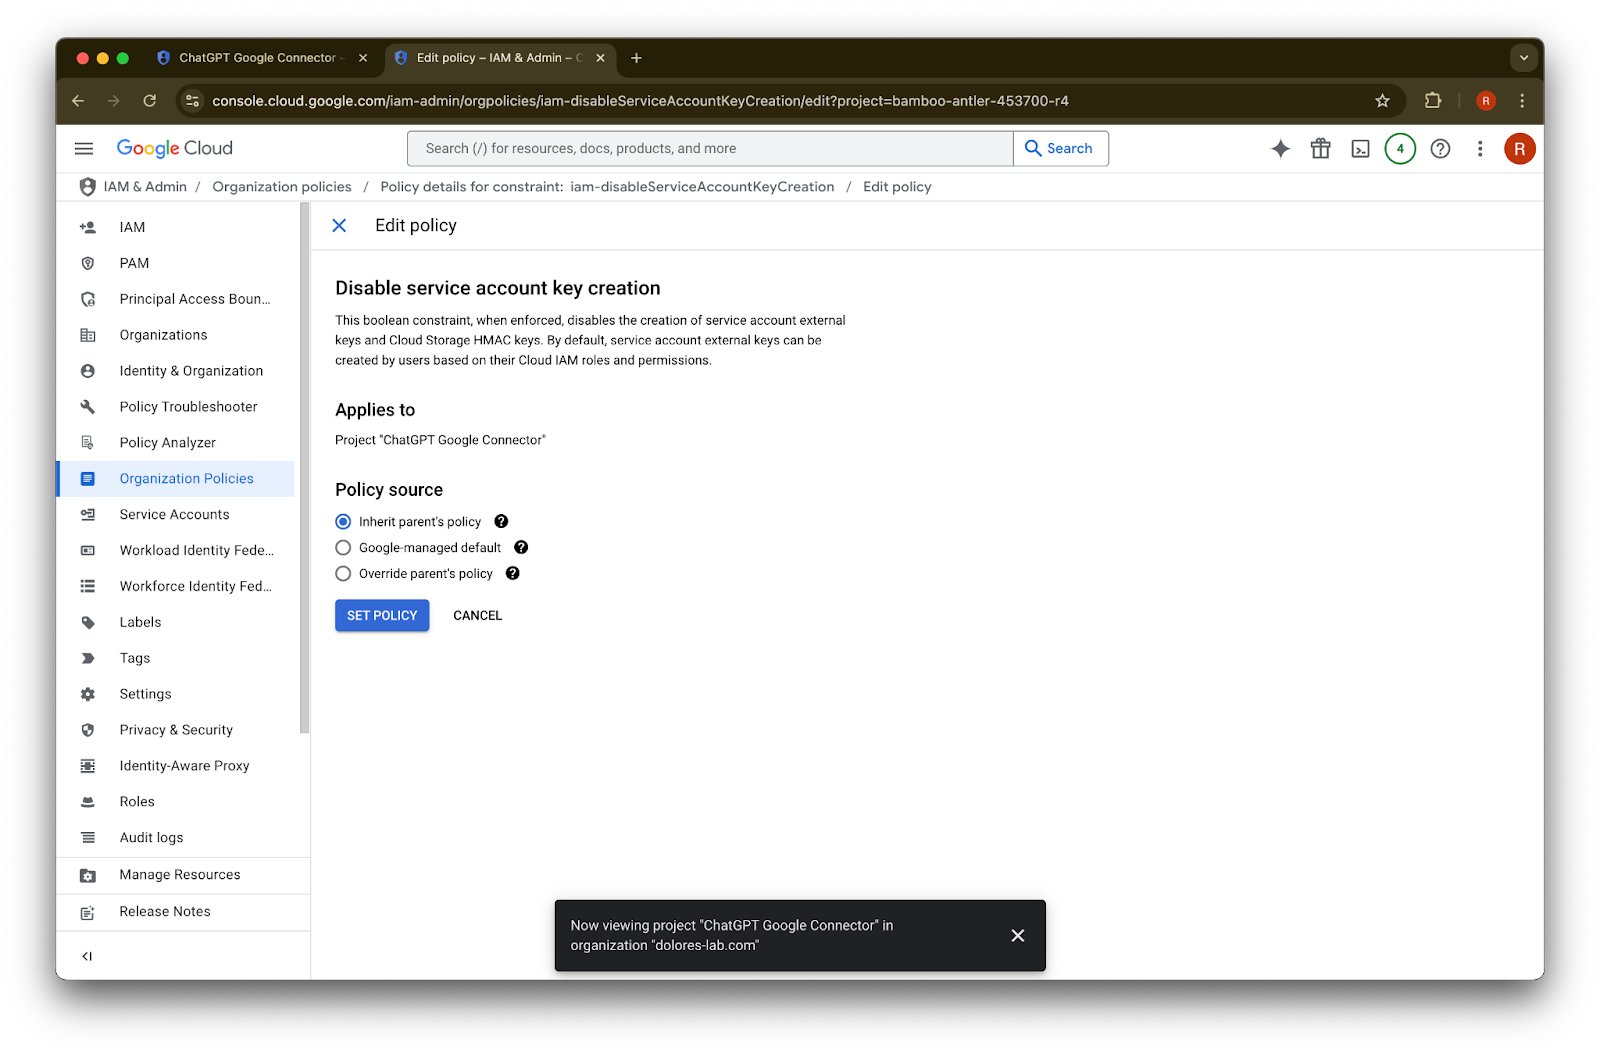
Click on Edit policy. If Edit policy is disabled, you’ll need to become an Organization Policy Administrator.
Click on Override parent’s policy
Click on Add a rule
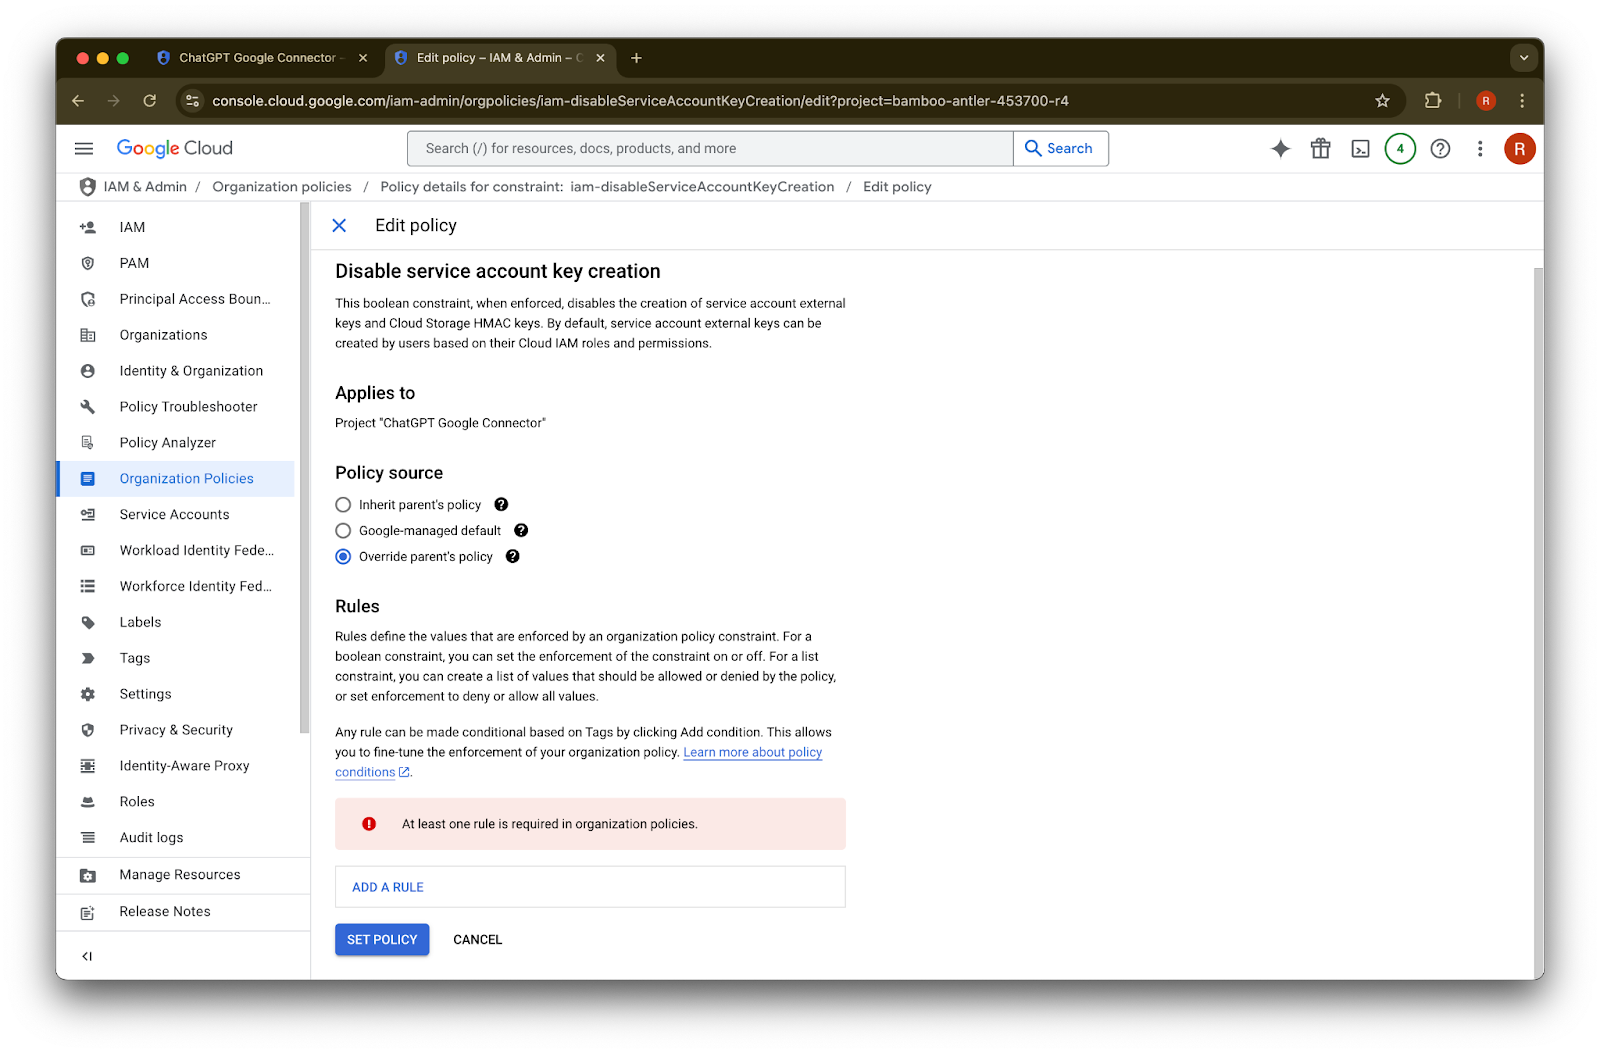
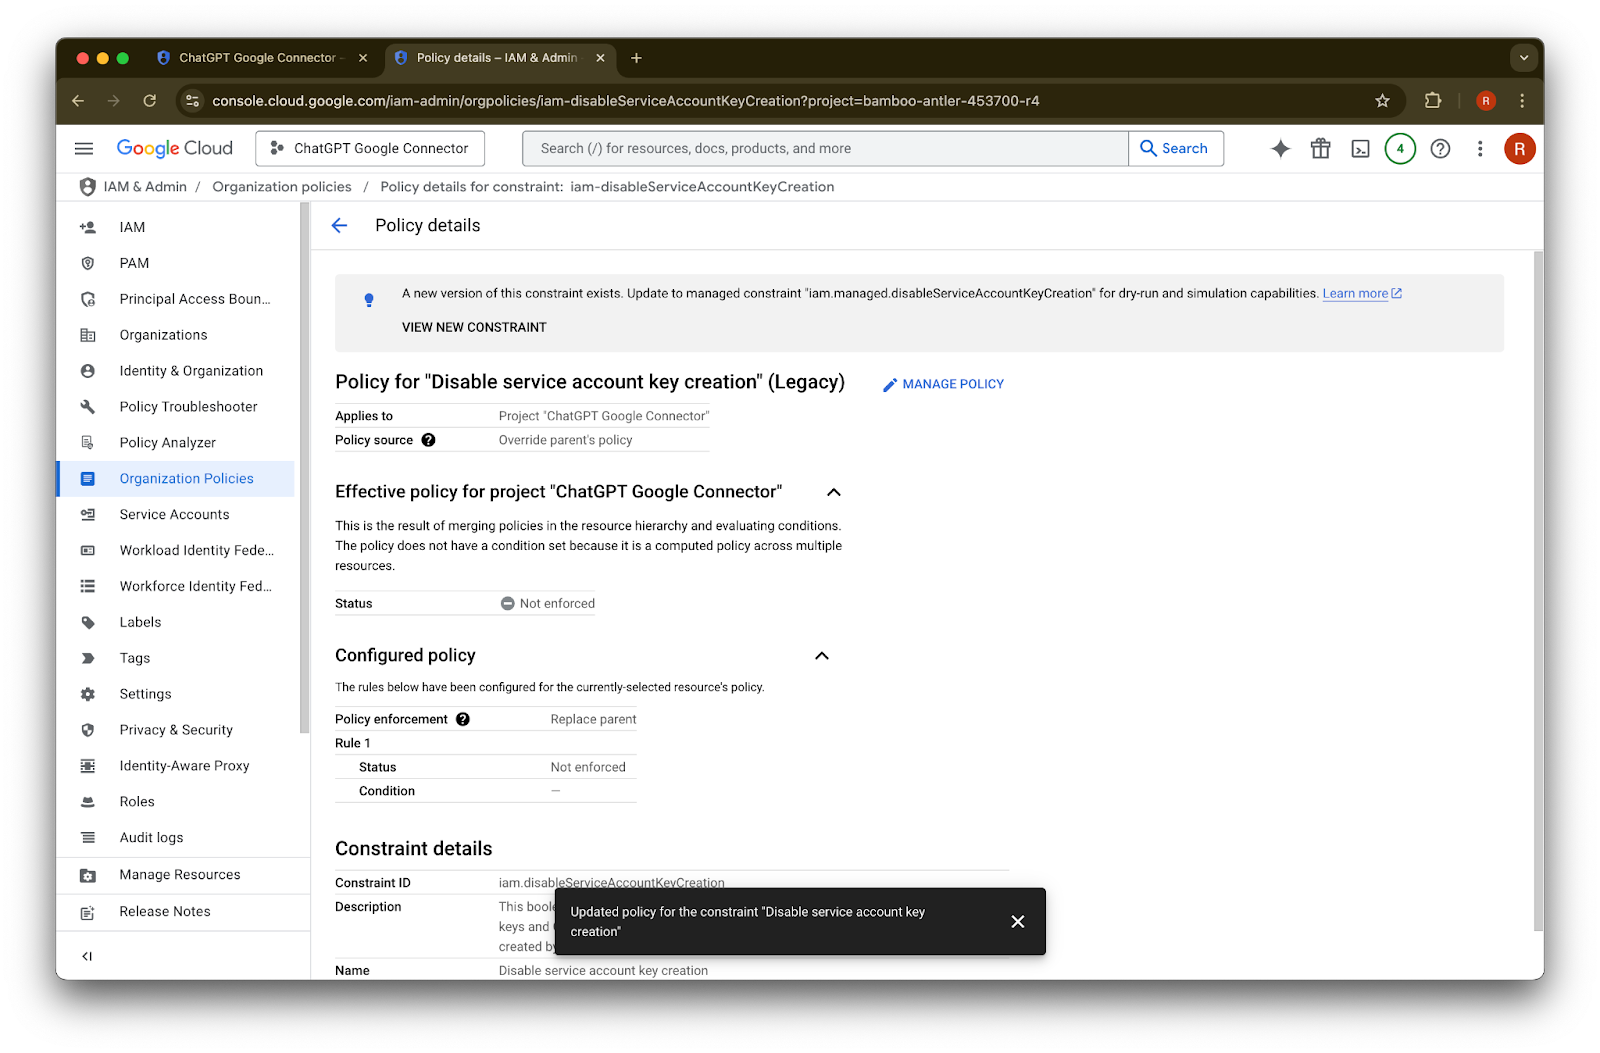
Click on Set Policy

You can now create a service account key. This enablement may take several minutes to take effect.
Becoming an Organization Policy Administrator
Navigate to console.cloud.google.com and click on the project/organization selector
Click on your organization
Click on the menu icon in the upper-left corner
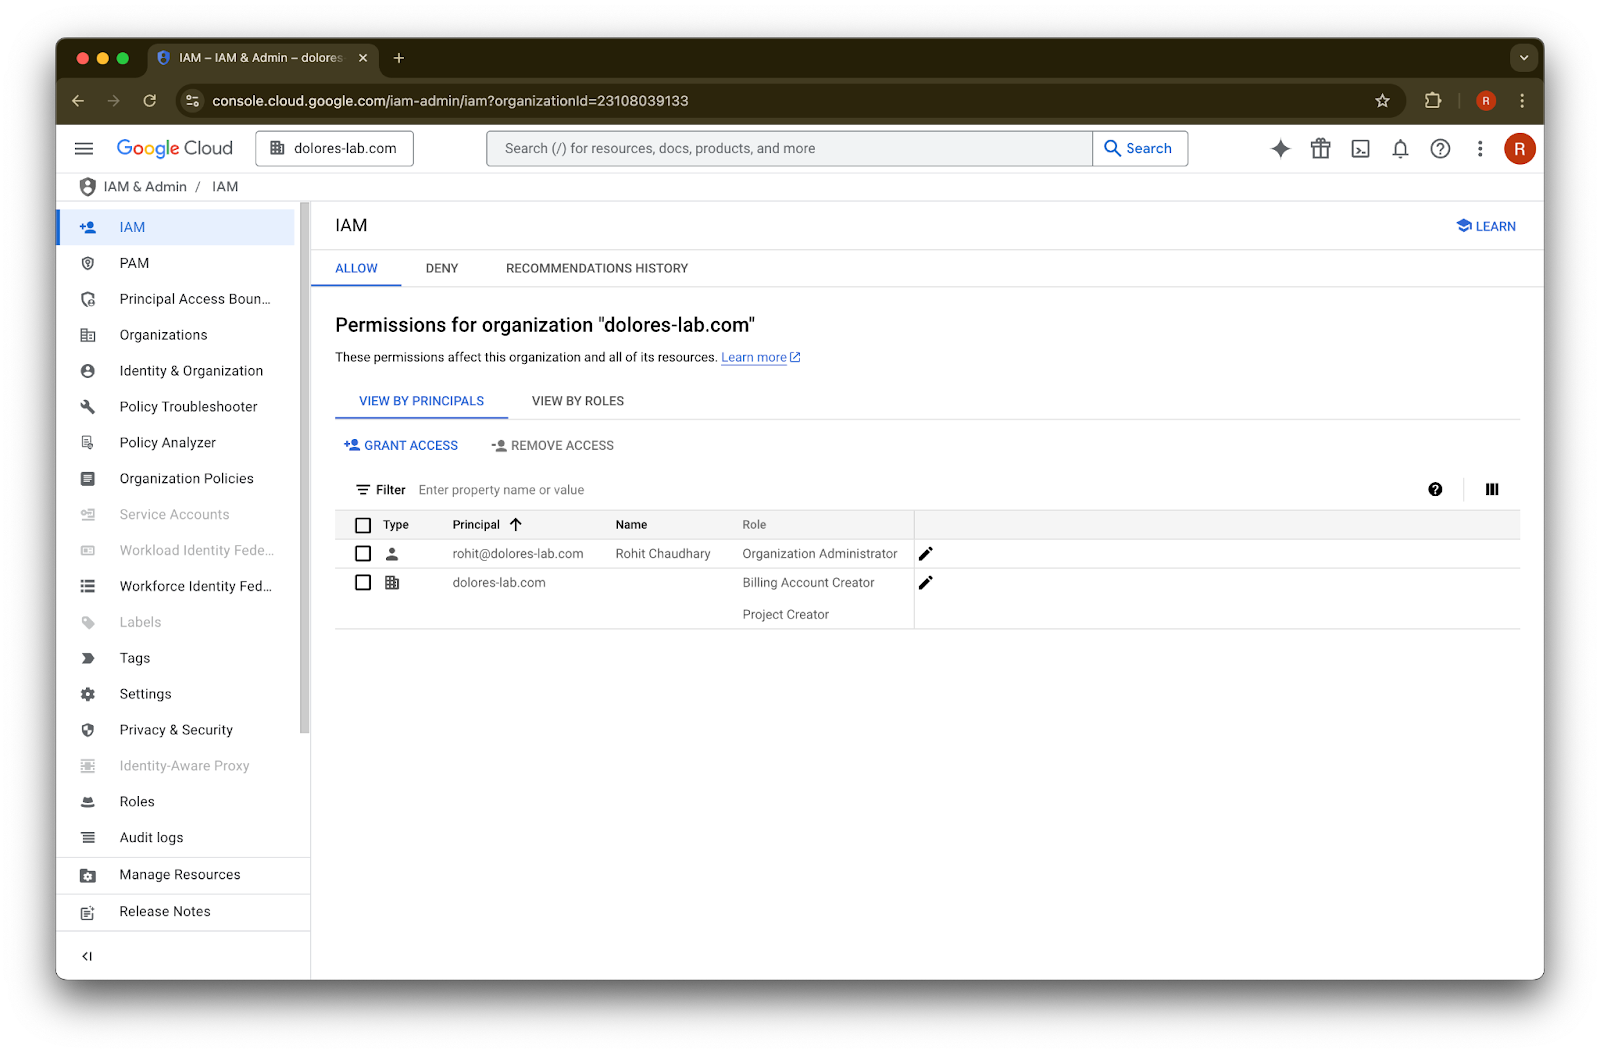
Hover over IAM & Admin
Click on IAM
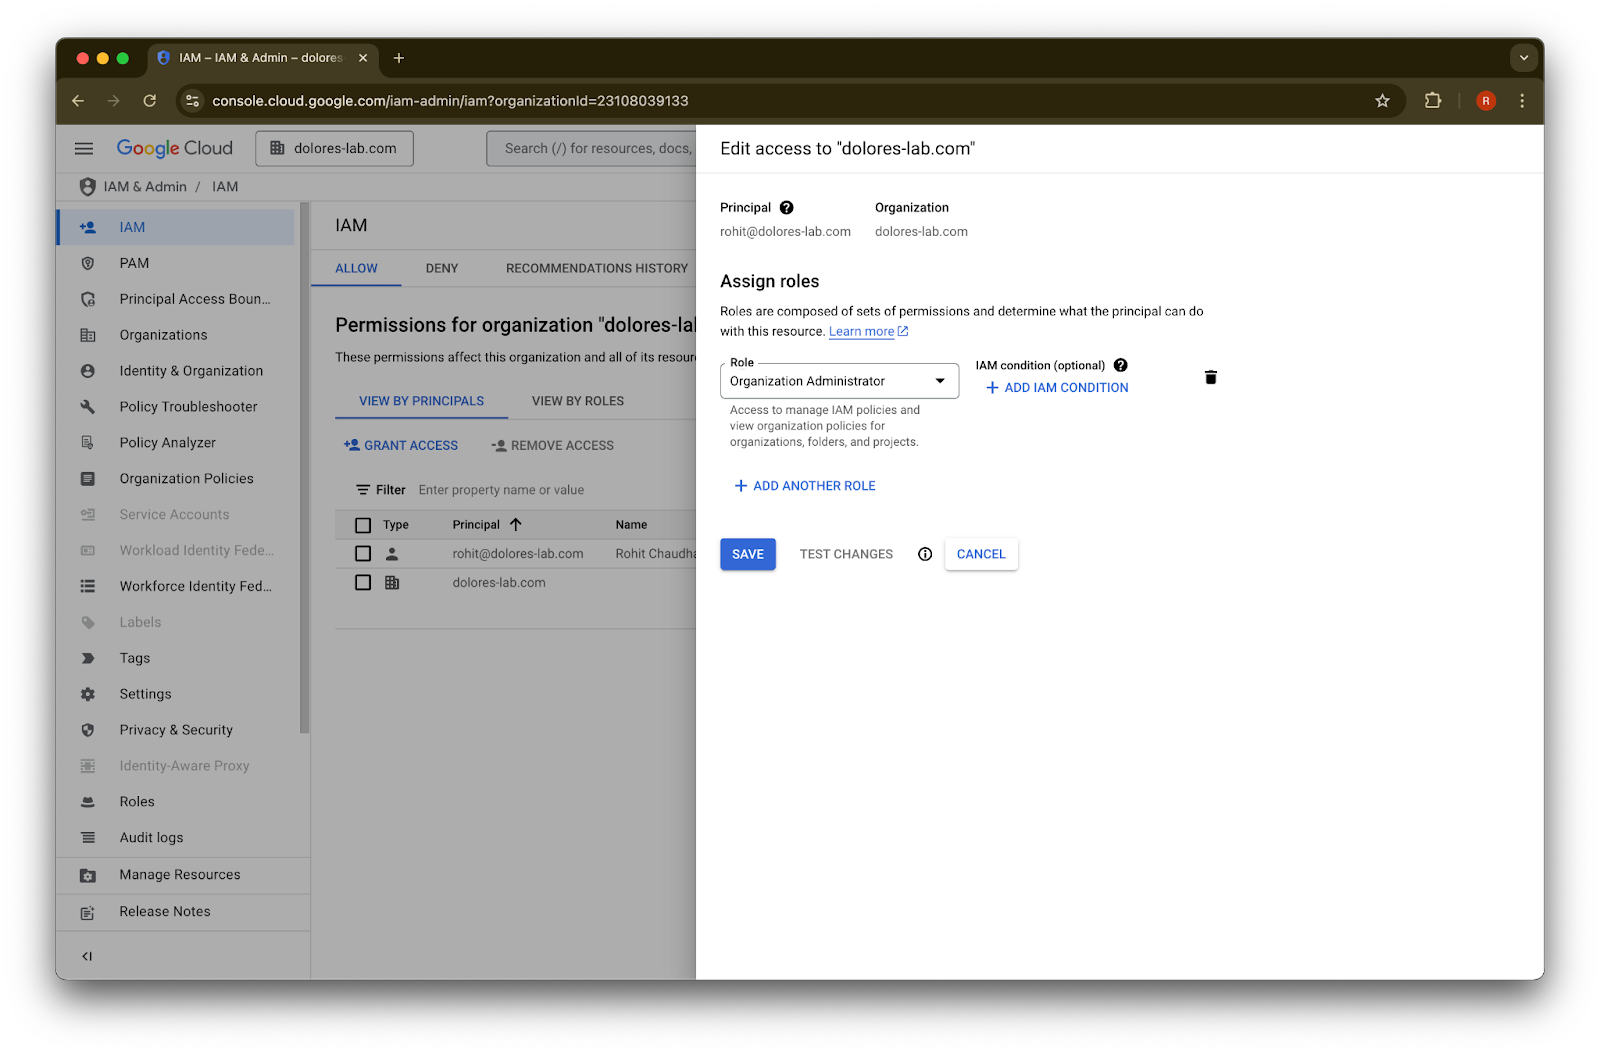
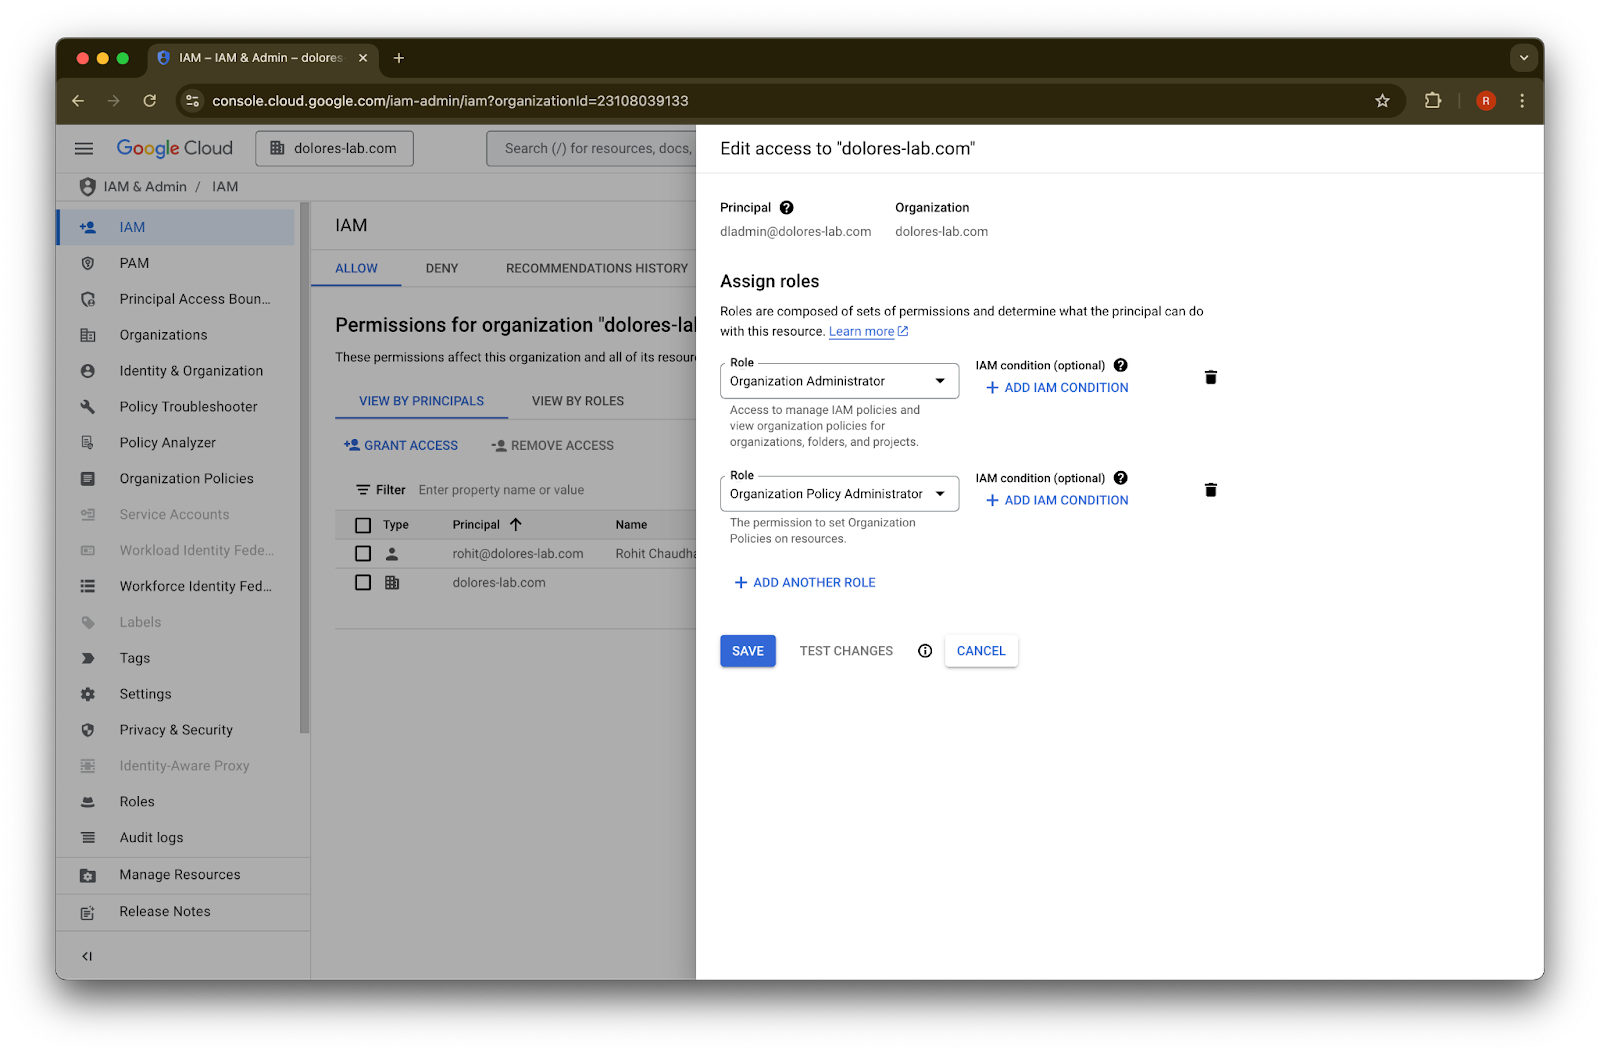
Click on the pencil for your account
Click on Add Another Role
Search for Organization Policy Administrator
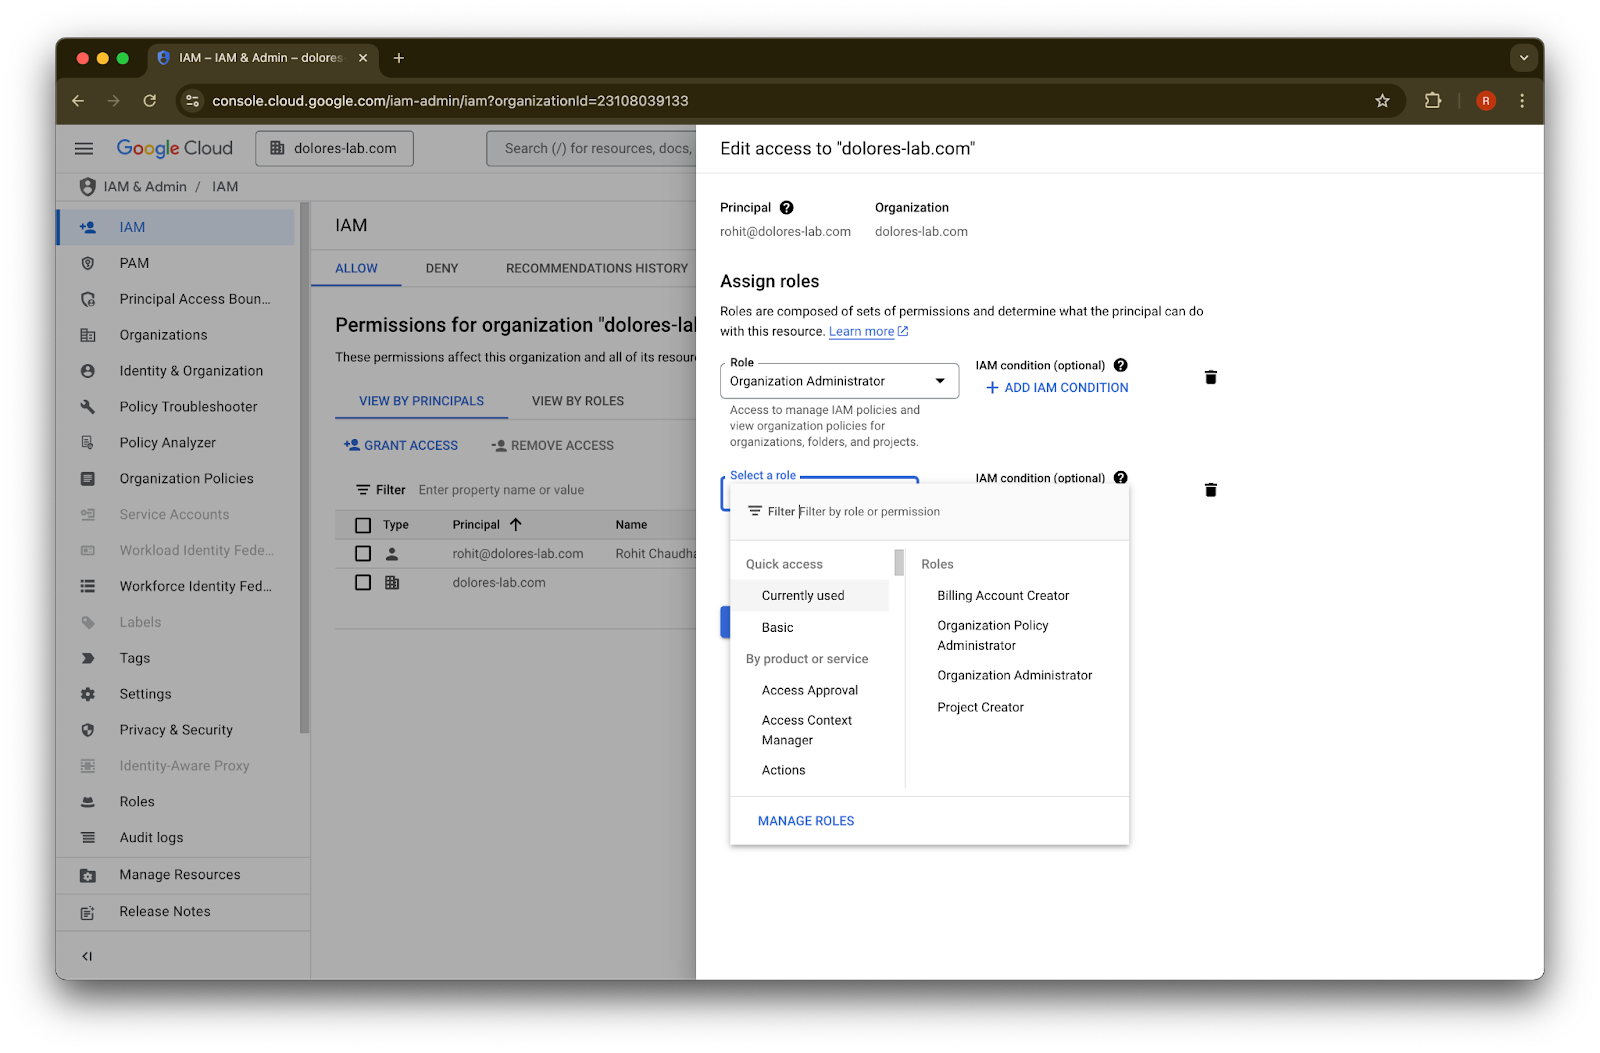
Click on Organization Policy Administrator
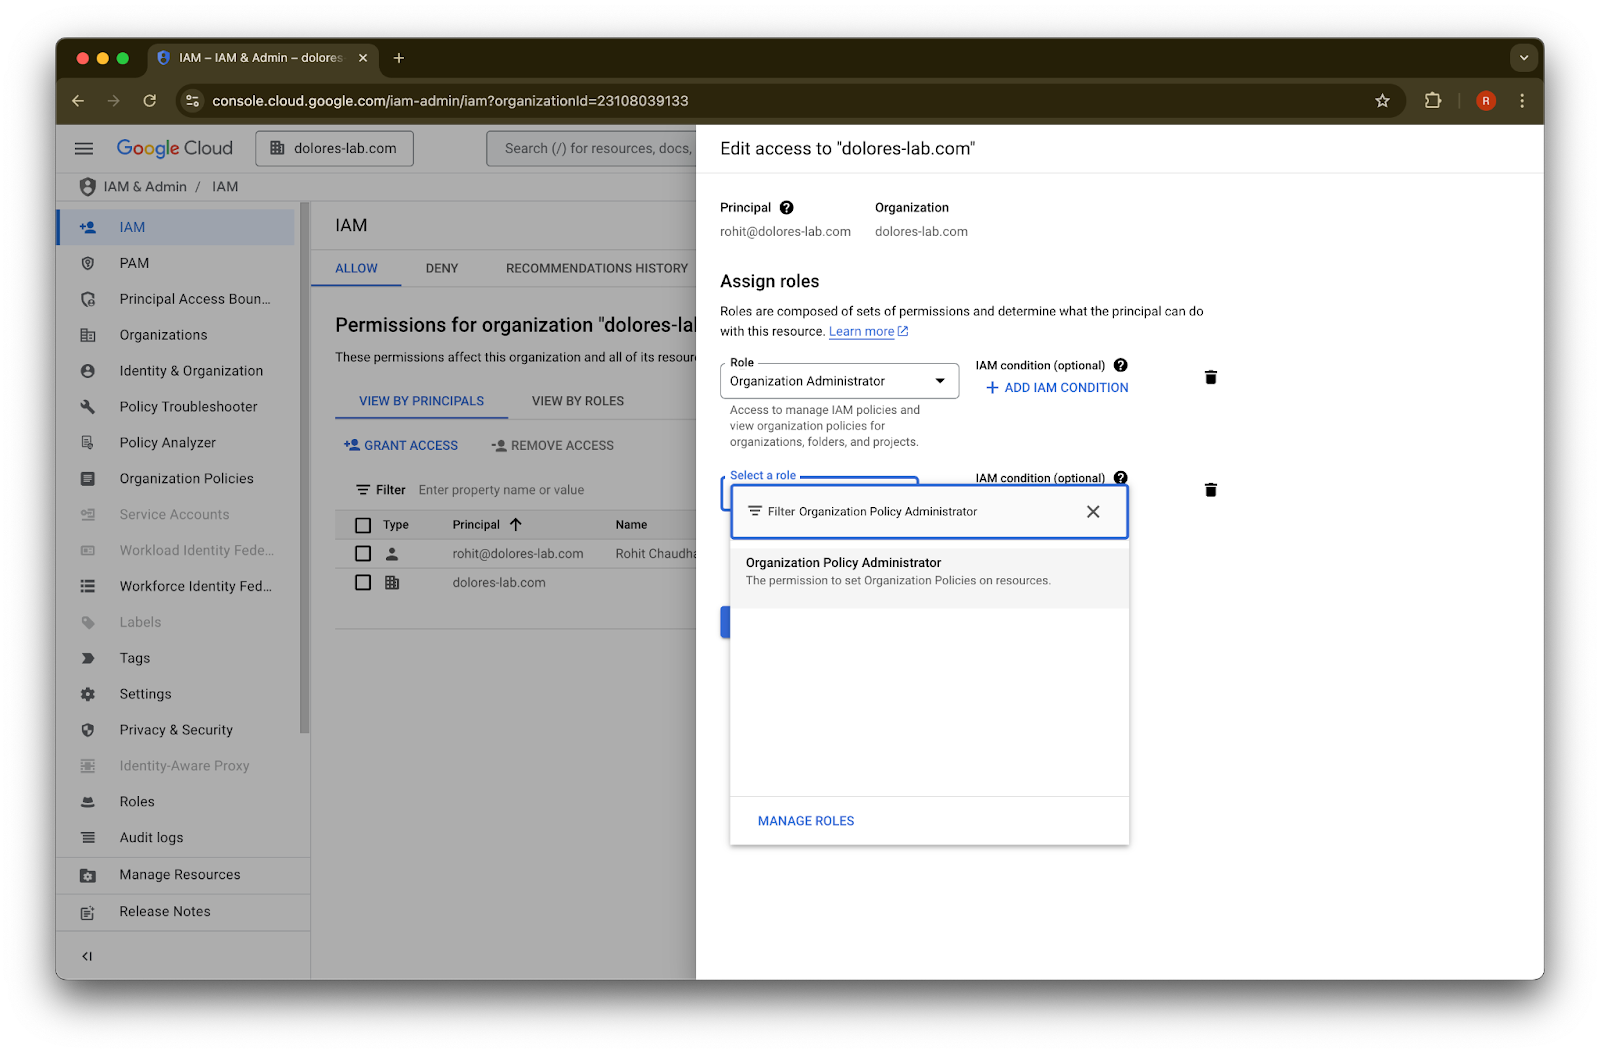
Click Save
Your account now has permission to enable service account key creation. This may take several minutes to take effect.
Using a Google Email Alias to Maintain Different Email Accounts for Google Workspace and ChatGPT
If you're an admin connecting Google Workspace to your ChatGPT workspace using the admin-managed setup for Google Drive synced connectors, and your organization uses different email domains for ChatGPT and Google Workspace, you’ll need to take additional steps to ensure users can successfully access Google Drive synced connectors.
Recommendation: Whenever possible, use the same primary email addresses for both Google Workspace and ChatGPT accounts.
If this isn’t feasible, follow the instructions below to configure a Google Workspace email alias that matches the ChatGPT sign-in email.
Steps to Add a Google Workspace Alias
Follow these steps in the Google Admin Console to ensure each user's ChatGPT email can be linked to their Google Workspace account:
Go to the Admin Console. Navigate to: Directory > Users
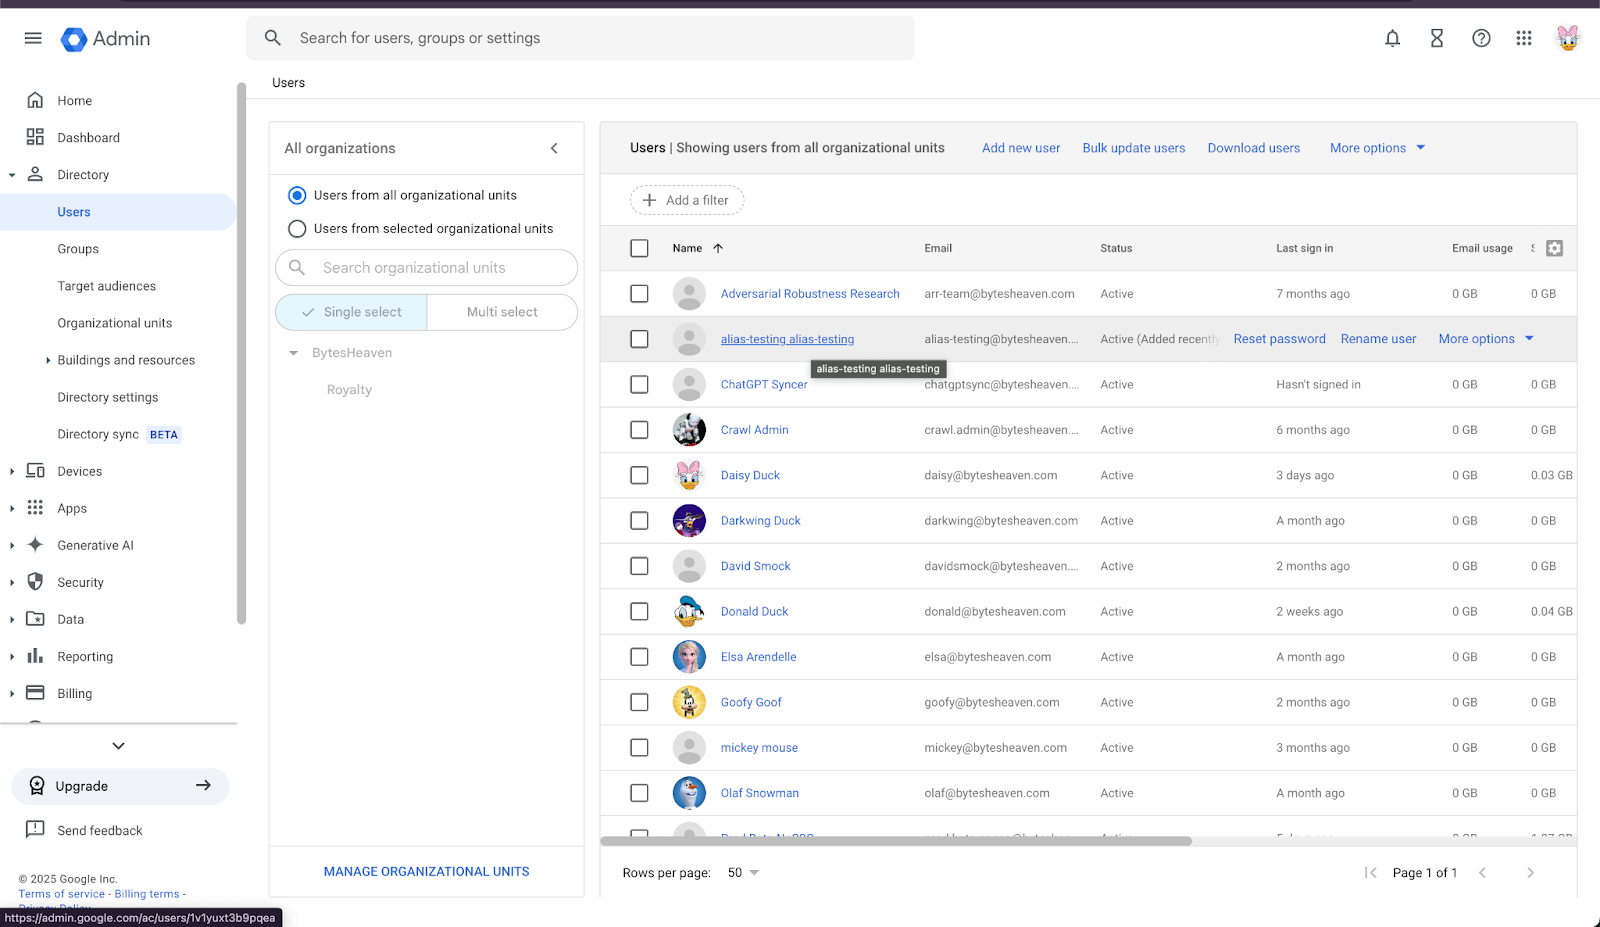
Select a User, then “ADD ALTERNATIVE EMAILS”.
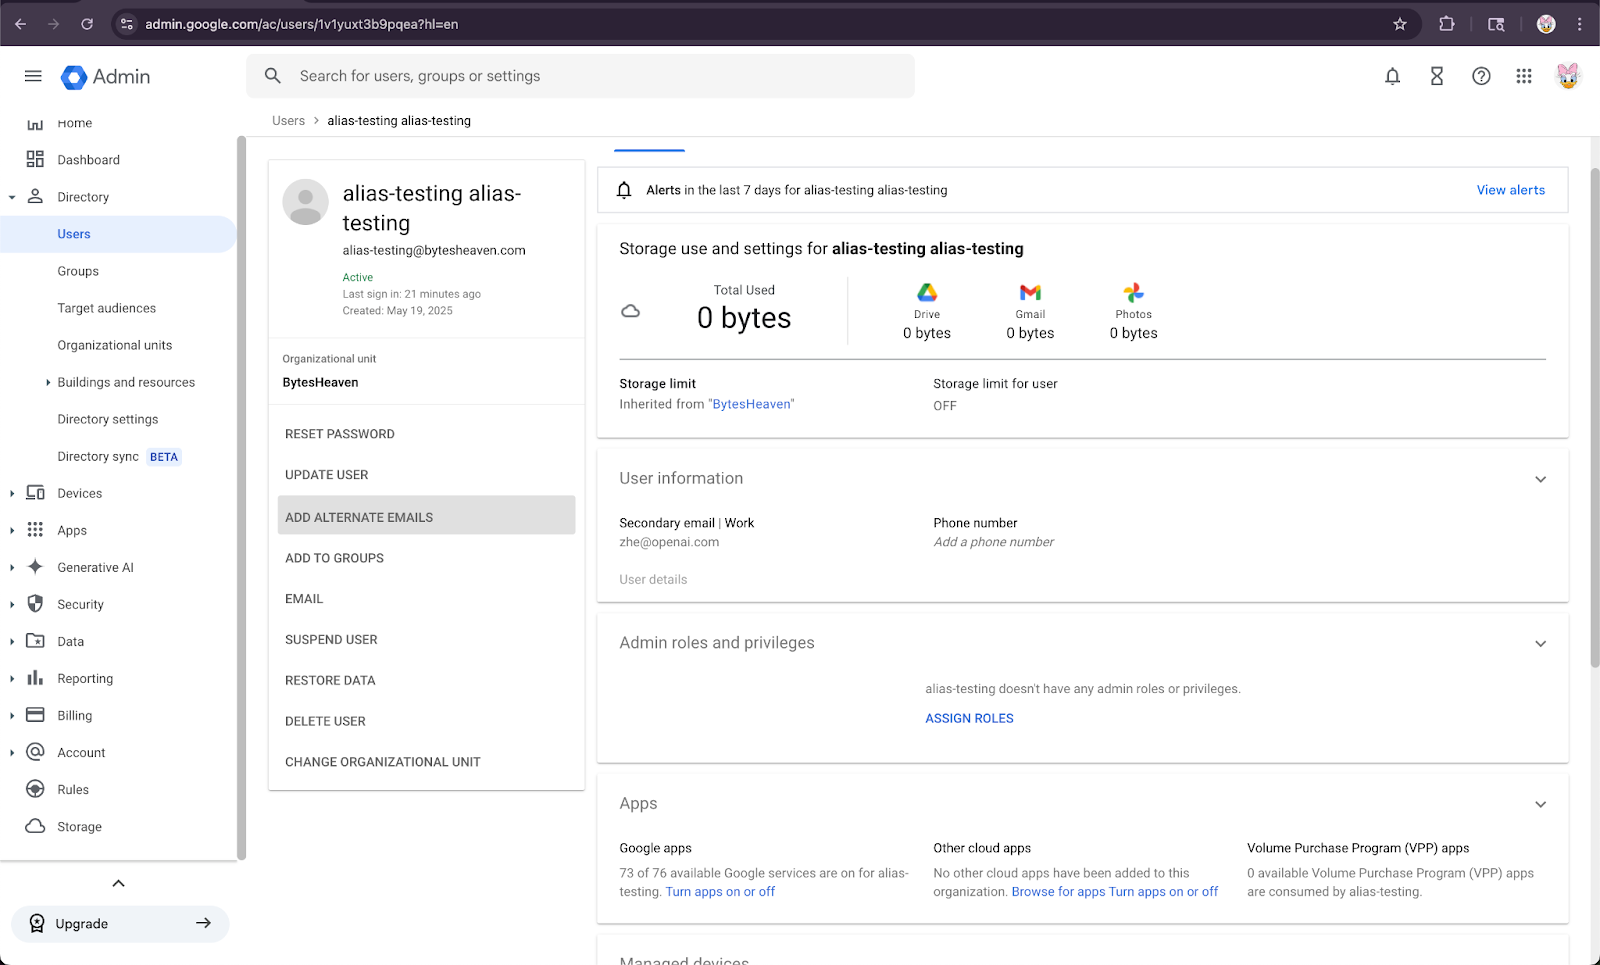
Add an Alternative Email. Ensure it corresponds to the user’s ChatGPT account.

Select Save
---
Known Limitations
Personal email addresses are not supported
Users who register for ChatGPT using personal addresses (e.g., example@gmail.com) cannot connect to Google Workspace. This setup is unsupported and presents a security risk, as it enables access to internal data from outside the organization.
Gmail "+" aliases are not supported
Gmail allows users to create aliases by appending a "+" to their address (e.g., user+alias@gmail.com). This type of aliasing does not work with Google Drive synced connectors. The alias must be explicitly configured in Google Workspace.
Common Error Message
If email addresses are not properly linked, users may encounter this message: "We were unable to connect your account to Google Drive. Click to learn more."
If users receive this message, review the steps in this document and ensure they are followed accurately. If additional assistance is needed, please contact our support team.