لربط Google Workspace لديك بـ ChatGPT باستخدام الإعداد المُدار بواسطة المسؤول، ستقوم أولًا بتهيئة الوصول في وحدات تحكم مسؤول Google:
أنشئ حساب خدمة يتمتع بوصول للقراءة فقط إلى Google Drive والمستخدمين والمجموعات.
يوصى بشدة بإنشاء حساب الخدمة هذا ضمن حساب Google نفسه المرتبط بمساحة عمل ChatGPT المشتركة لديك. إذا كانت الحسابات في مساحة عمل ChatGPT المشتركة تستخدم نطاق بريد إلكتروني مختلفًا عن النطاق المستخدم في Google Workspace، فهناك خطوات إضافية يجب عليك اتباعها لتمكين هذا الموصل لمستخدميك.
أنشئ حساب مسؤول سيتصرف حساب الخدمة بالنيابة عنه.
ثم أكمل الإعداد في وحدة تحكم مسؤول ChatGPT:
حمّل المفتاح الخاص لحساب الخدمة (ملف JSON من Google)
حدّد حساب المسؤول (لا يلزم تقديم بيانات اعتماد).
حدد الملفات المراد مزامنتها واختر المستخدمين الذين سيكون لديهم حق الوصول إلى الاتصال.
يشرح هذا الدليل كل خطوة من هذه الخطوات الست.
إعداد حساب خدمة
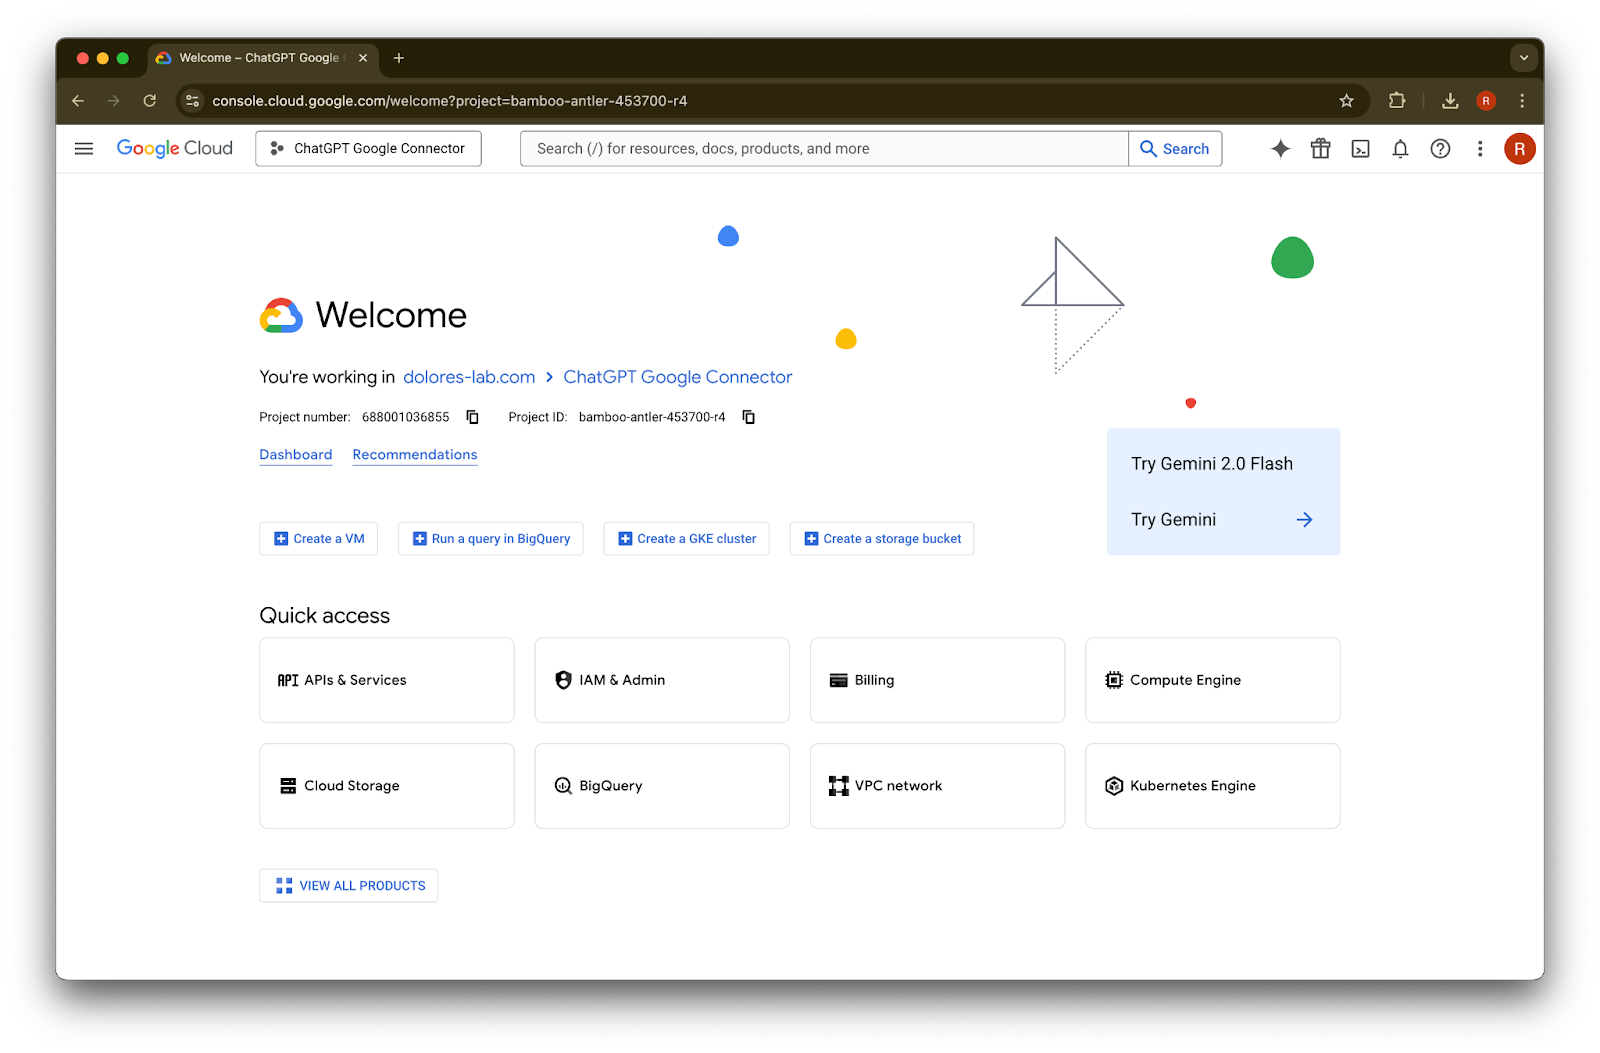
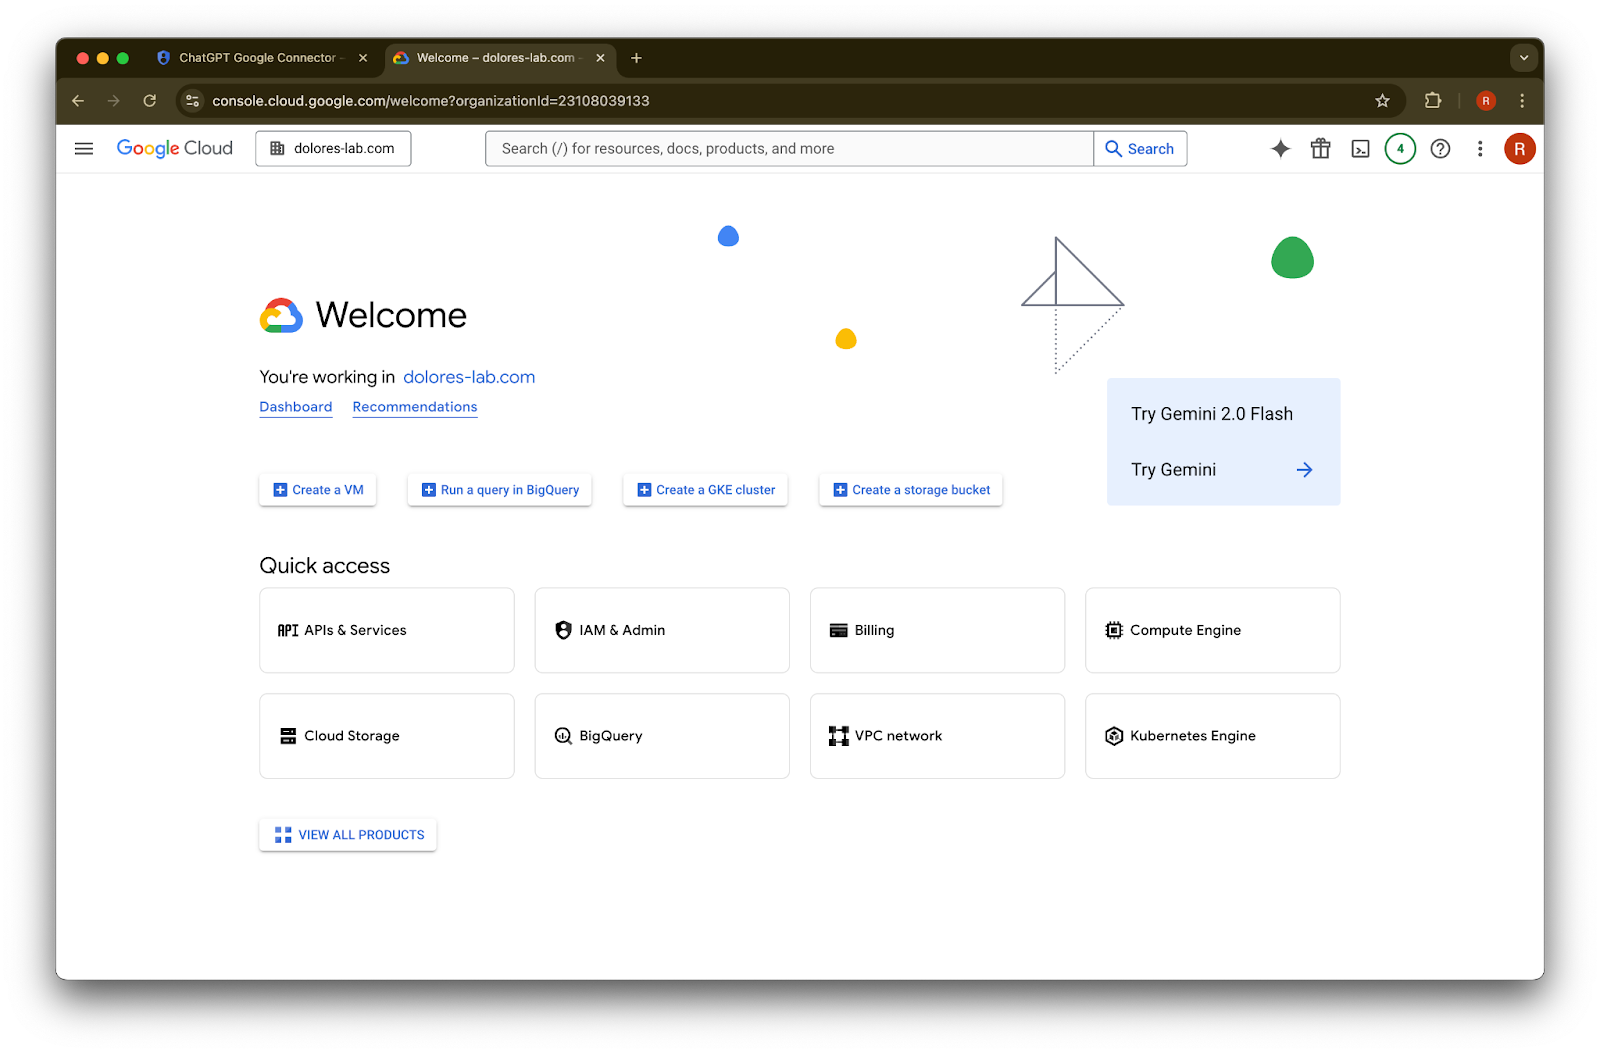
انتقل إلى console.cloud.google.com.
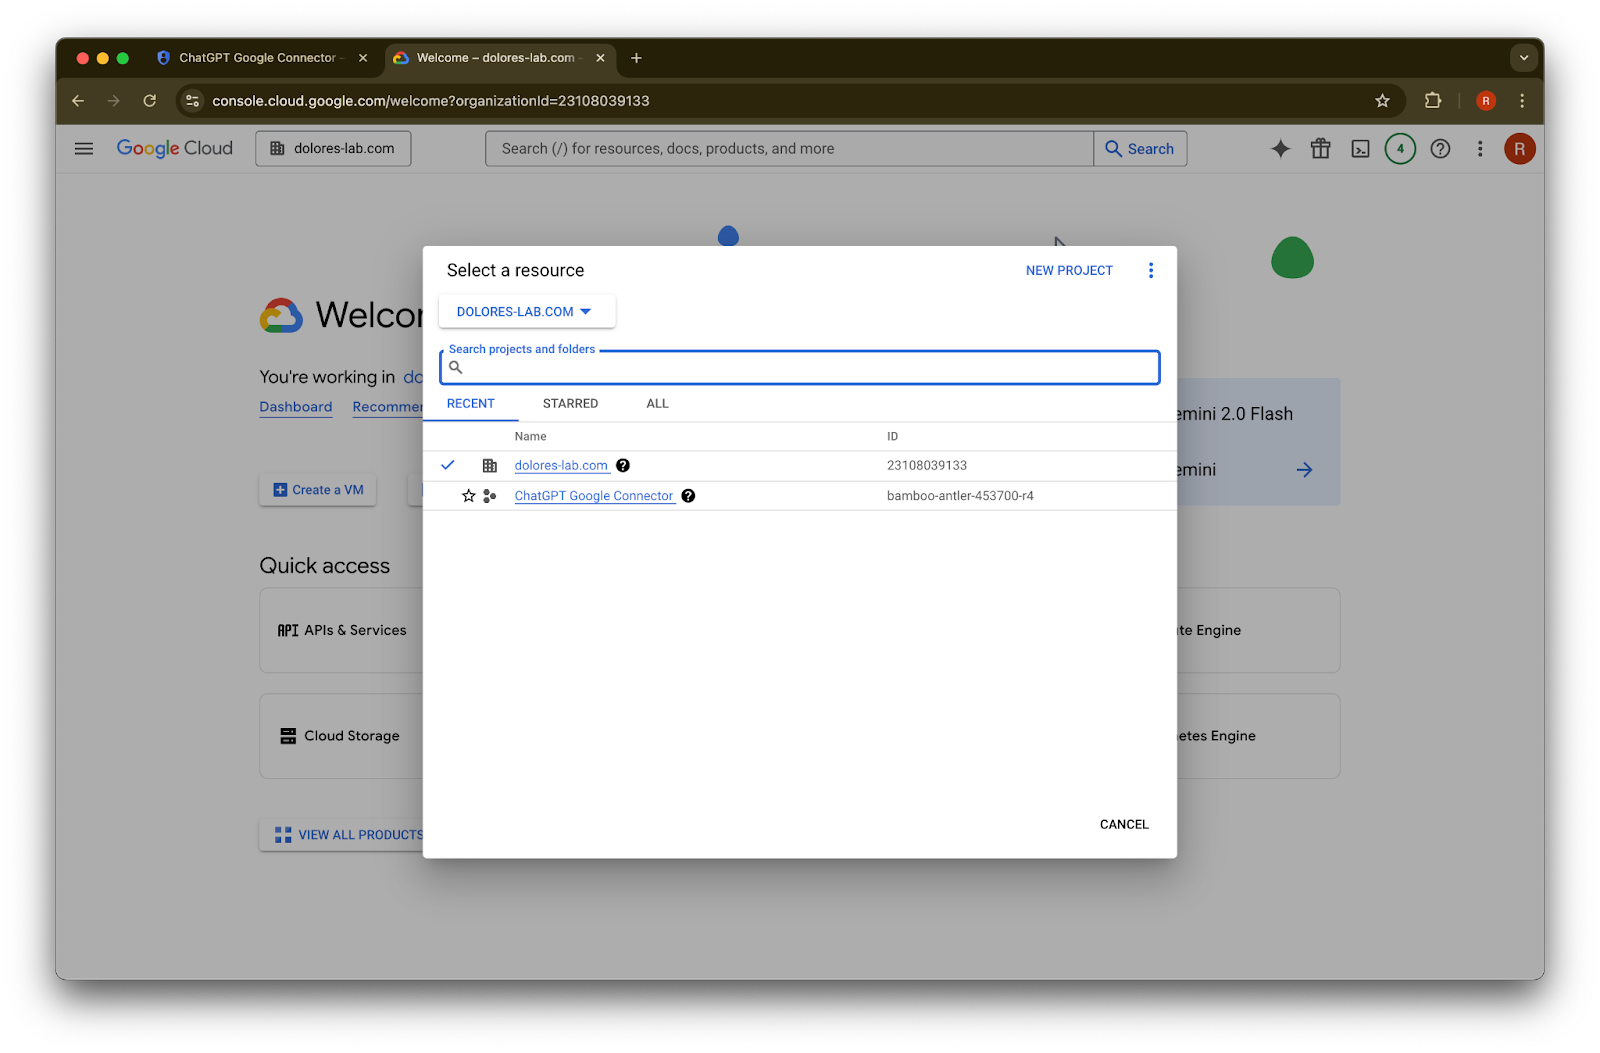
انقر على القائمة المنسدلة للمشاريع.صورةتأكد من تسجيل دخولك إلى مساحة عمل Google نفسها المرتبطة بمساحة عمل ChatGPT المشتركة لديك (إذا لم تكن لديك مساحة عمل Google مرتبطة بمساحة عمل ChatGPT المشتركة وكانت لديك عناوين بريد إلكتروني مختلفة بينهما، فسيتعين عليك اتباع خطوات إضافية، وإلا فقد لا يتمكن مستخدموك من استخدام موصلات Google Drive المتزامنة).
اختر مشروع جديد
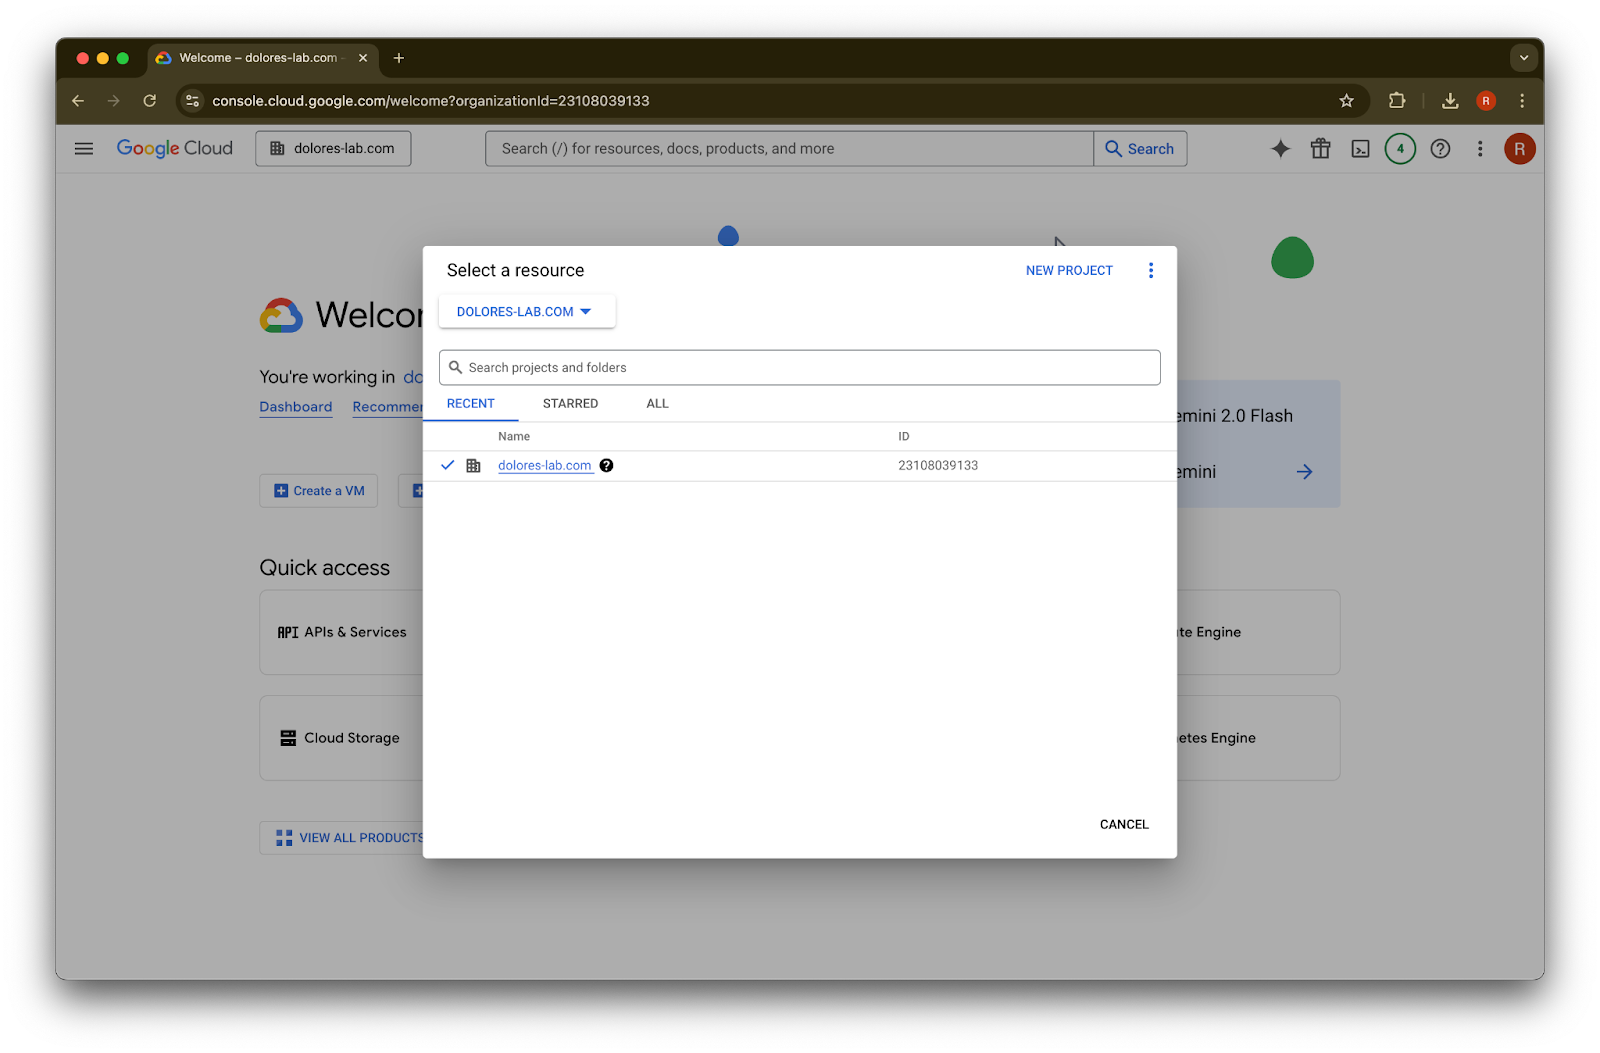
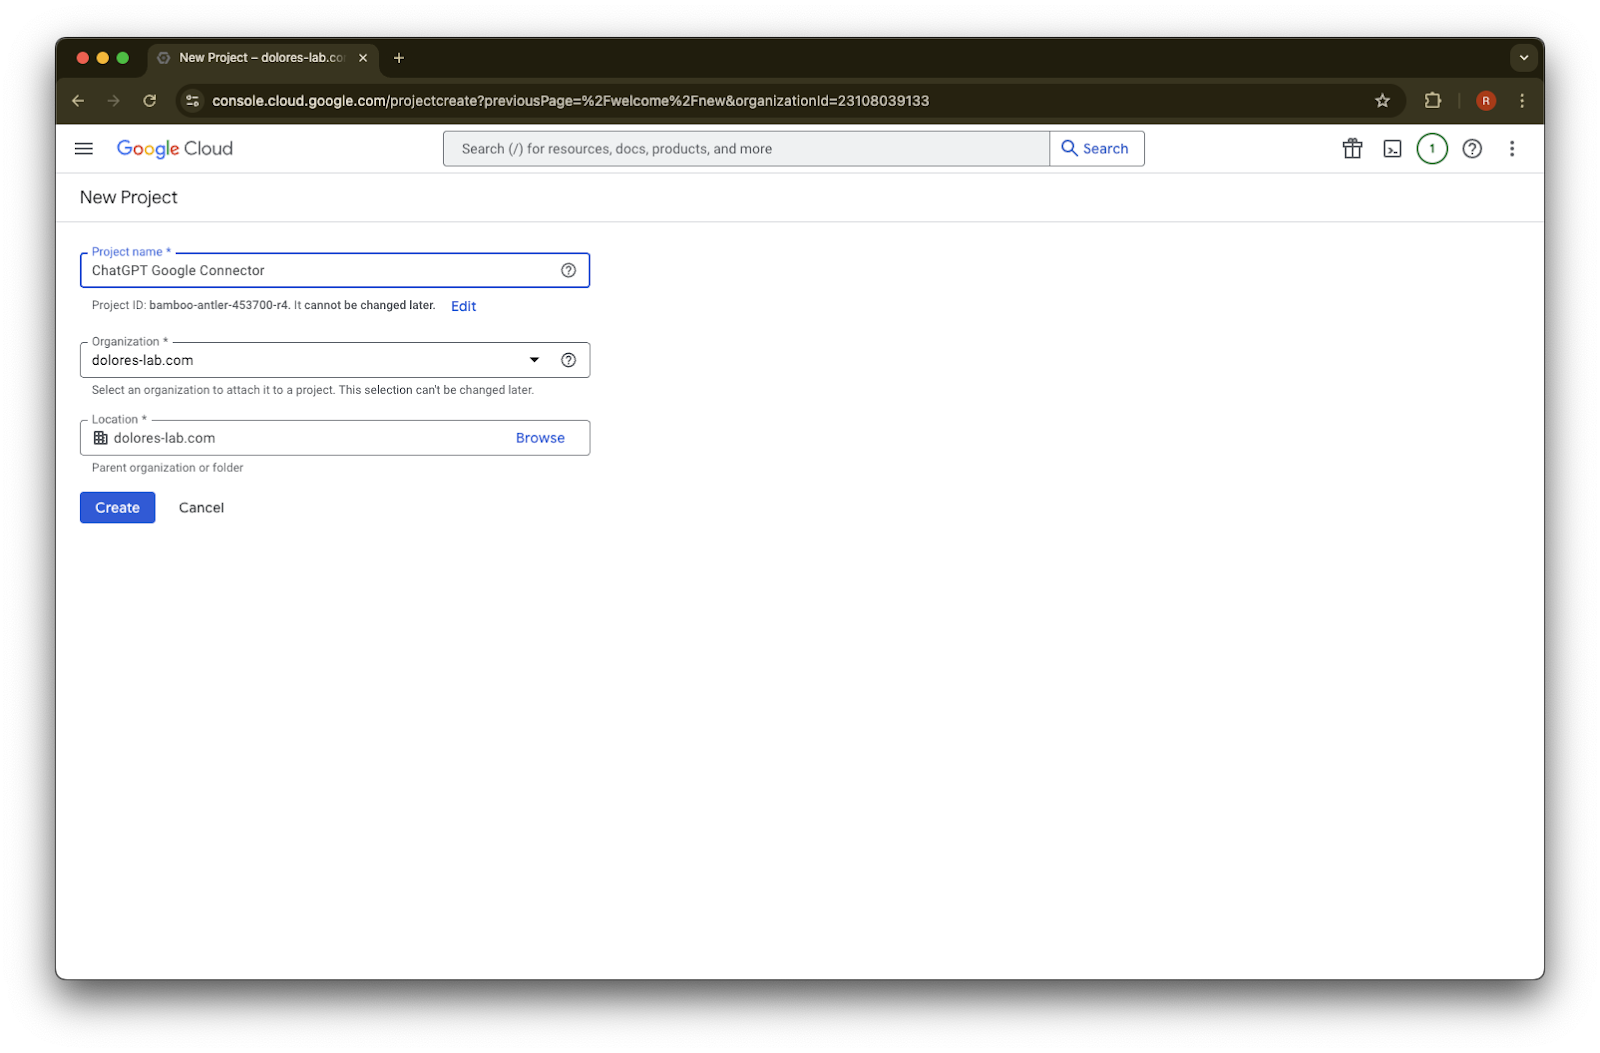
أدخل اسم المشروع
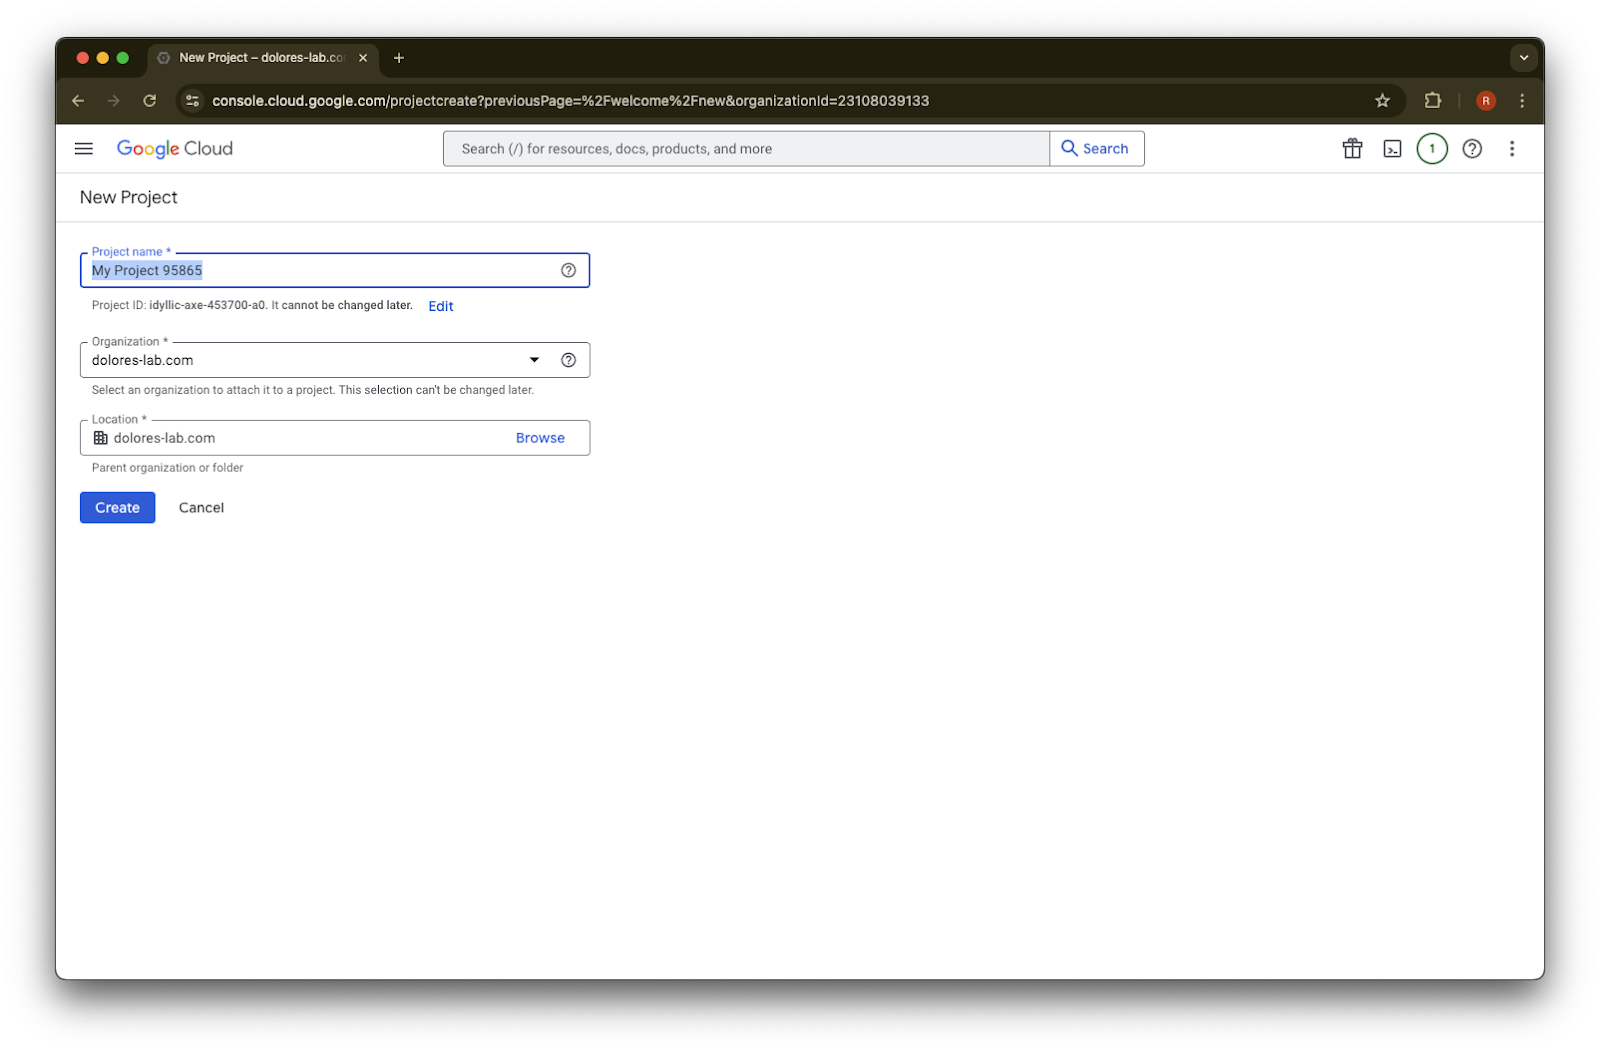
أنشئ المشروع
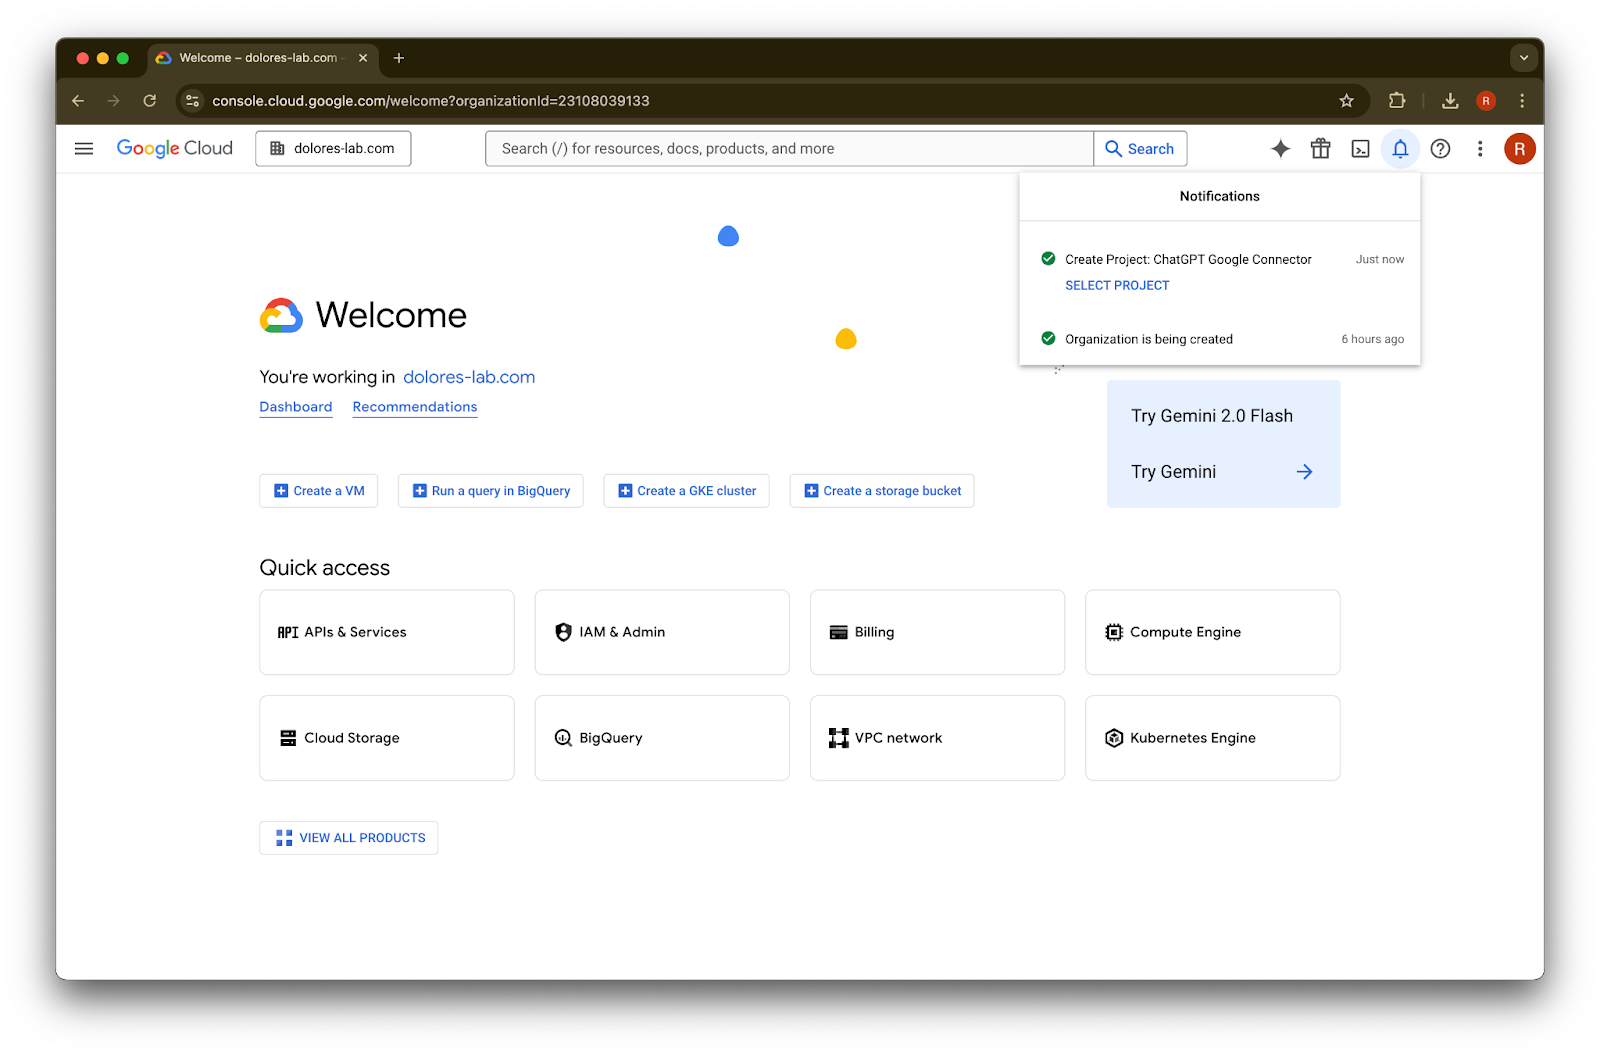
انتظر حتى يتم إنشاء المشروع، ثم انقر على تحديد المشروع
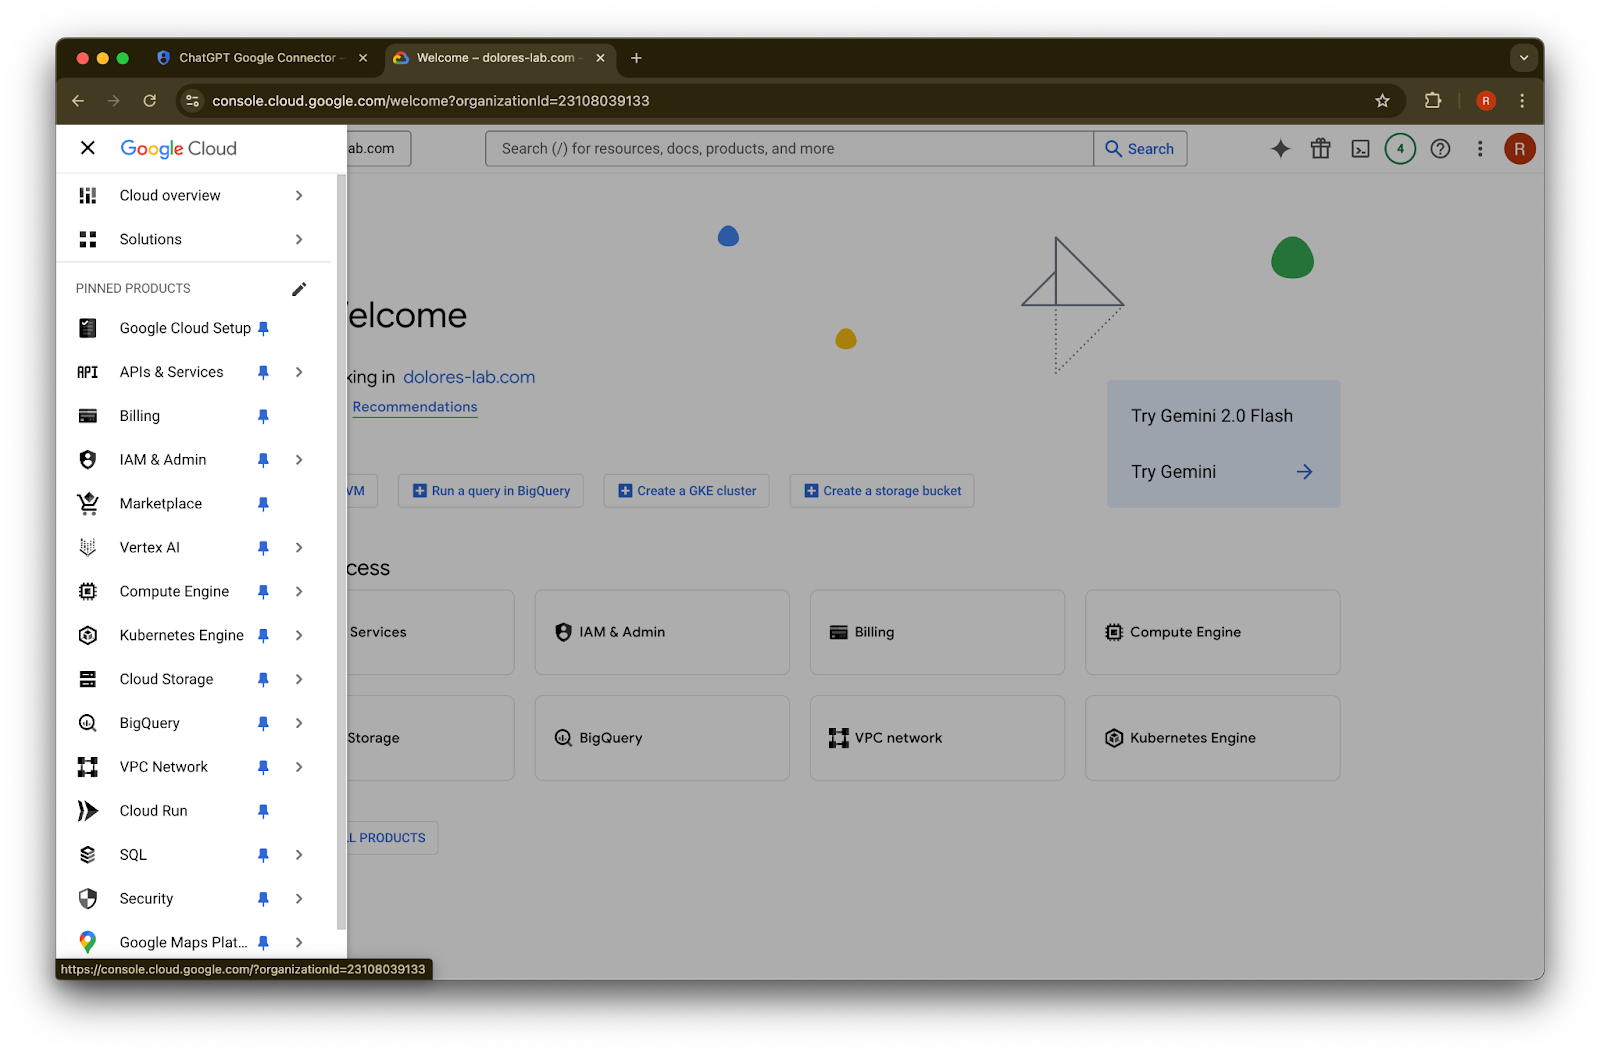
انقر على واجهات API والخدمات
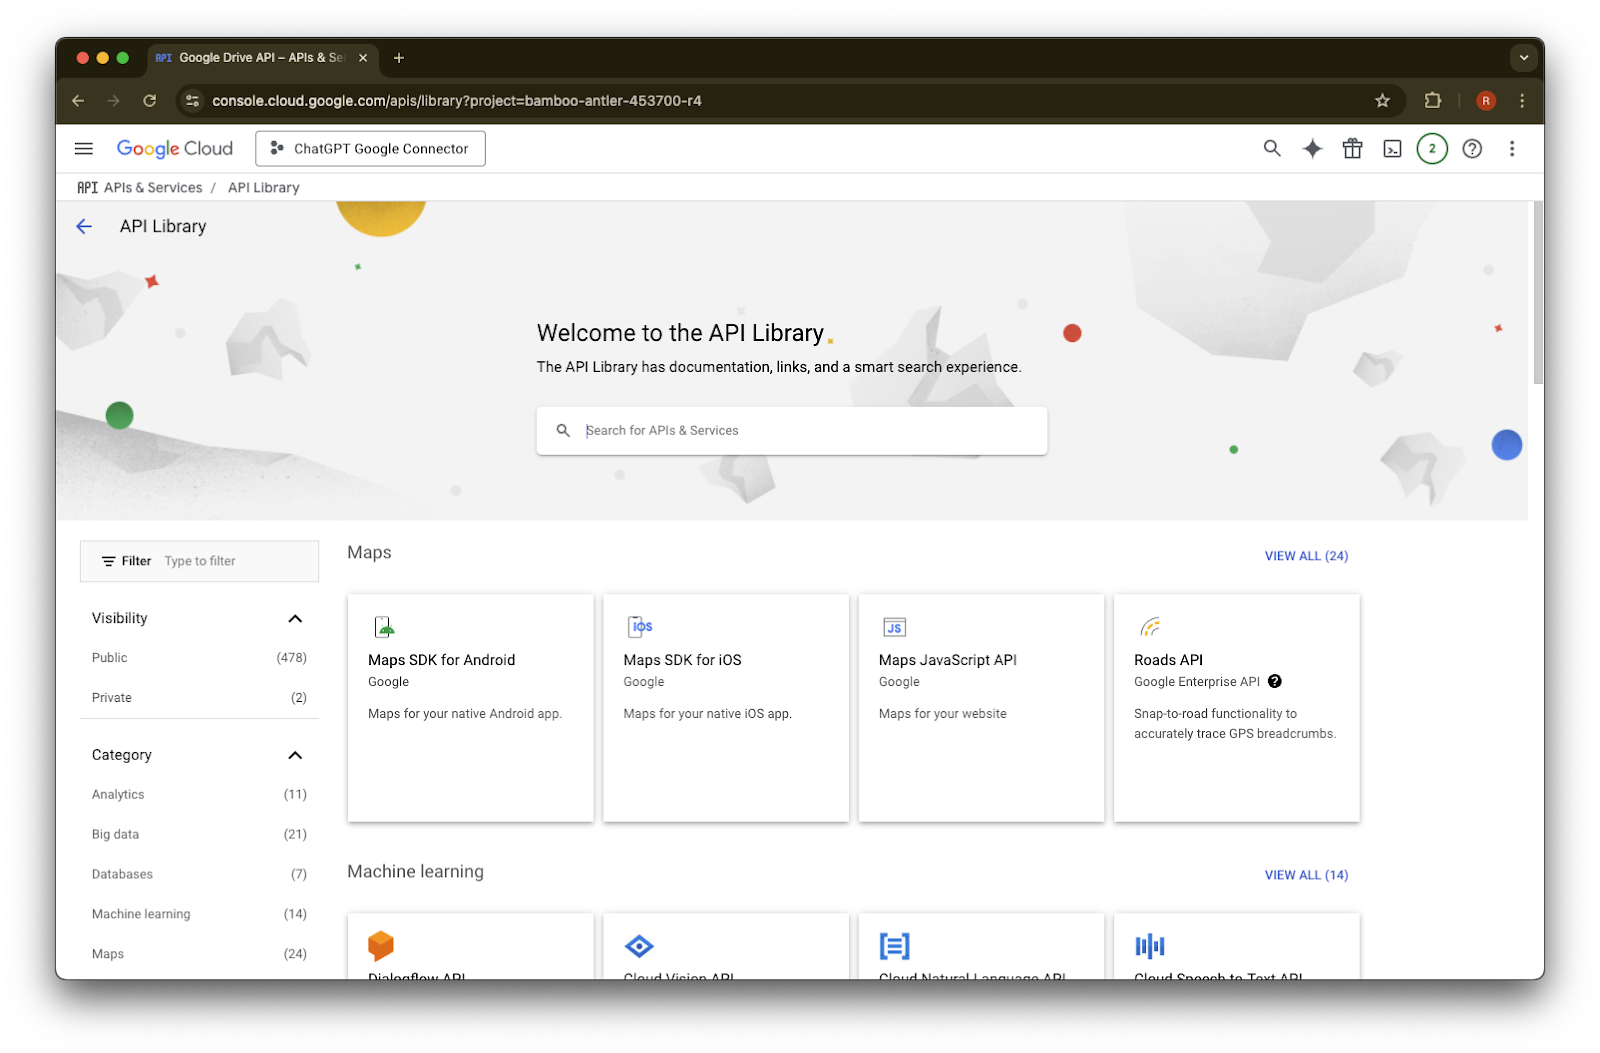
انقر على المكتبة
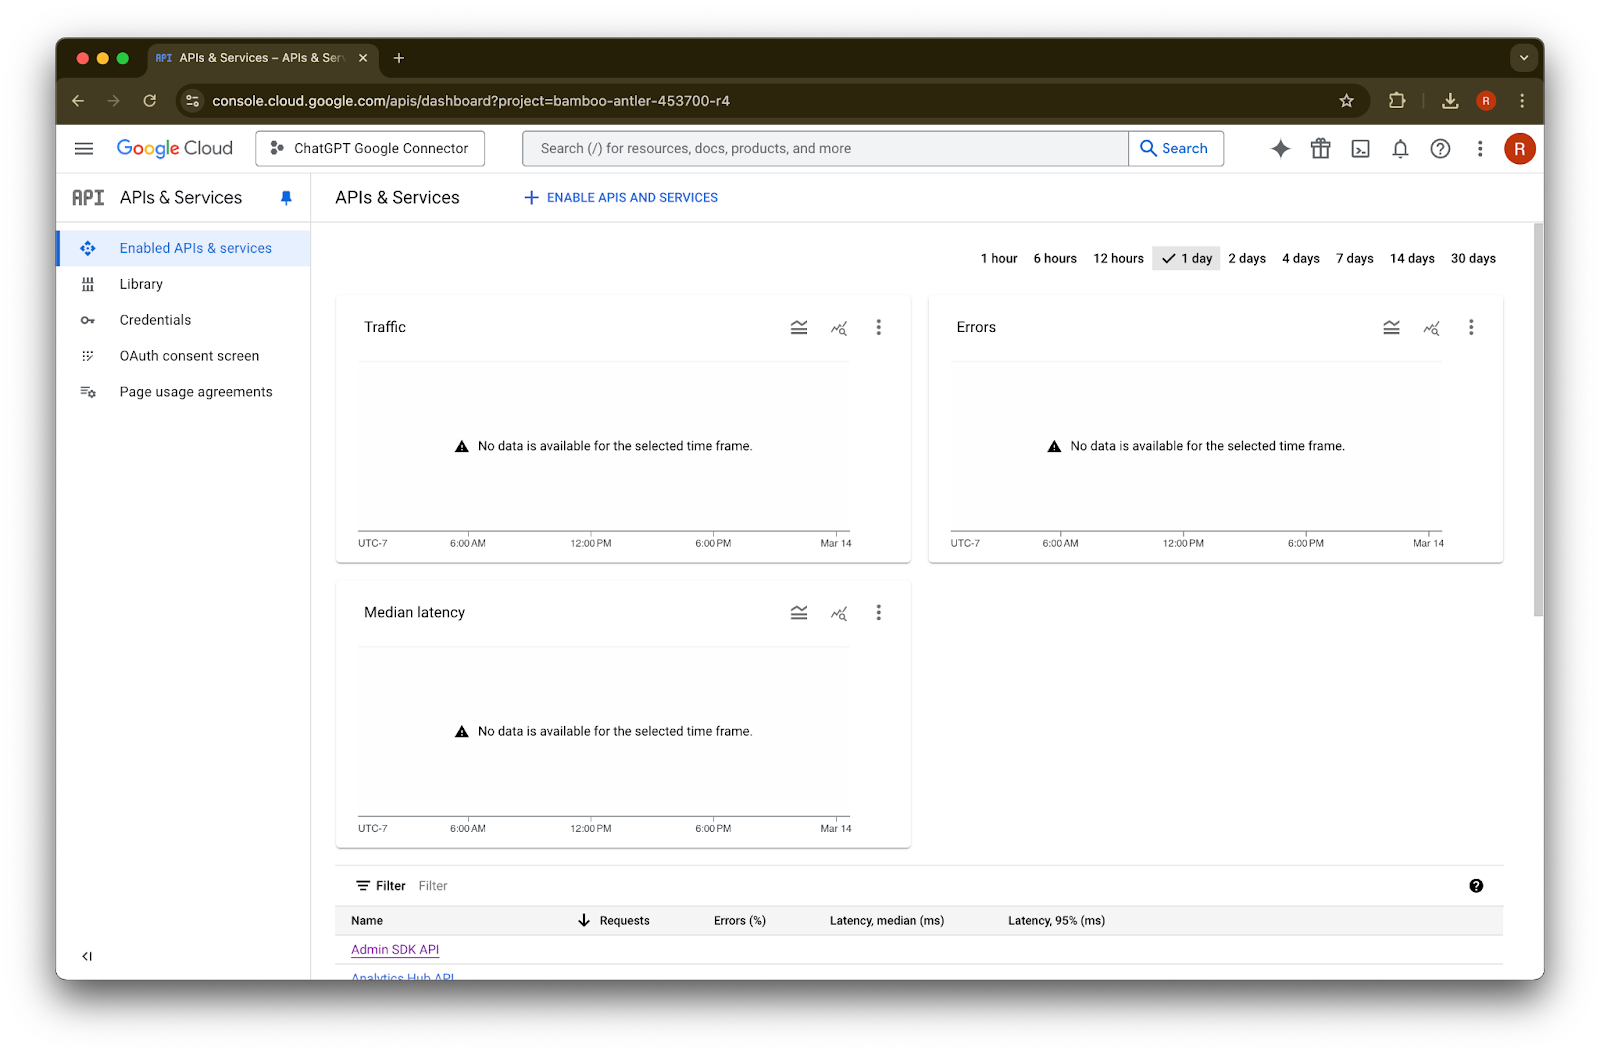
سنضيف الآن ثلاث واجهات API، باستخدام مربع البحث للعثور عليها

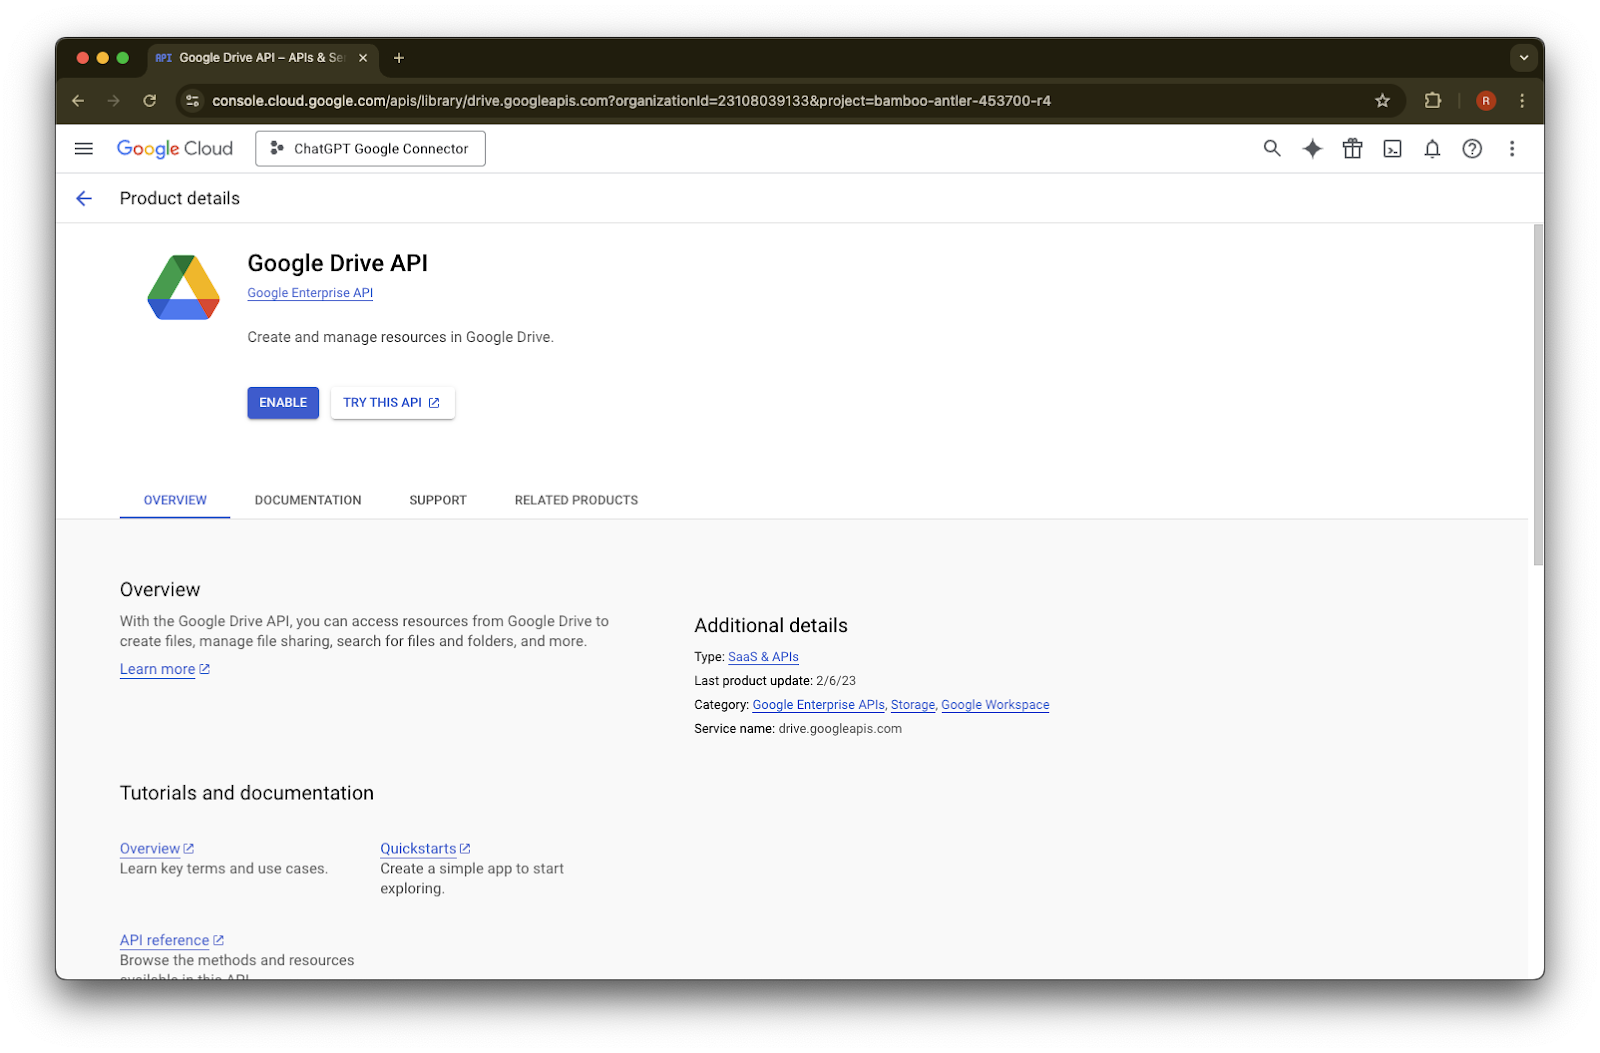
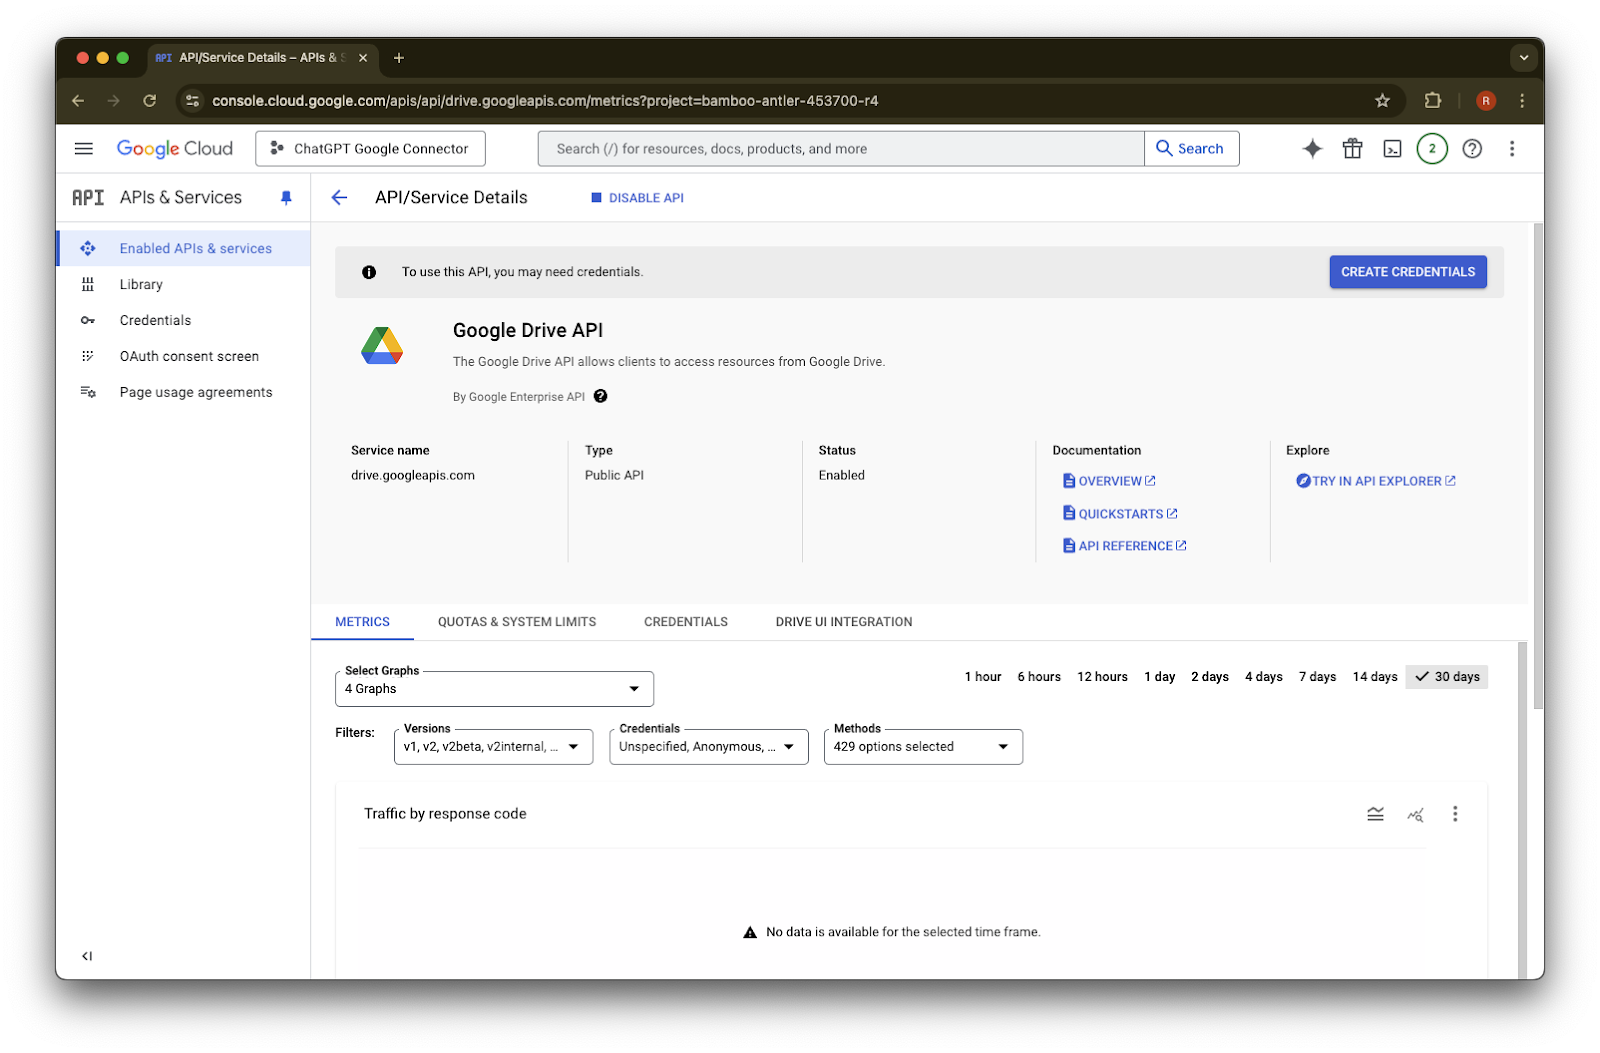
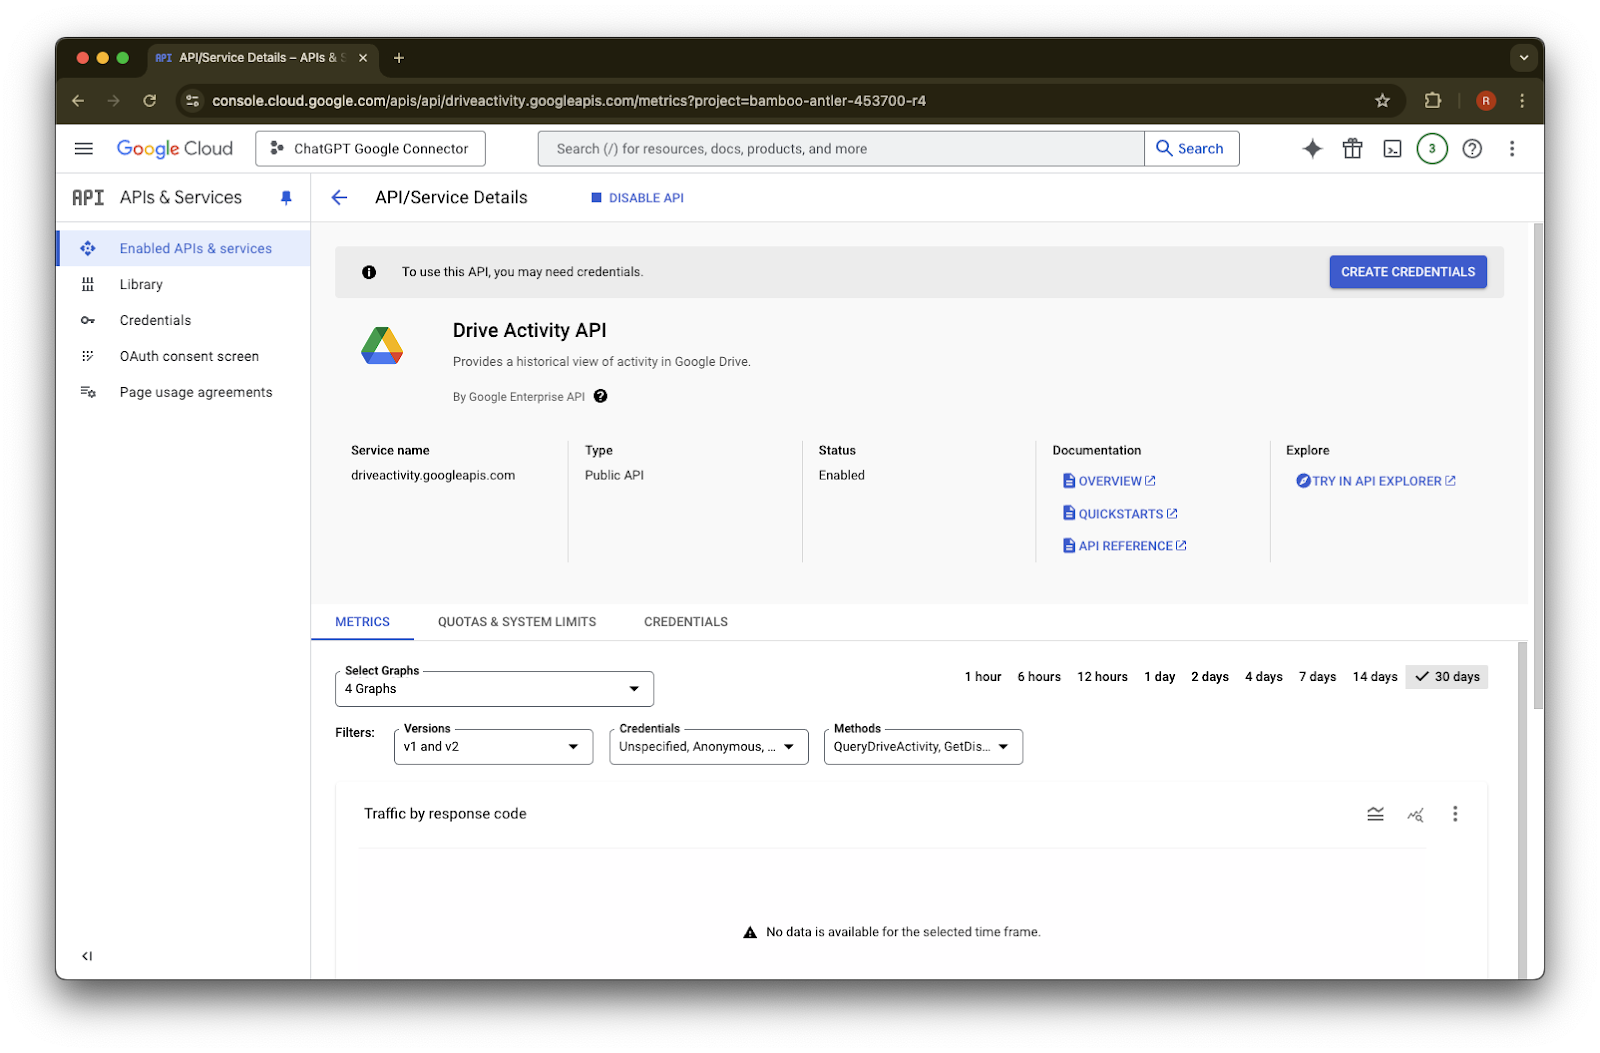
ابحث عن Google Drive API واخترها
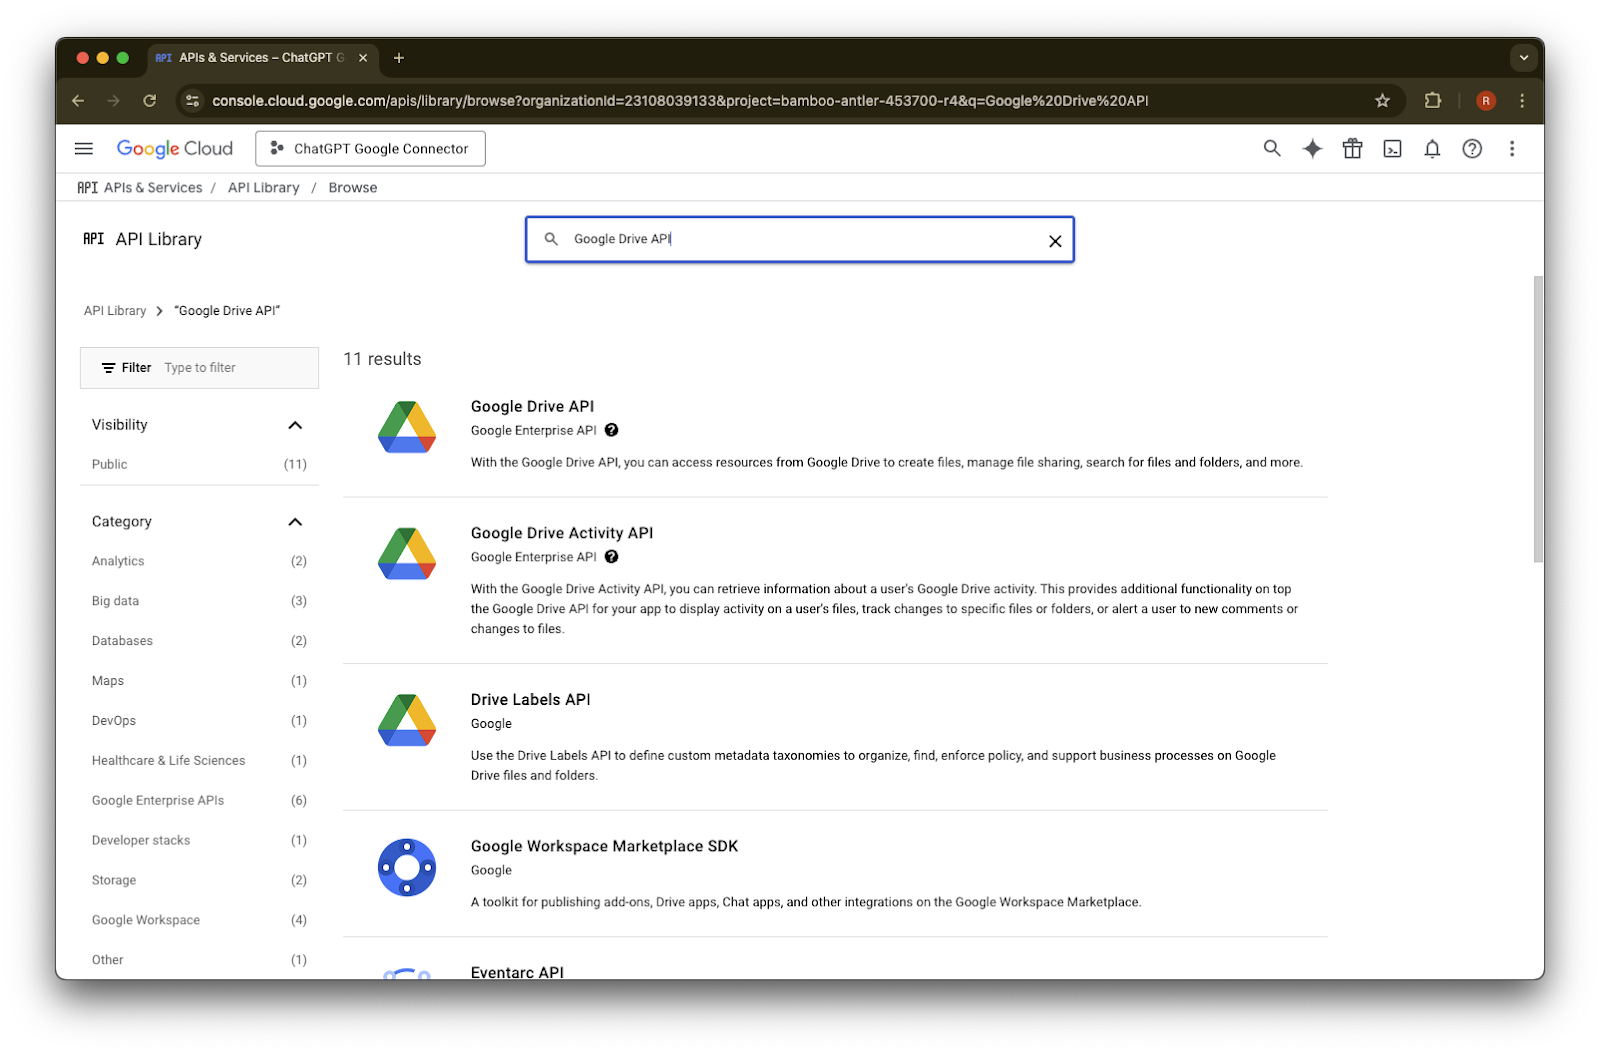
انقر على تمكين
انقر على المكتبة
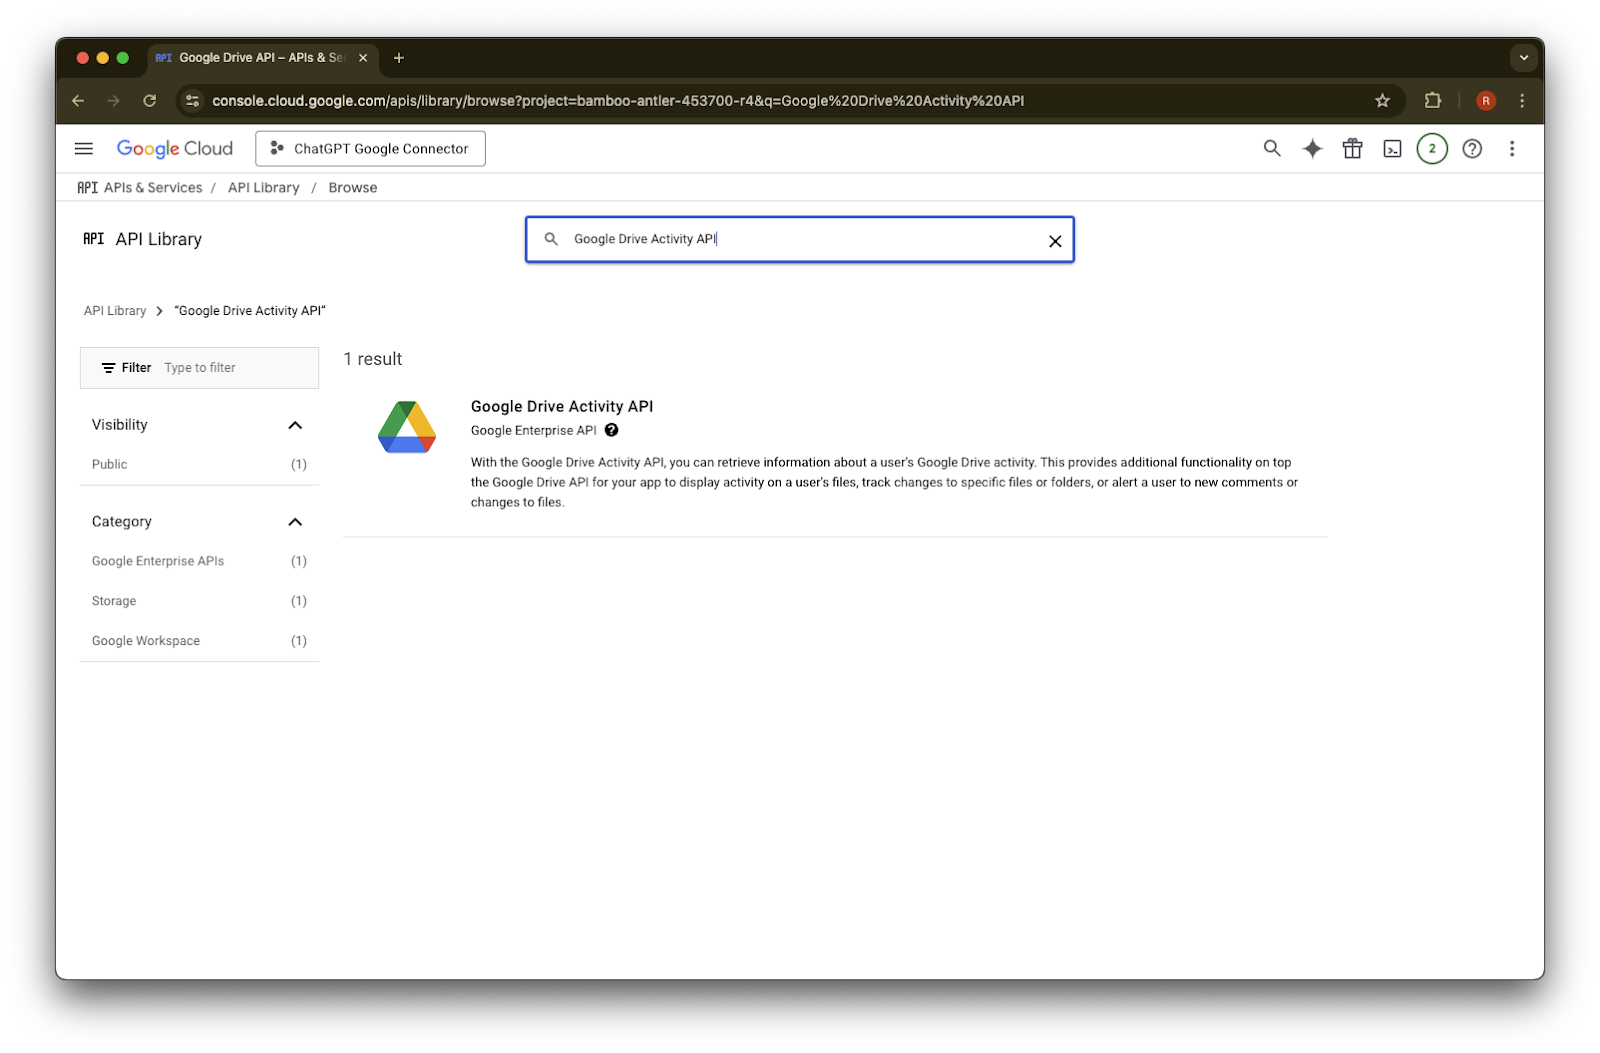
ابحث عن Google Drive Activity
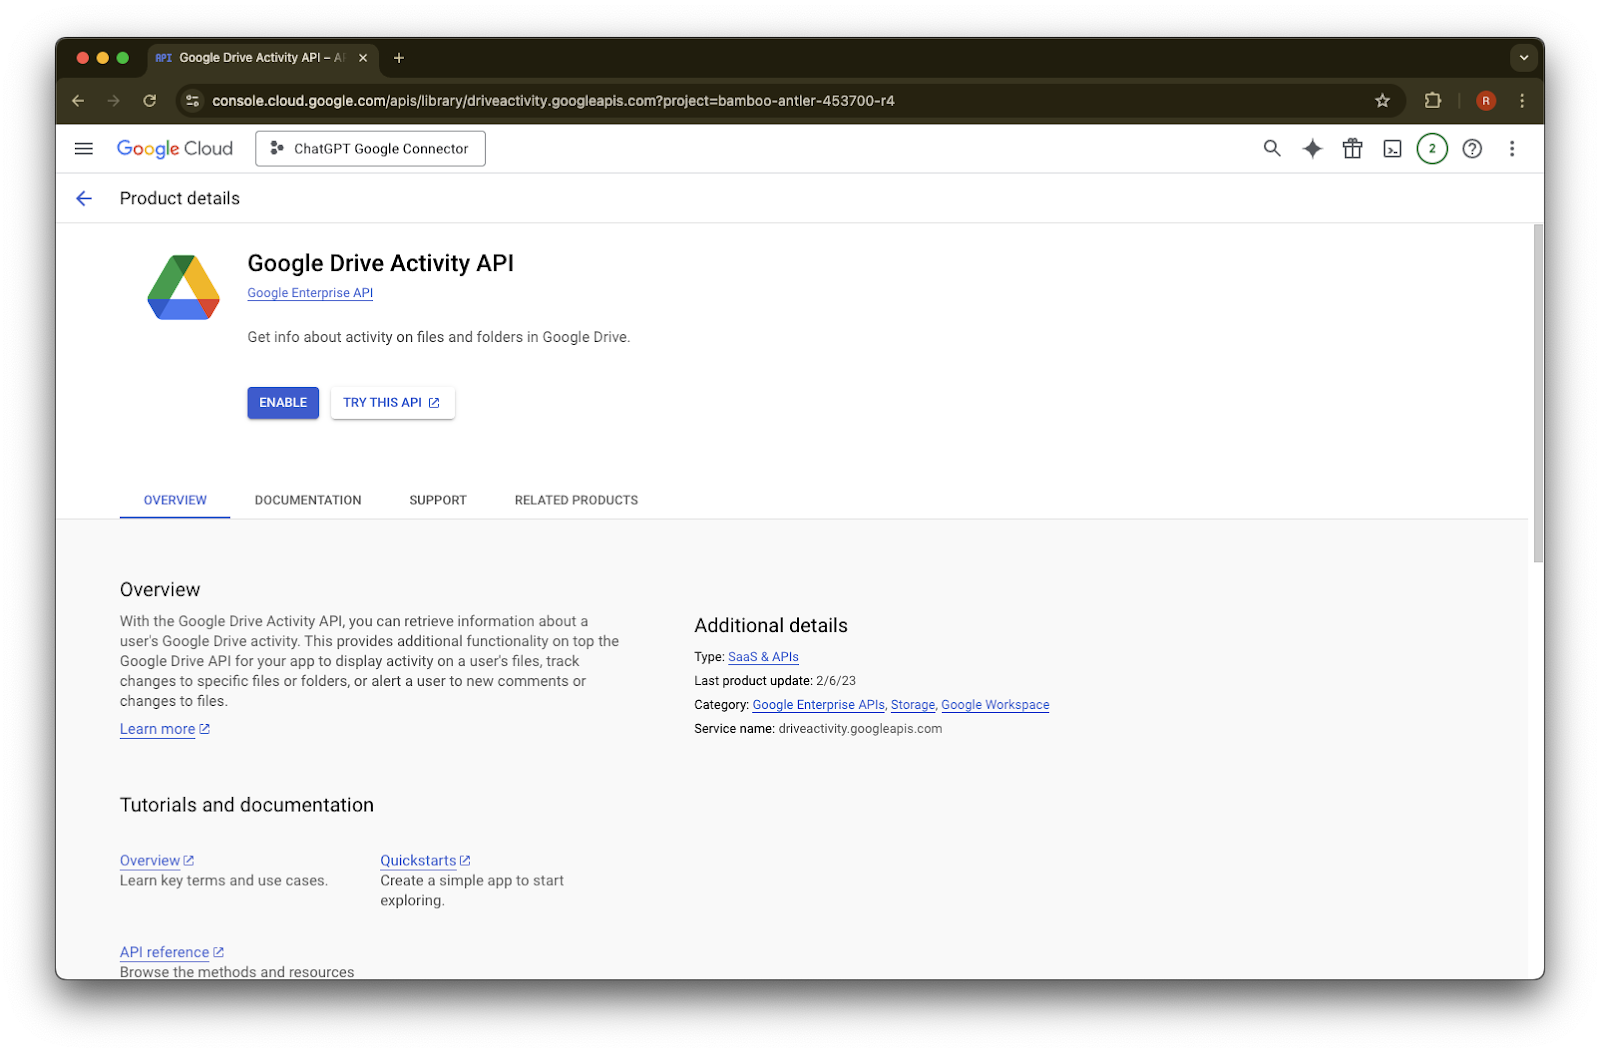
اختر Google Drive Activity API
انقر على تمكين
انقر على المكتبة
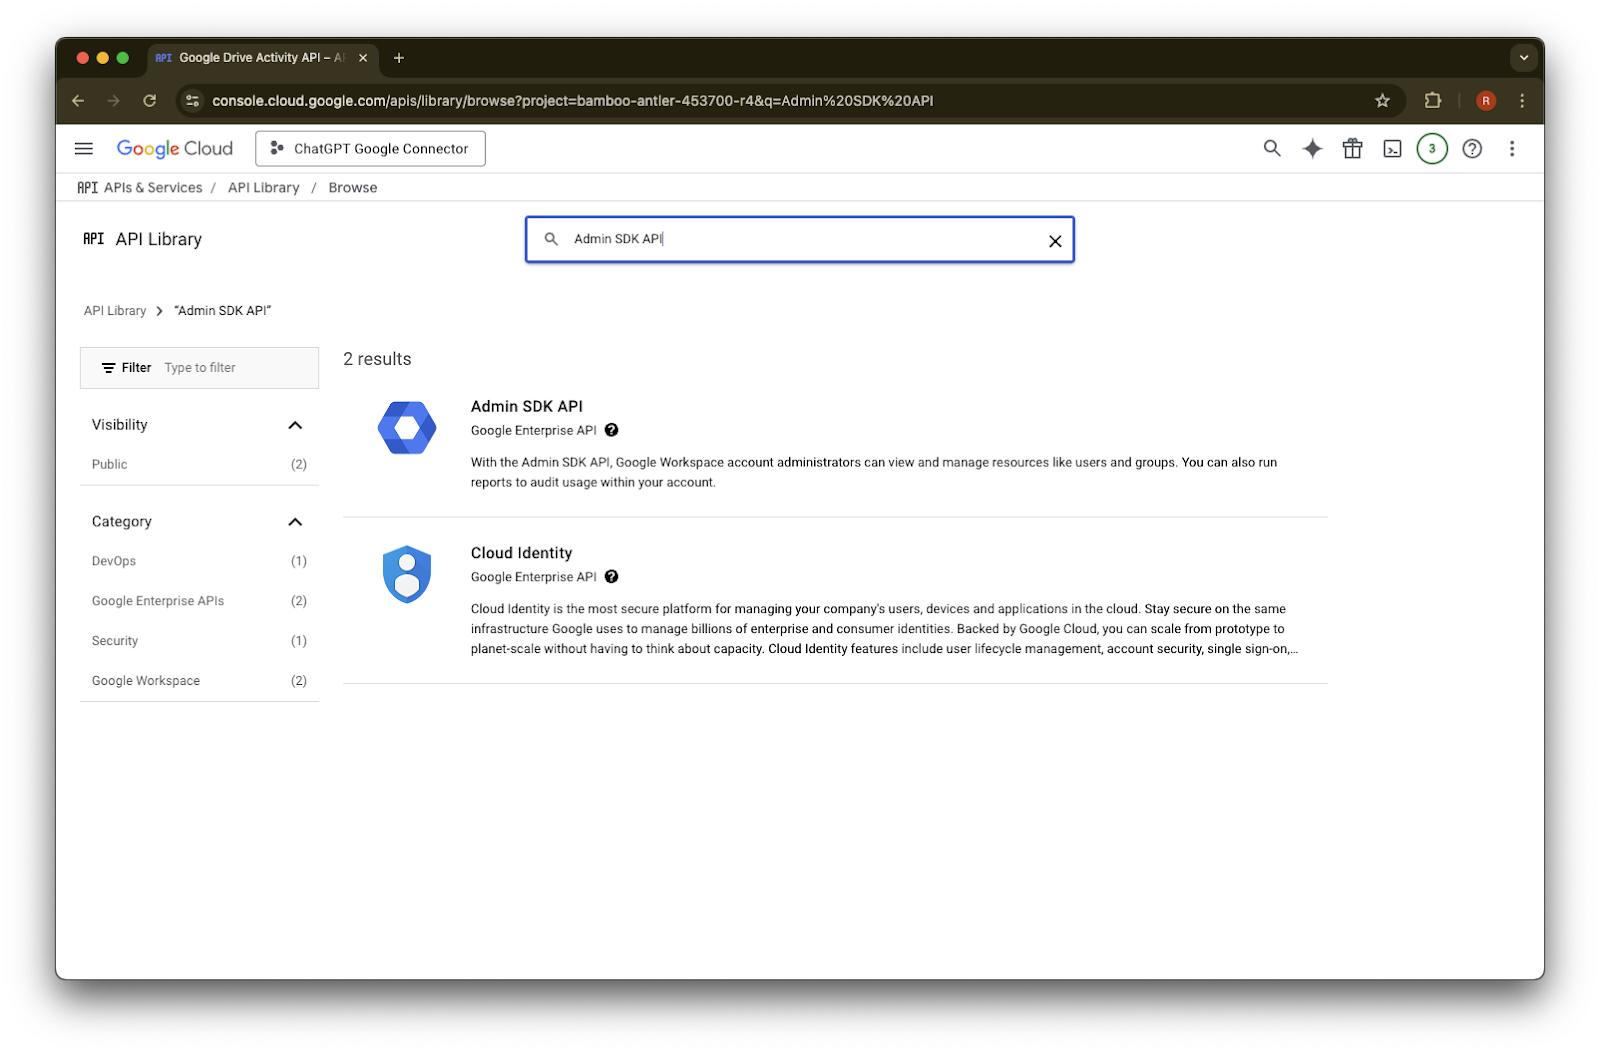
ابحث عن Admin SDK API

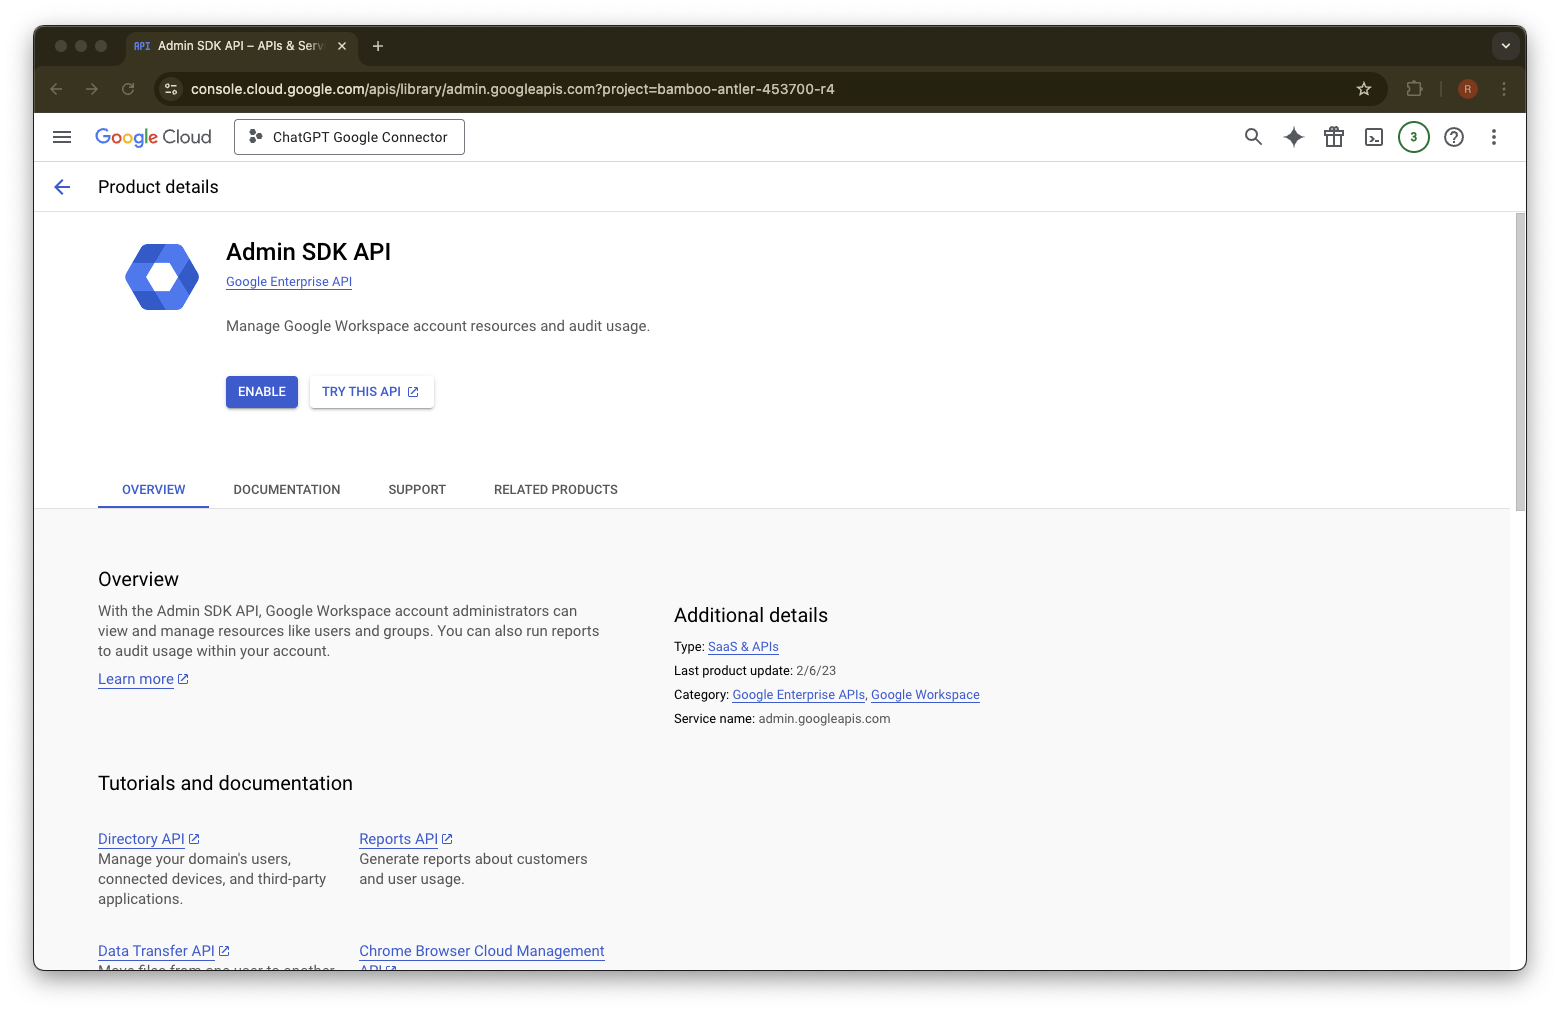
اختر Admin SDK API
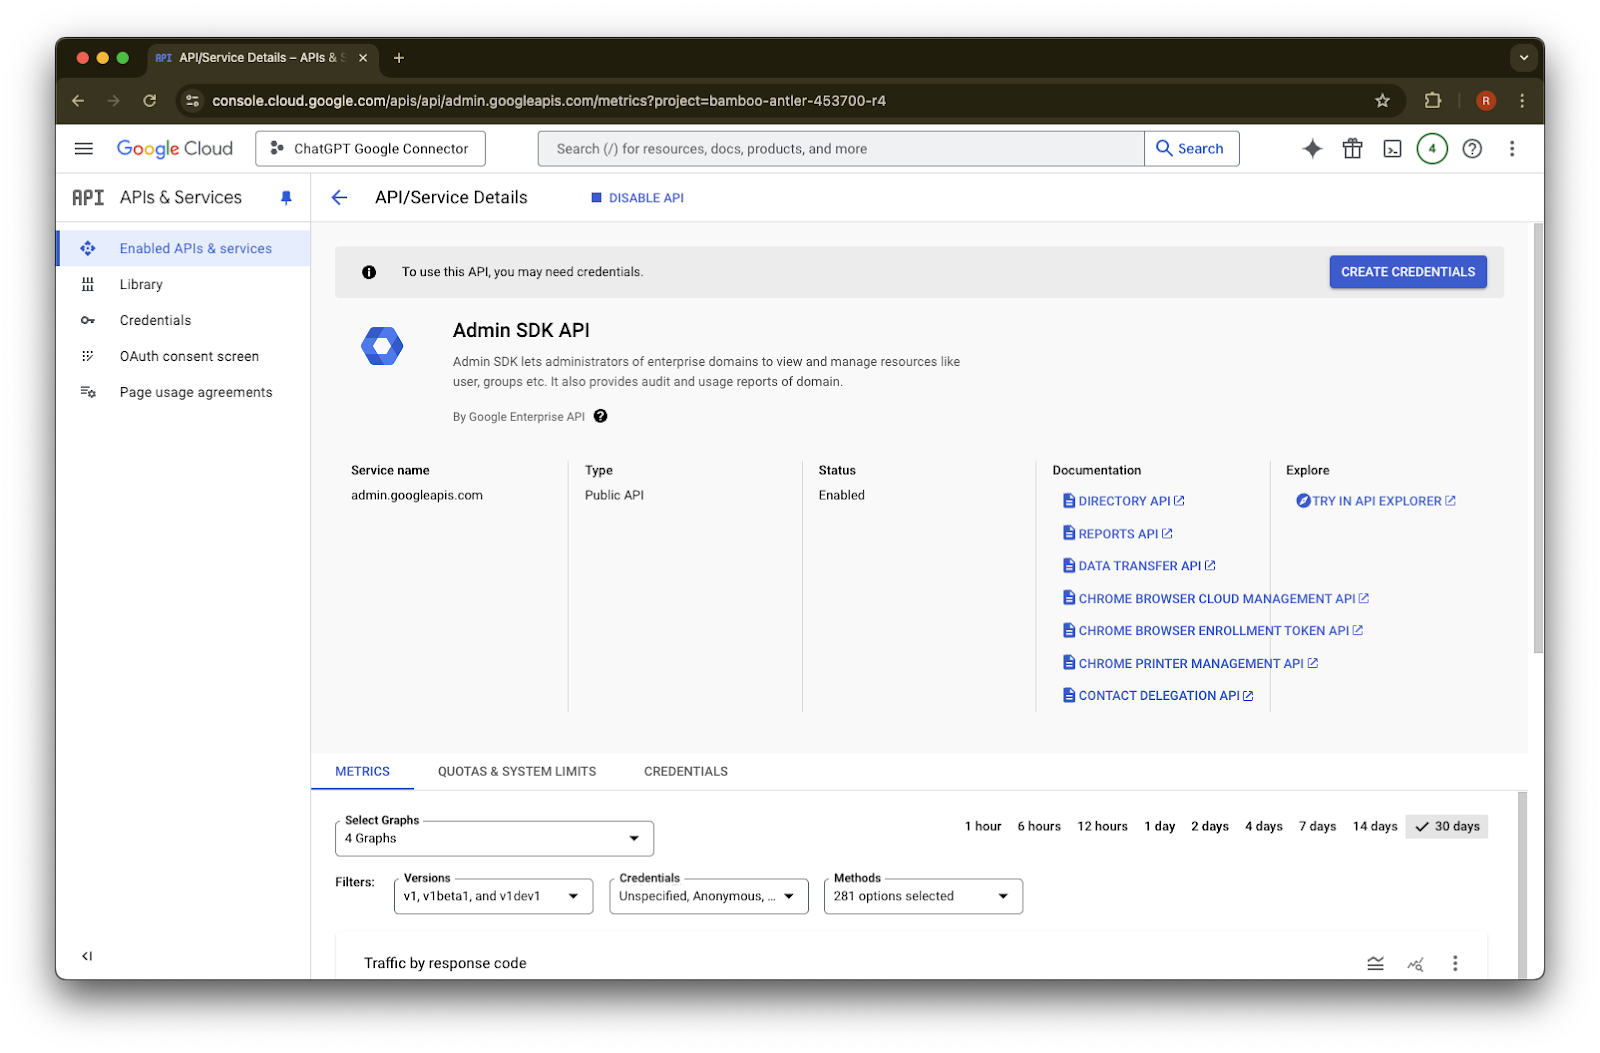
انقر على تمكين
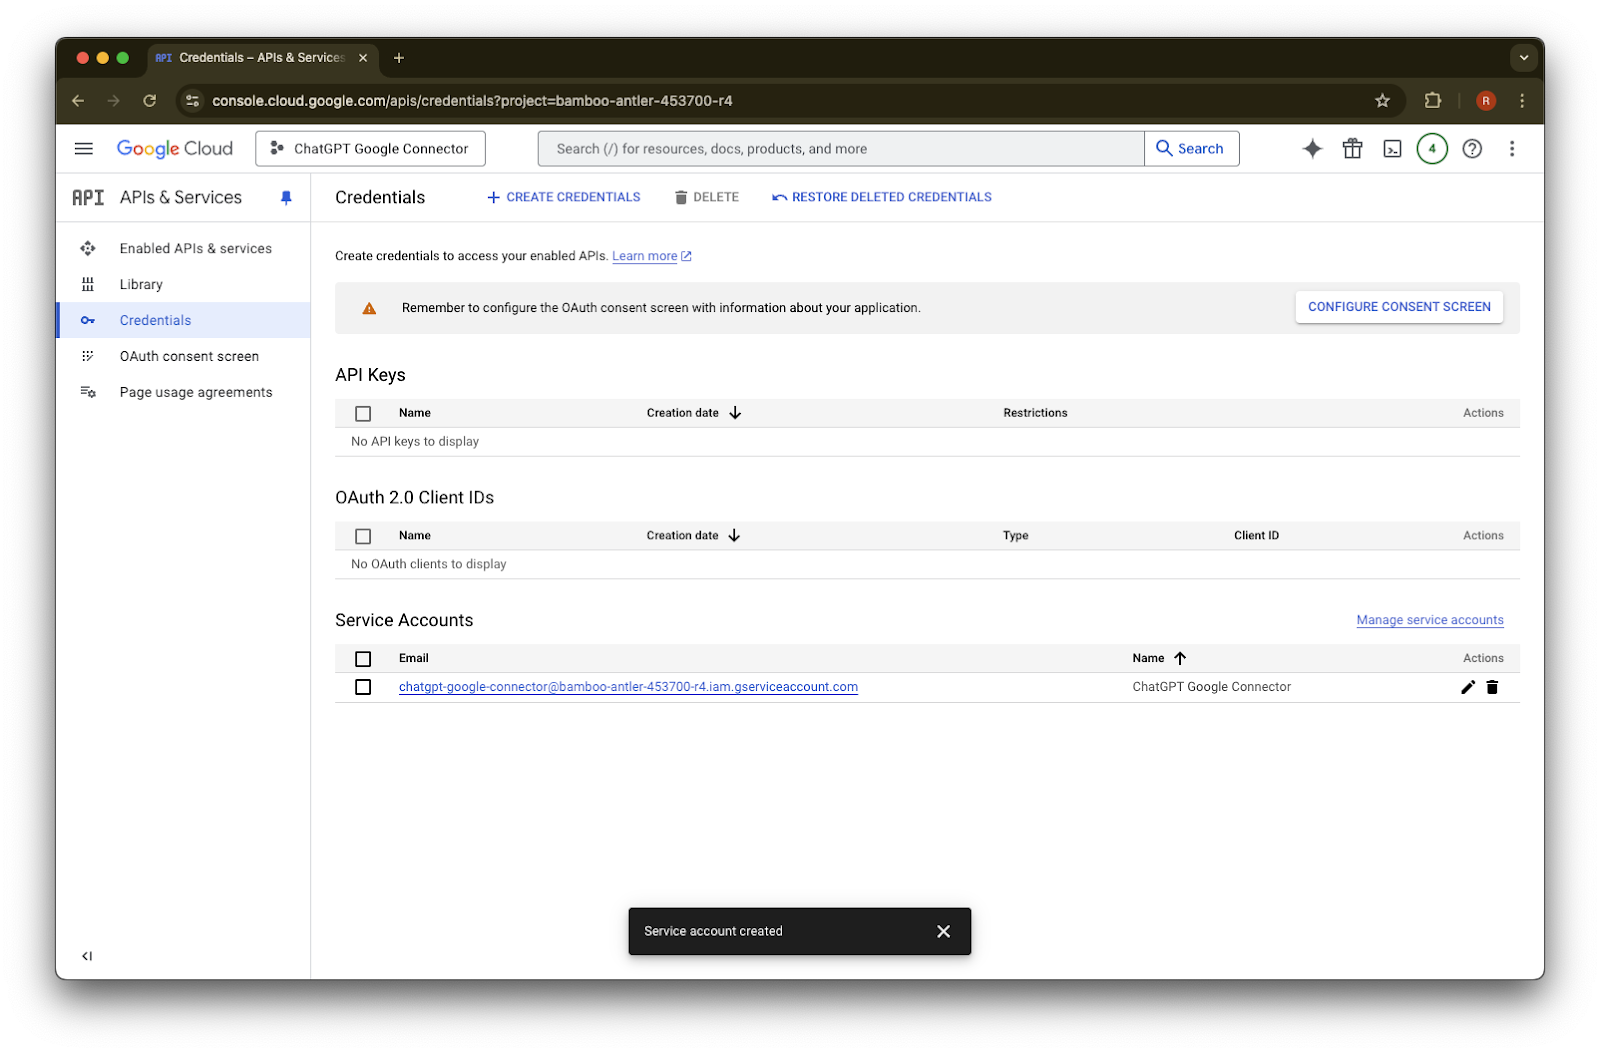
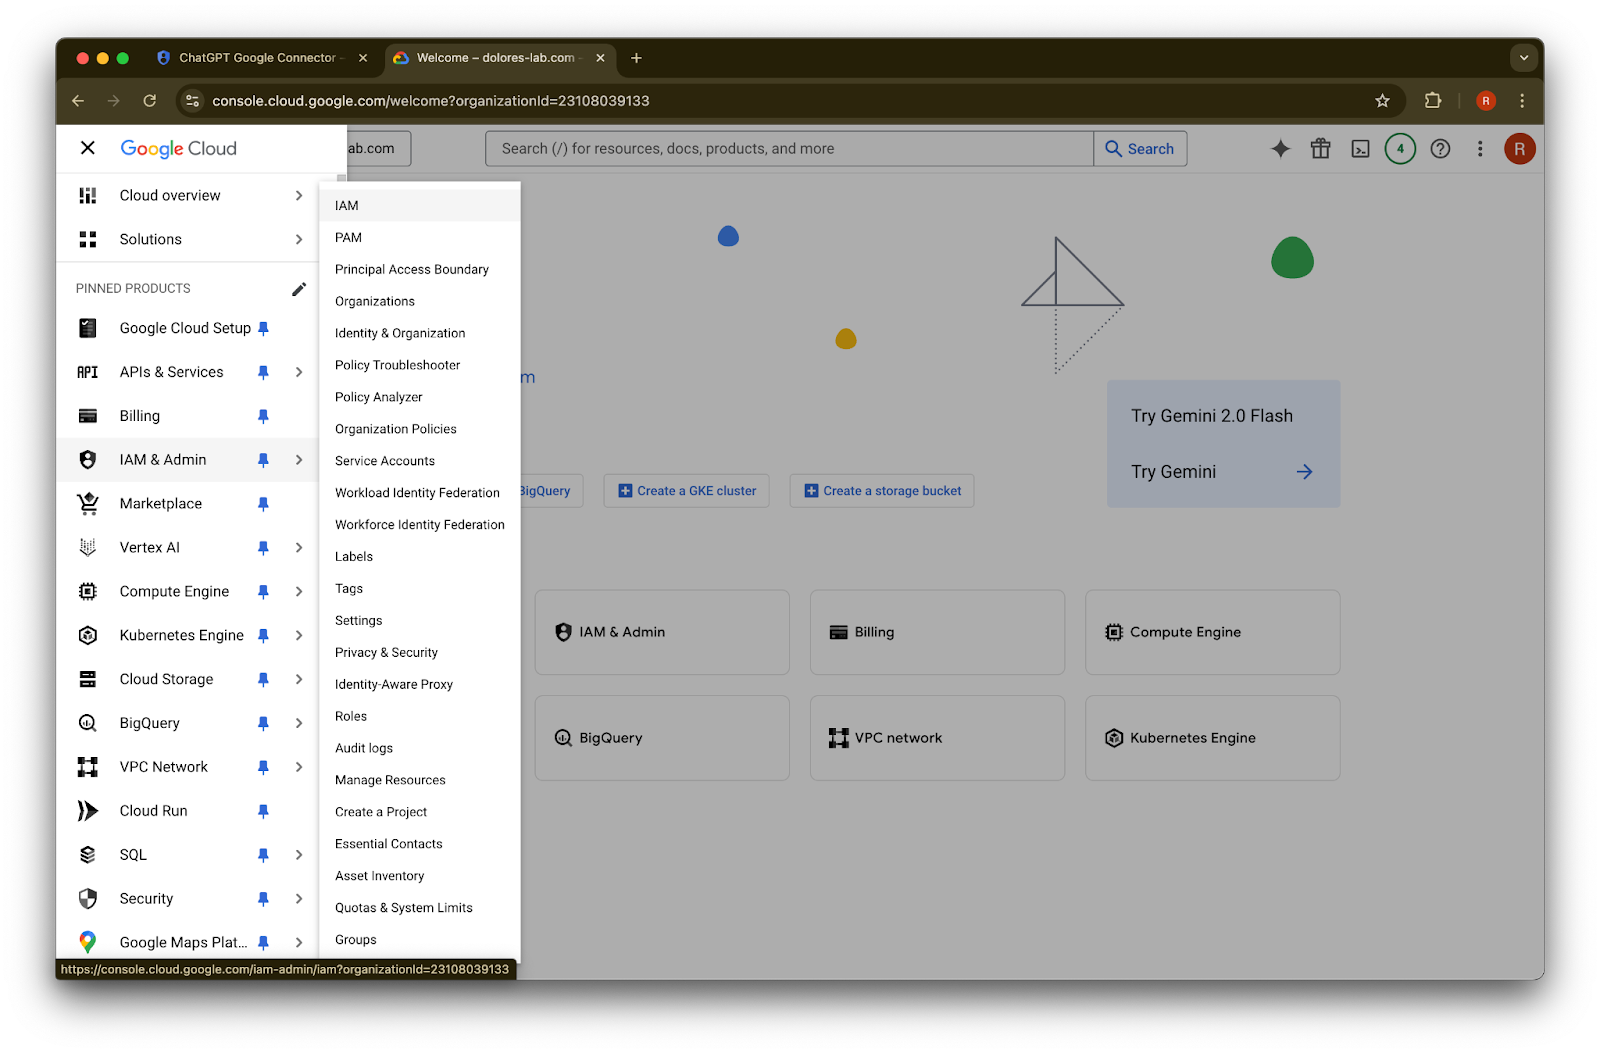
انقر على بيانات الاعتماد
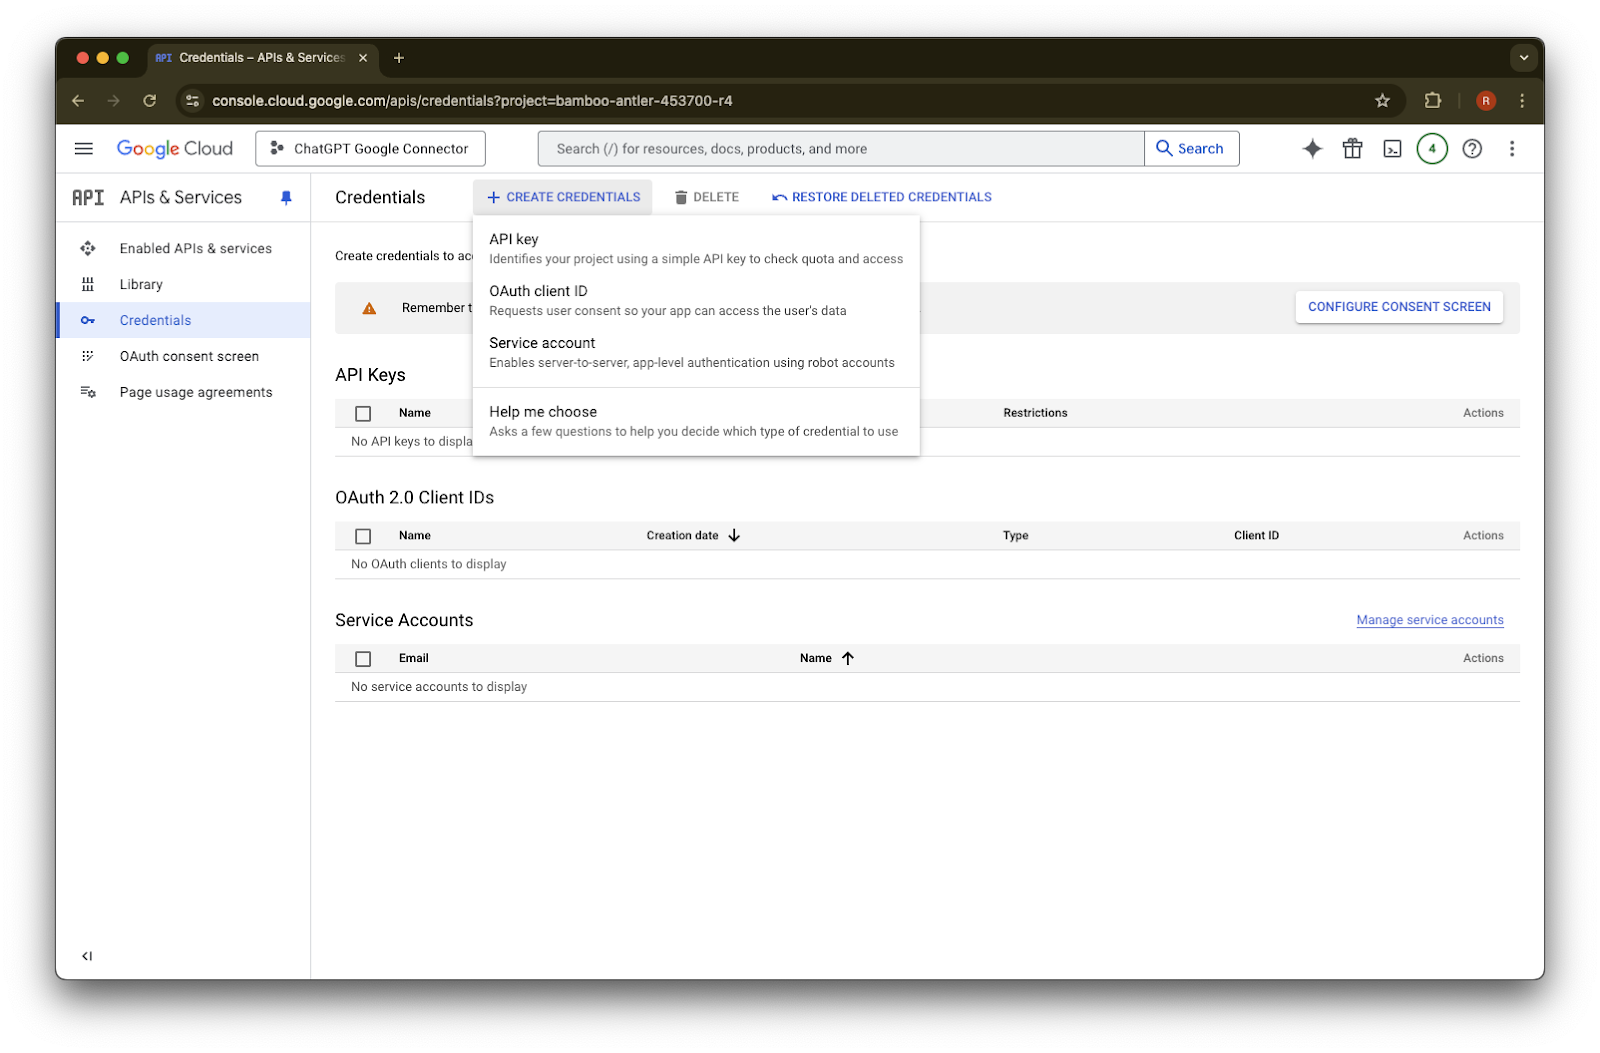
انقر على إنشاء بيانات اعتماد
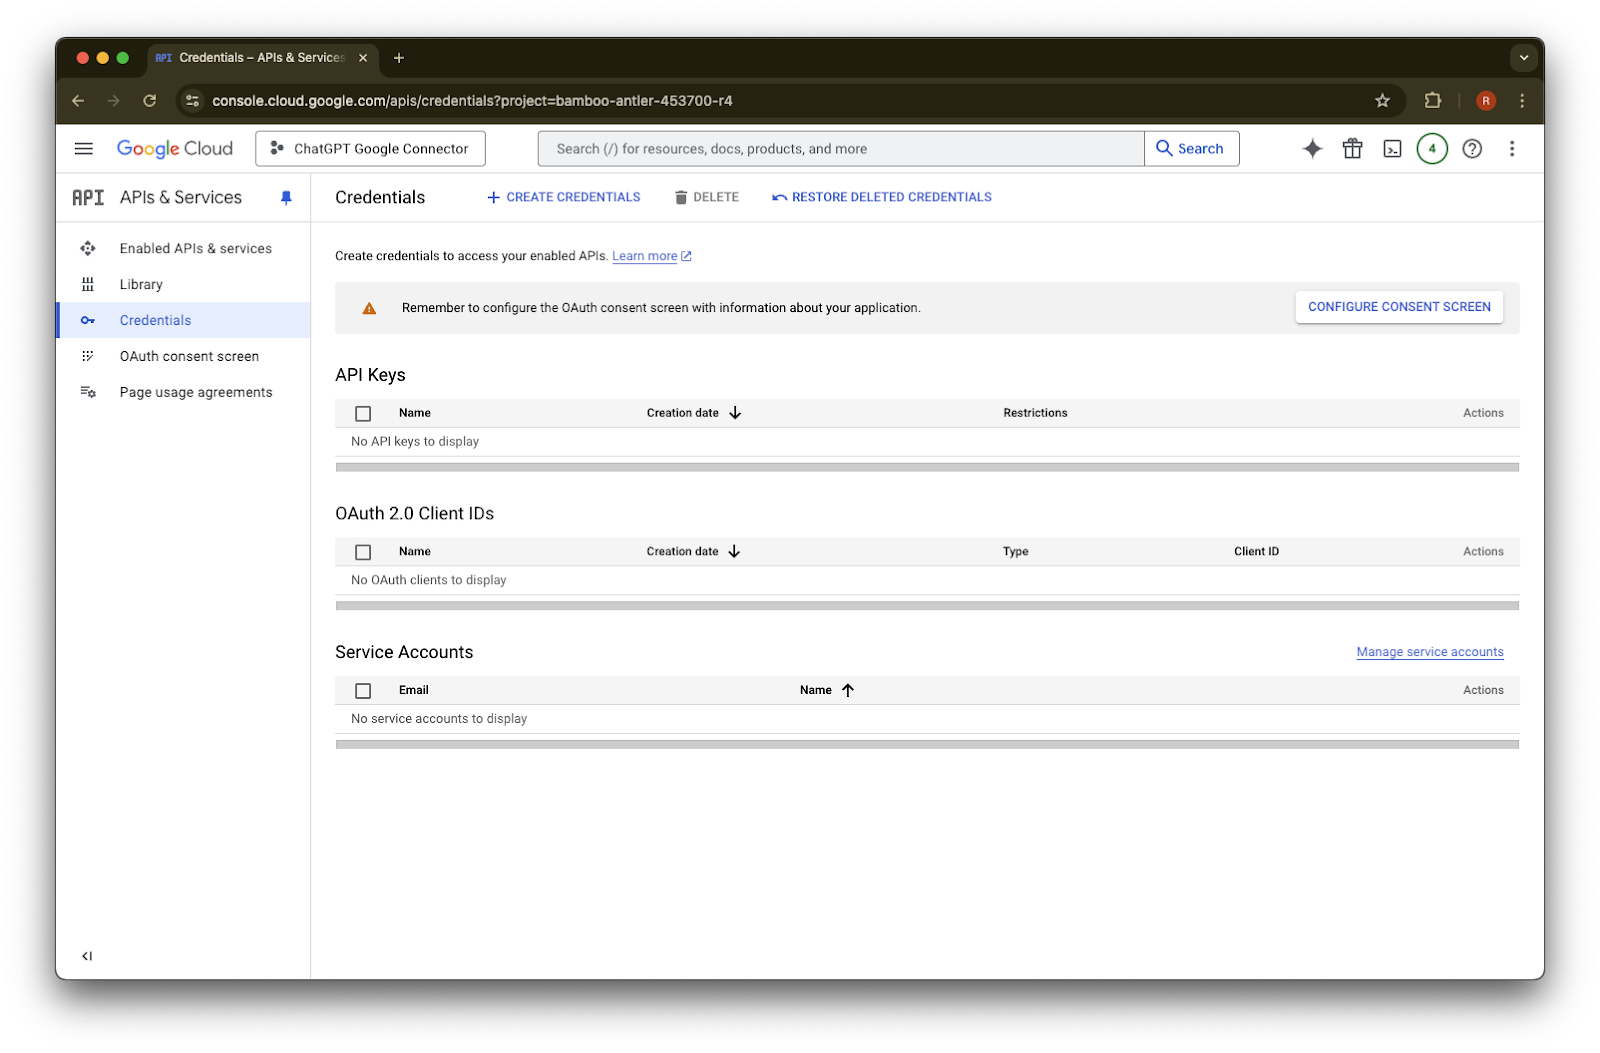
انقر على حساب خدمة
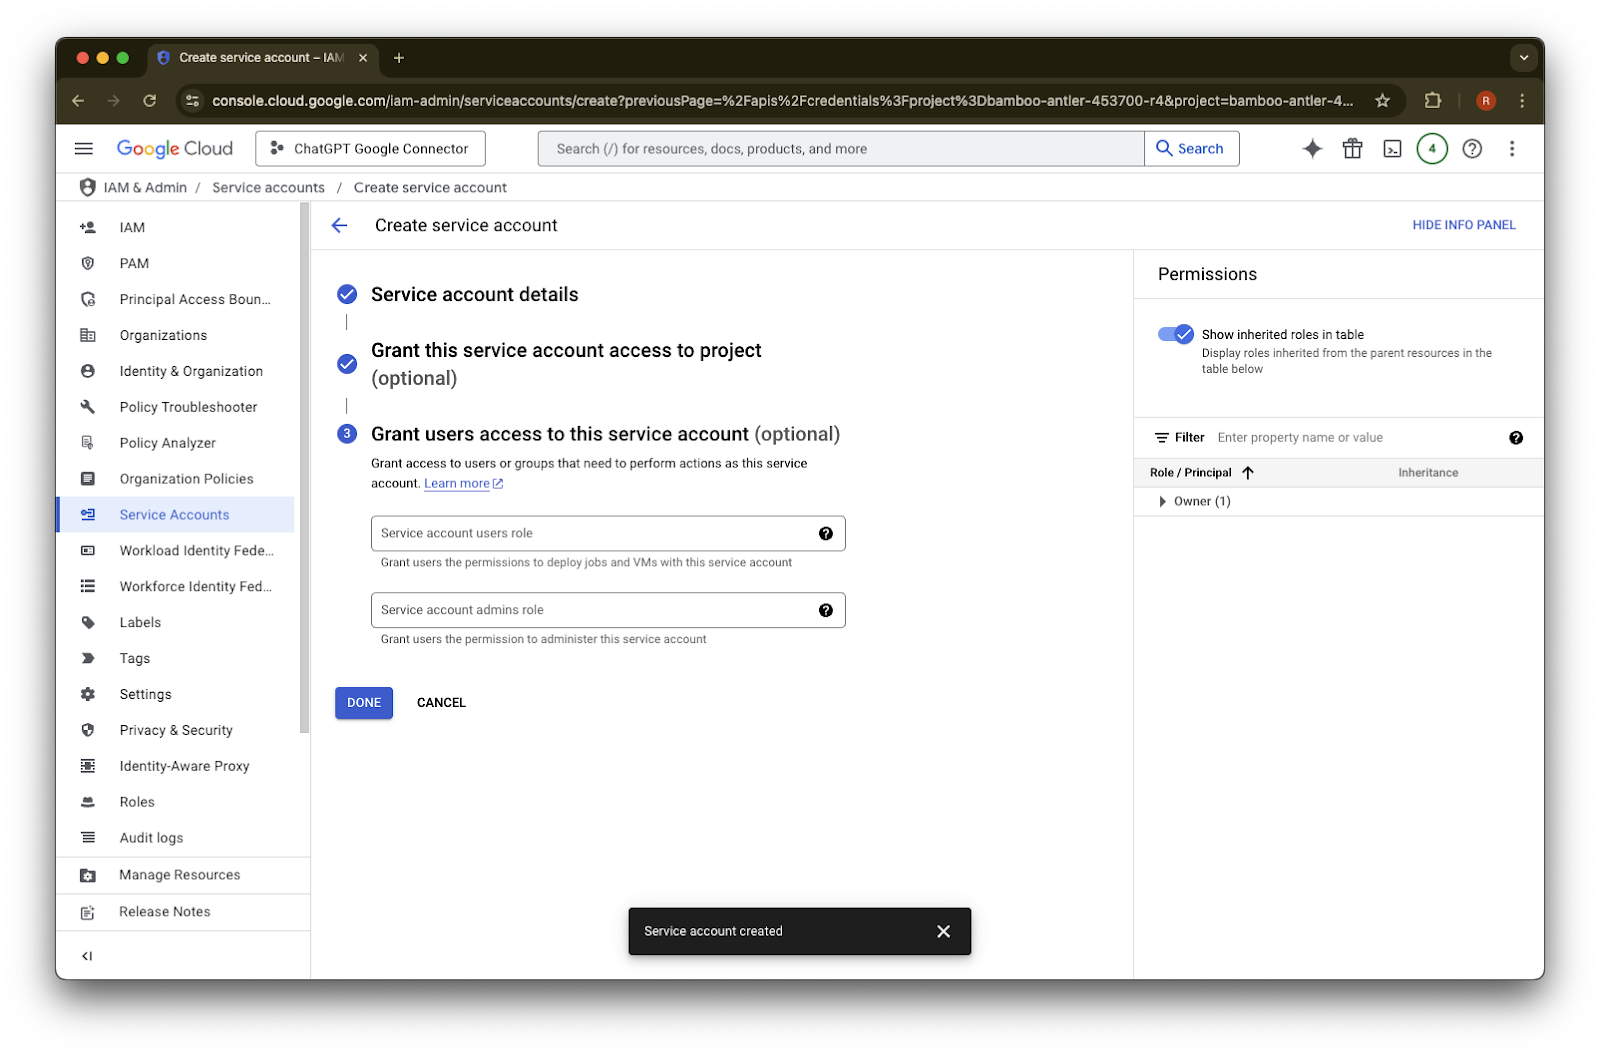
قدّم اسمًا ووصفًا من اختيارك لحساب الخدمة هذا
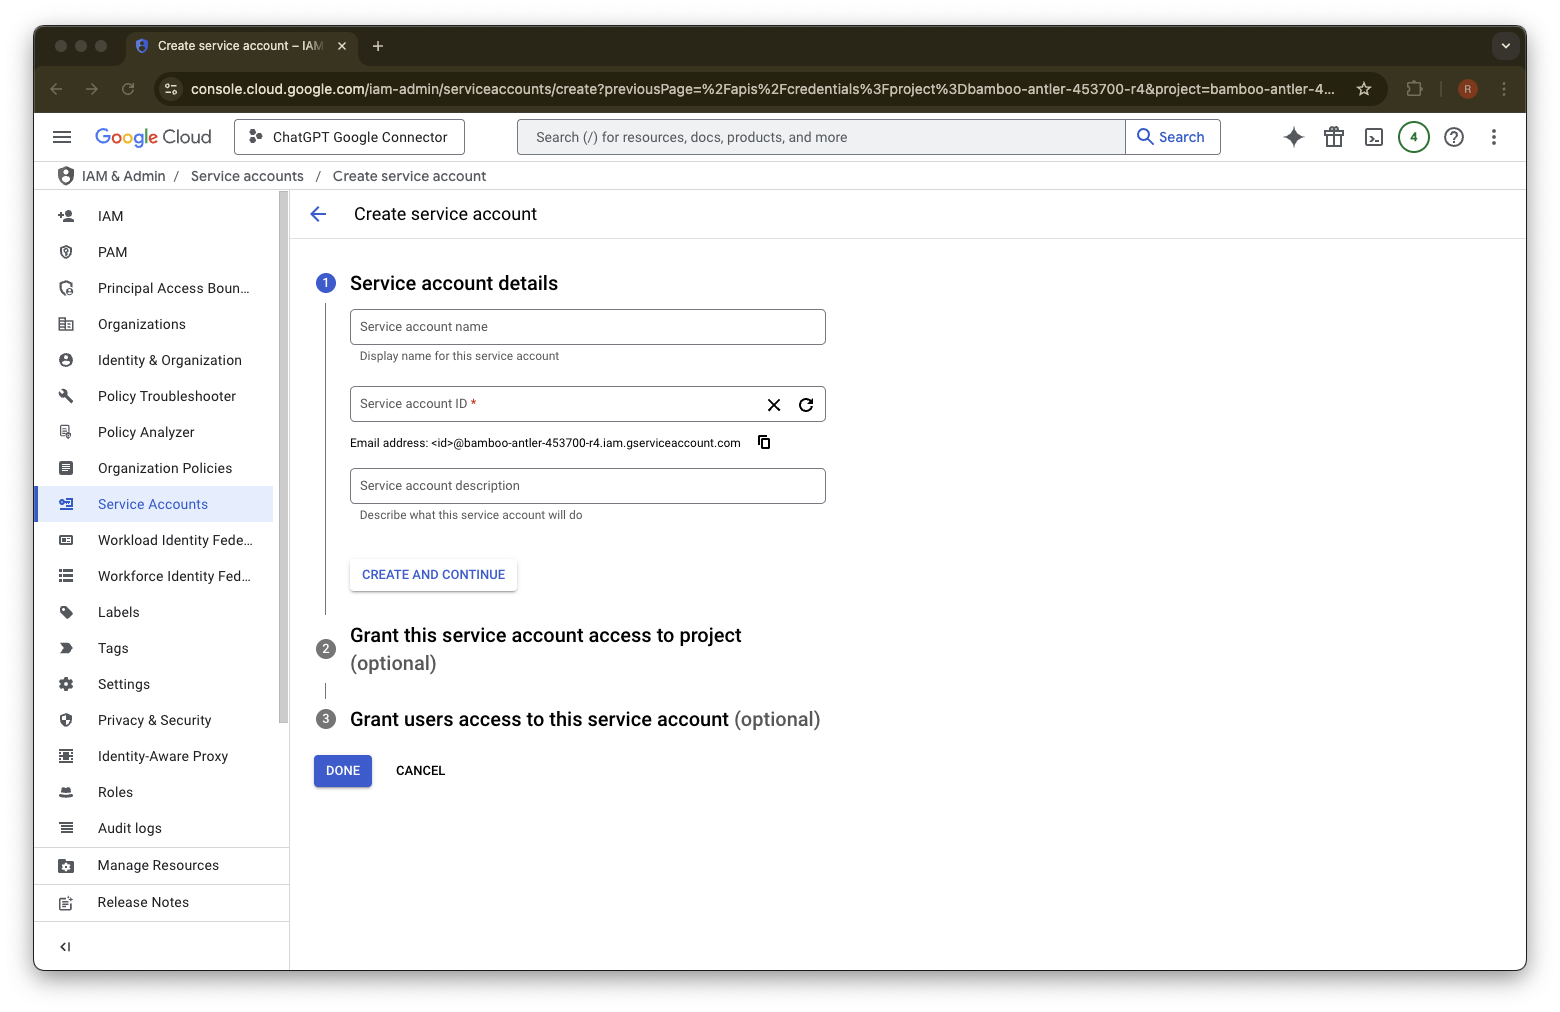
(اختياري) يمكنك تعيين دور - هذا غير مطلوب من ChatGPT.
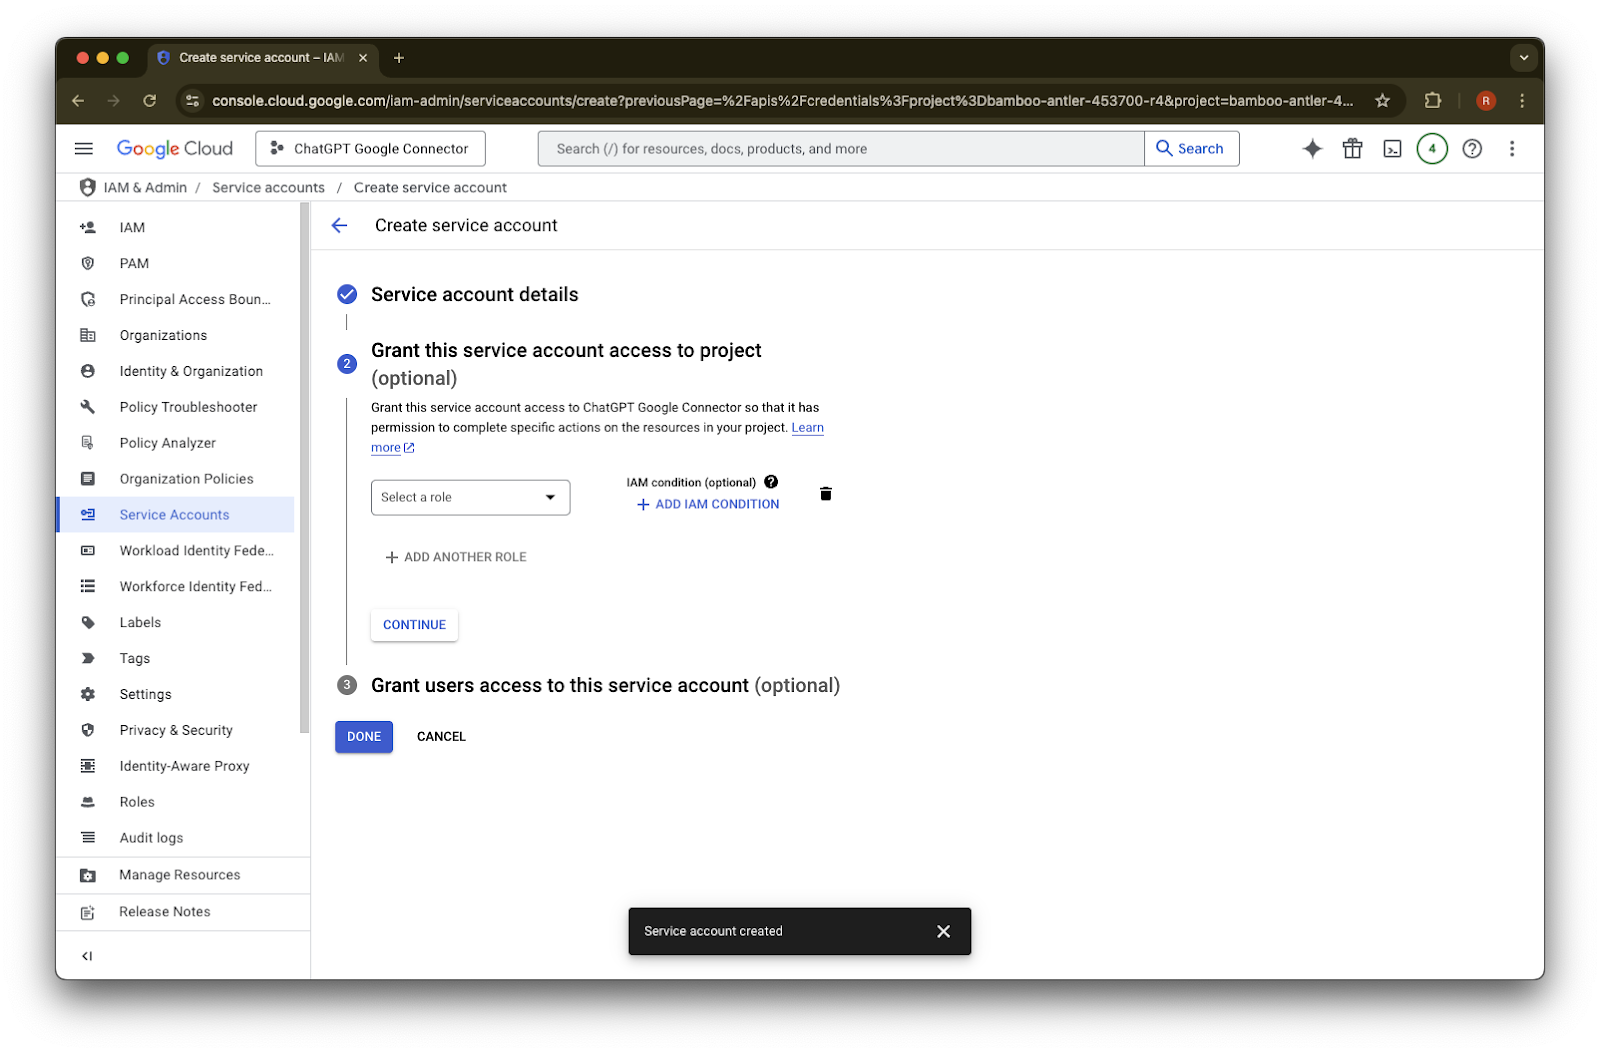
(اختياري) يمكنك منح حق الوصول إلى حساب الخدمة - هذا غير مطلوب من ChatGPT.

انقر على تم.
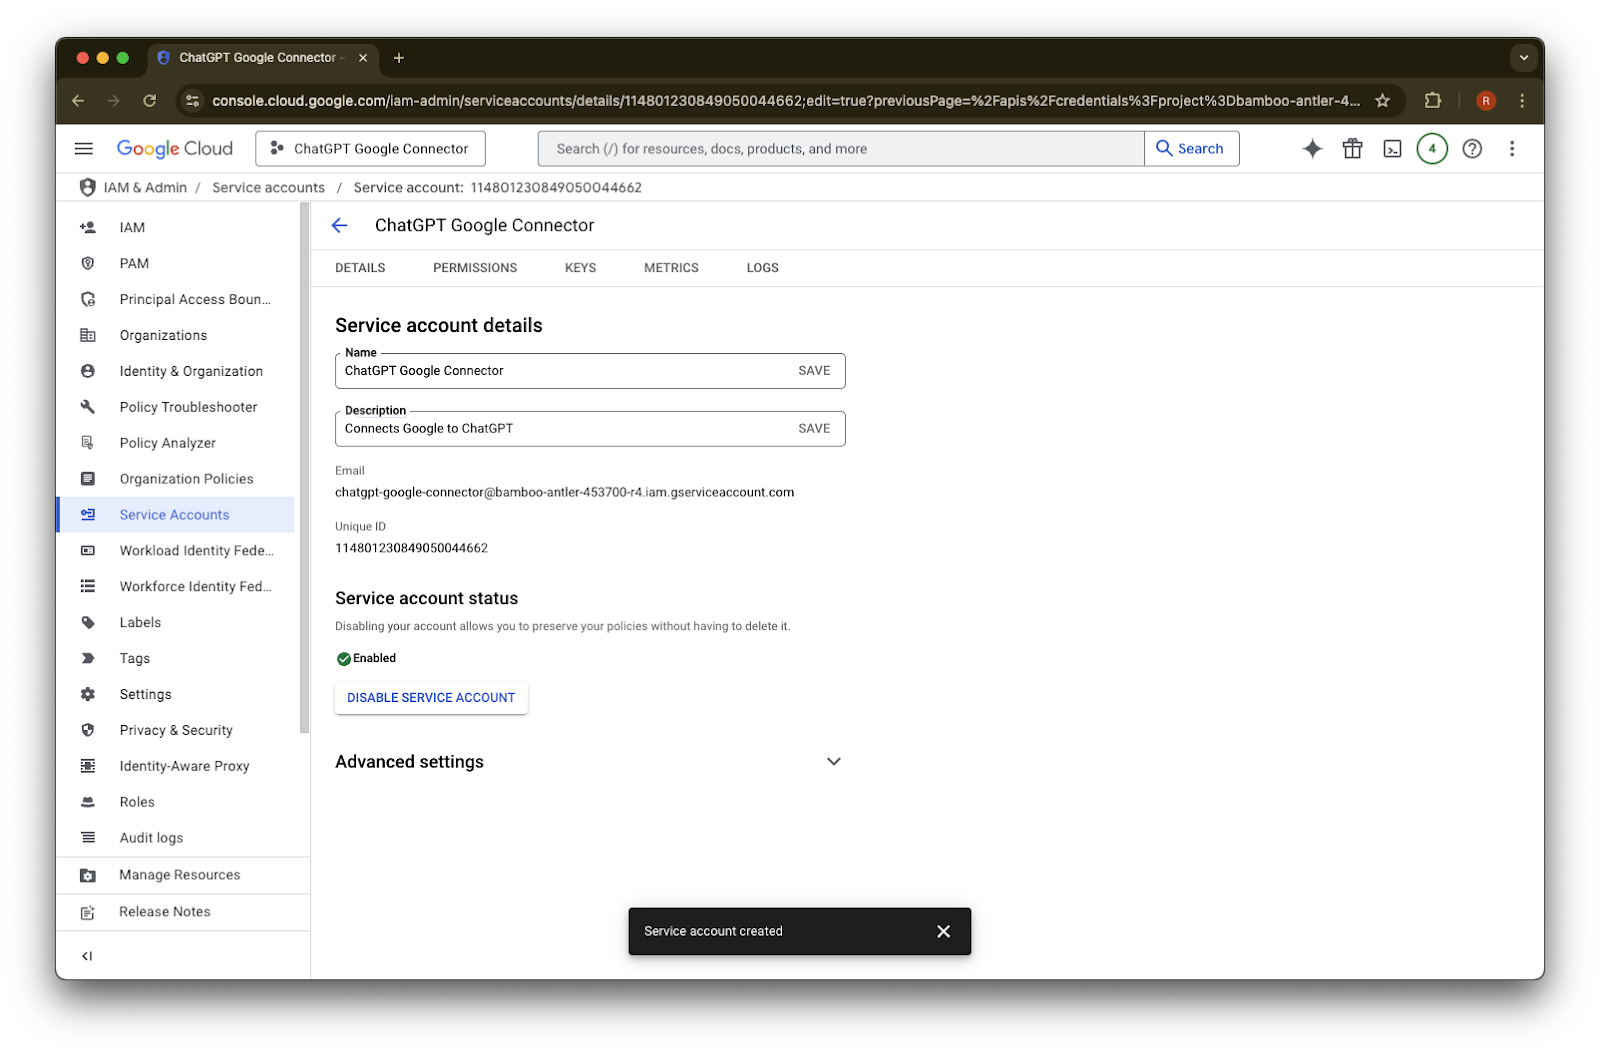
انقر على حساب الخدمة الذي تم إنشاؤه الآن.
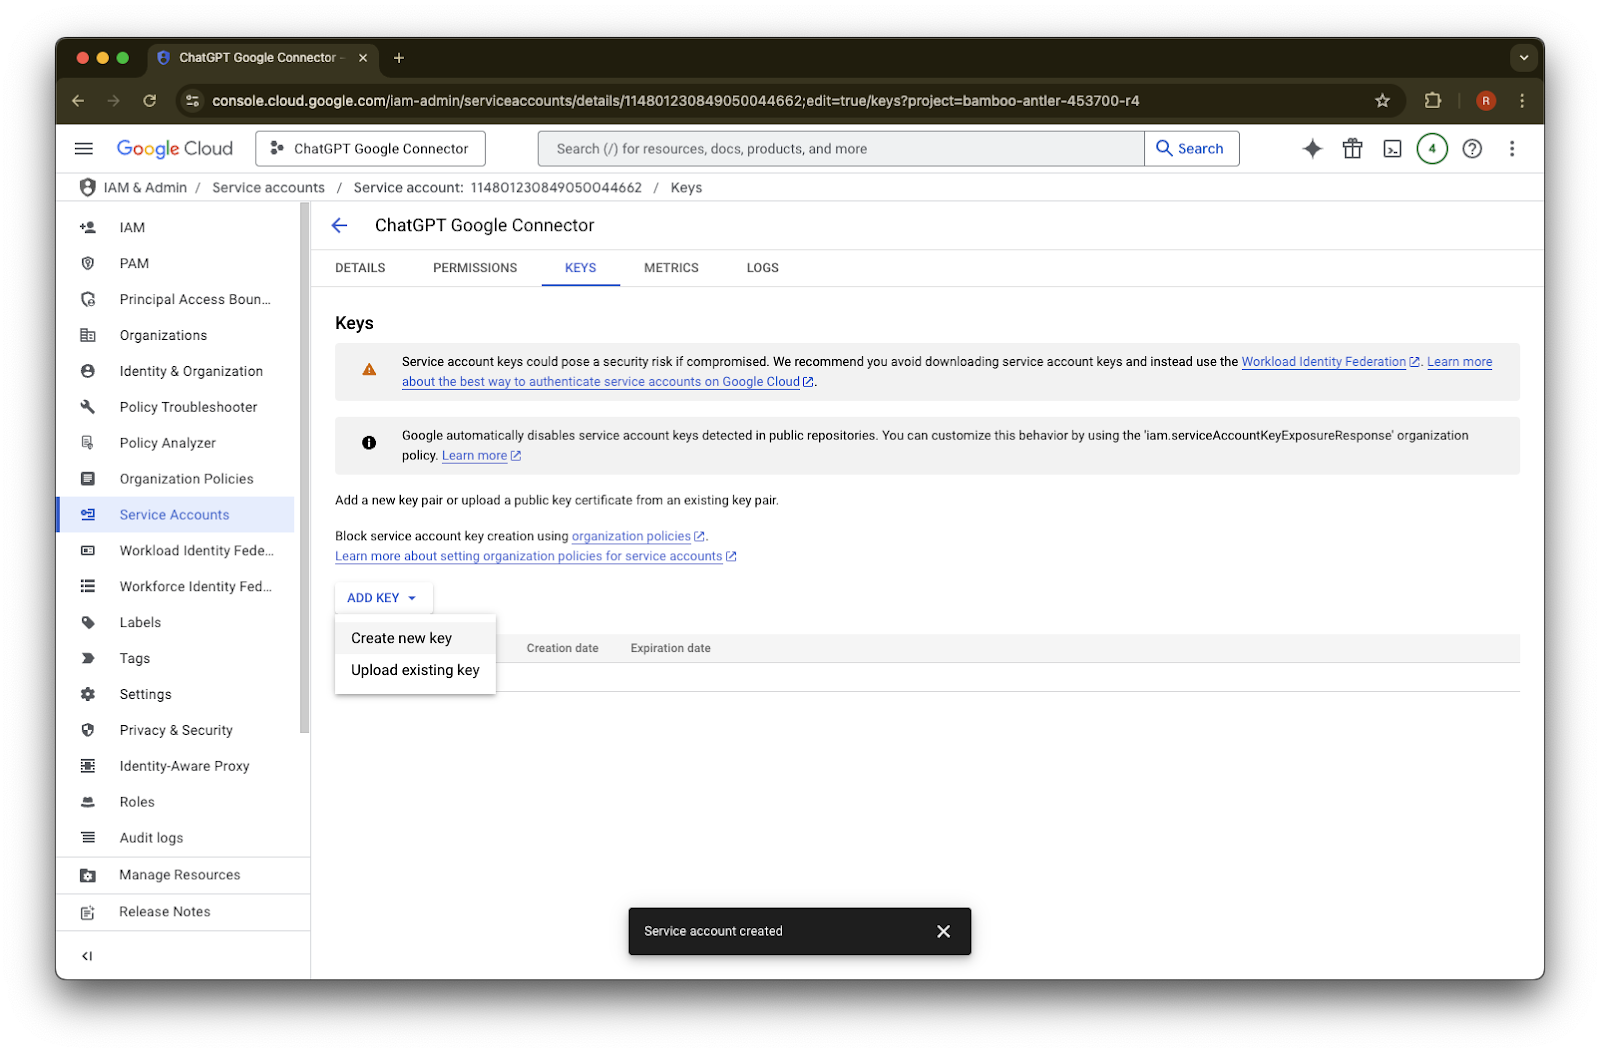
انقر على المفاتيح.
انقر على إضافة مفتاح
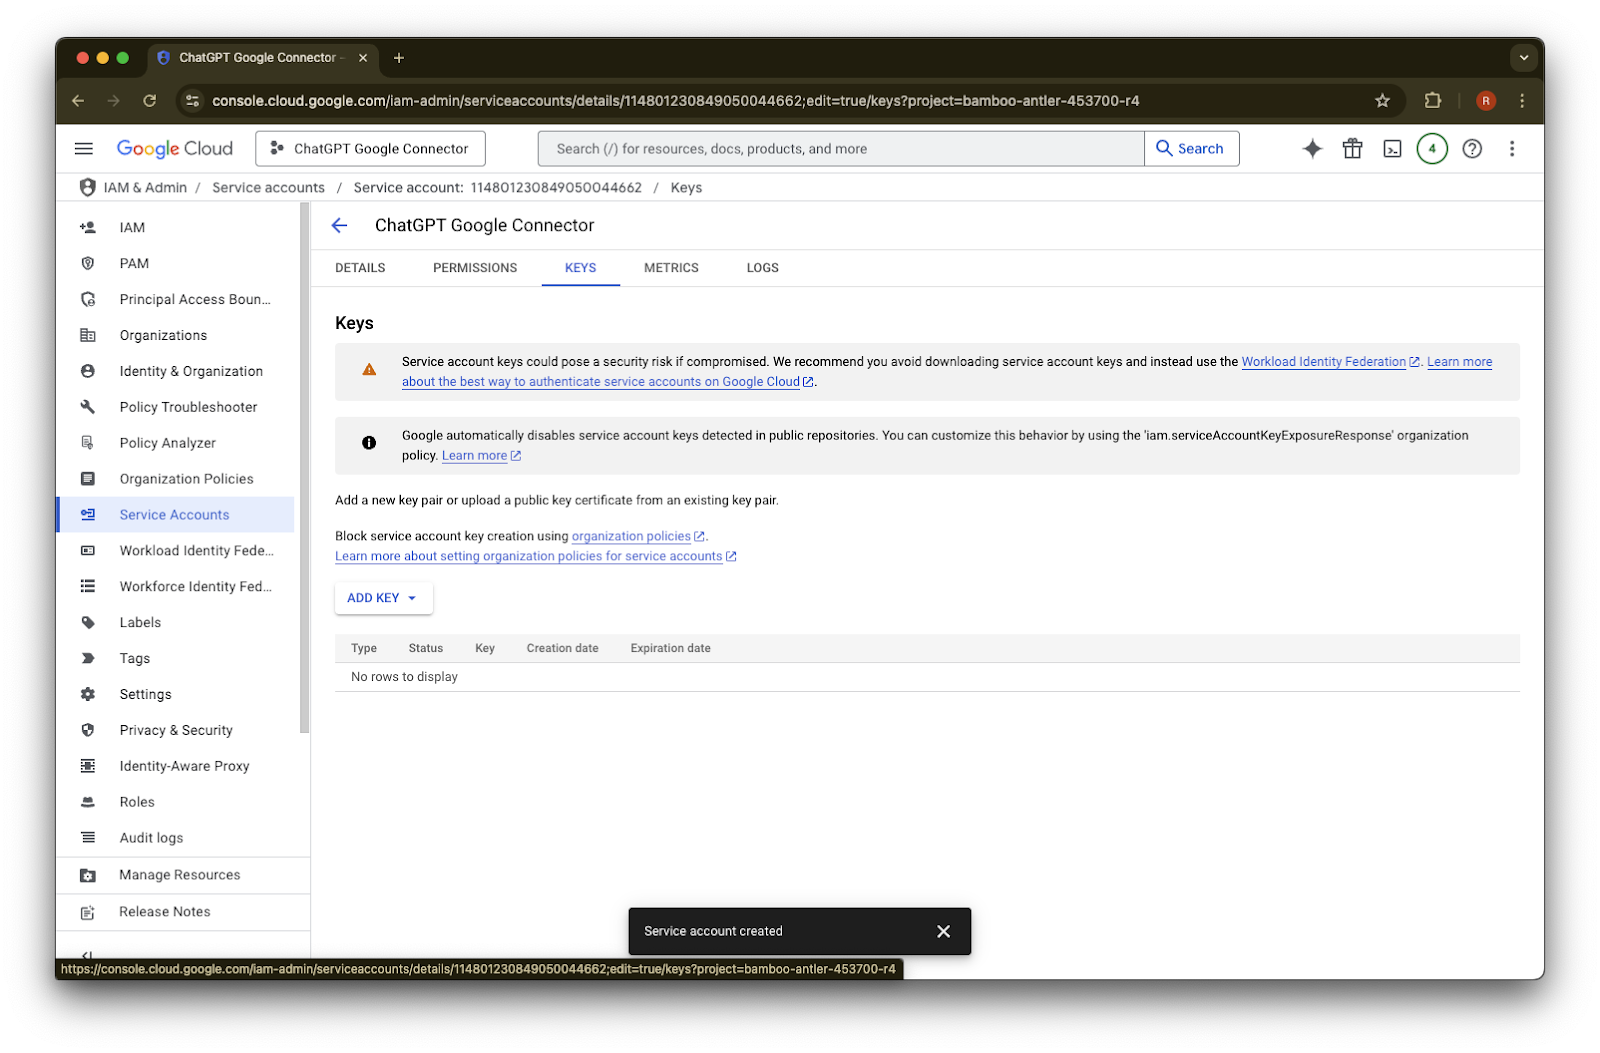
انقر على إنشاء مفتاح جديد
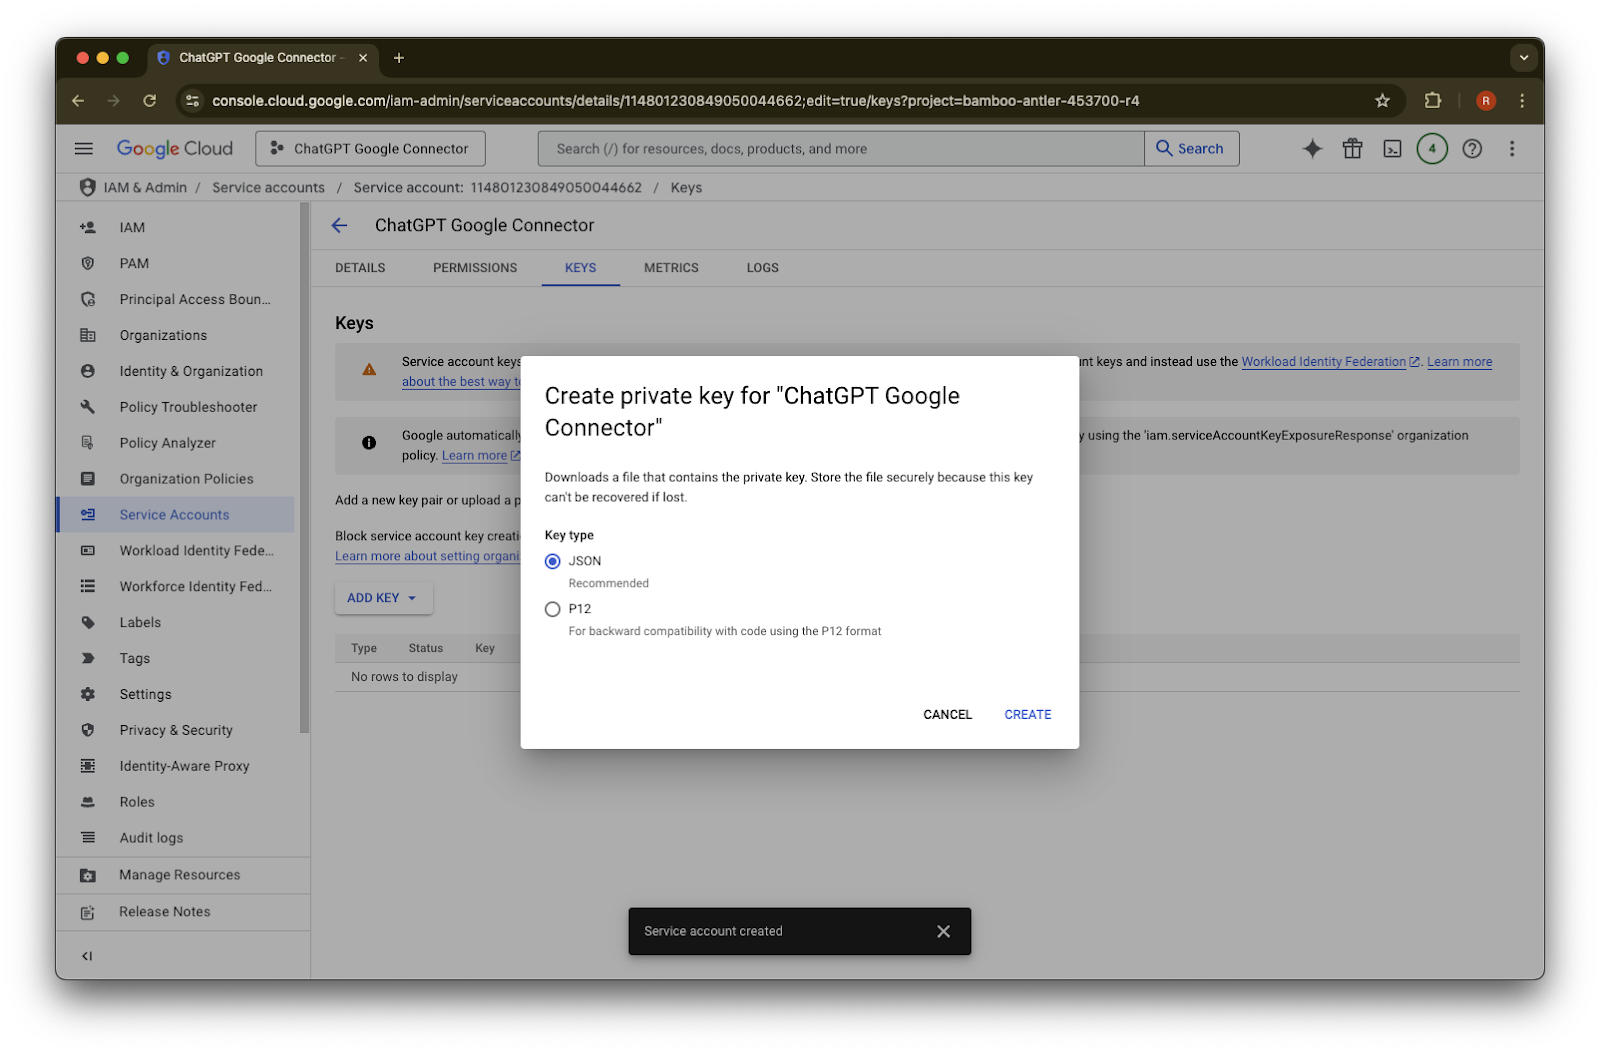
اترك نوع مفتاح JSON الافتراضي وانقر على إنشاء
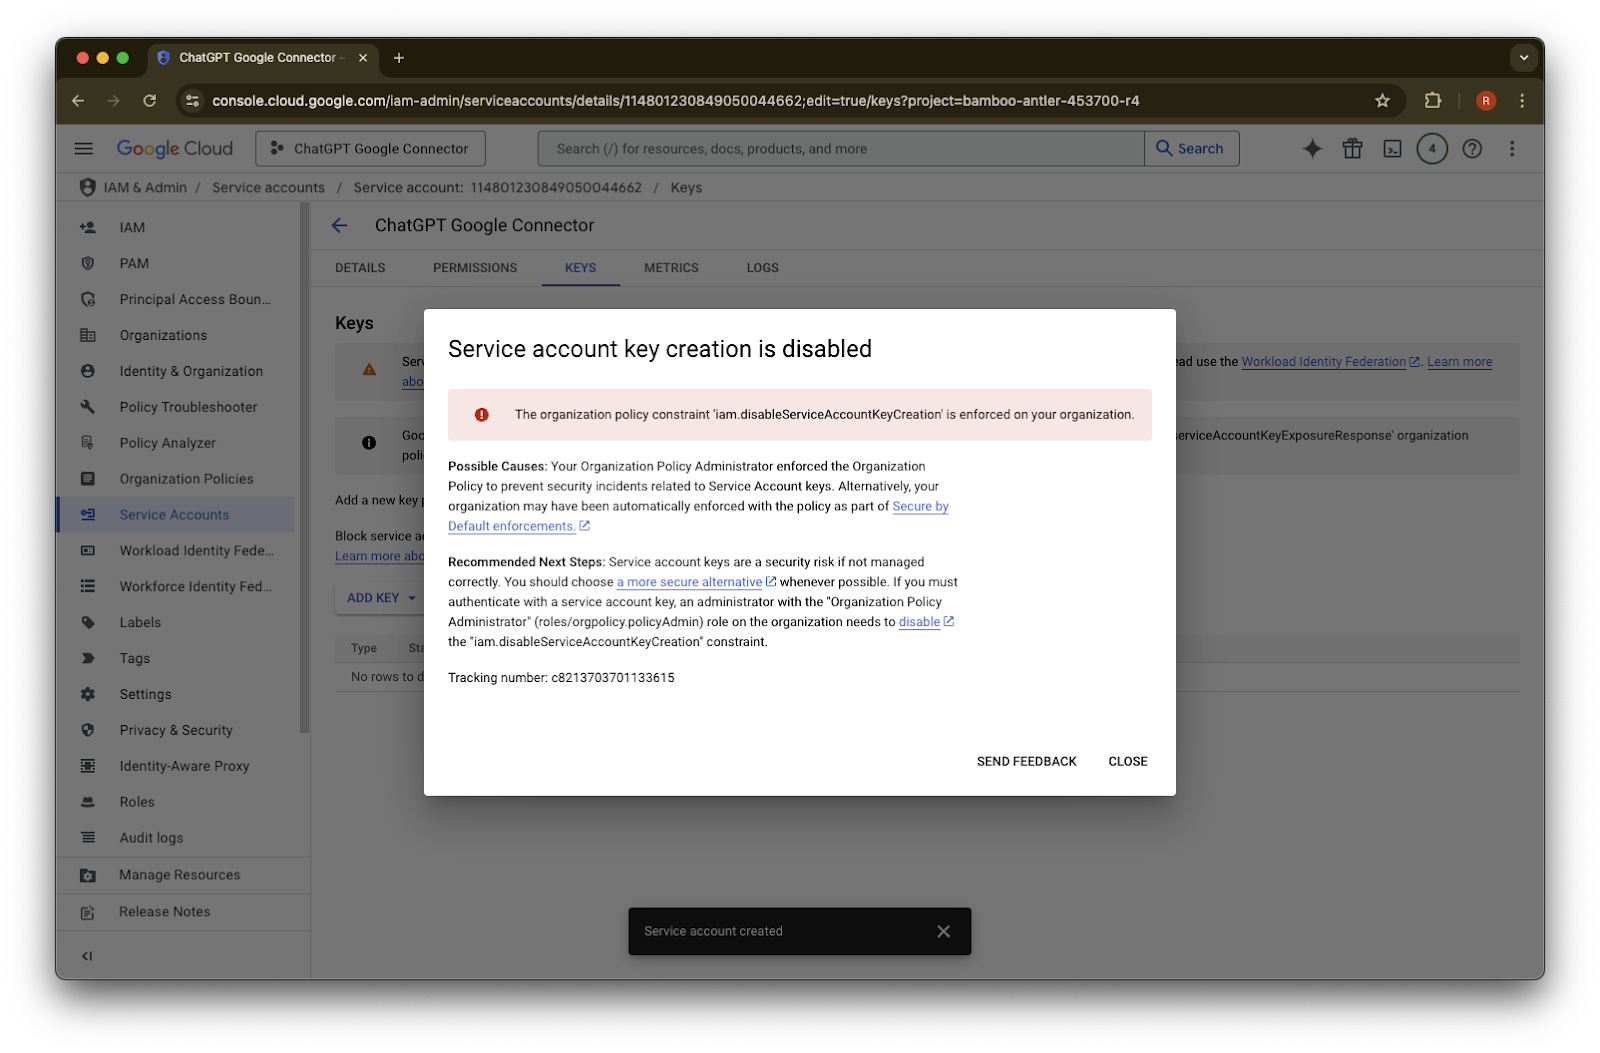
إذا رأيت رسالة خطأ تقول «تم تعطيل إنشاء مفتاح حساب الخدمة»، فاتبع هذه الخطوات لتمكين الإنشاء.
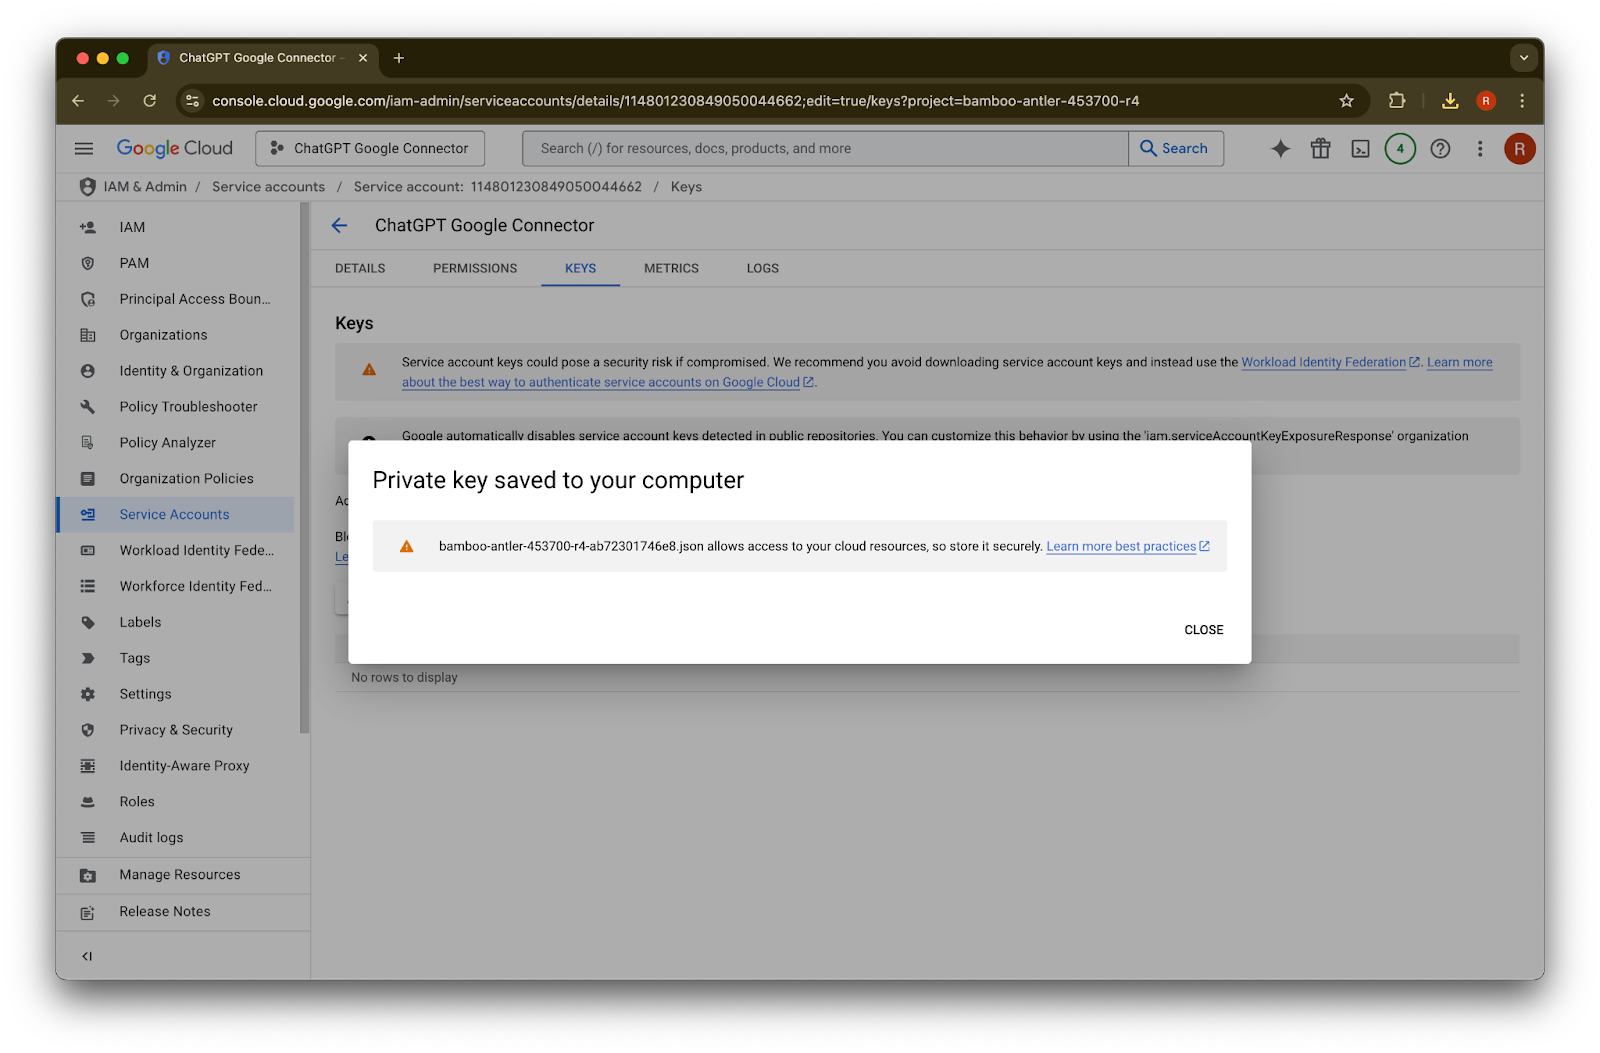
انقر على إغلاق. تم الآن تنزيل المفتاح إلى جهاز الكمبيوتر لديك. ستحمّله لاحقًا إلى وحدة تحكم مسؤول ChatGPT.
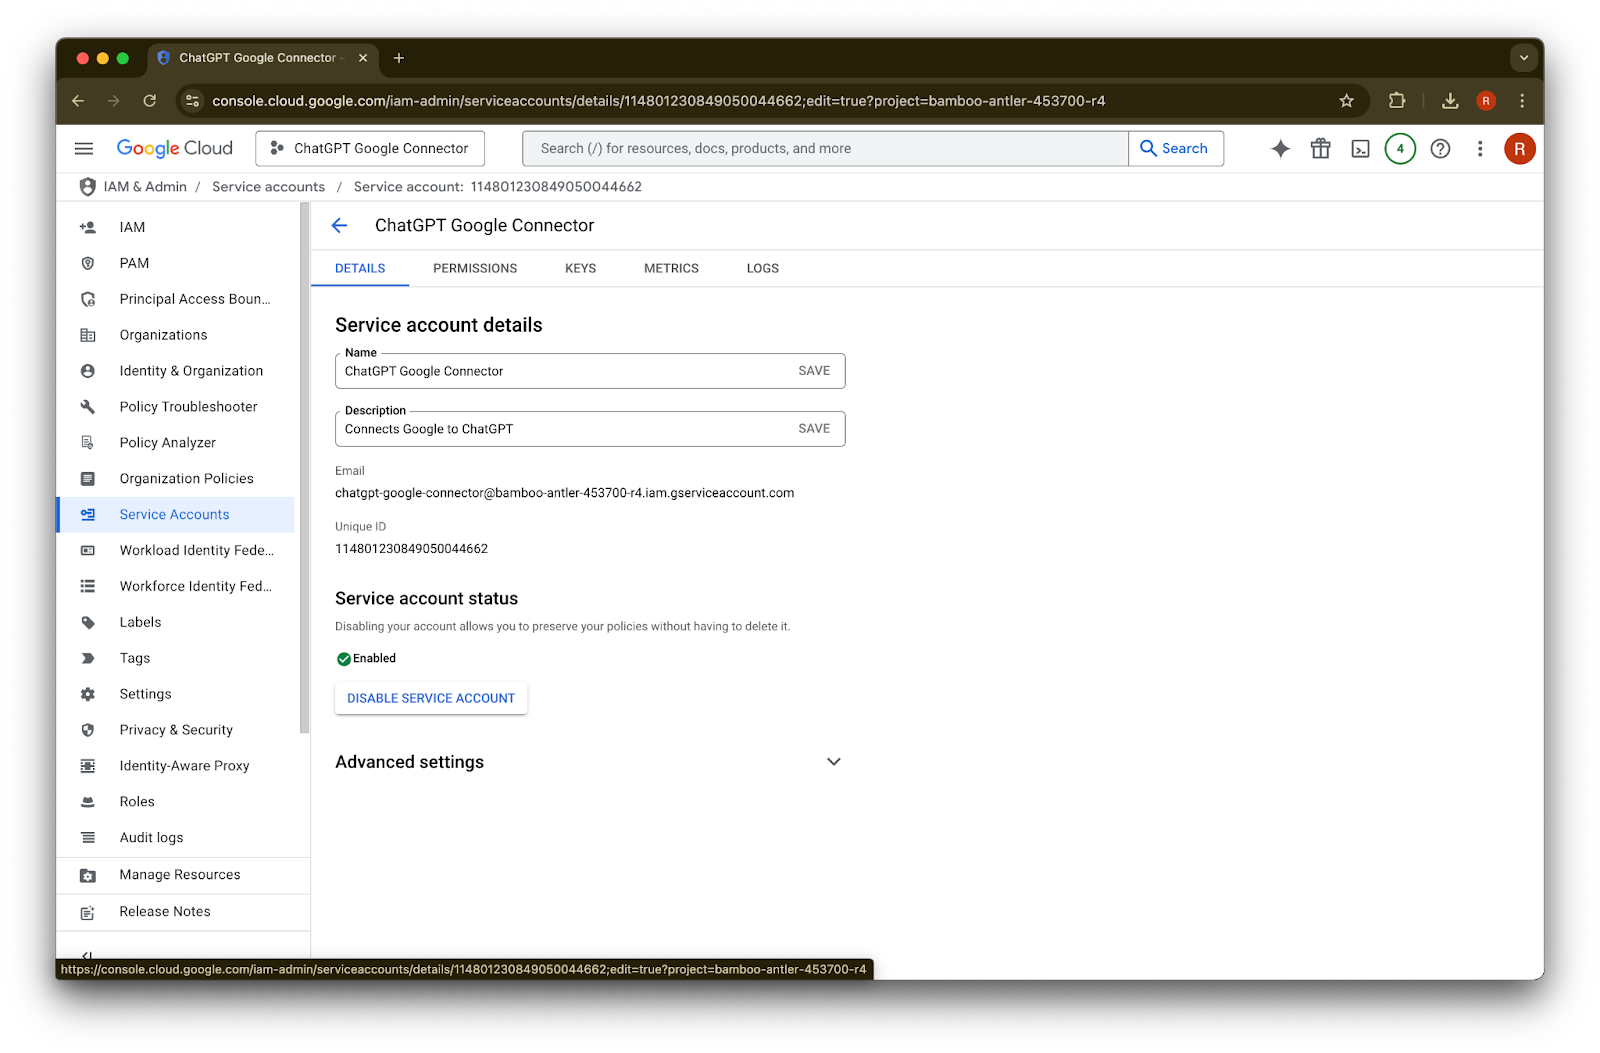
انقر على التفاصيل
دوّن المعرّف الفريد. ستحتاج إلى ذلك في الخطوة 42.
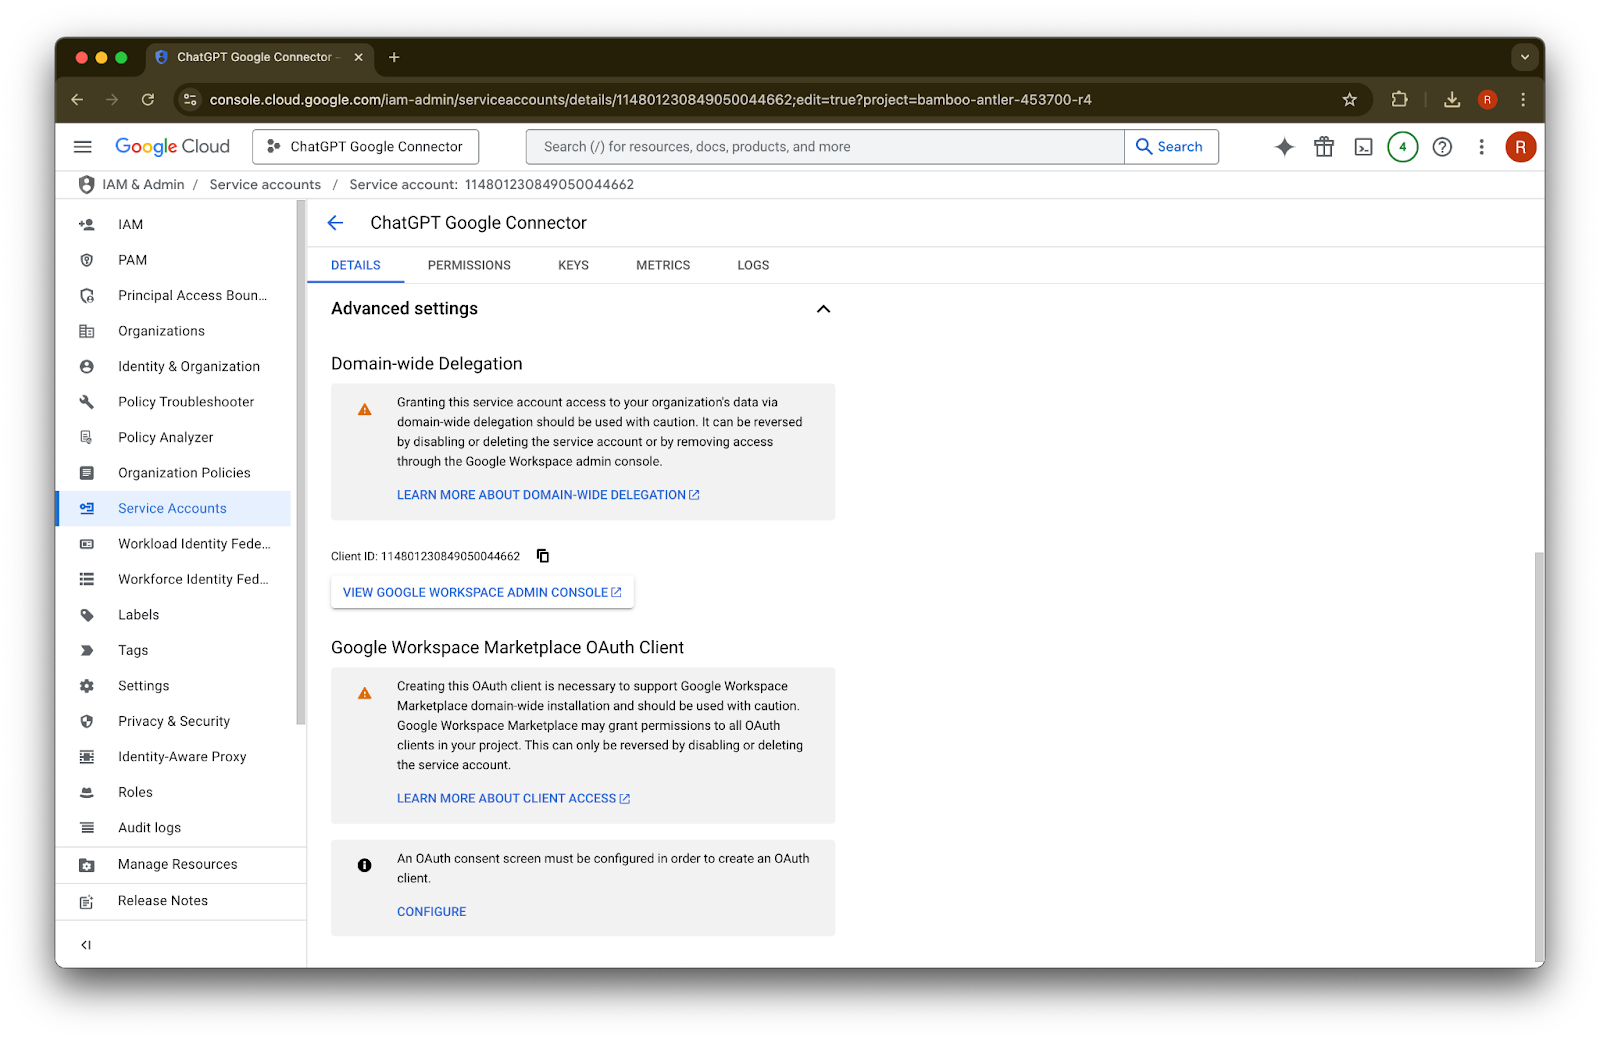
وسّع الإعدادات المتقدمة

مرّر لأسفل وانقر على عرض وحدة تحكم مسؤول Google Workspace. ستُفتح وحدة تحكم Google Workspace في علامة تبويب جديدة.
انقر على عرض المزيد
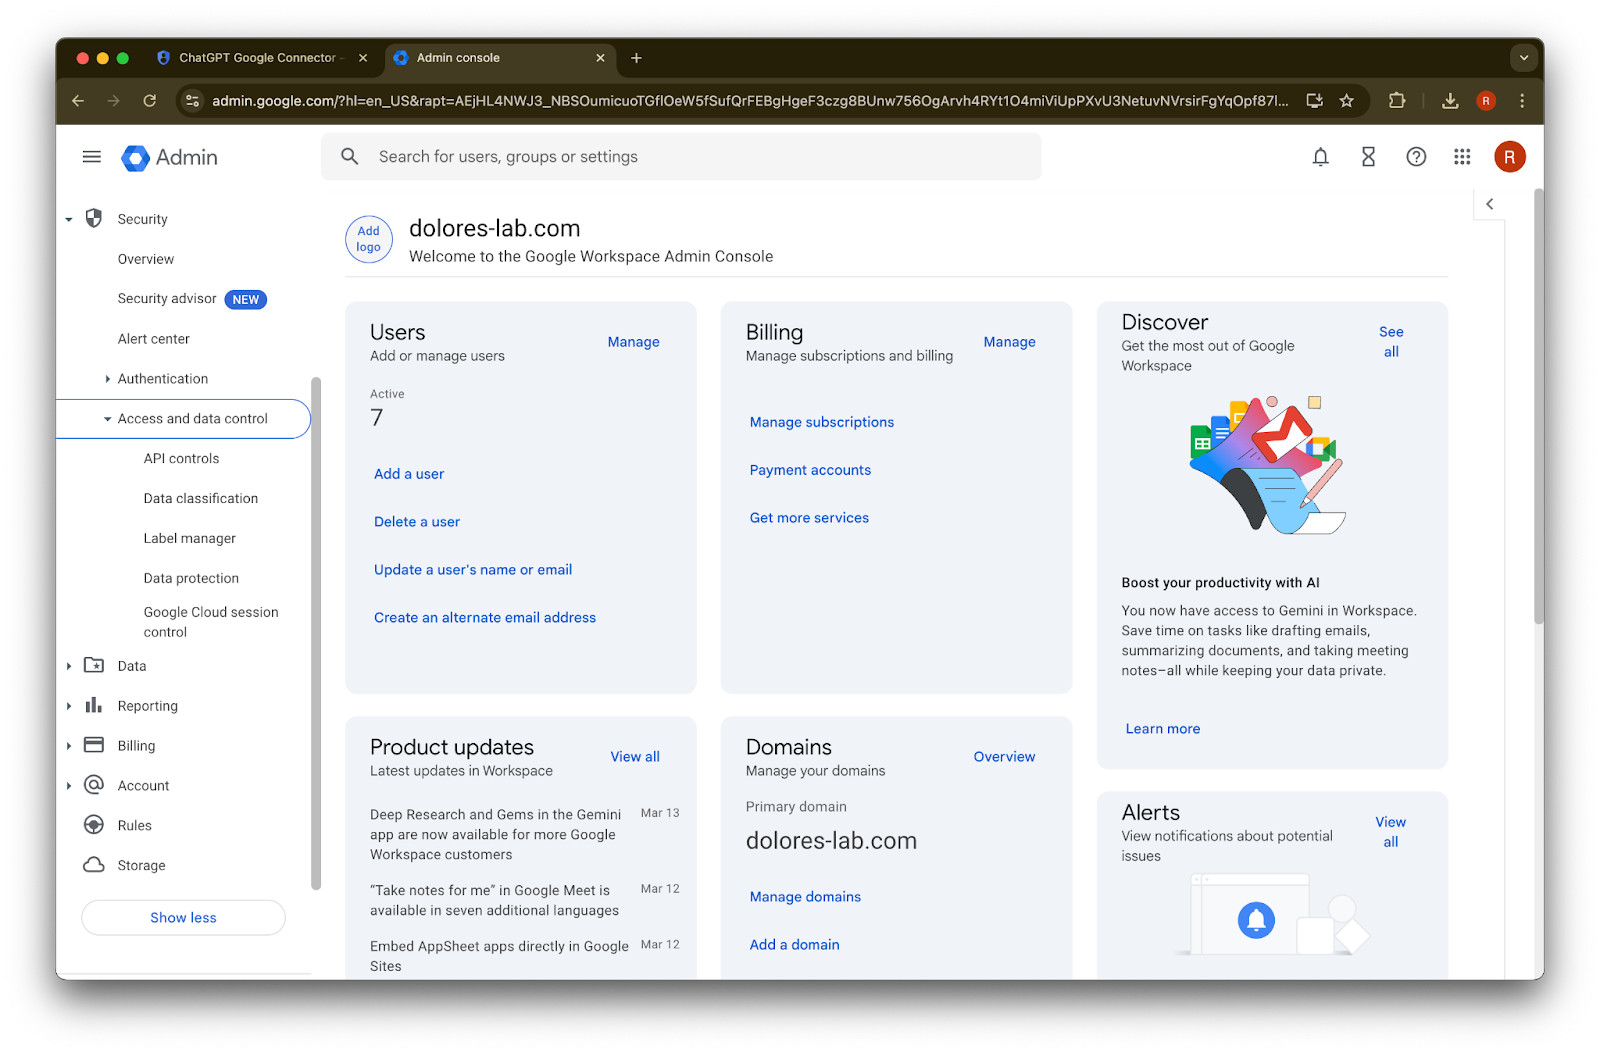
وسّع قسم الأمان
وسّع قسم الوصول وعناصر التحكم في البيانات
انقر على قسم عناصر التحكم في API
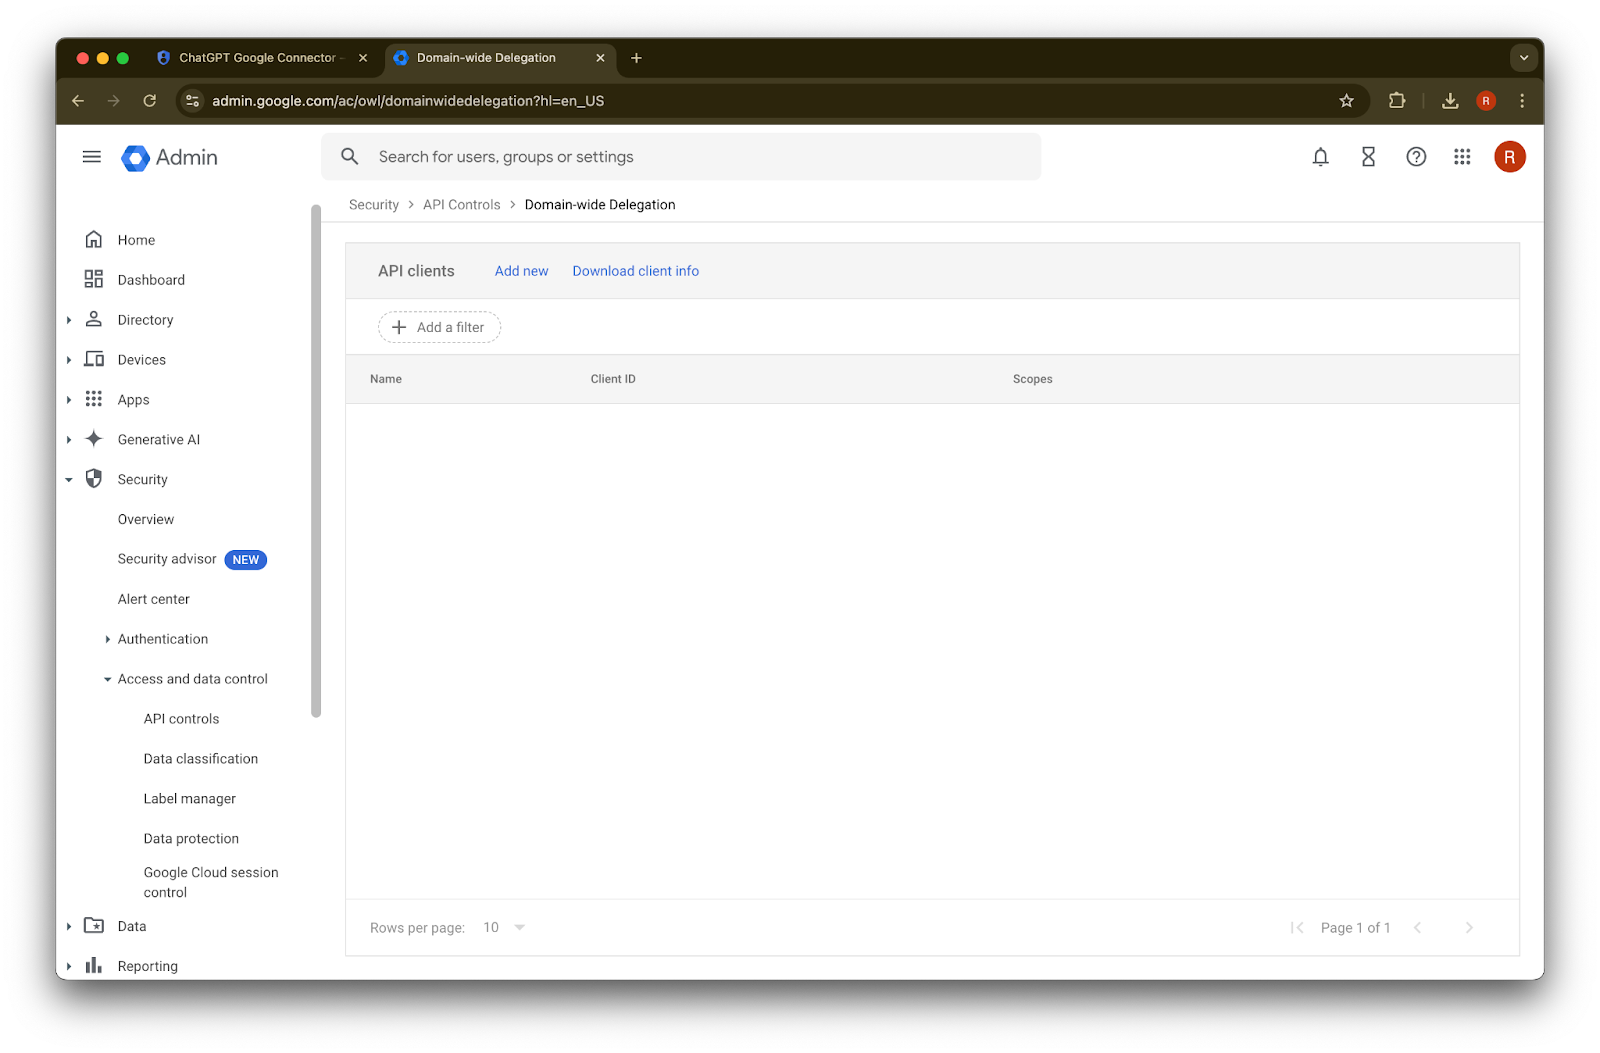
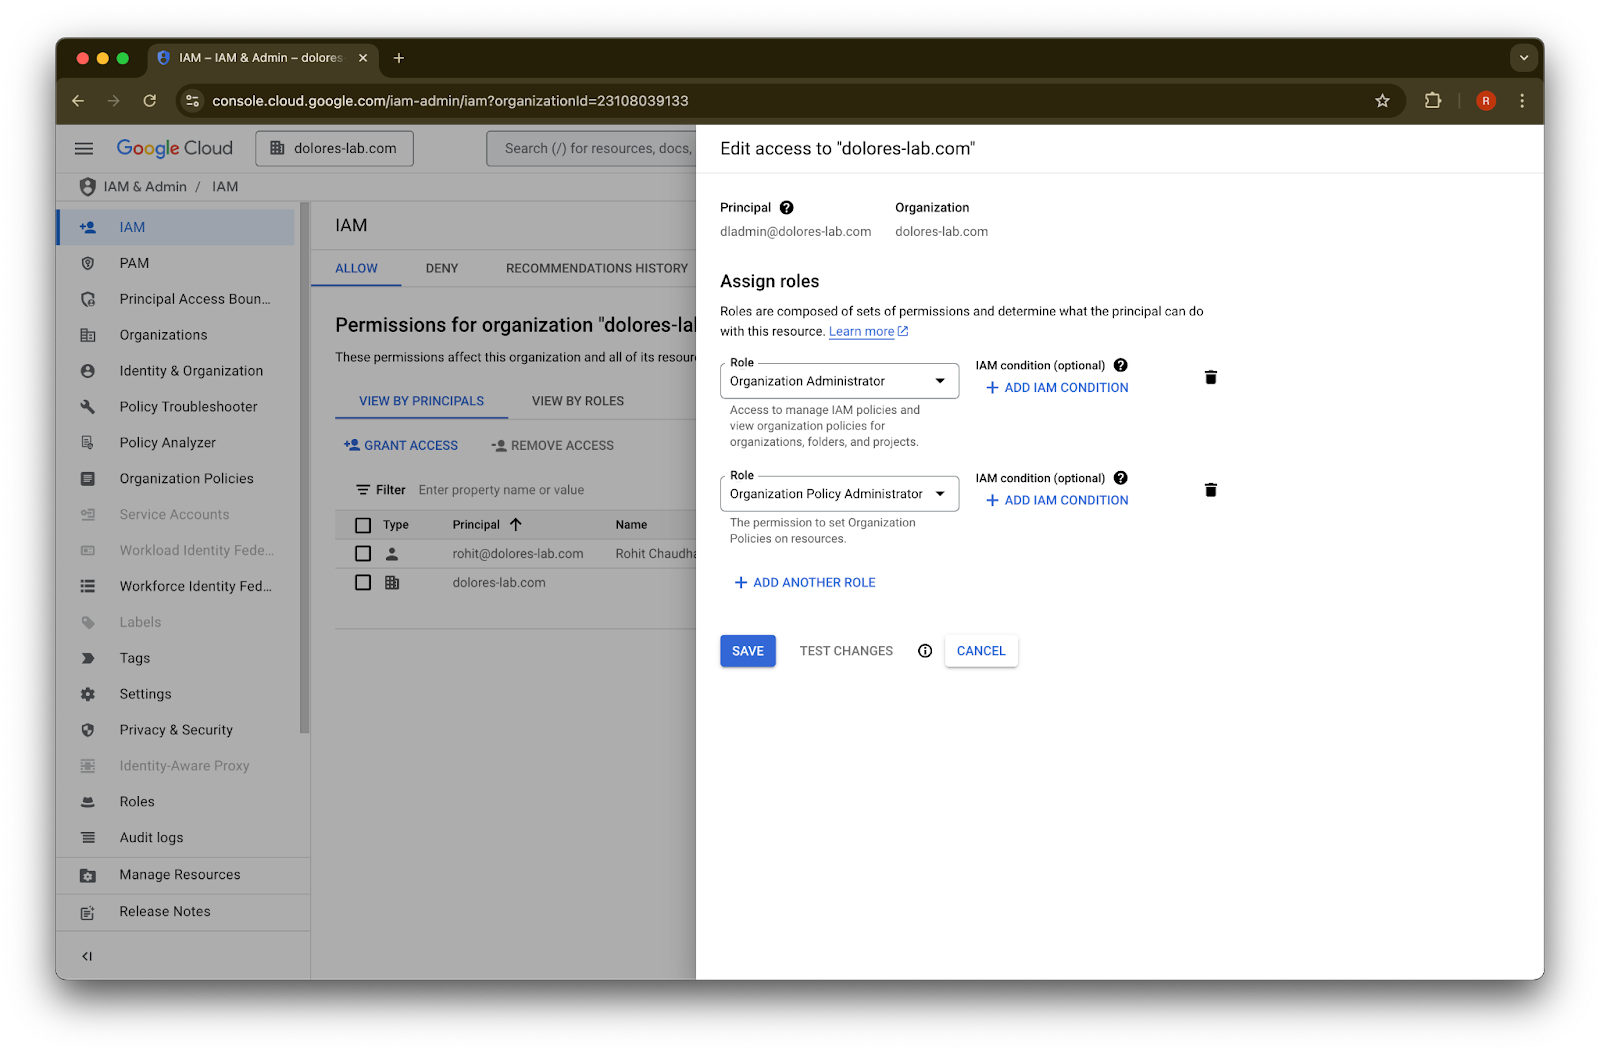
انقر على إدارة التفويض على مستوى النطاق

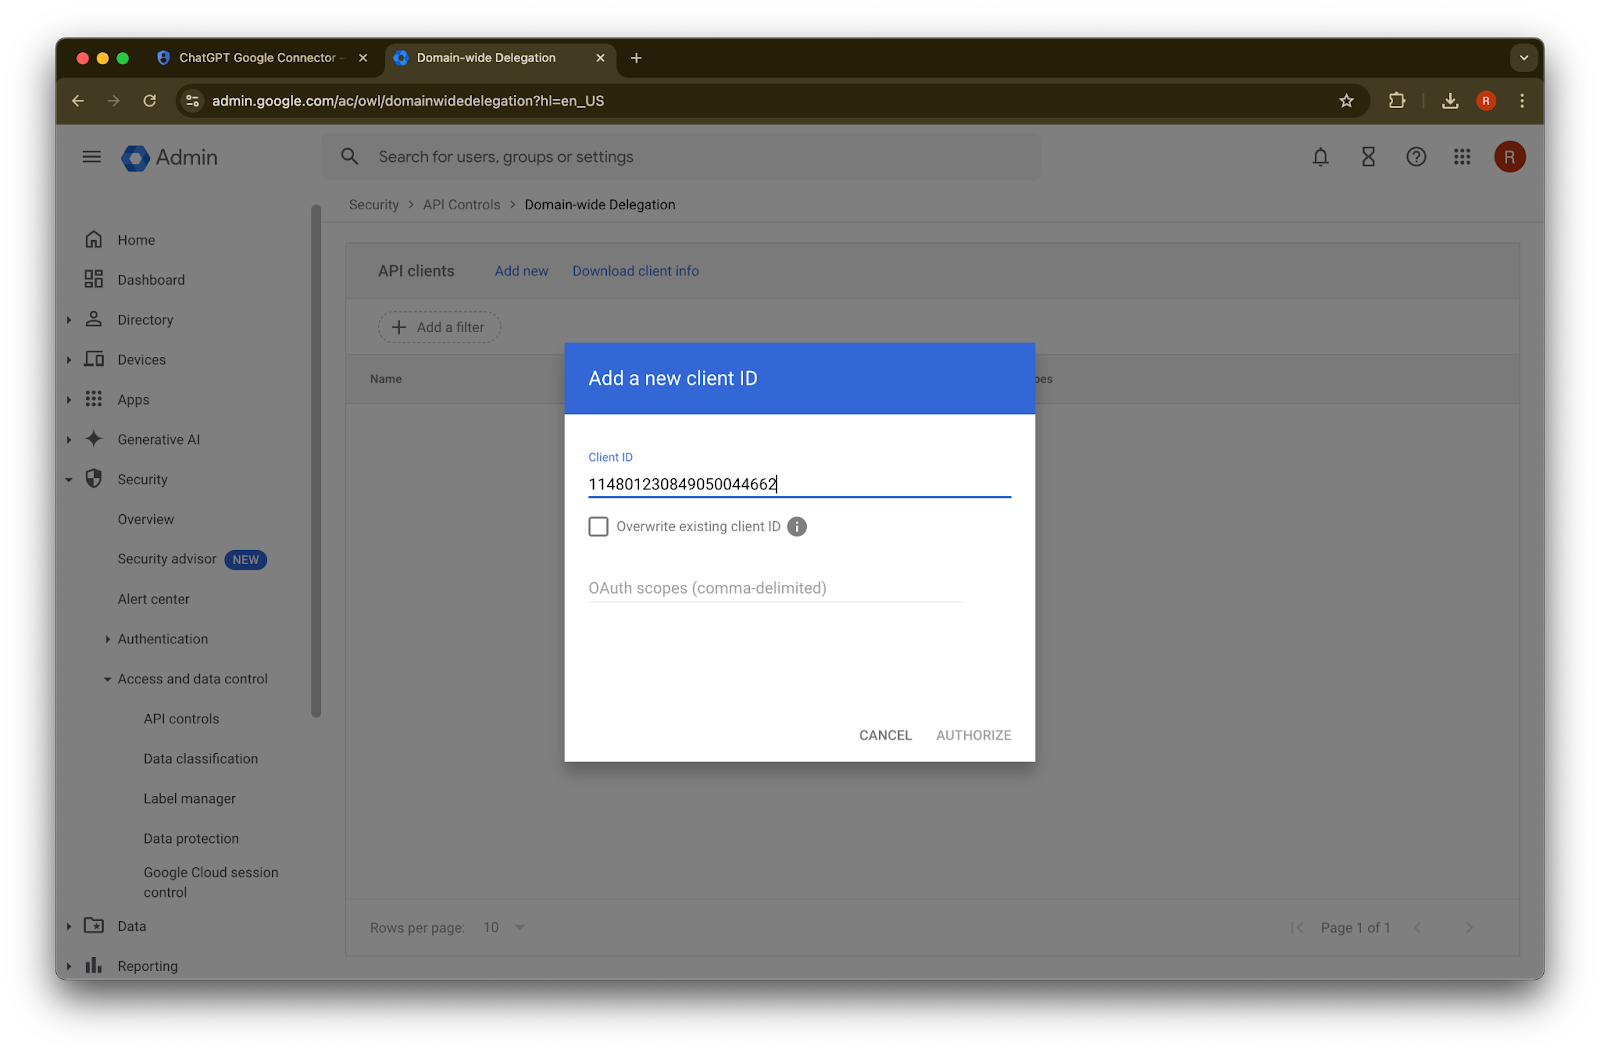
انقر على إضافة جديد
استخدم المعرّف الفريد الذي دوّنته سابقًا كقيمة معرّف العميل هذا
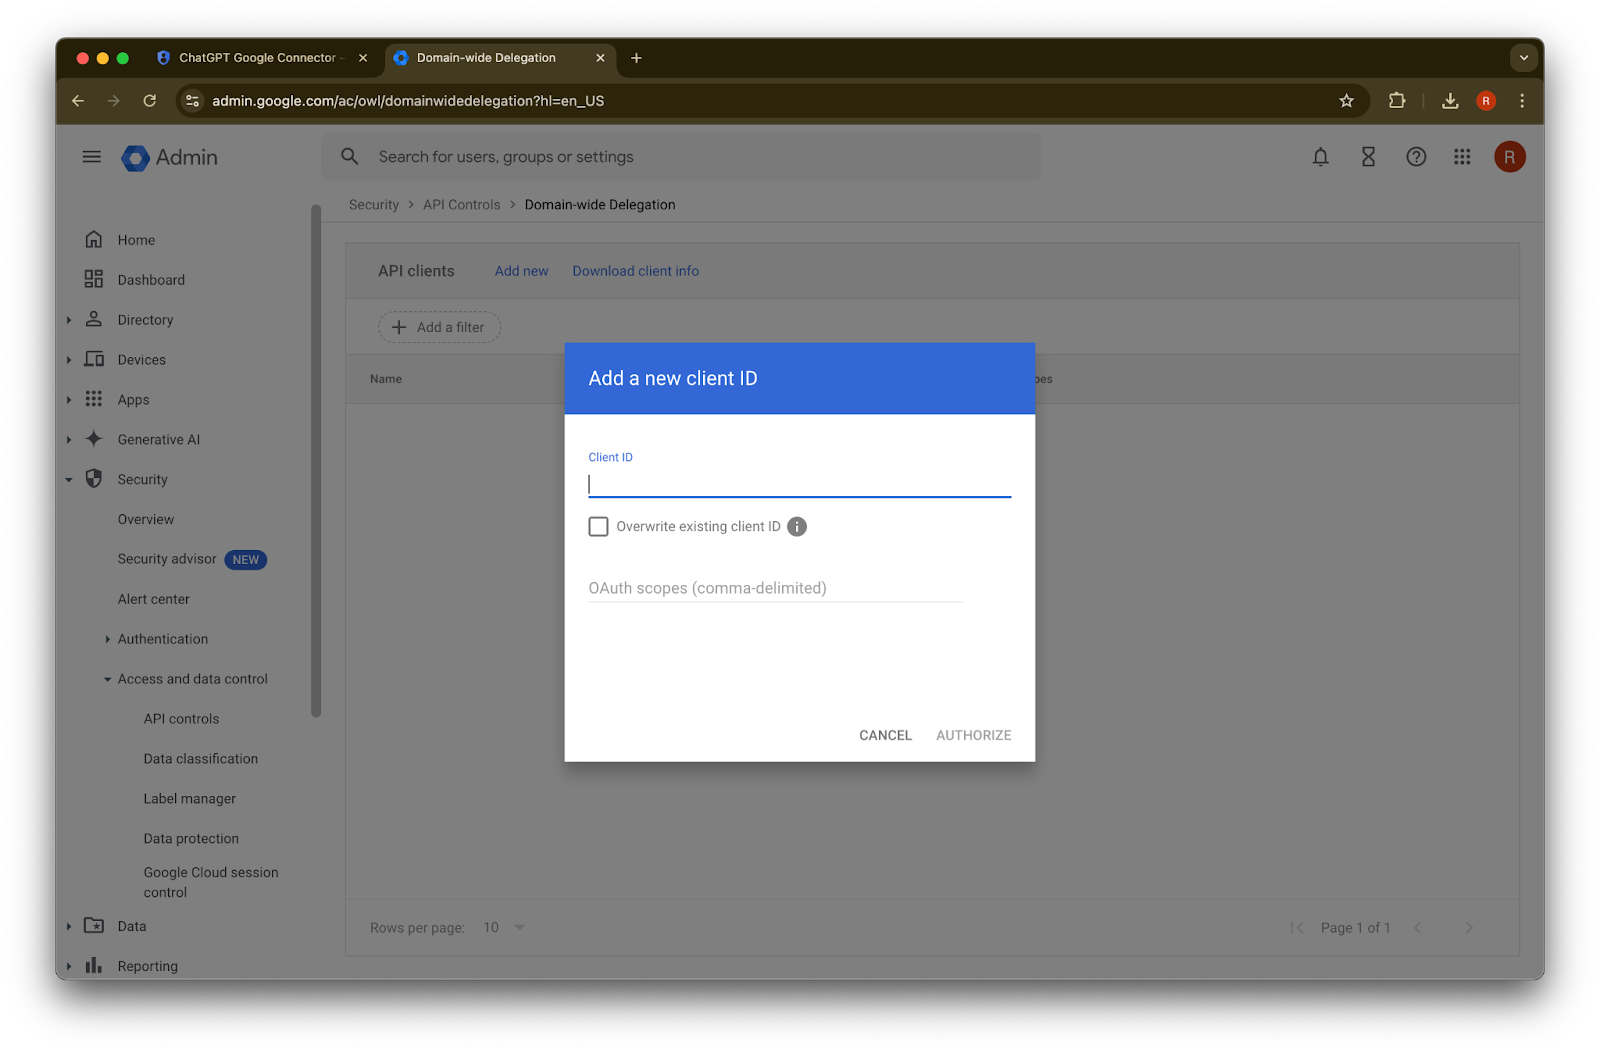
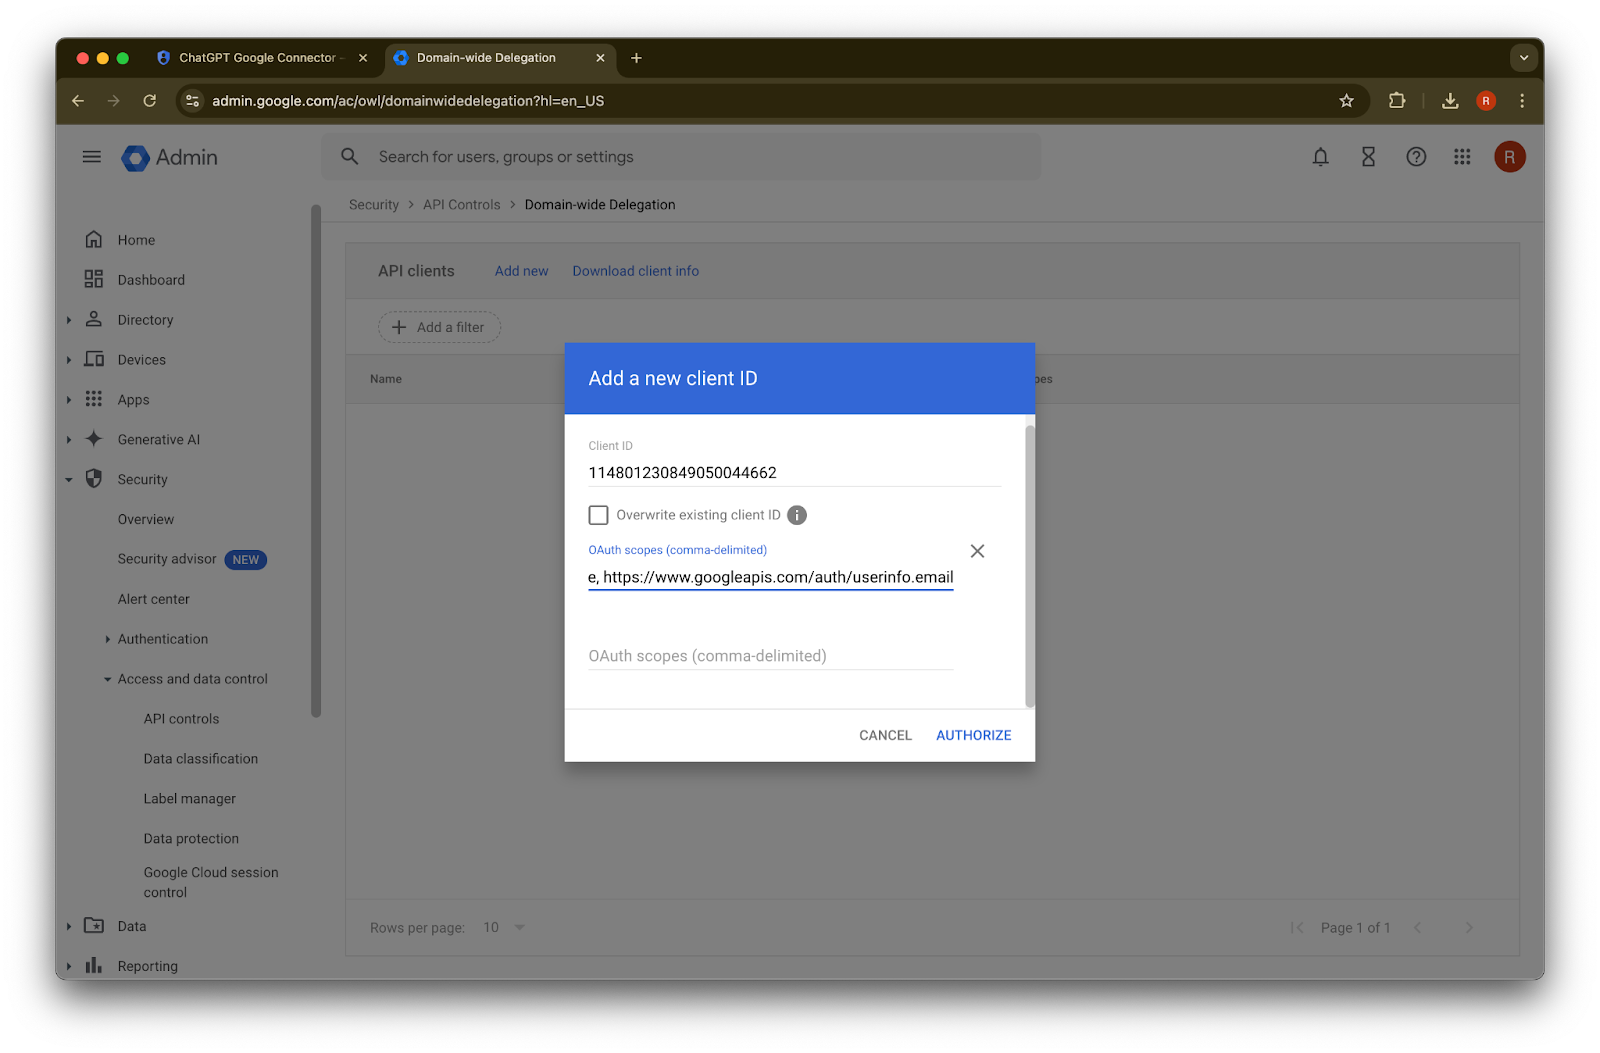
بالنسبة إلى نطاقات OAuth، راجع قيم نطاقات التفويض التالية المفصولة بفواصل، والتي ستحتاج إلى نسخها ولصقها:
https://www.googleapis.com/auth/admin.directory.group.readonly, https://www.googleapis.com/auth/admin.directory.group.member.readonly, https://www.googleapis.com/auth/admin.directory.user.readonly, https://www.googleapis.com/auth/admin.directory.user.alias.readonly, https://www.googleapis.com/auth/drive.activity.readonly, https://www.googleapis.com/auth/drive.metadata.readonly, https://www.googleapis.com/auth/drive.readonly, https://www.googleapis.com/auth/userinfo.profile, https://www.googleapis.com/auth/userinfo.email| النطاق | الاستدلال |
| admin.directory.group.readonly | فرض الأذونات المستندة إلى المجموعات |
| admin.directory.group.member.readonly | فرض الأذونات المستندة إلى المجموعات |
| admin.directory.user.alias.readonly | التعامل مع الحالات التي يُمنح فيها المستخدم الإذن عبر اسم مستعار |
| drive.activity.readonly | لتلقّي إشعار عند حدوث تغييرات على الملفات |
| drive.metadata.readonly | مزامنة محتوى الملفات والبيانات الوصفية المرتبطة بها (مثل تاريخ آخر تعديل) |
| drive.readonly | مزامنة محتوى الملفات والبيانات الوصفية المرتبطة بها (مثل تاريخ آخر تعديل) |
| userinfo.profile | تحديد المستخدمين الذين نزامن ملفاتهم |
| userinfo.email | تحديد المستخدمين الذين نزامن ملفاتهم |
45. انقر على تفويض
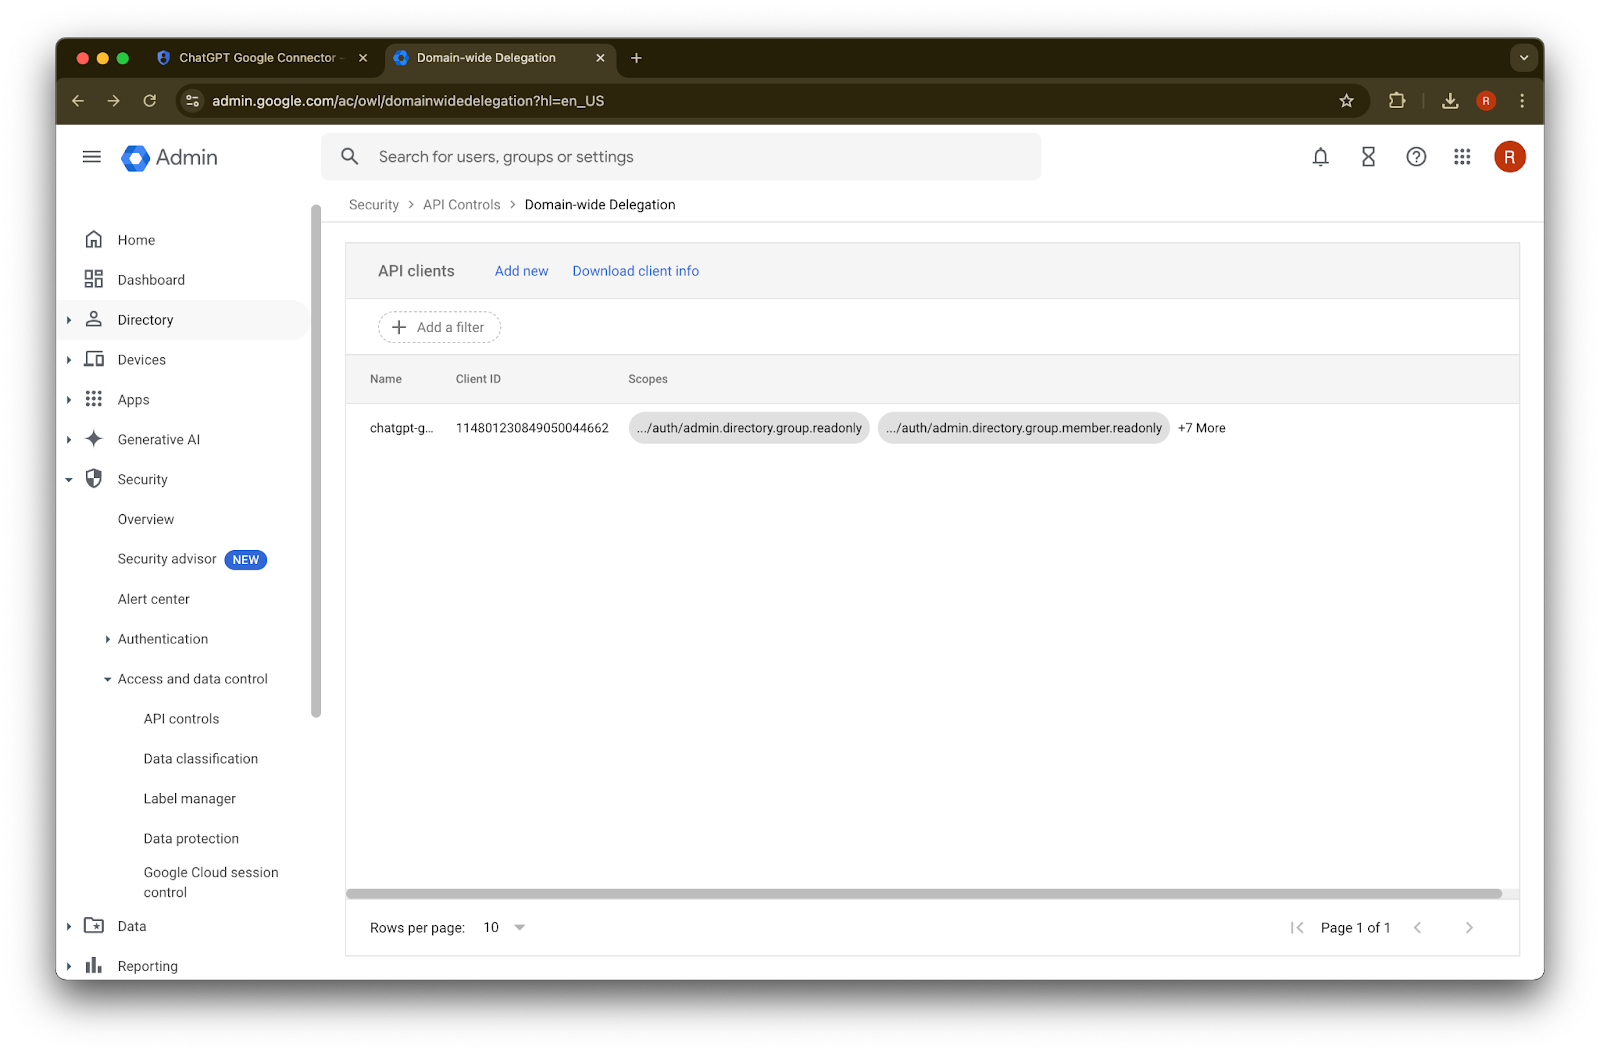
46. تم بنجاح!
إعداد حساب المسؤول
وسّع الدليل

انقر على المستخدمون
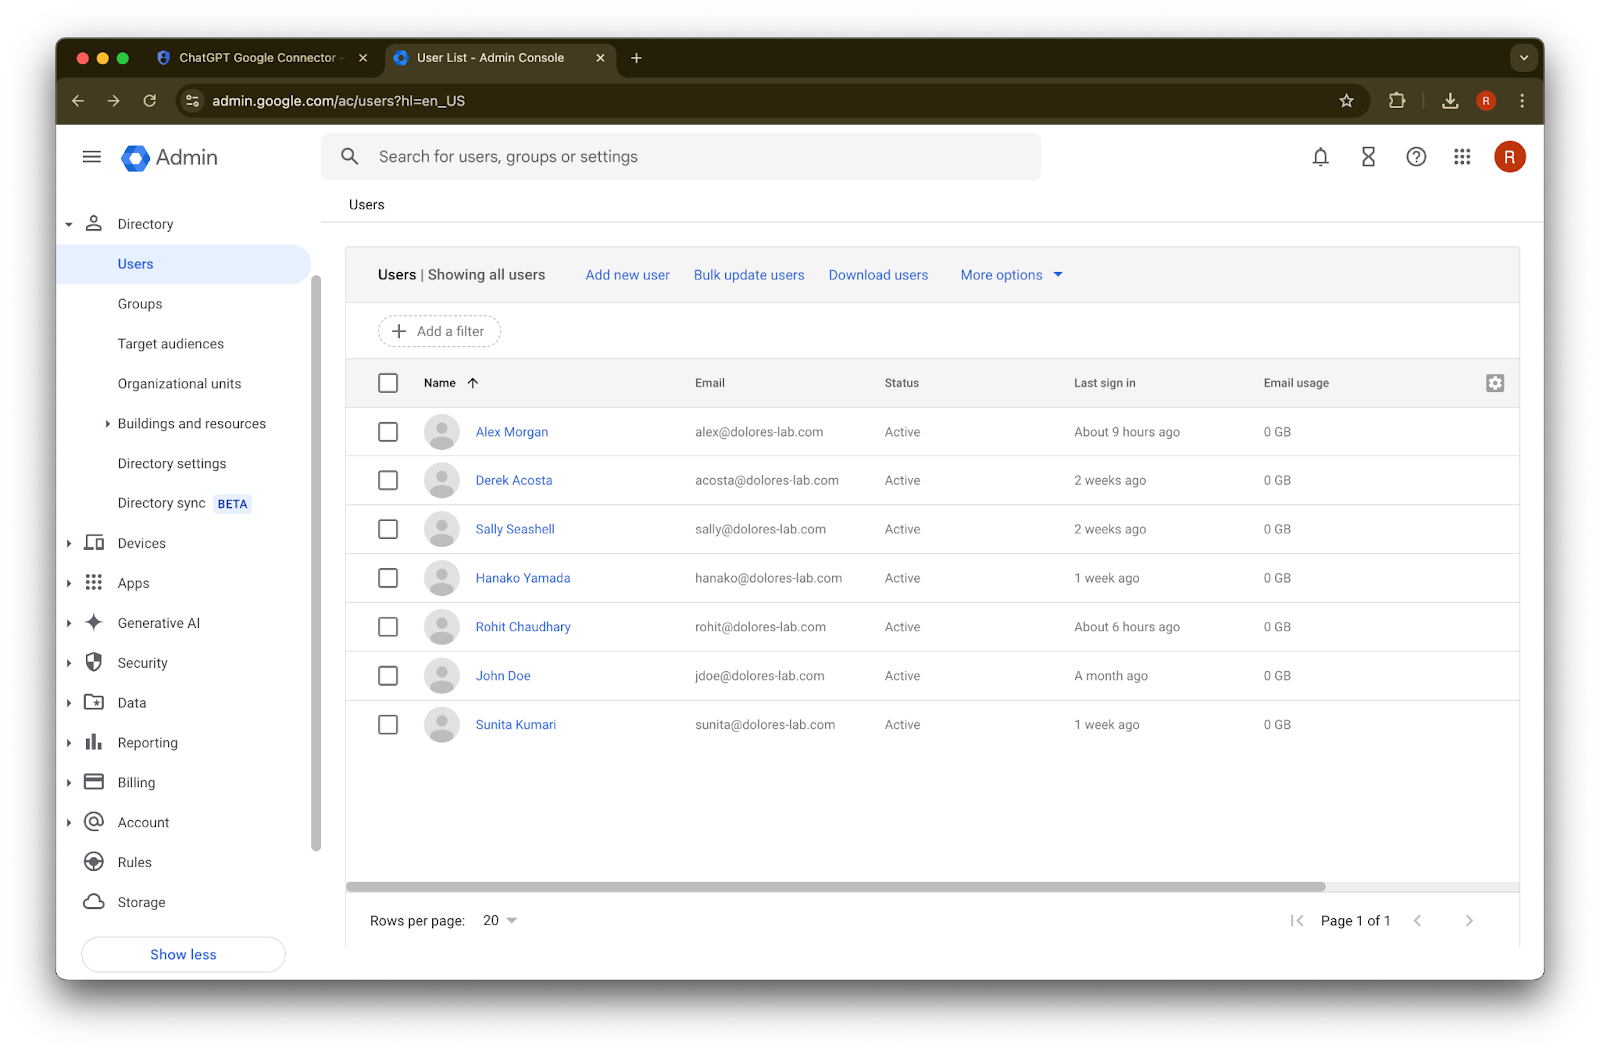
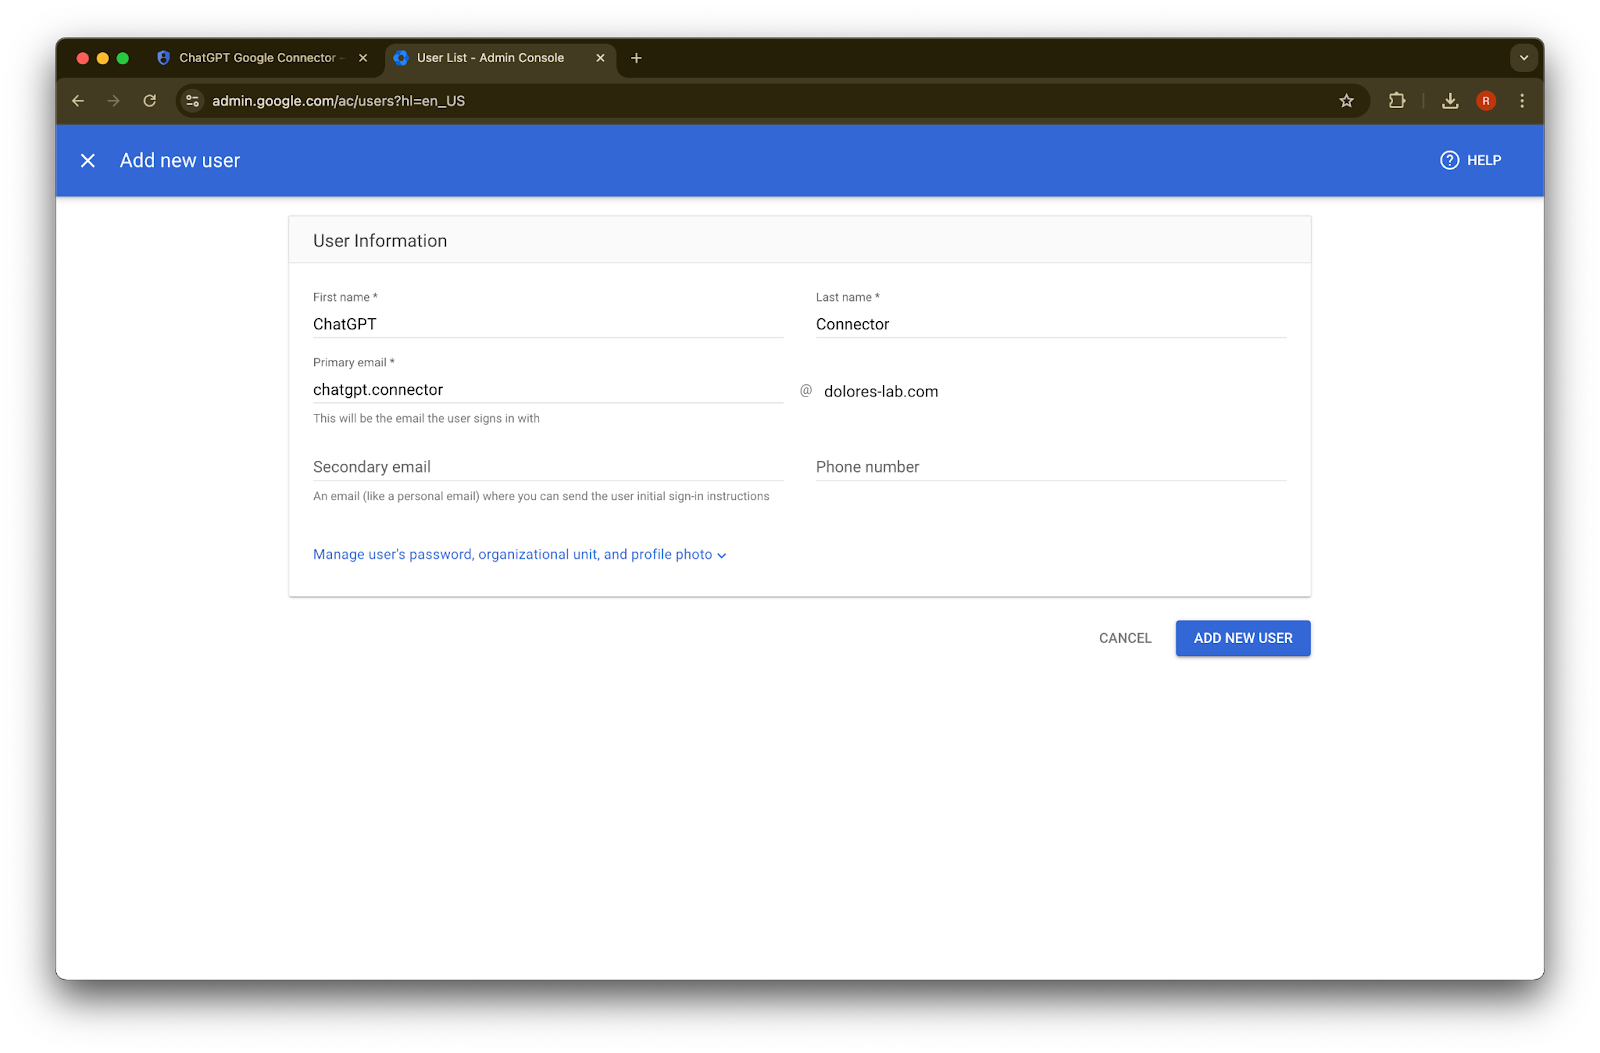
قدّم اسمًا أول واسم عائلة وعنوان بريد إلكتروني أساسي من اختيارك
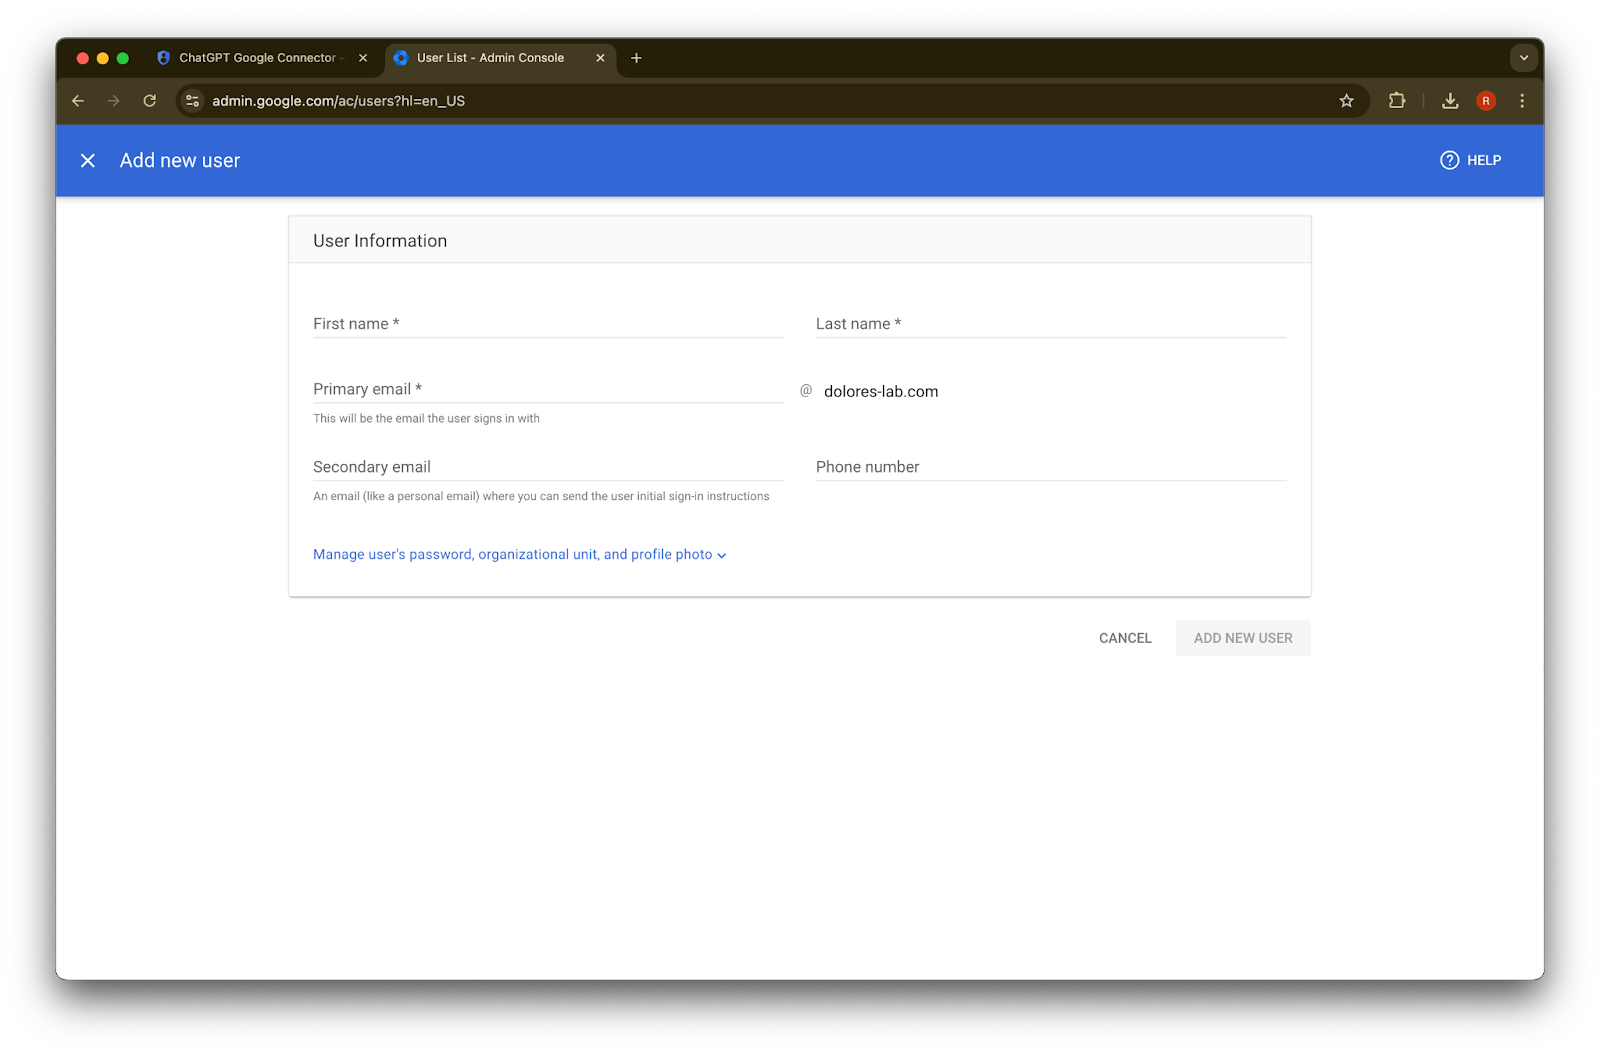
انقر على إضافة مستخدم جديد
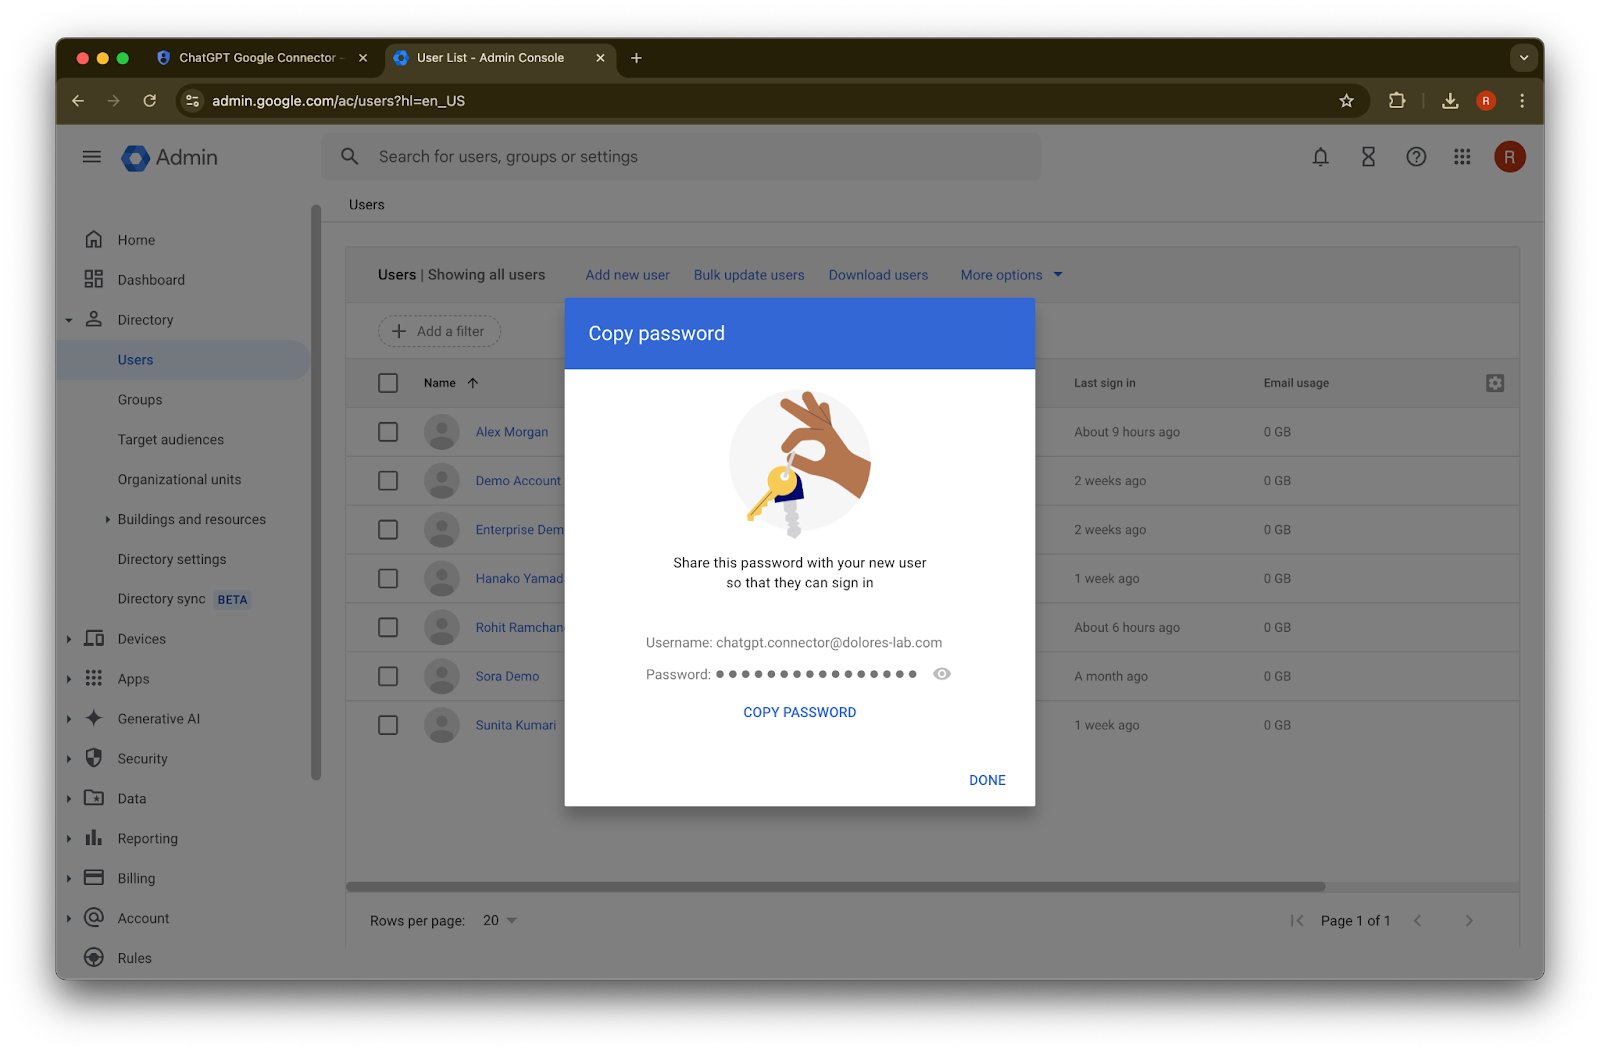
(اختياري) سجّل بيانات الاعتماد هذه. لا يحتاج ChatGPT إلى بيانات الاعتماد هذه.
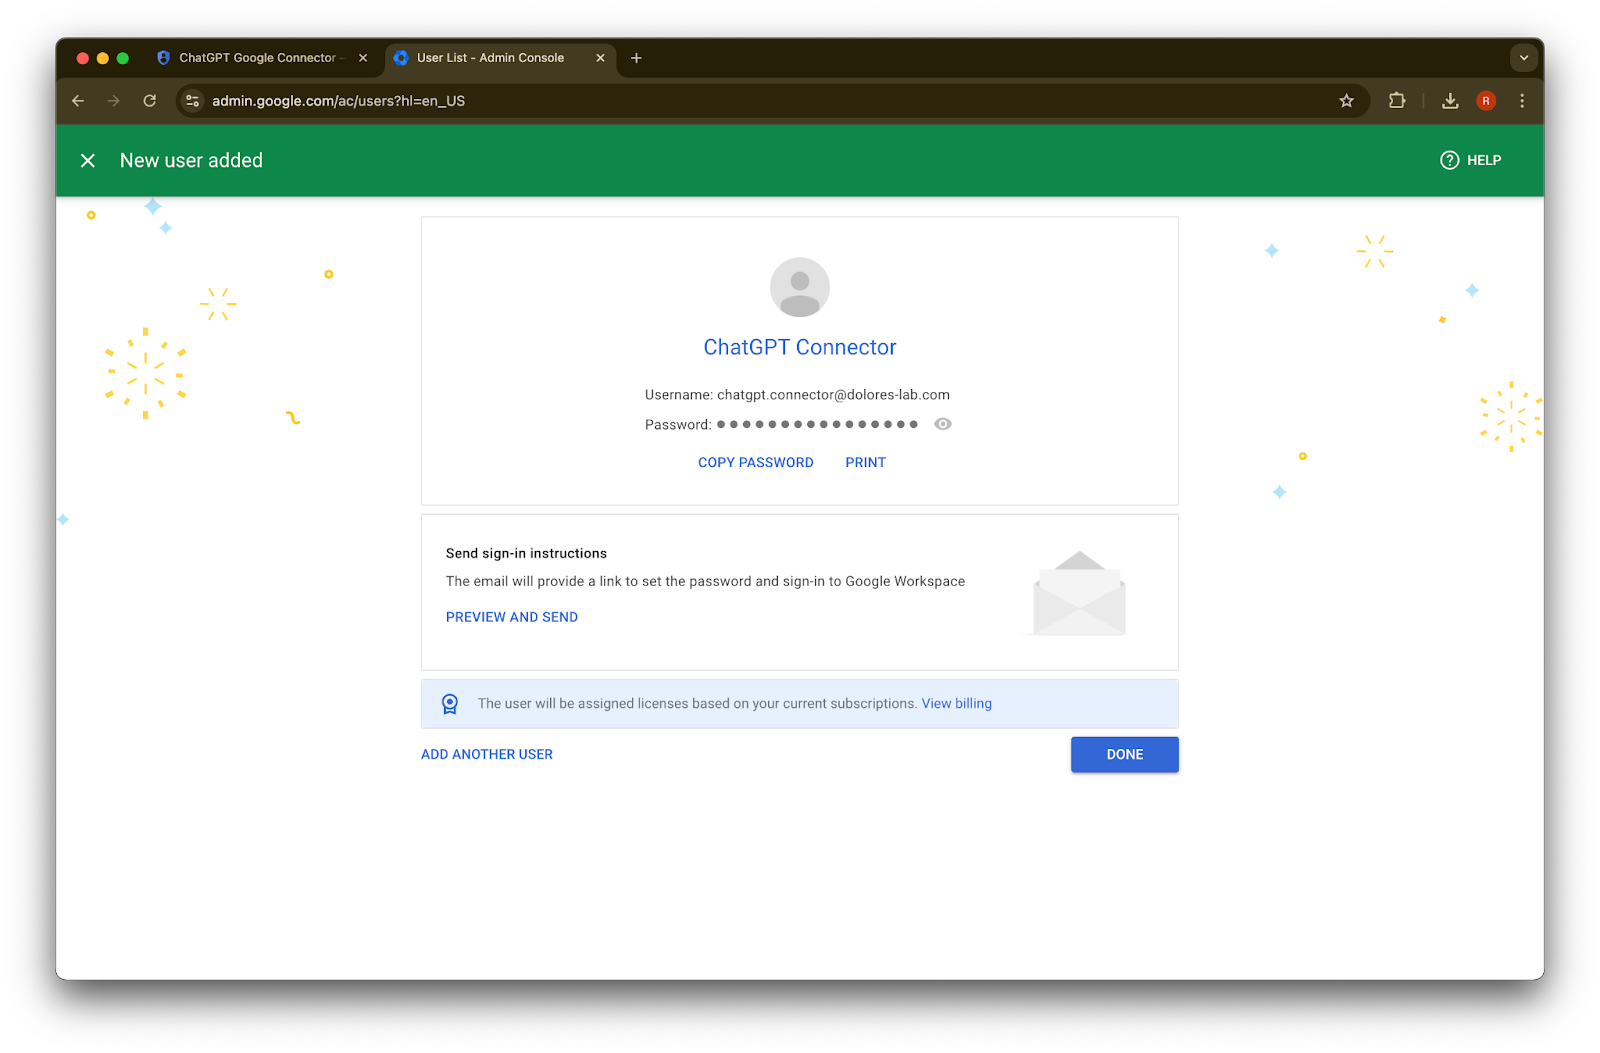
انقر على تم.
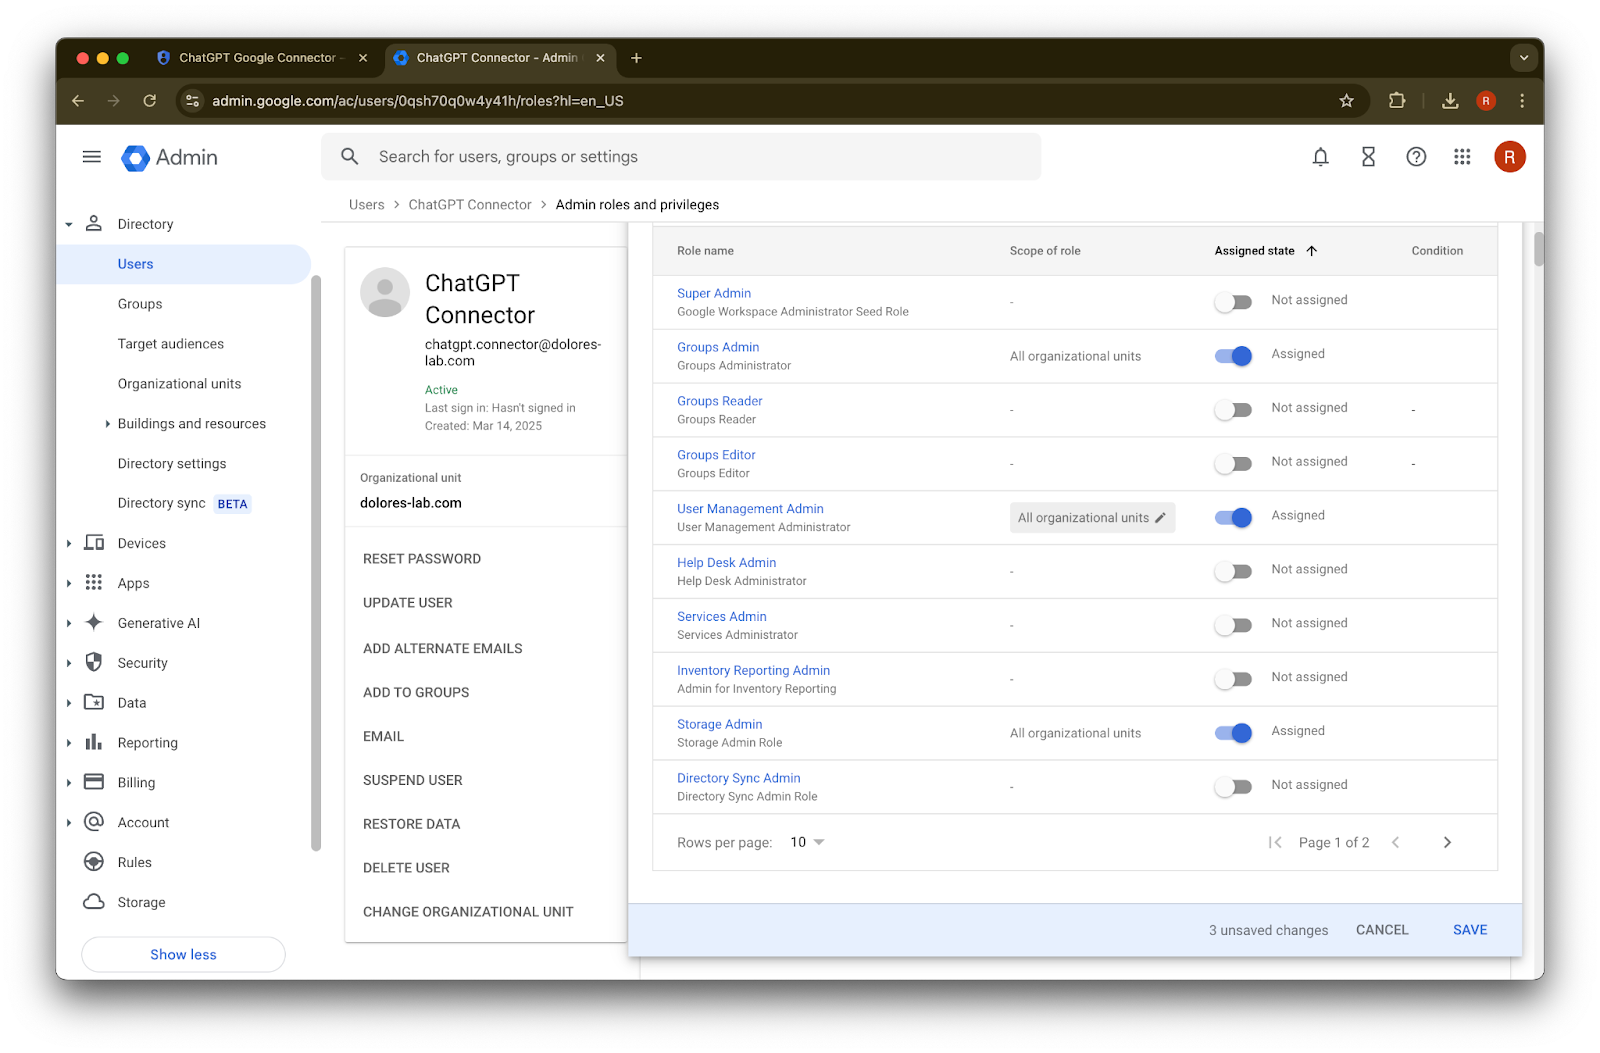
انقر على الحساب الذي أنشأته للتو. إذا لم يظهر في القائمة، فحدّث الصفحة أو امسح ذاكرة التخزين المؤقت وملفات تعريف الارتباط وحاول مرة أخرى.
انقر على تعيين الأدوار.
فعّل أدوار قارئ المجموعات، ومسؤول إدارة المستخدمين، ومسؤول التخزين.
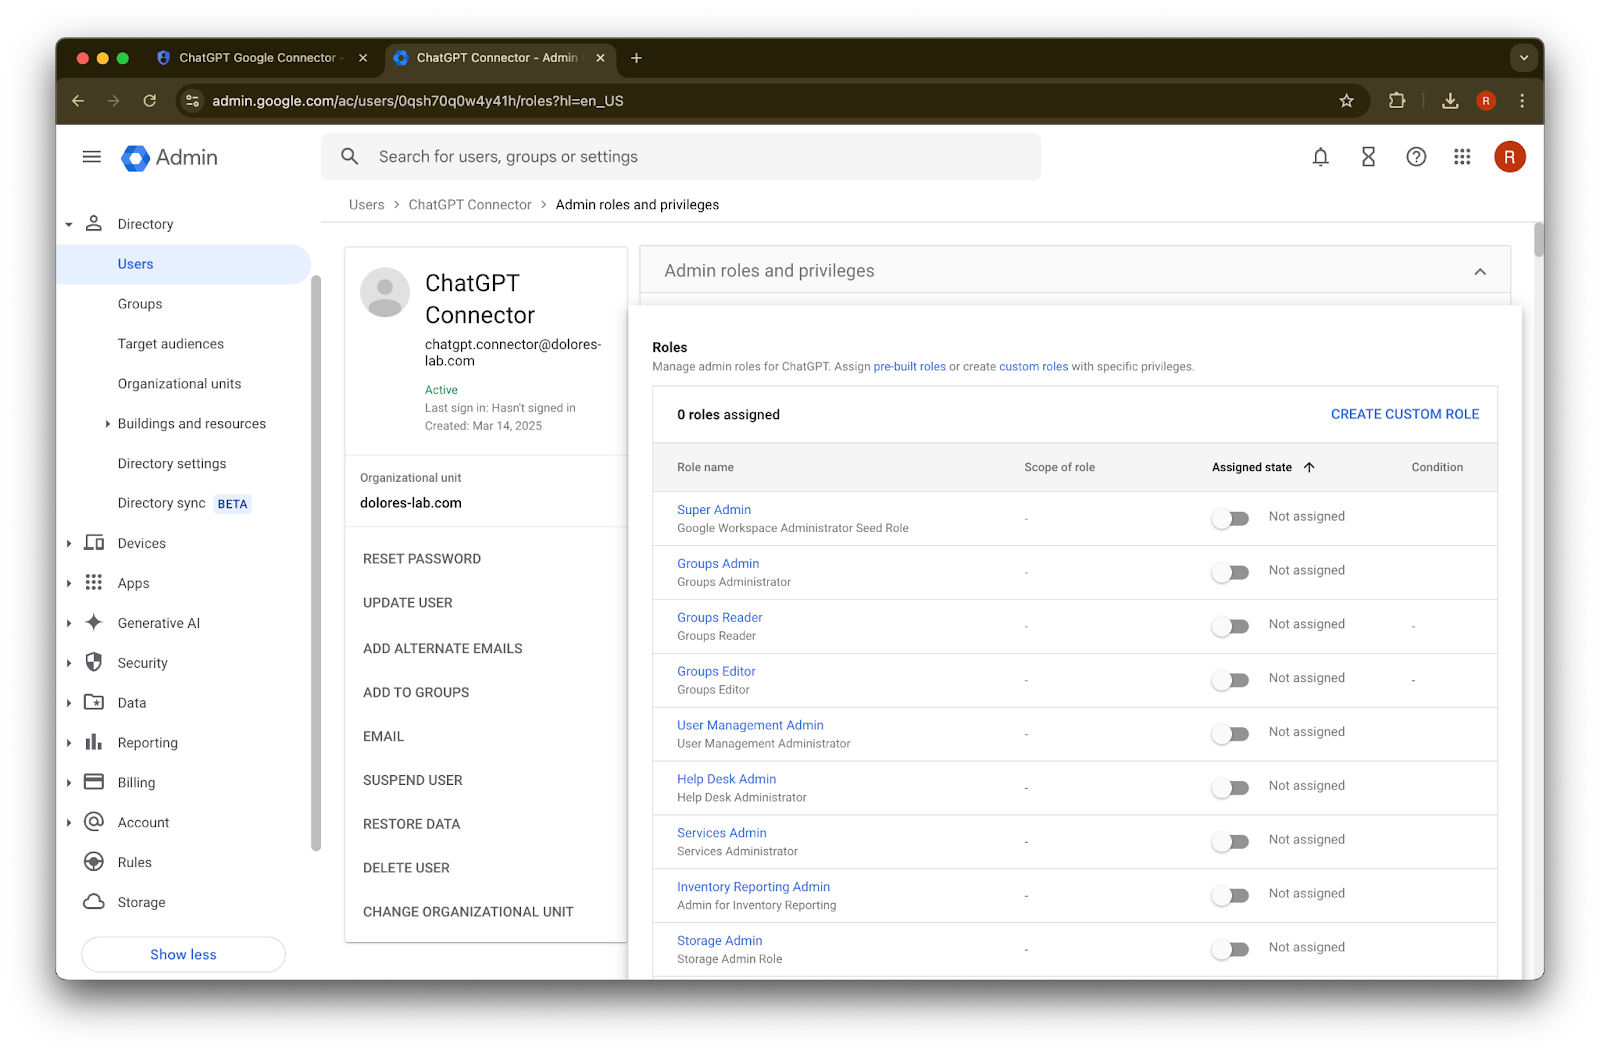
مرّر لأسفل وانقر على حفظ. تم الآن إنشاء حساب المسؤول وتهيئته بنجاح.
إكمال الإعداد في وحدة تحكم مسؤول ChatGPT
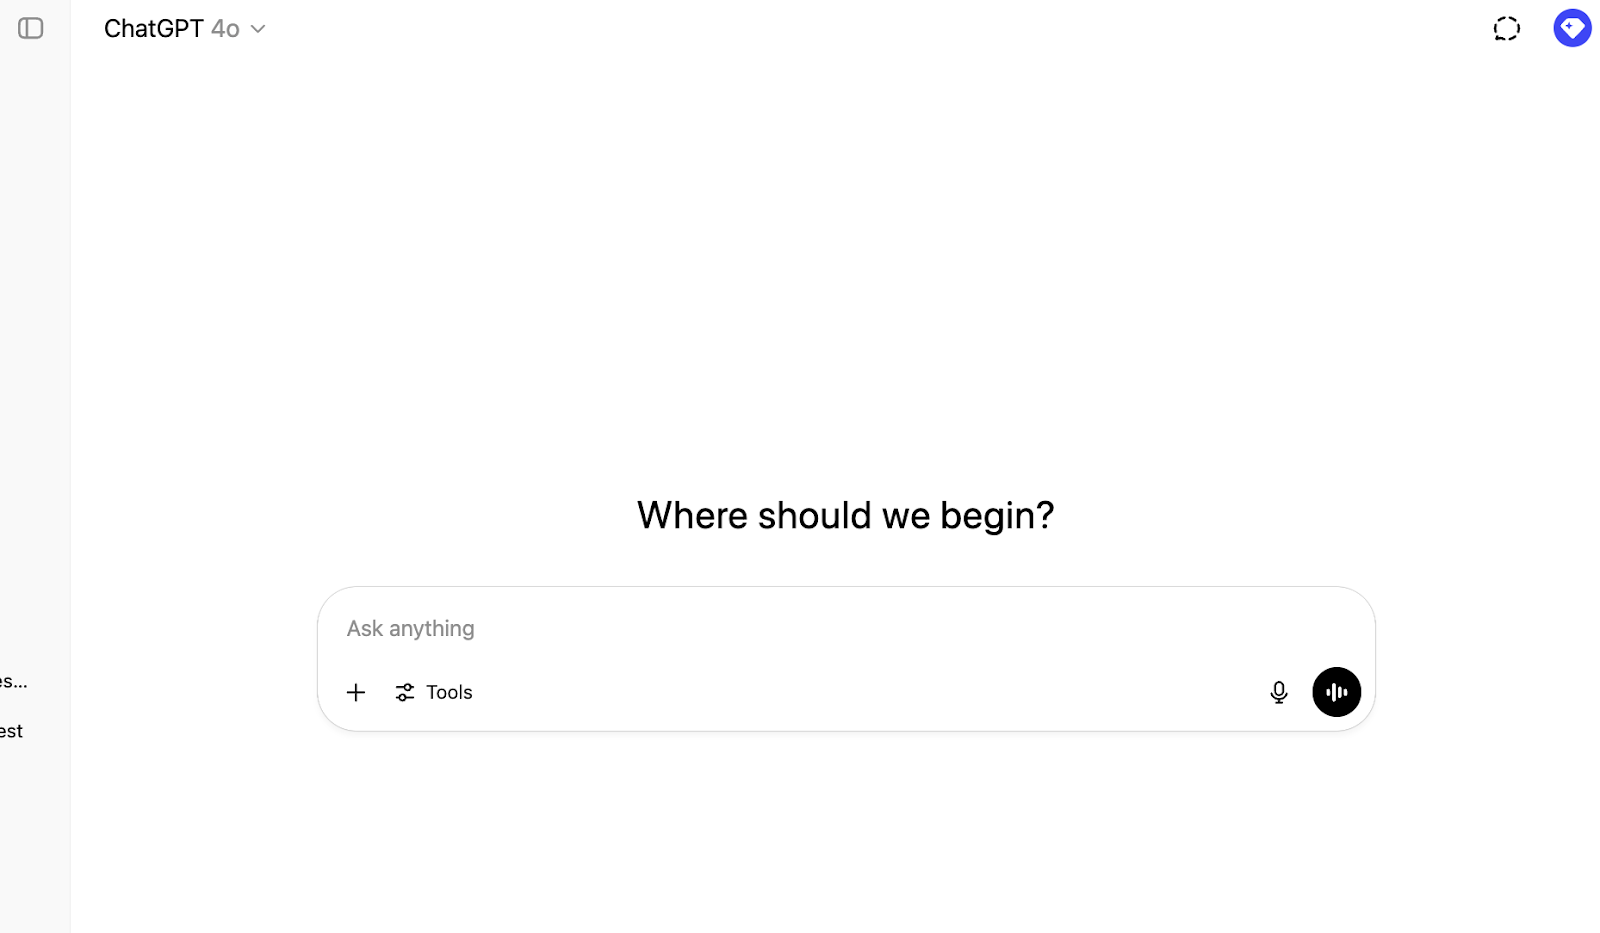
انتقل إلى ChatGPT وانقر على أيقونة الملف الشخصي في الزاوية العلوية اليمنى من الصفحة.
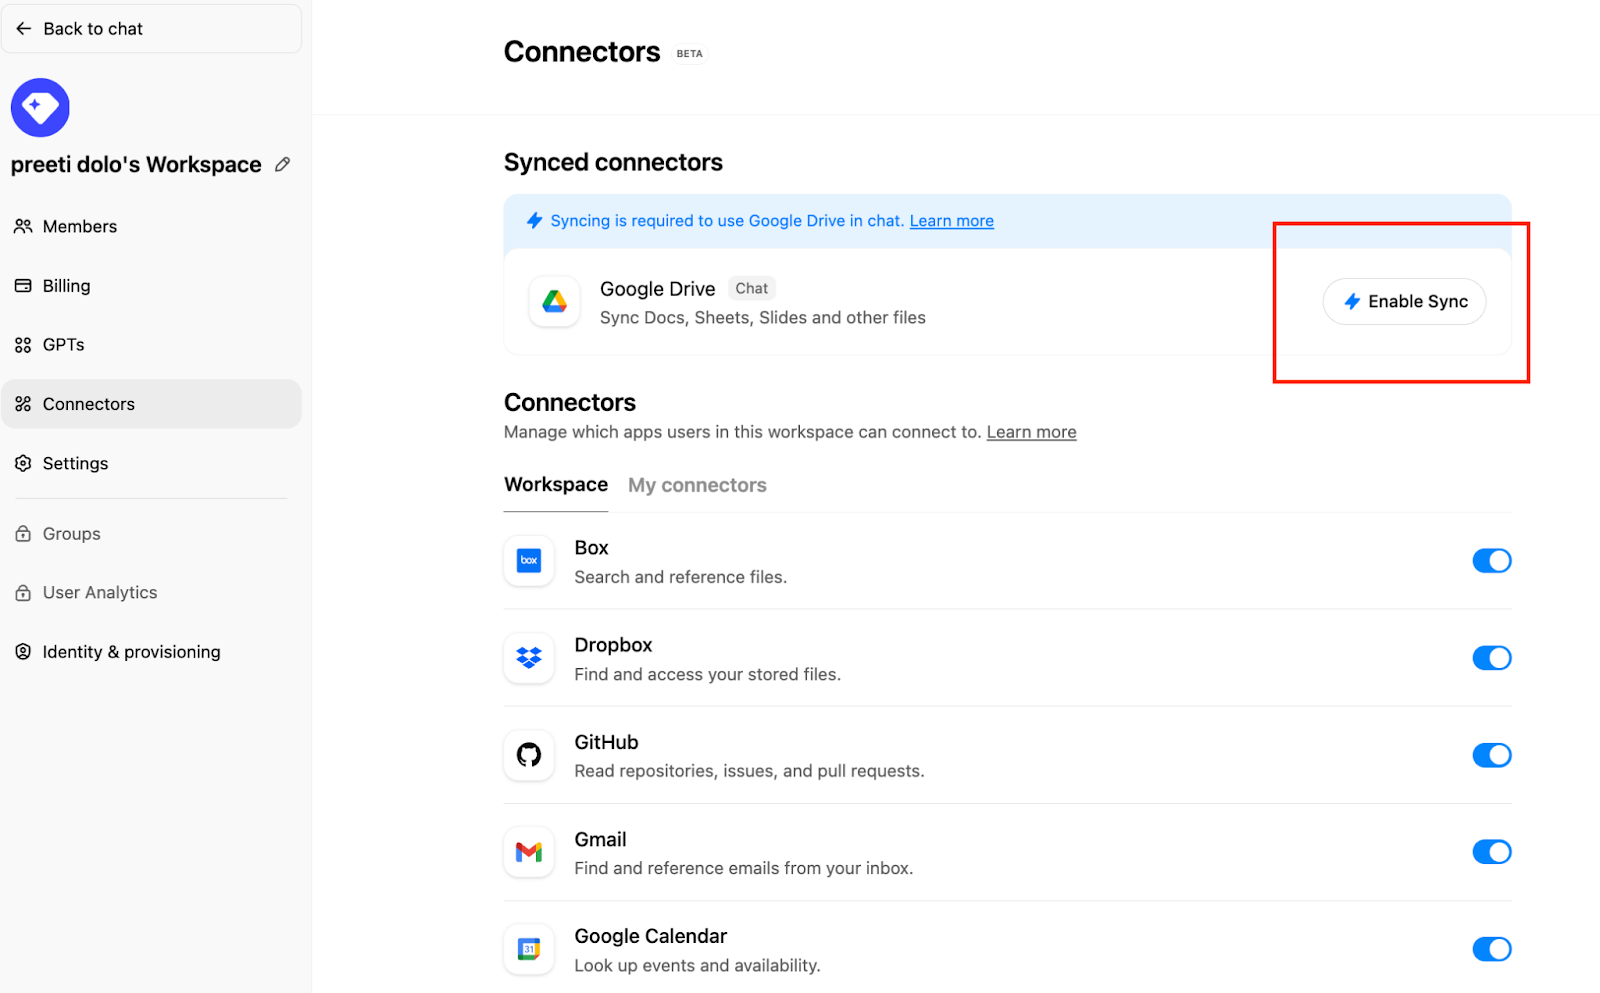
انقر على إدارة مساحة العمل المشتركة

انقر على الاتصالات ثم ضمن «الموصلات المتزامنة» ← تمكين المزامنة
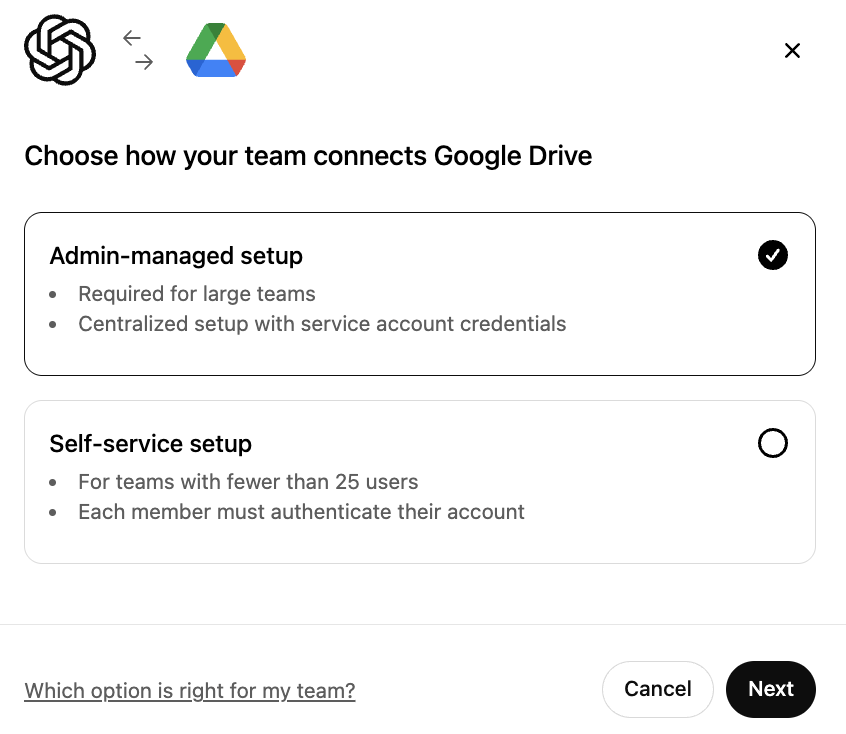
تأكد من تحديد مُدار بواسطة المسؤول وانقر على التالي
اكتب اسم عرض. نوصي باستخدام اسم Google Workspace الخاص بك.
يرجى ملاحظة أننا لا ندعم حاليًا تغيير اسم اتصالك.
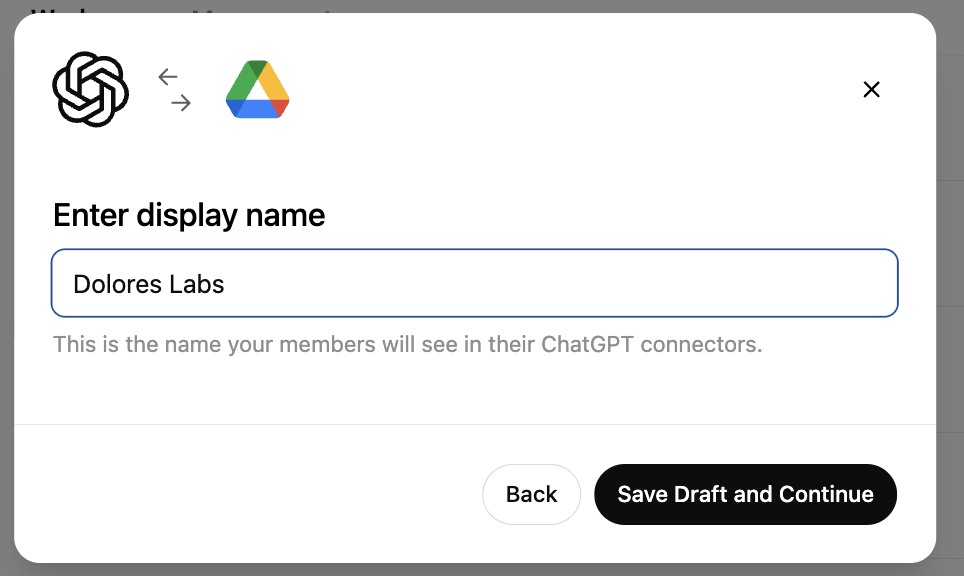
انقر على حفظ المسودة والمتابعة
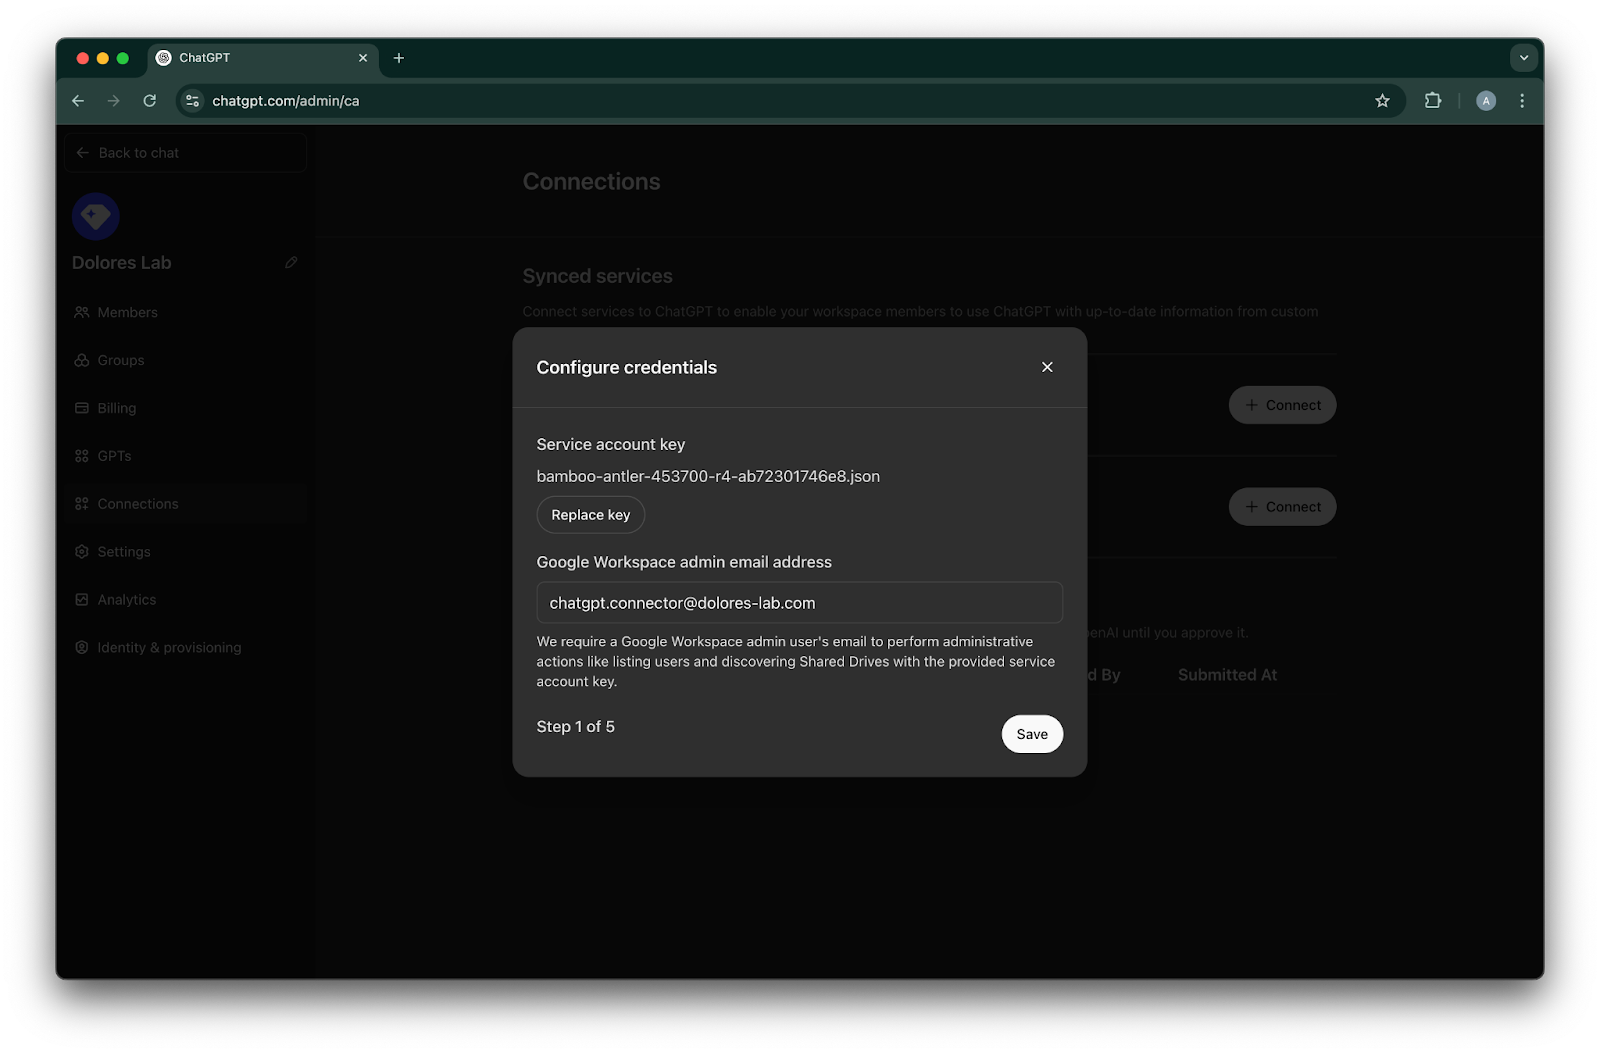
انقر على تحميل المفتاح. اختر ملف JSON، وهو المفتاح الذي نزّلته ضمن إعداد حساب الخدمة أعلاه. تأكد من صحة هذا المفتاح
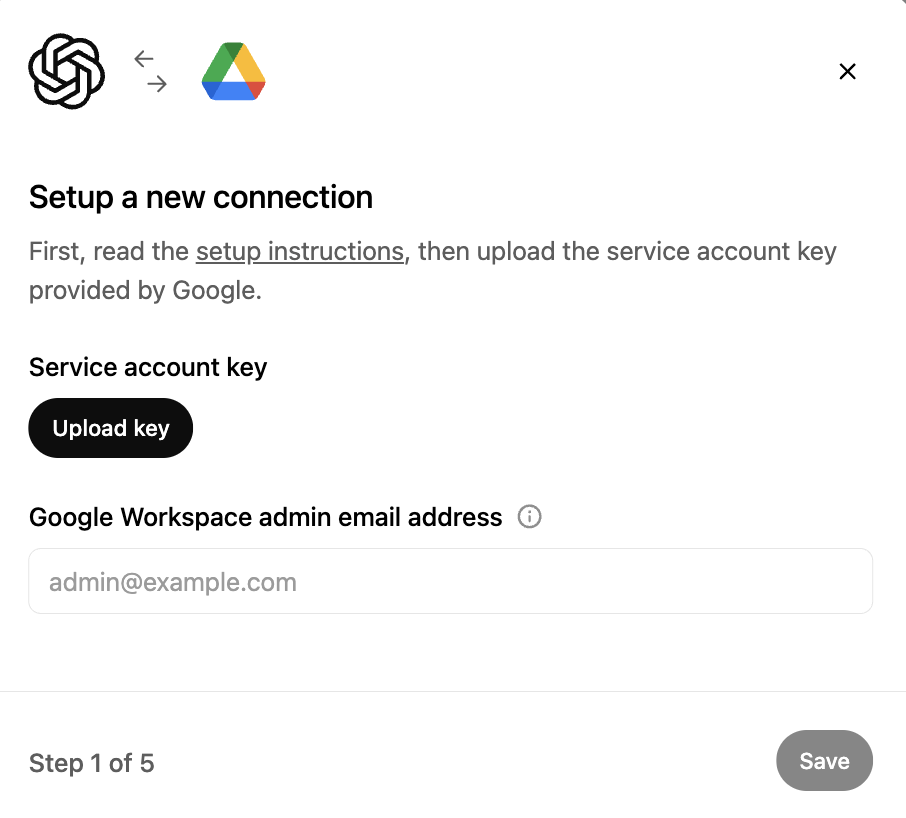
اكتب عنوان البريد الإلكتروني للمسؤول. هذا هو حساب المسؤول الذي أنشأته سابقًا.
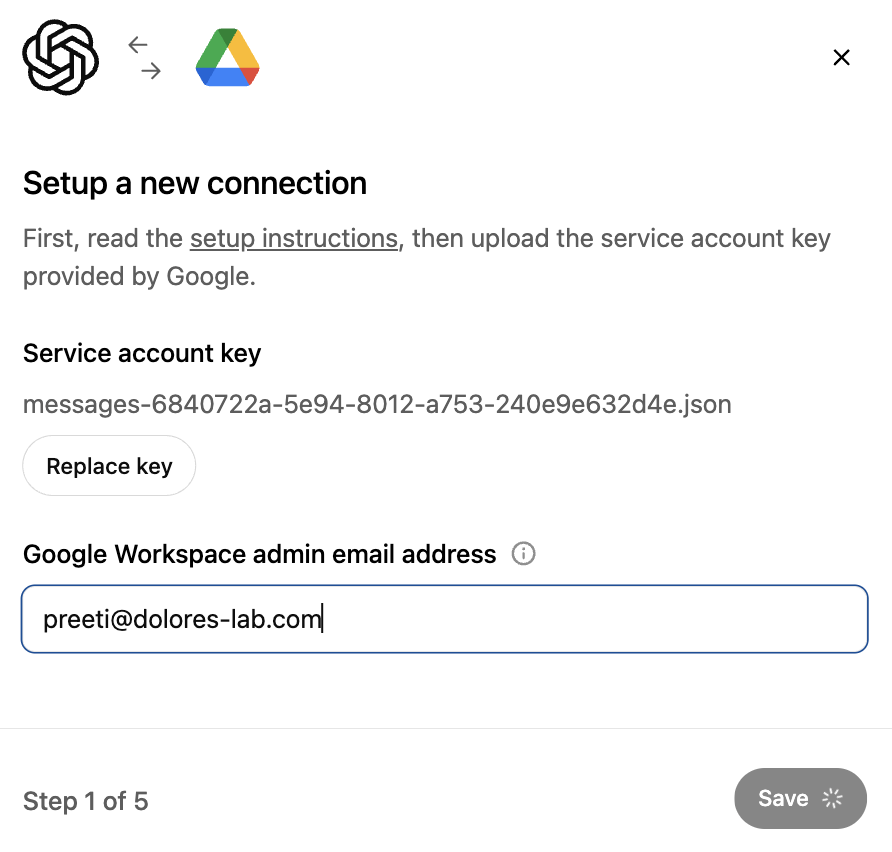
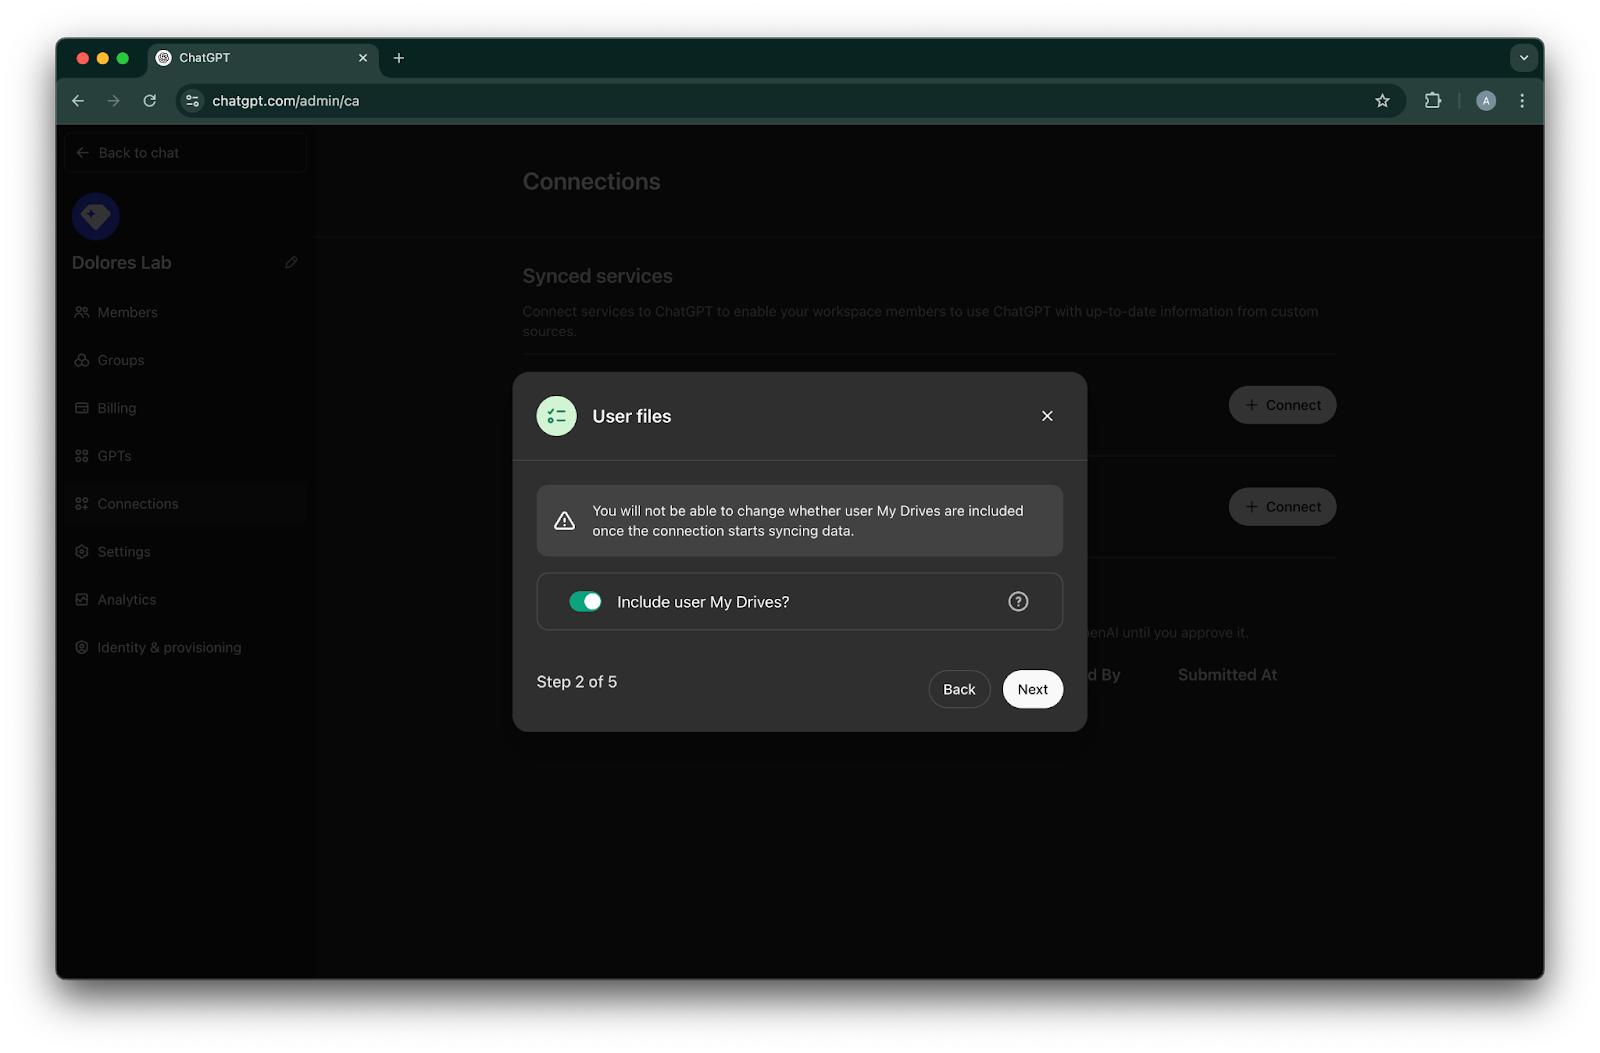
انقر على حفظ.
اختر ما إذا كنت تريد تضمين الملفات الموجودة في My Drive لكل مستخدميك.

انقر على التالي
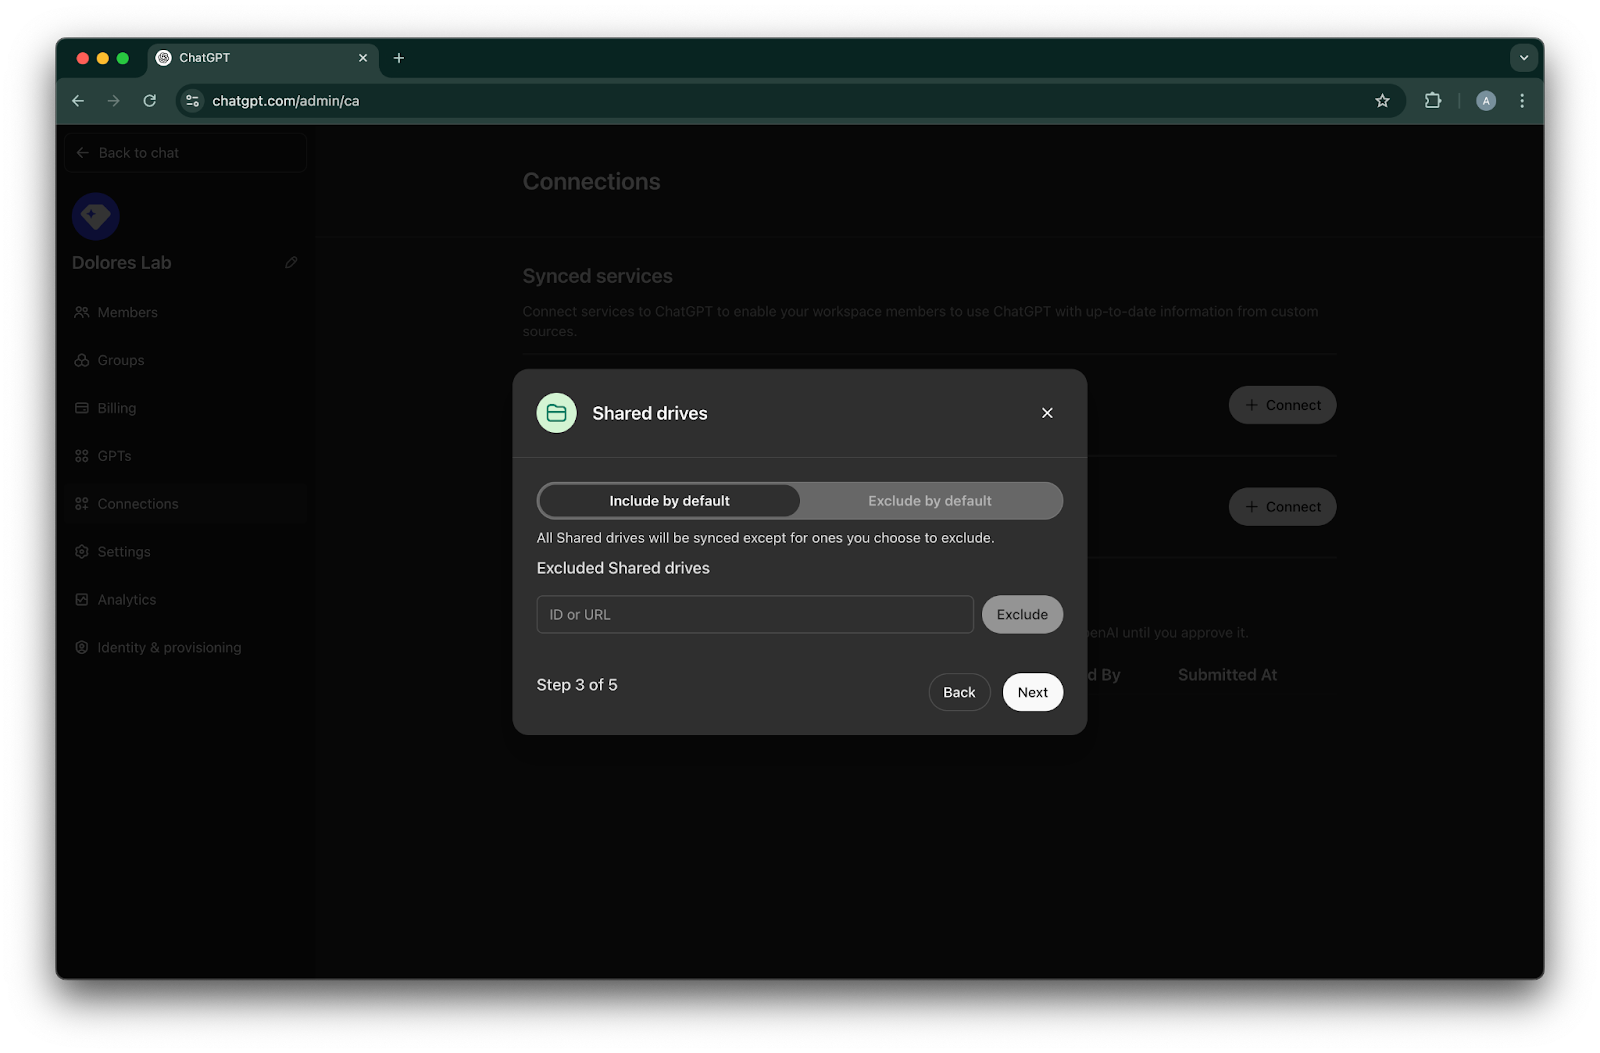
اختر كيفية إدارة مساحات Drive المشتركة. ندعم السيناريوهات الثلاثة التالية:
إذا كنت تريد تضمين جميع مساحات Drive المشتركة، فاختر التضمين افتراضيًا ولا تضف معرّفات مساحات Drive المشتركة المراد استبعادها
إذا كنت تريد تضمين معظم مساحات Drive المشتركة، فاختر التضمين افتراضيًا وأضف معرّفات مساحات Drive المشتركة التي تريد استبعادها
إذا كنت تريد استبعاد معظم مساحات Drive المشتركة، فاختر الاستبعاد افتراضيًا وأضف معرّفات مساحات Drive المشتركة التي تريد تضمينها
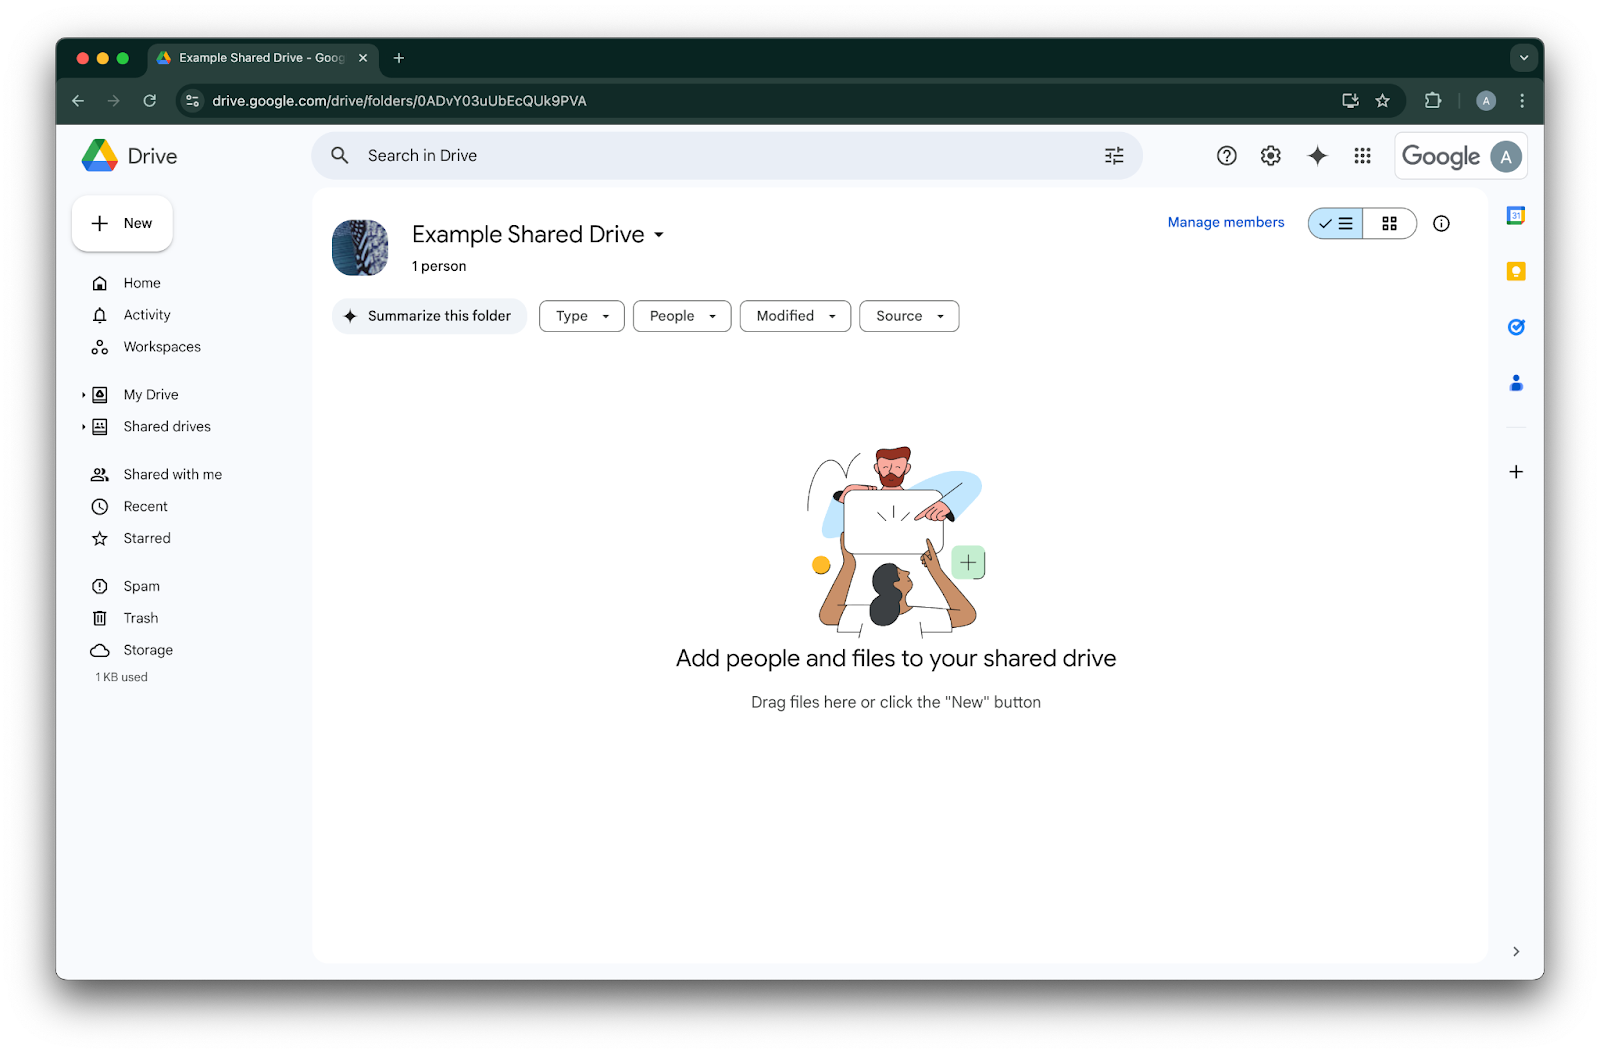
للبحث عن معرّف مساحة Drive مشتركة، انتقل إليها في متصفح ويب. يمثّل الجزء الأخير من عنوان URL معرّف مساحة Drive المشتركة.
في المثال التالي، يكون 0ADvY03uUbEcQUk9PVA
انقر على التالي

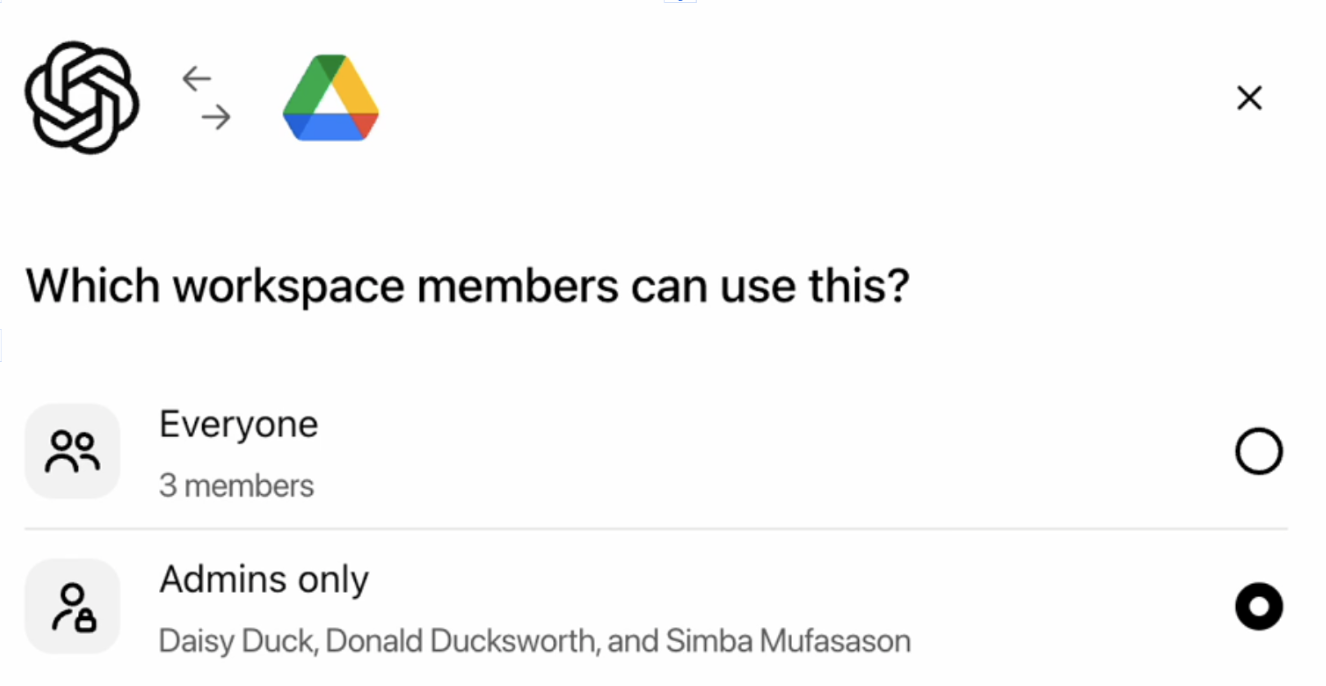
اختر من ينبغي أن يكون لديه حق الوصول إلى اتصال Google Drive. يمكنك إما تحديد مسؤولي مساحة عمل ChatGPT المشتركة فقط، أو تمكينه للجميع. إذا تم تمكينه للجميع، فسيتم تضمين المستخدمين الجدد المضافين إلى مساحة العمل المشتركة تلقائيًا.
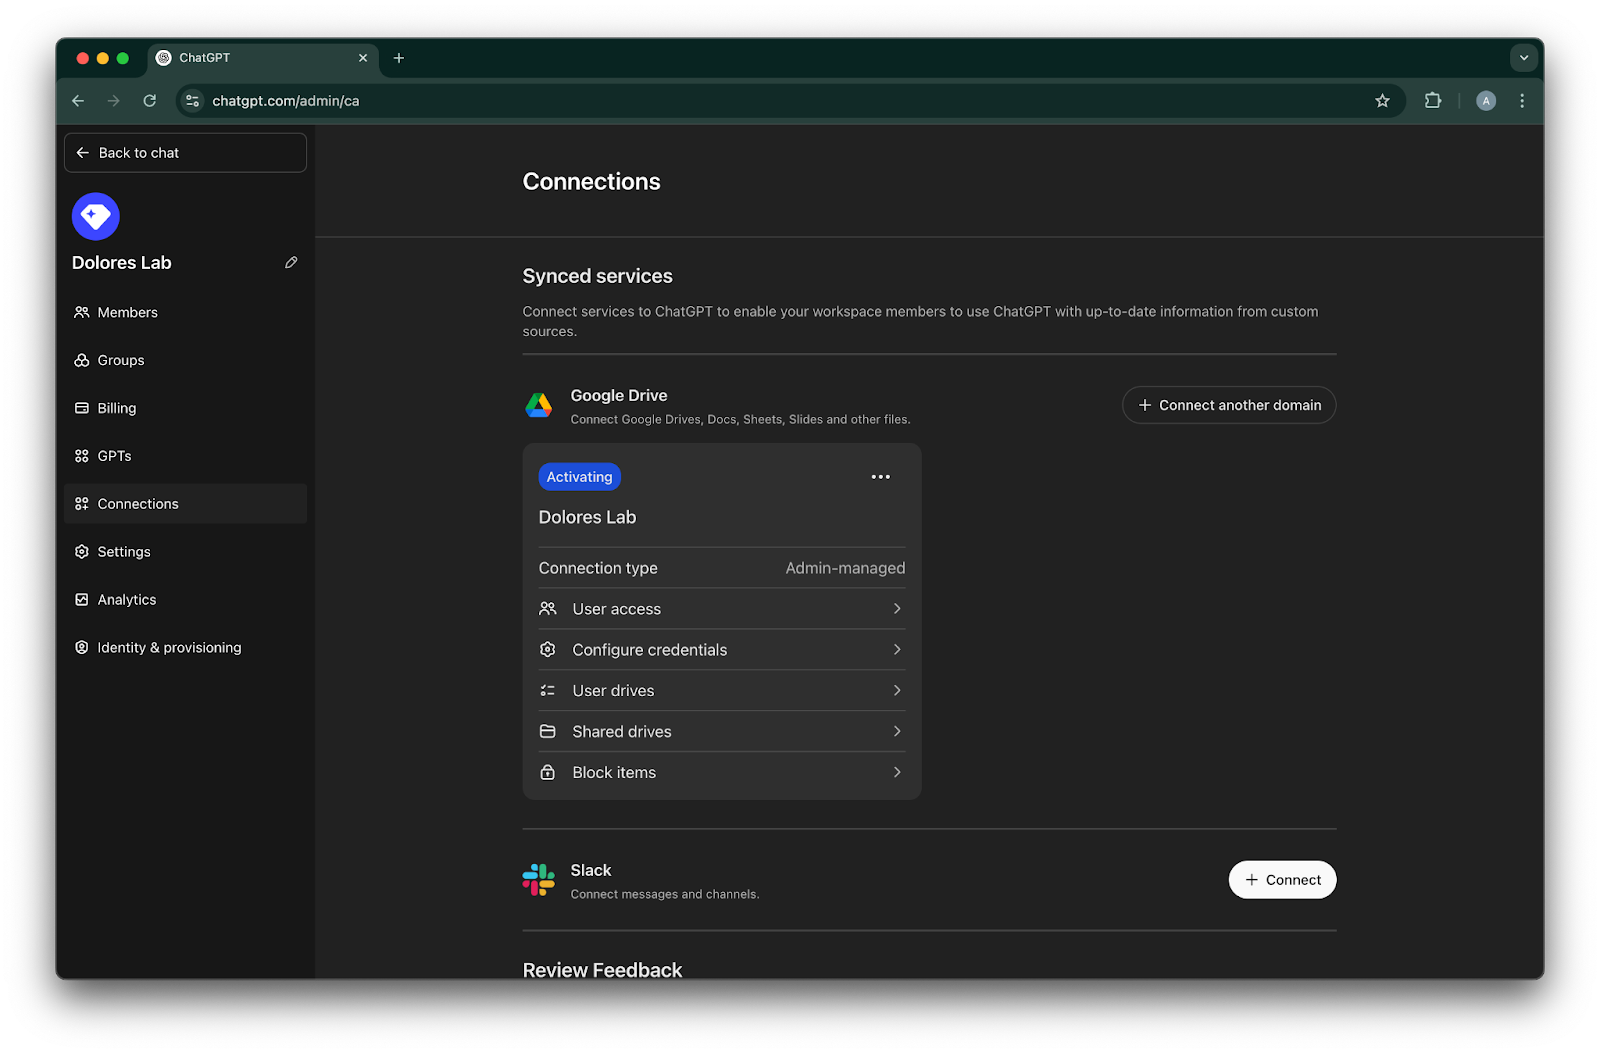
انقر على بدء المزامنة
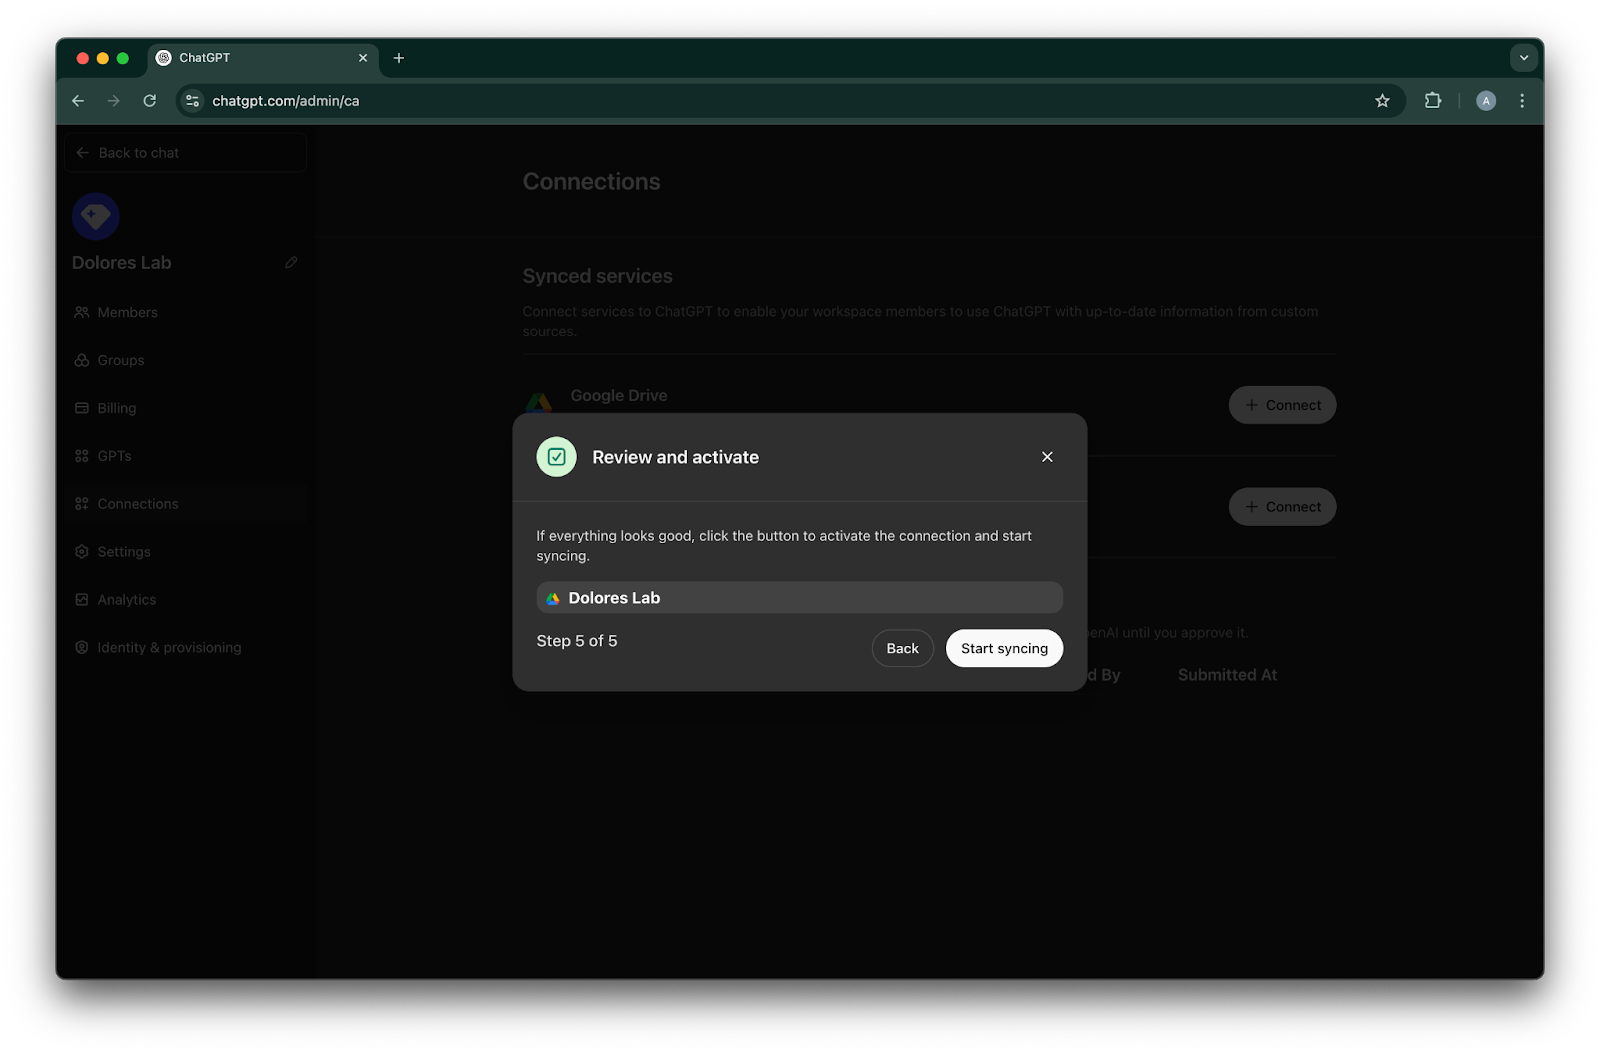
تم الآن إنشاء اتصال Google Drive بنجاح!
يرجى ملاحظة أنه رغم أن المزامنة ستبدأ فورًا، فقد يستغرق اكتمالها من ساعات إلى أيام حسب عدد الملفات التي تم تضمينها بناءً على إعداداتك. بمجرد انتهاء مزامنة الملفات التي أُضيفت أو عُدّلت خلال آخر 30 يومًا، سيصبح الموصل متاحًا للمستخدمين الذين مكّنته لهم.
تمكين إنشاء مفتاح حساب الخدمة
إذا تلقيت الخطأ التالي، فستحتاج إلى تمكين إنشاء حساب خدمة لهذا المشروع المحدد:
يتم فرض قيد سياسة المؤسسة ‘iam.disableServiceAccountKeyCreation’ على مؤسستك.
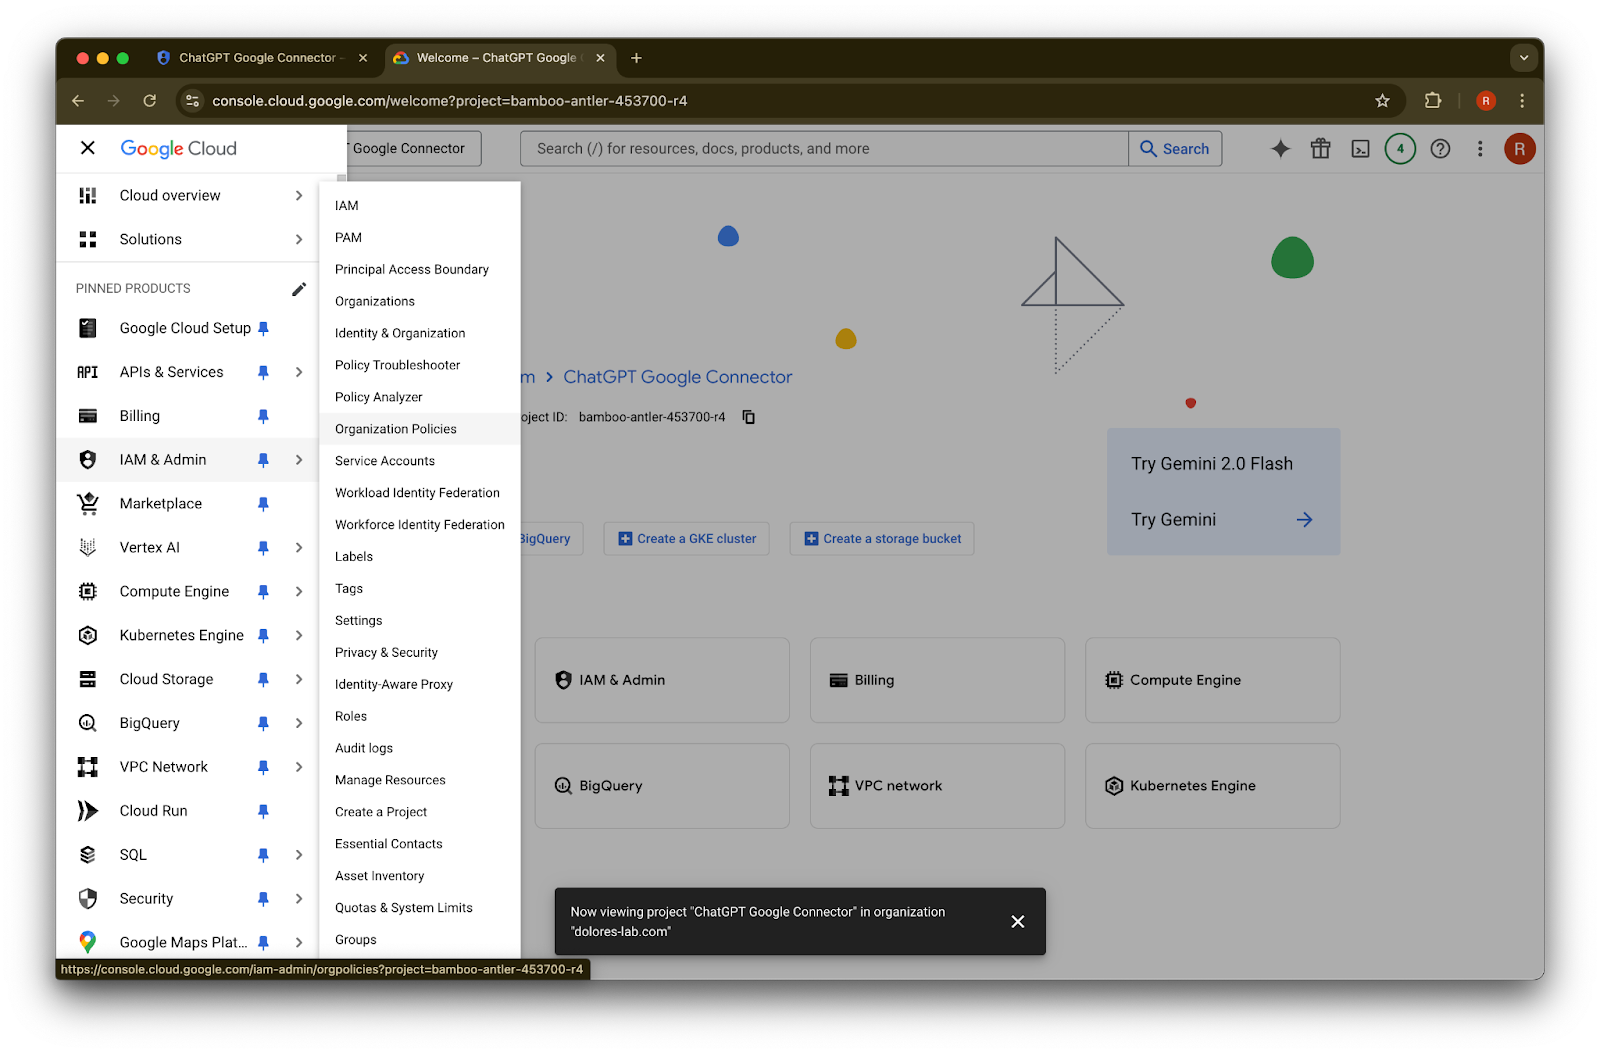
افتح علامة تبويب جديدة وانتقل إلى console.cloud.google.com. تأكد من أن المشروع المحدد هو المشروع الذي حددته بالفعل.
انقر على أيقونة القائمة في الزاوية العلوية اليسرى.

مرّر المؤشر فوق IAM & Admin

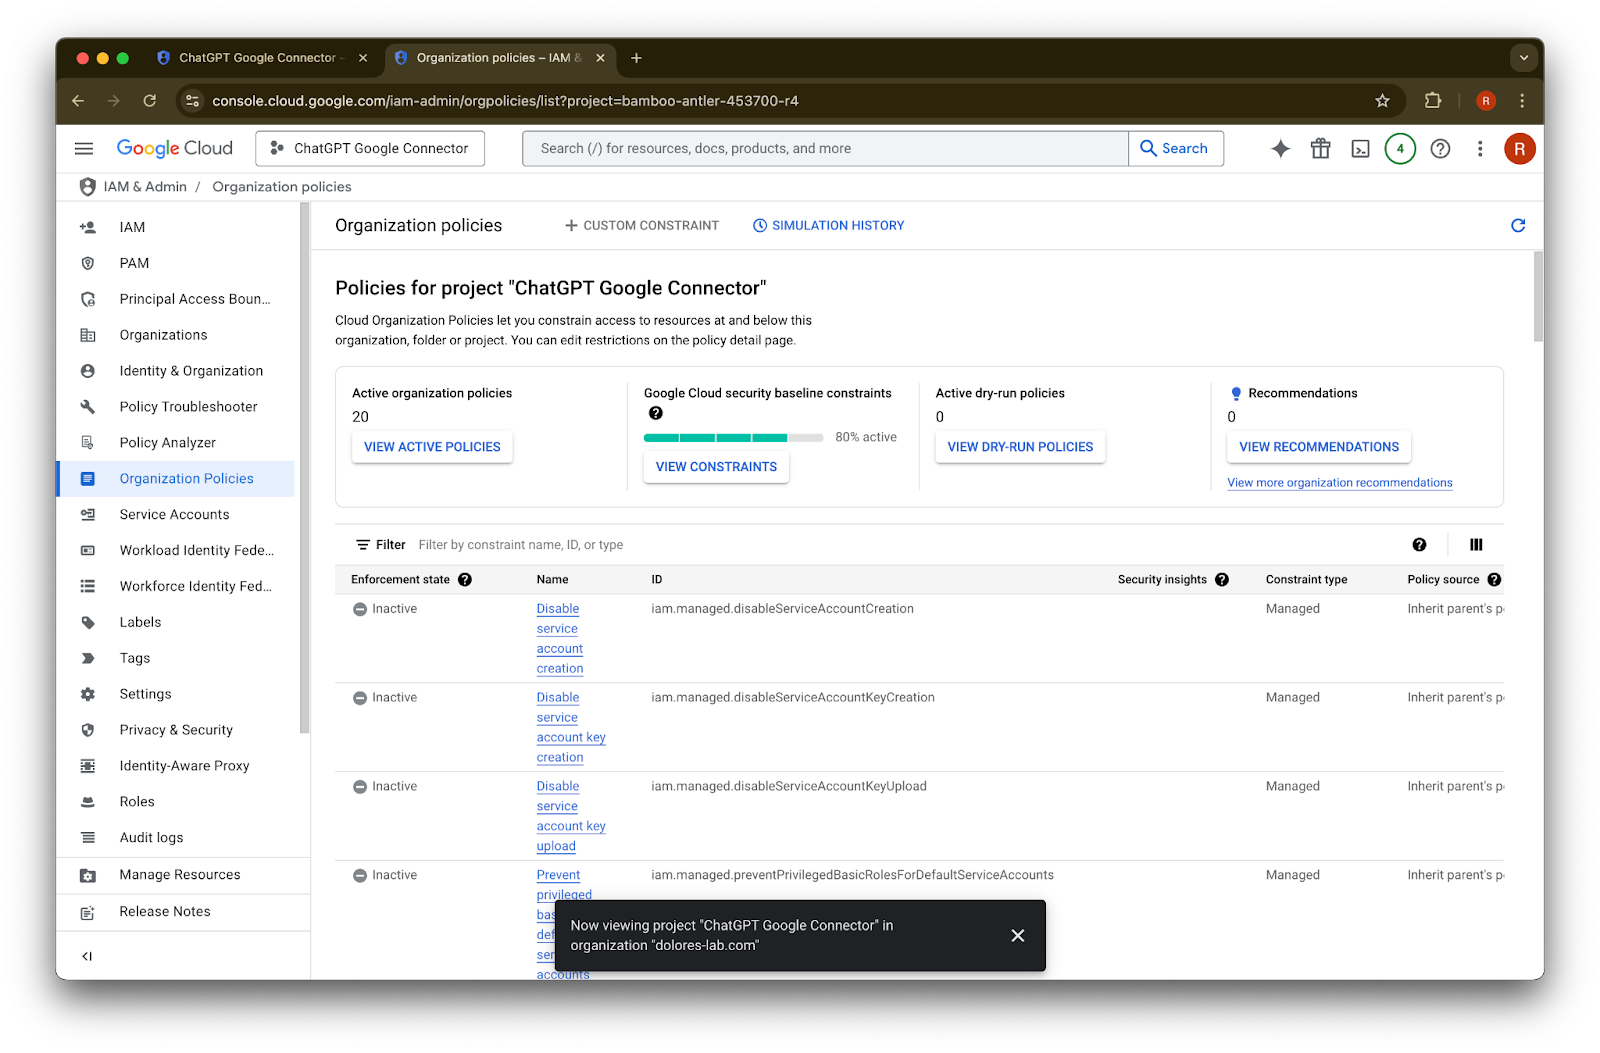
انقر على سياسات المؤسسة
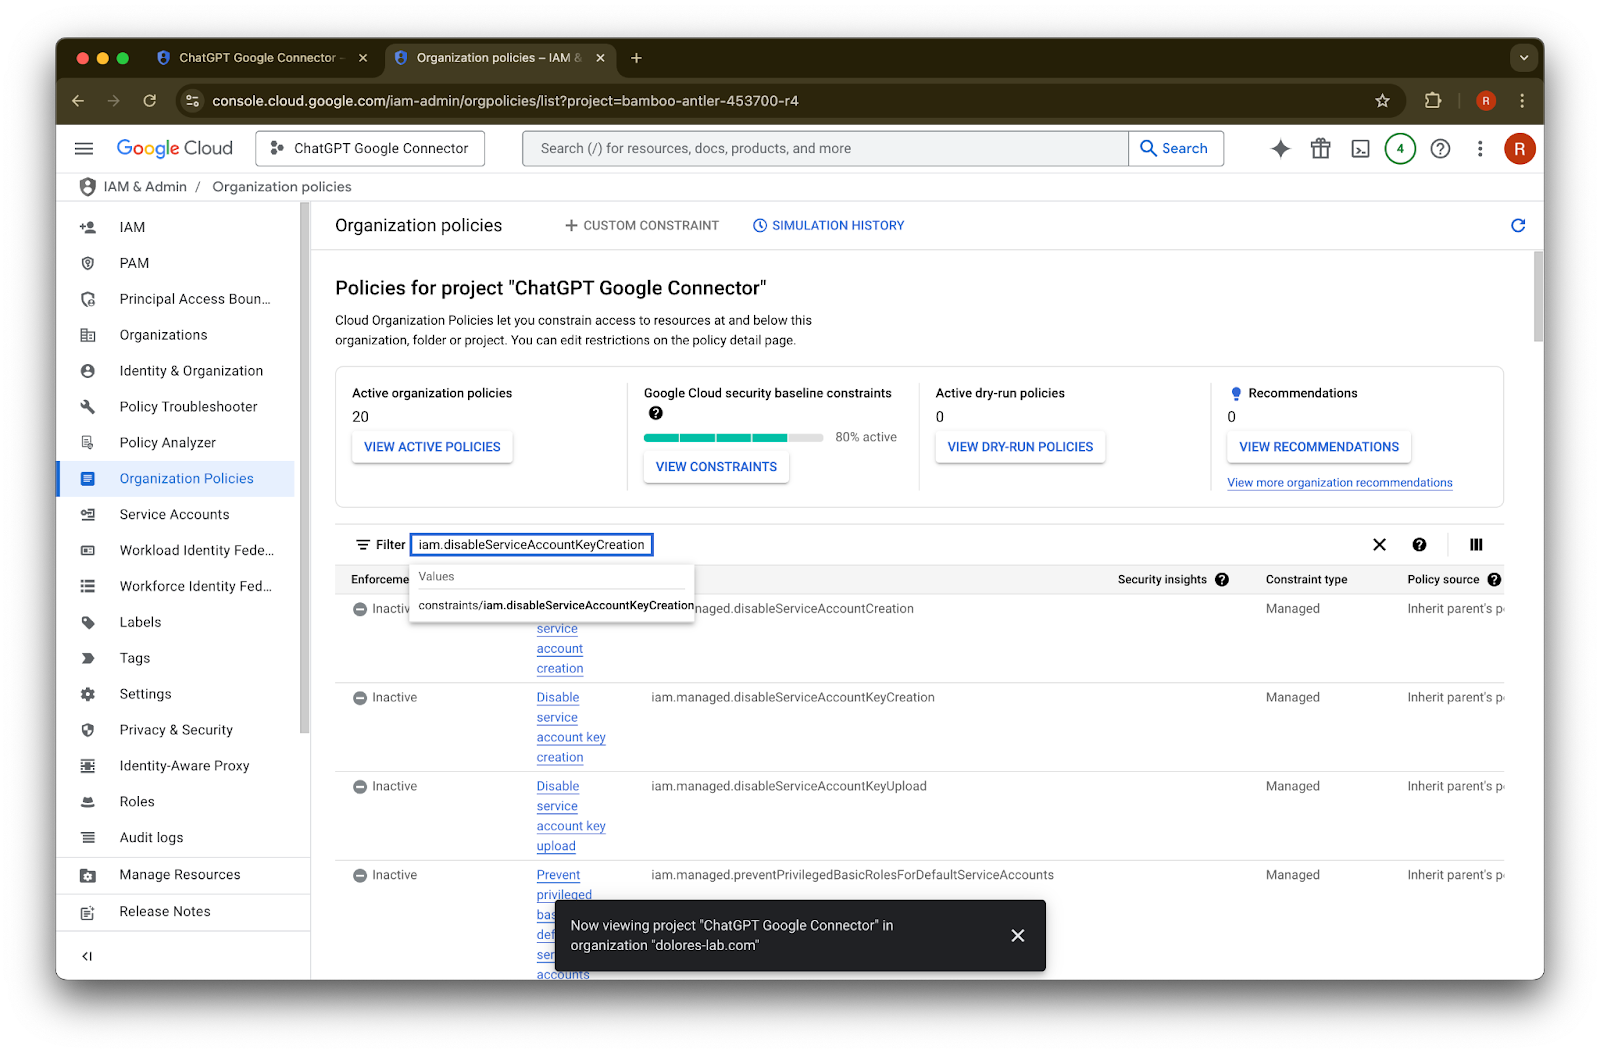
ابحث عن iam.disableServiceAccountKeyCreation
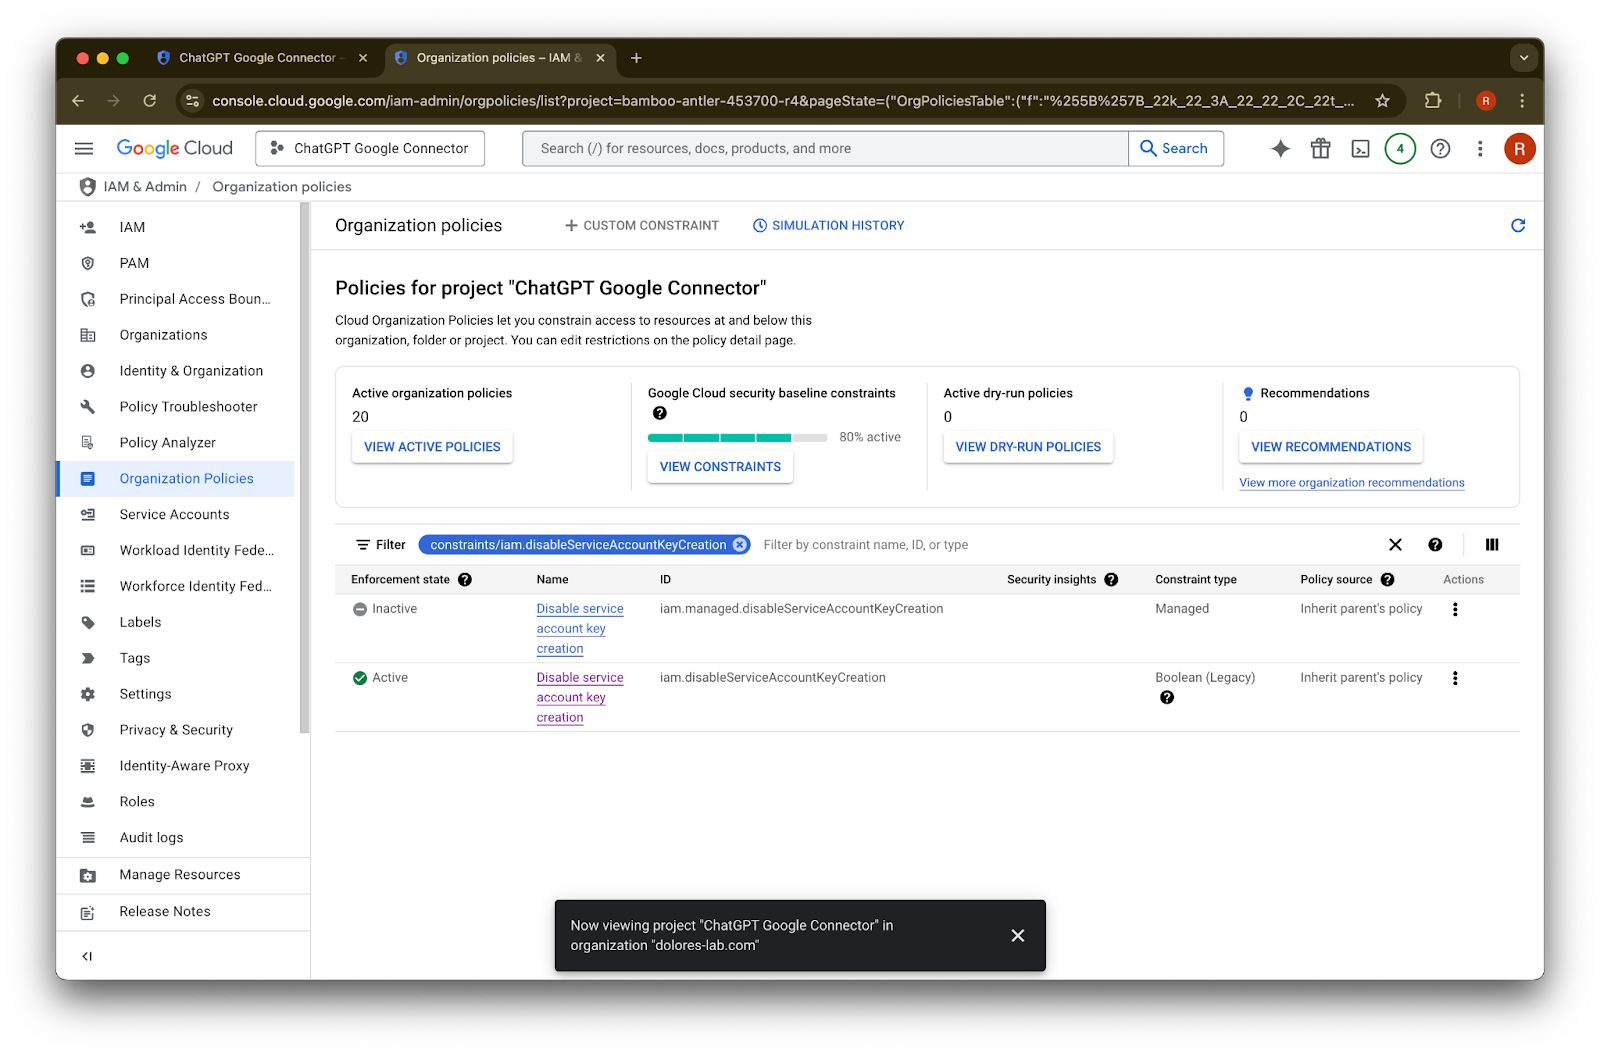
انقر على نتيجة constraints/iam.disableServiceAccountKeyCreation
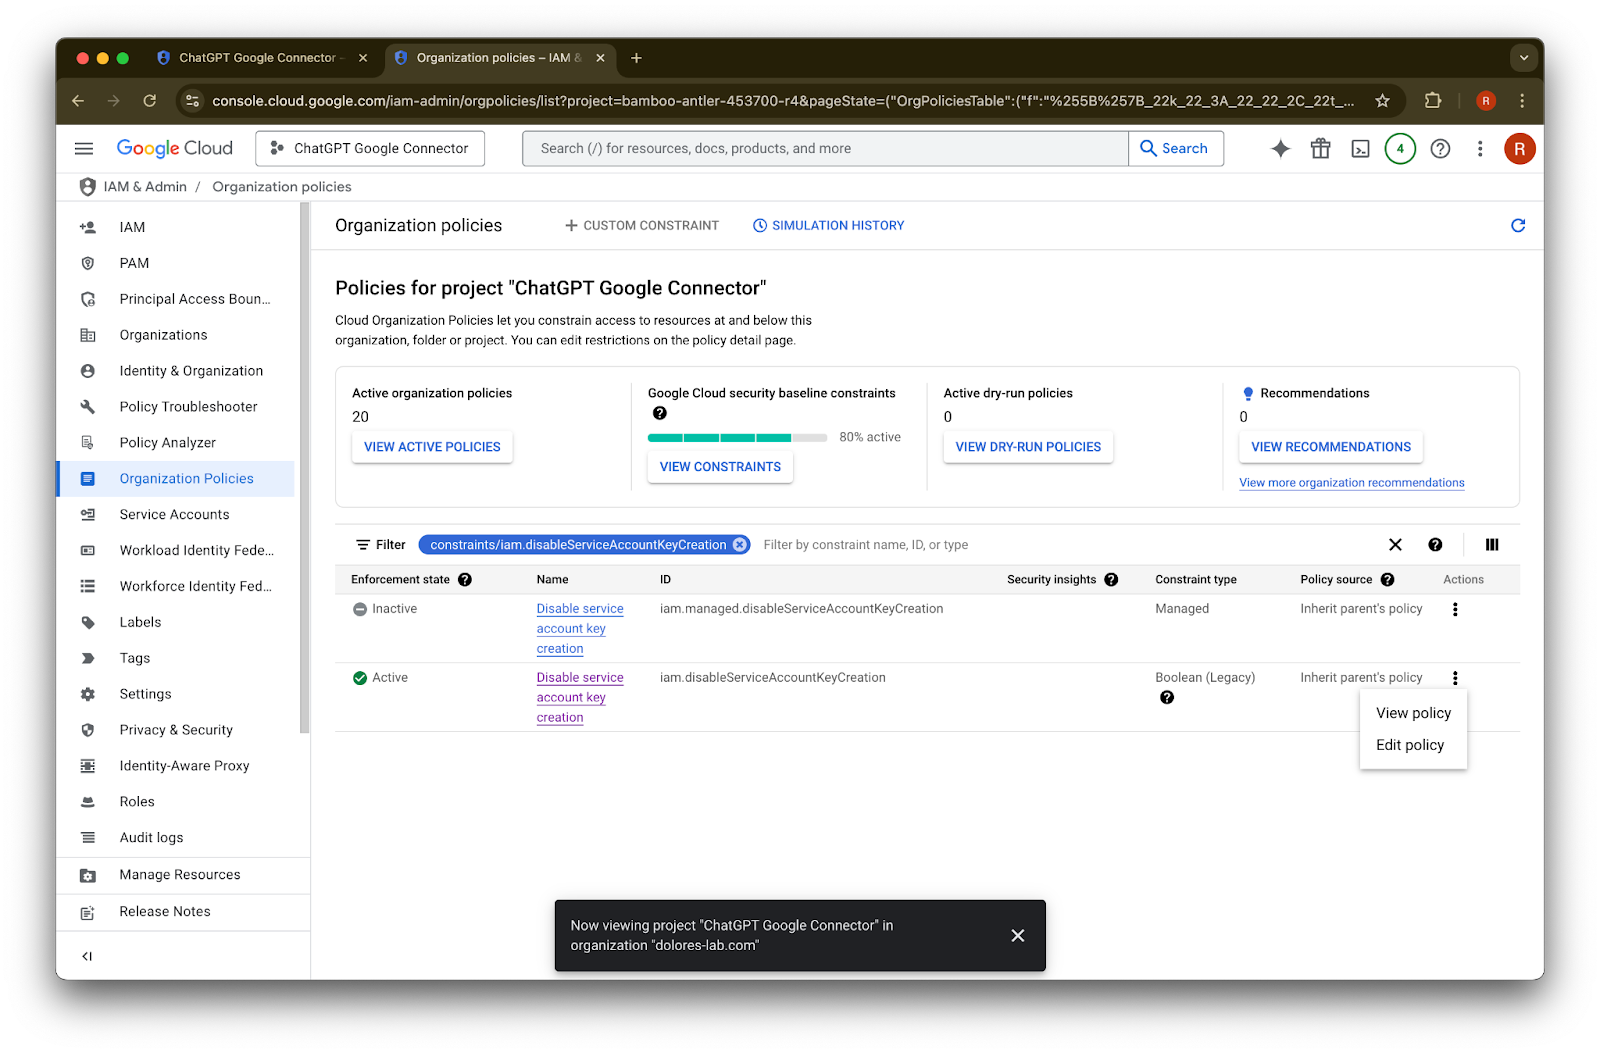
انقر على … للصف الذي يحمل معرّف iam.disableServiceAccountKeyCreation
انقر على تعديل السياسة. إذا كان خيار تعديل السياسة معطّلًا، فستحتاج إلى أن تصبح مسؤول سياسات المؤسسة.
انقر على تجاوز سياسة الأصل
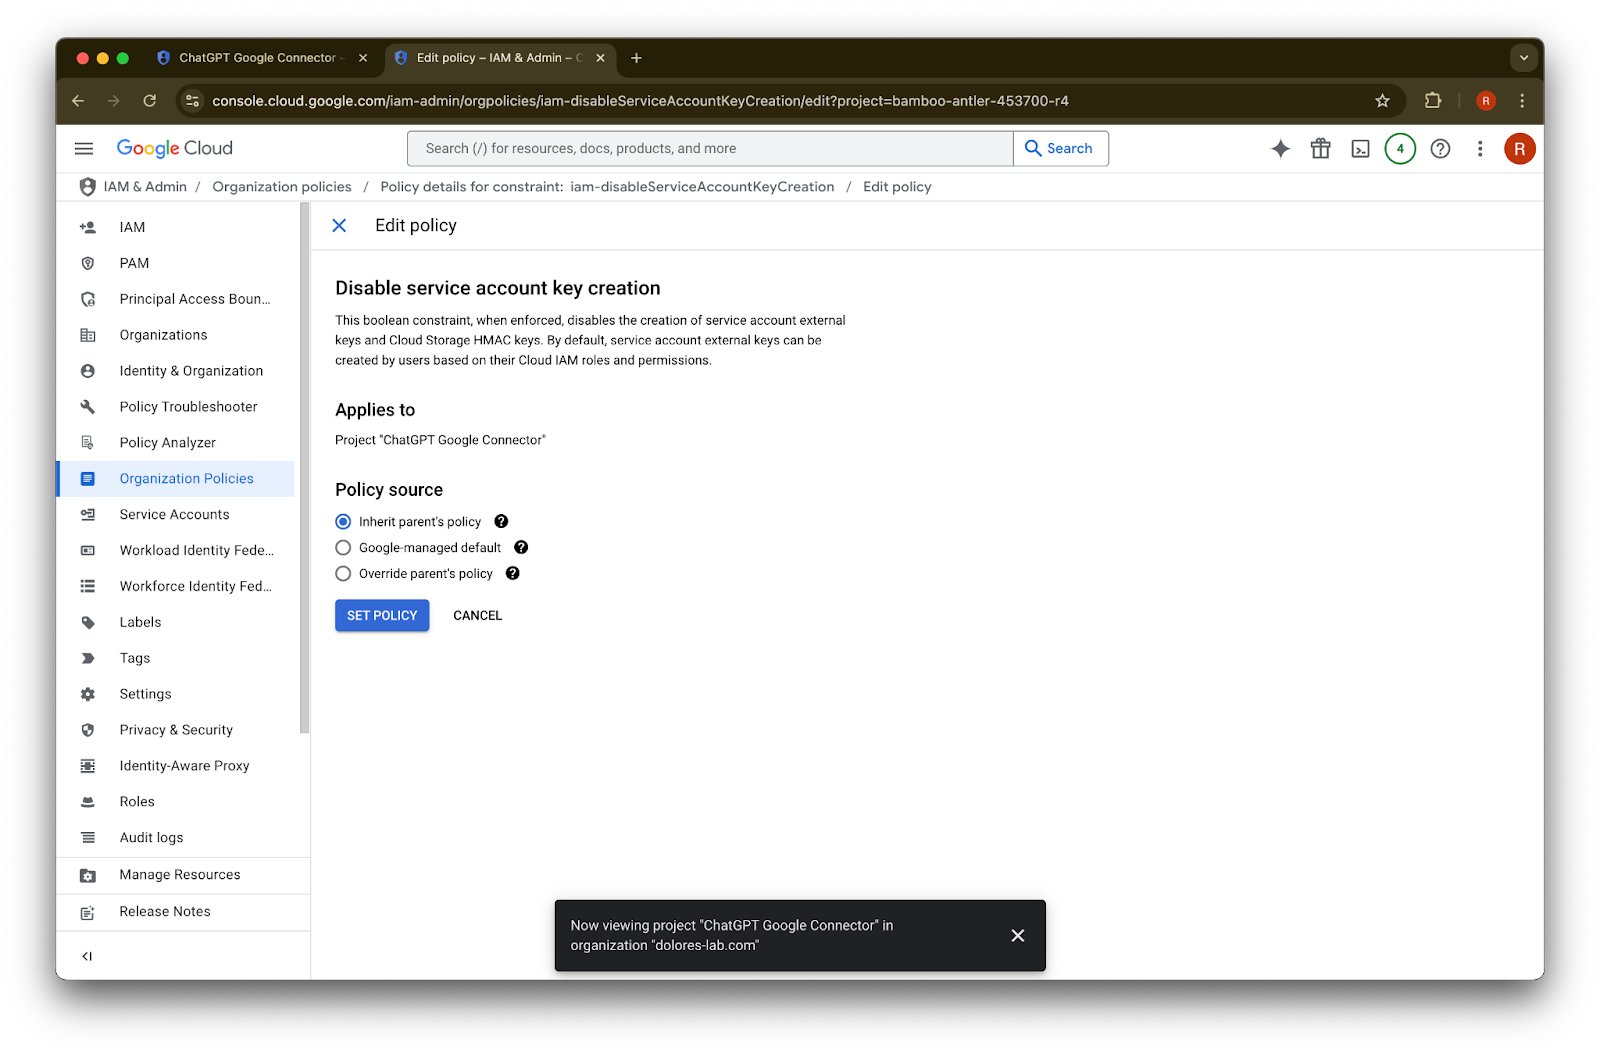
انقر على إضافة قاعدة
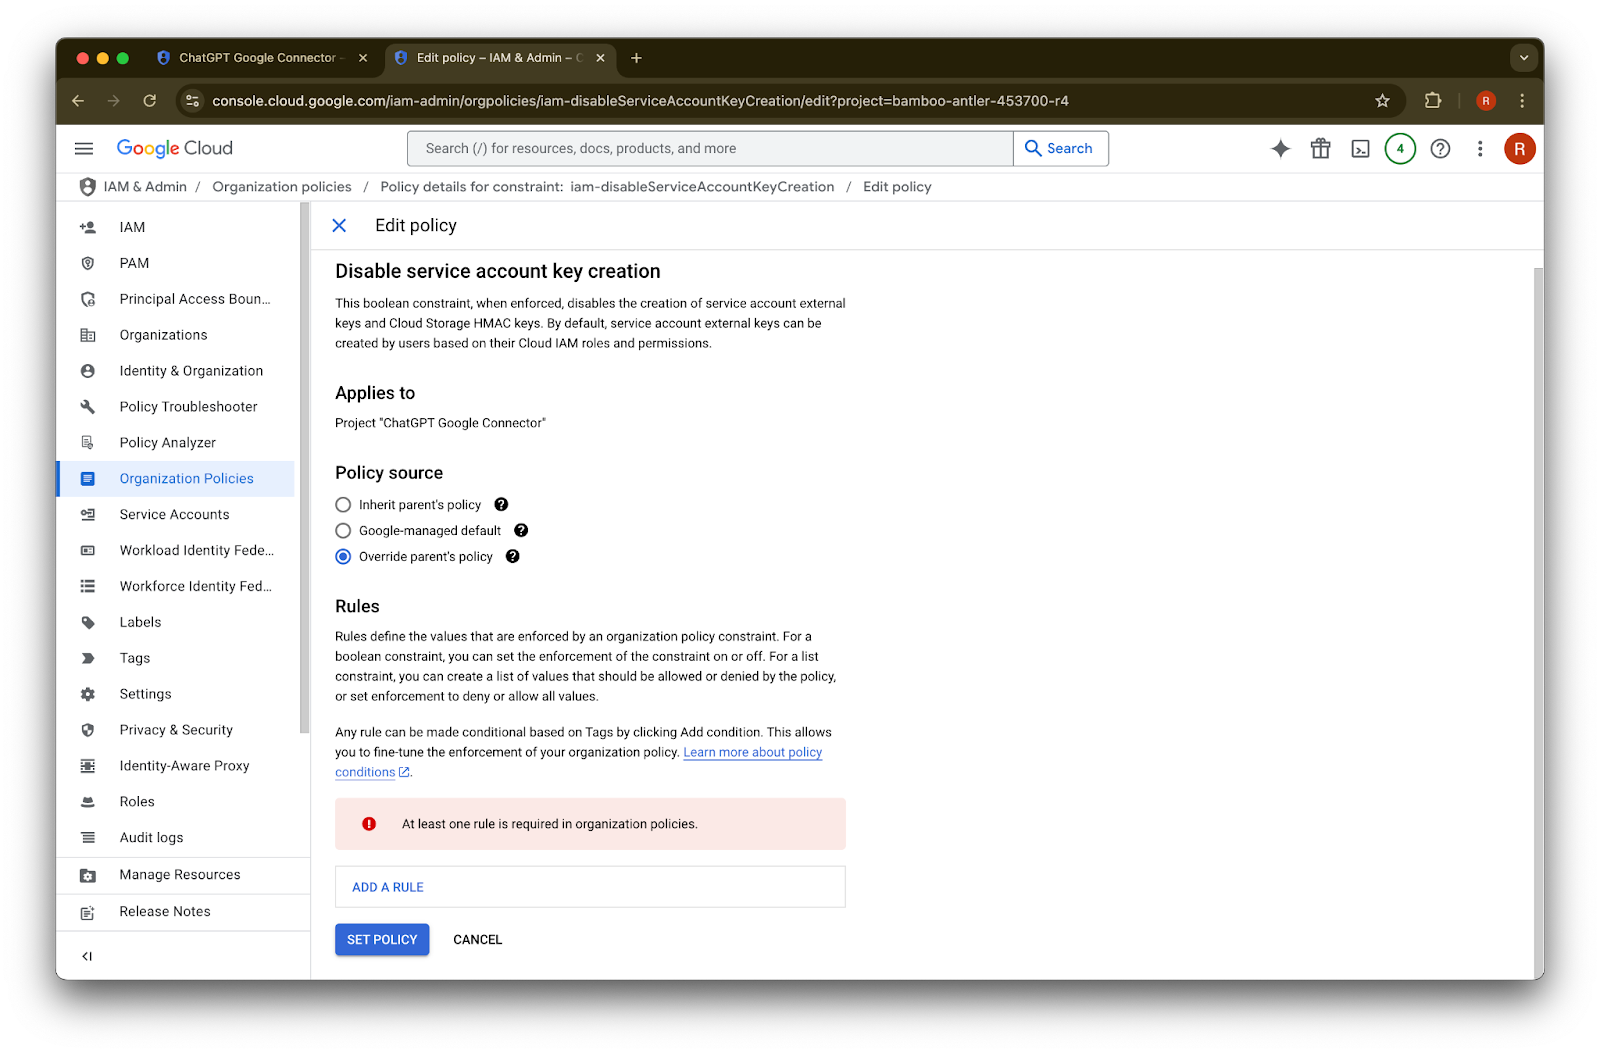
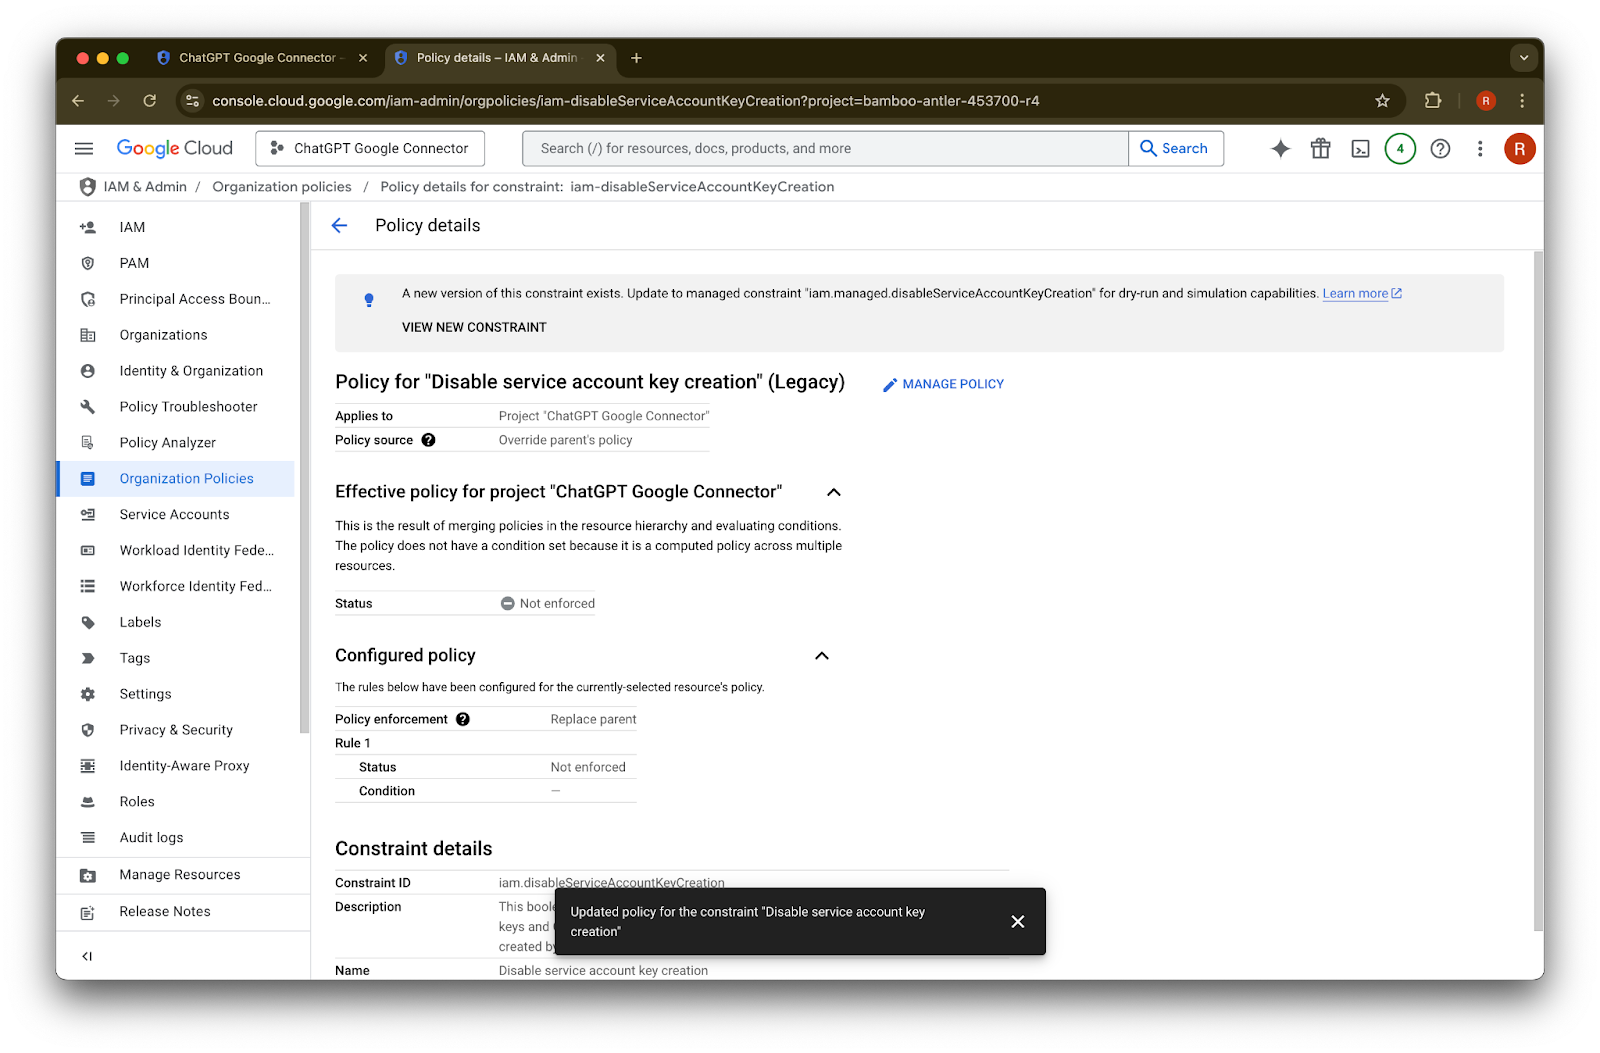
انقر على تعيين السياسة

يمكنك الآن إنشاء مفتاح حساب خدمة. قد يستغرق هذا التمكين عدة دقائق حتى يصبح ساريًا.
أن تصبح مسؤول سياسات المؤسسة
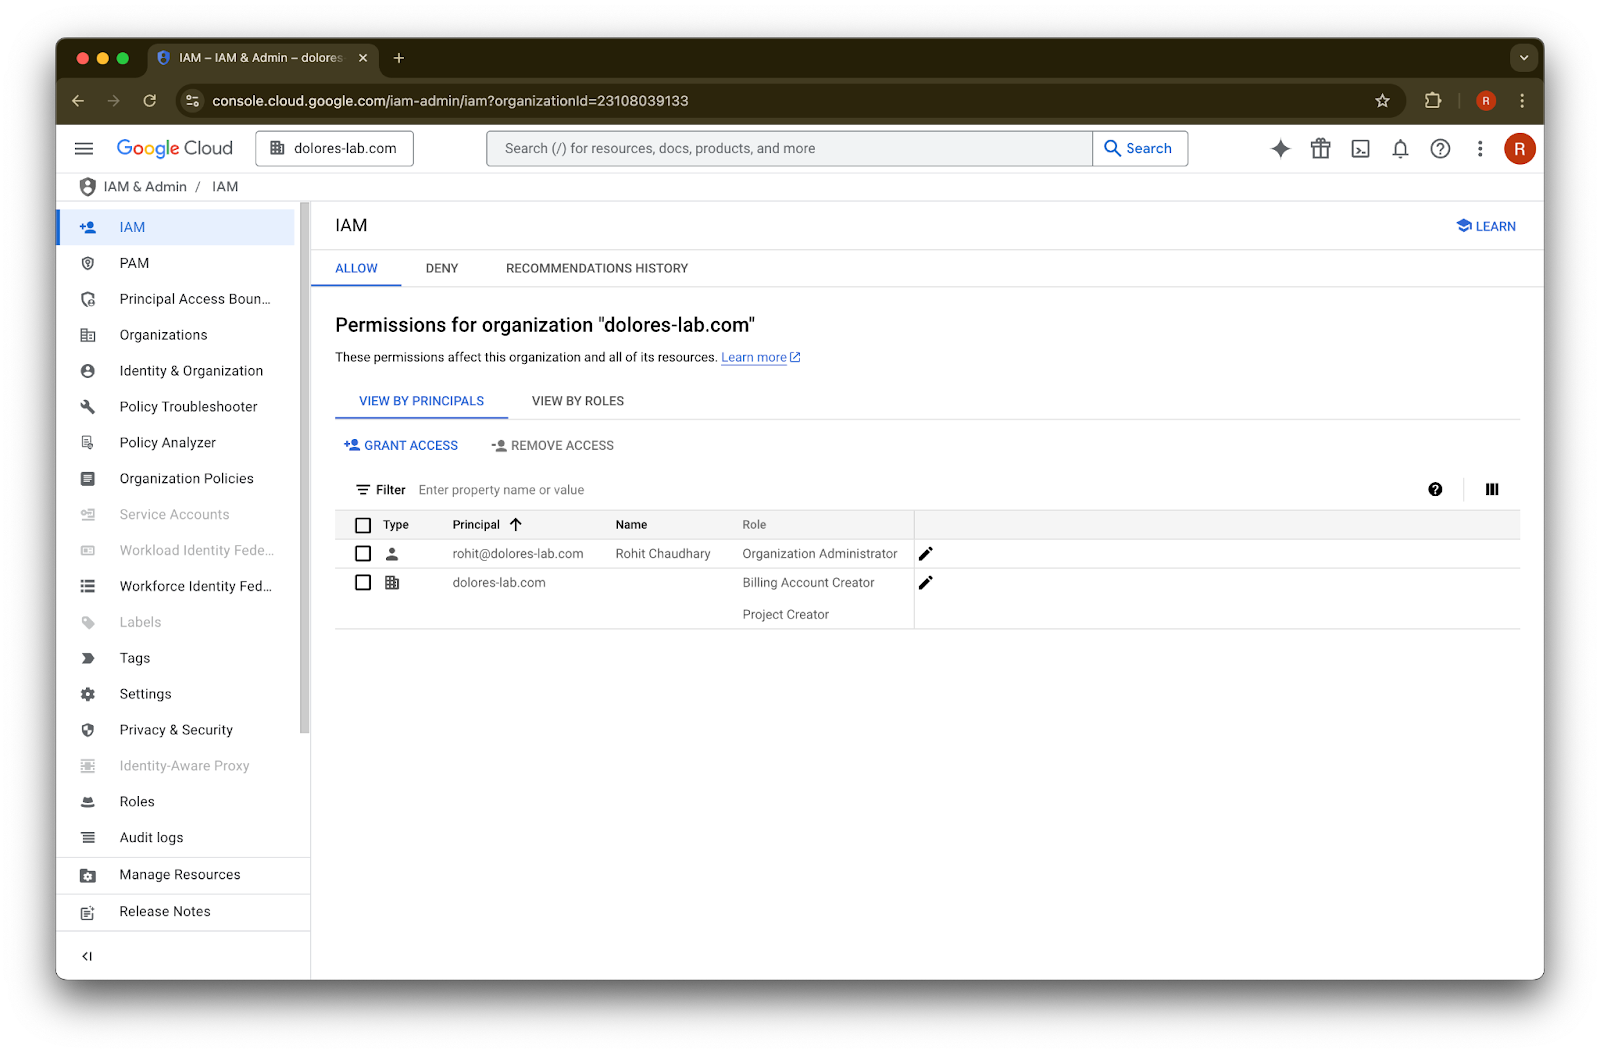
انتقل إلى console.cloud.google.com وانقر على محدد المشروع/المؤسسة
انقر على مؤسستك
انقر على أيقونة القائمة في الزاوية العلوية اليسرى
مرّر المؤشر فوق IAM & Admin
انقر على IAM
انقر على القلم لحسابك
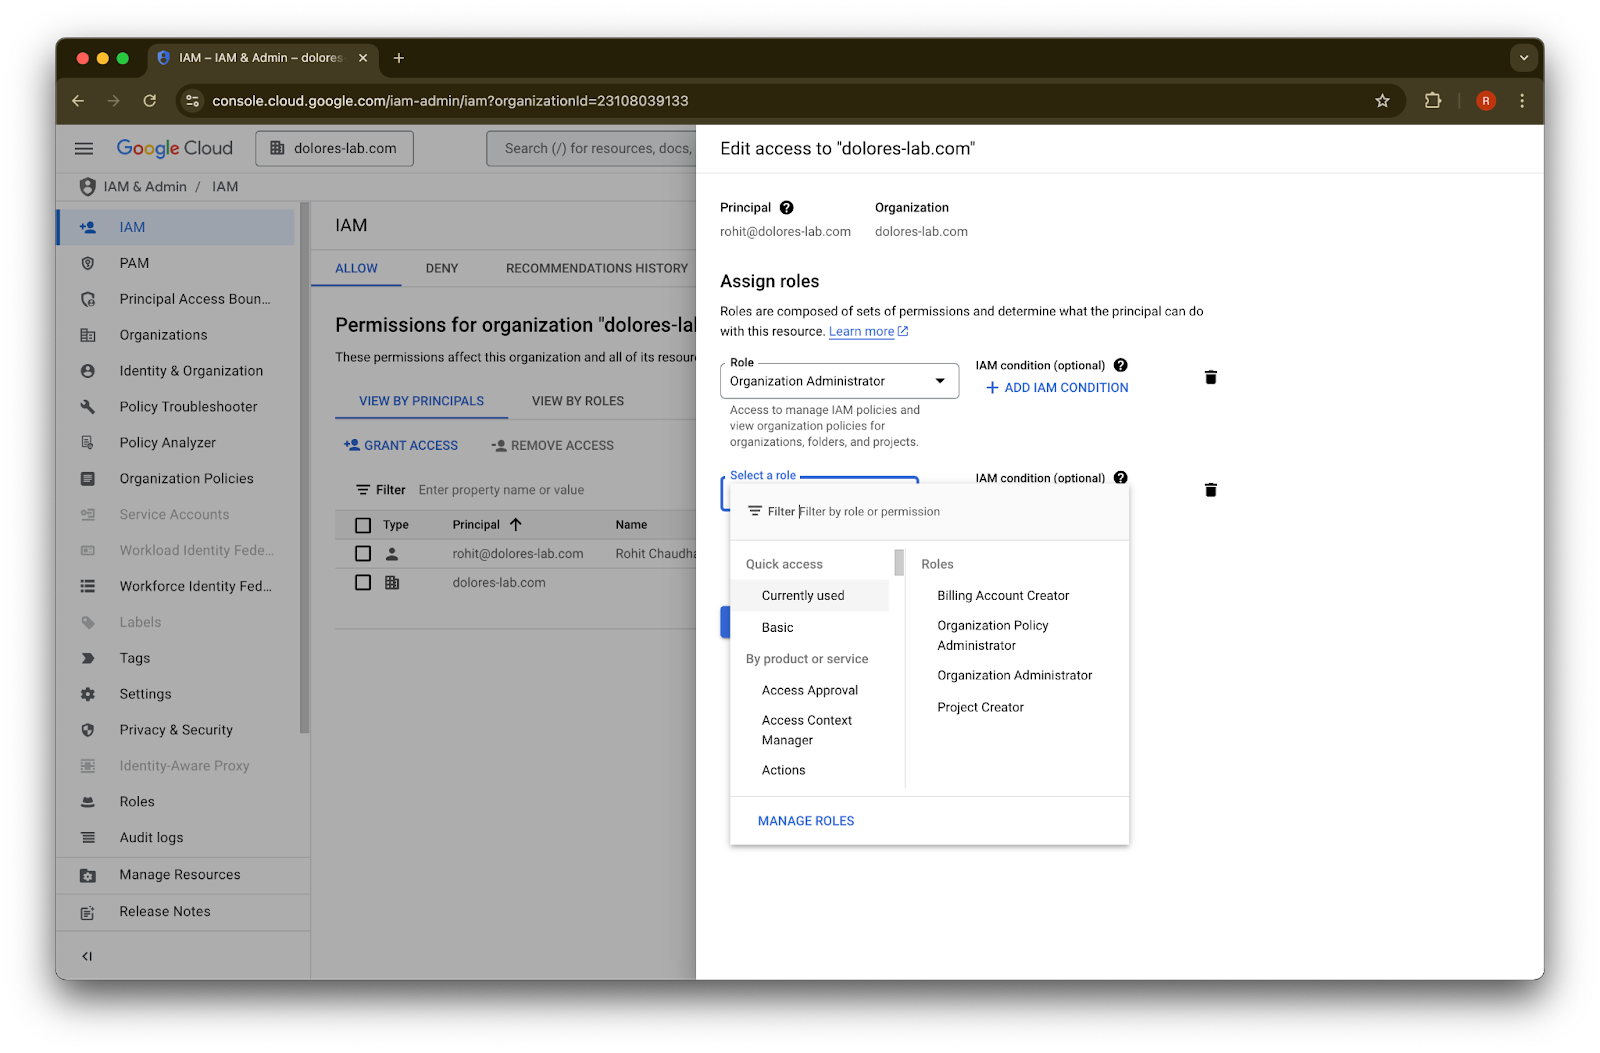
انقر على إضافة دور آخر
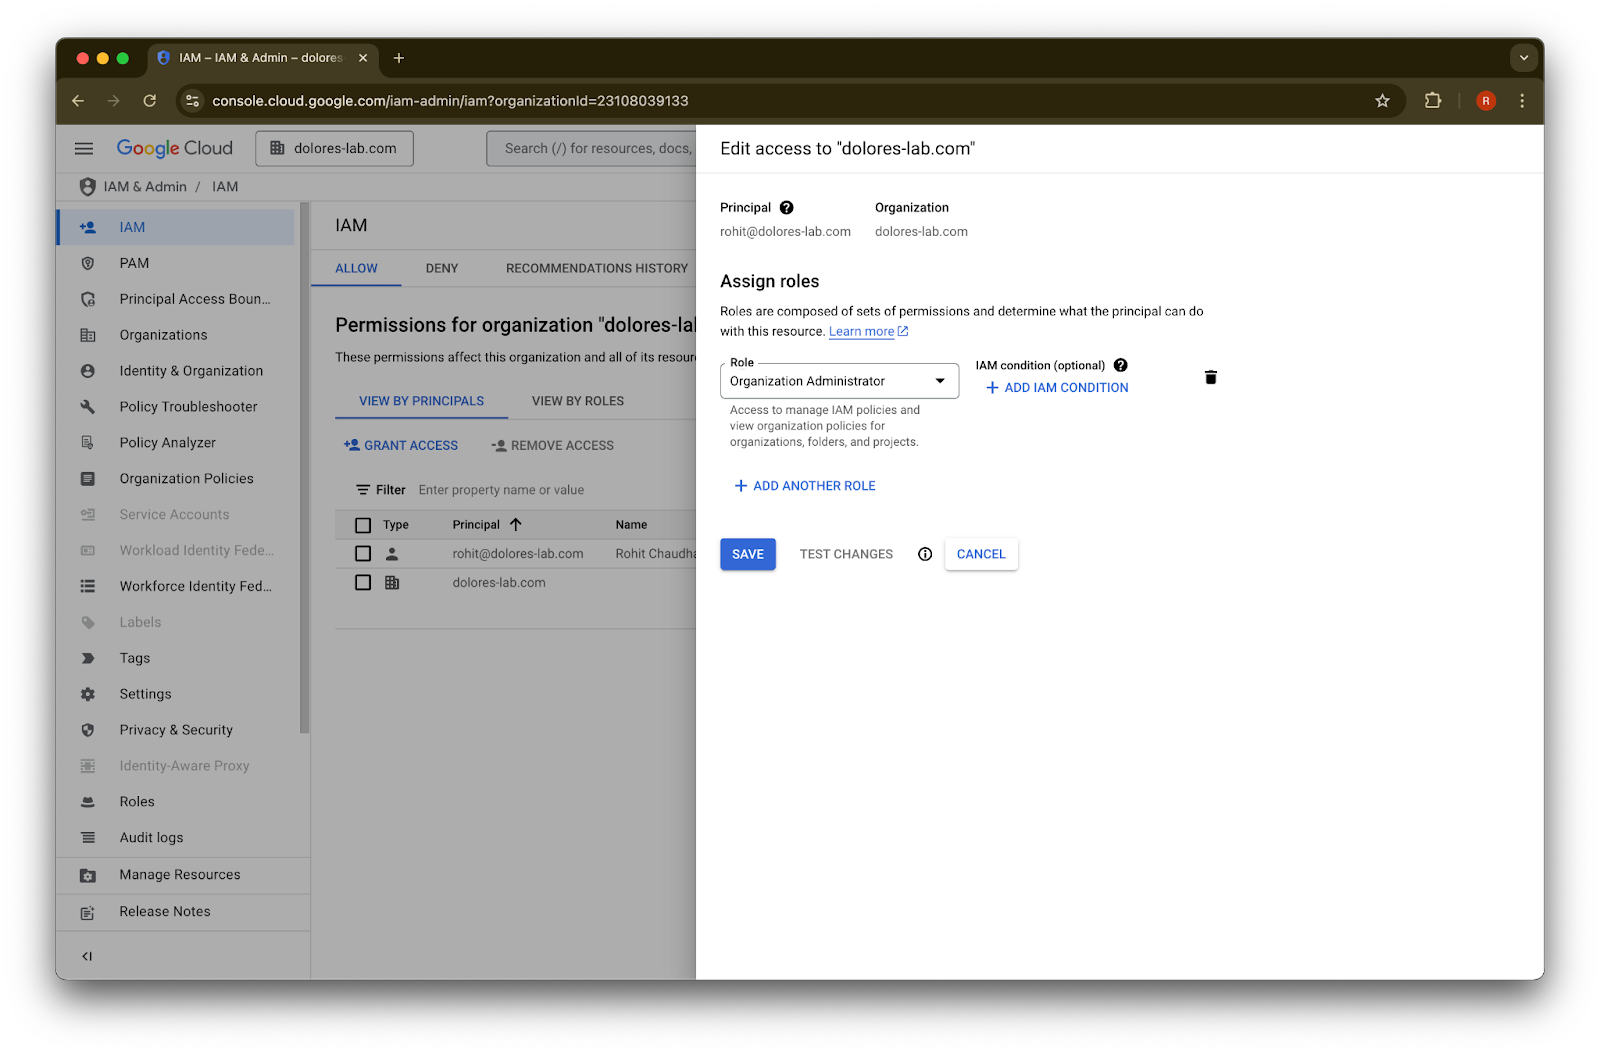
ابحث عن مسؤول سياسات المؤسسة
انقر على مسؤول سياسات المؤسسة
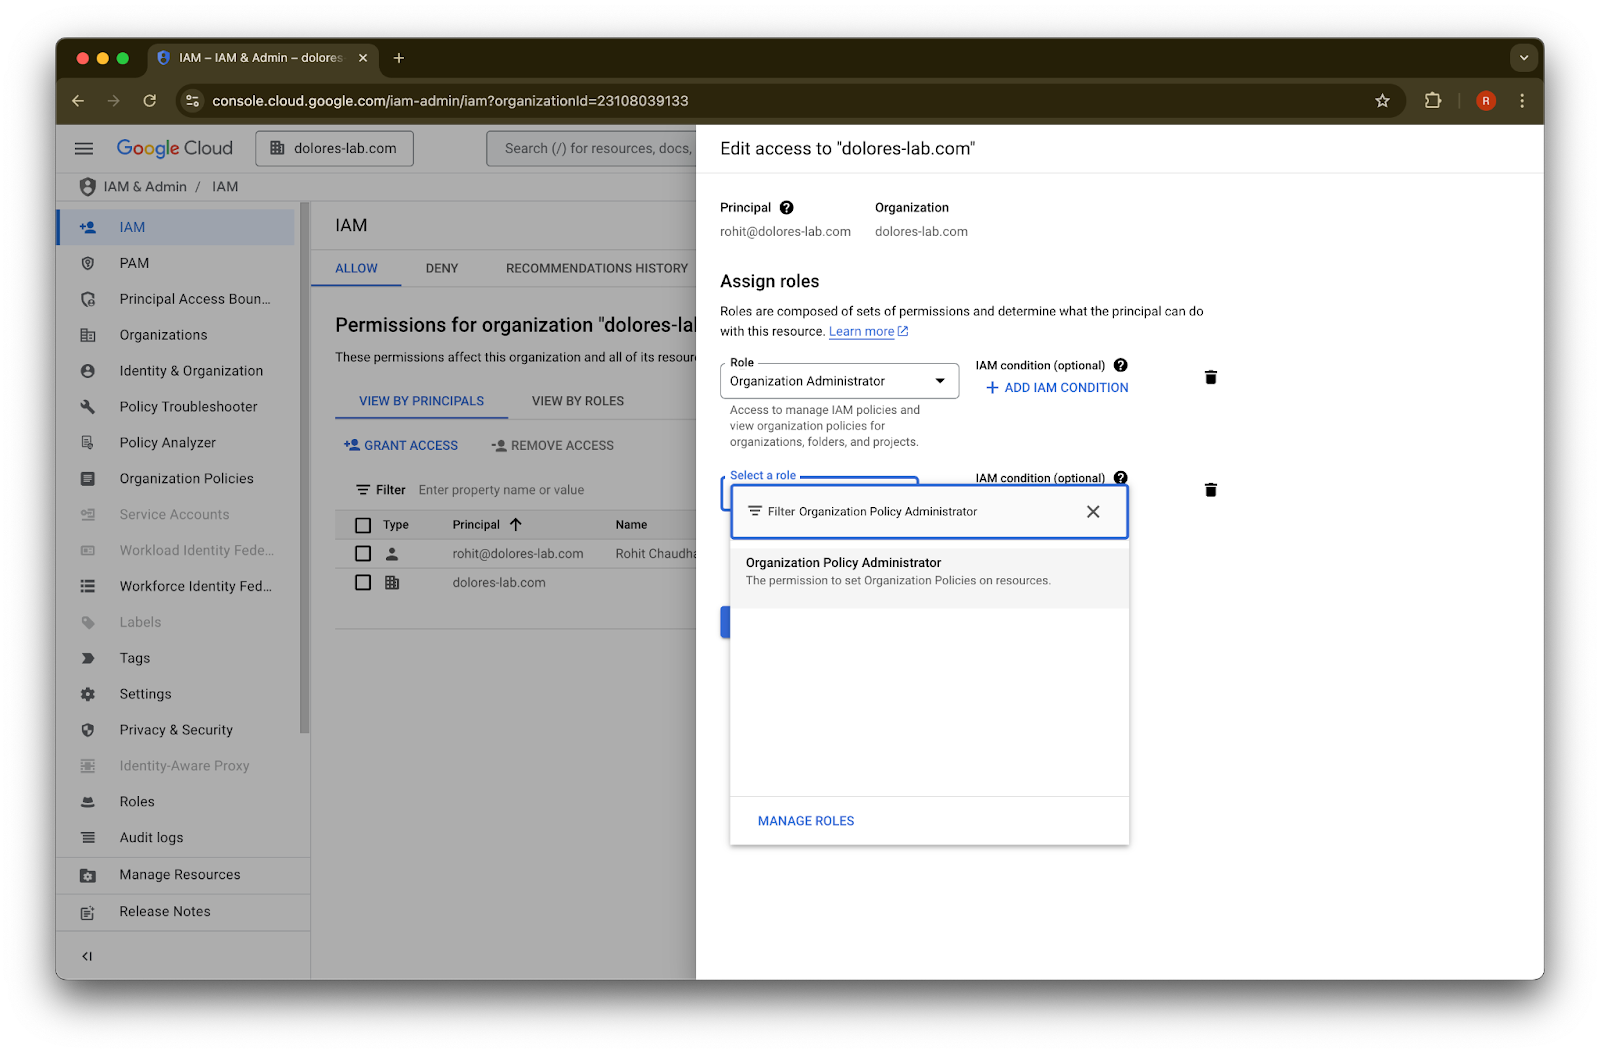
انقر على حفظ
أصبح حسابك الآن يملك إذن تمكين إنشاء مفتاح حساب الخدمة. قد يستغرق ذلك عدة دقائق حتى يصبح ساريًا.
استخدام اسم مستعار لبريد Google الإلكتروني للحفاظ على حسابات بريد إلكتروني مختلفة لـ Google Workspace وChatGPT
إذا كنت مسؤولًا تصل Google Workspace بمساحة عمل ChatGPT المشتركة لديك باستخدام الإعداد المُدار بواسطة المسؤول لموصلات Google Drive المتزامنة، وكانت مؤسستك تستخدم نطاقات بريد إلكتروني مختلفة لـ ChatGPT وGoogle Workspace، فستحتاج إلى اتخاذ خطوات إضافية لضمان أن يتمكن المستخدمون من الوصول بنجاح إلى موصلات Google Drive المتزامنة.
توصية: كلما أمكن، استخدم عناوين البريد الإلكتروني الأساسية نفسها لكل من حسابات Google Workspace وChatGPT.
إذا لم يكن ذلك ممكنًا، فاتبع الإرشادات أدناه لتهيئة اسم مستعار لبريد Google Workspace الإلكتروني يطابق بريد تسجيل الدخول إلى ChatGPT.
خطوات إضافة اسم مستعار في Google Workspace
اتبع هذه الخطوات في وحدة تحكم مسؤول Google لضمان إمكانية ربط بريد ChatGPT الإلكتروني لكل مستخدم بحسابه في Google Workspace:
انتقل إلى وحدة تحكم المسؤول. انتقل إلى: الدليل > المستخدمون
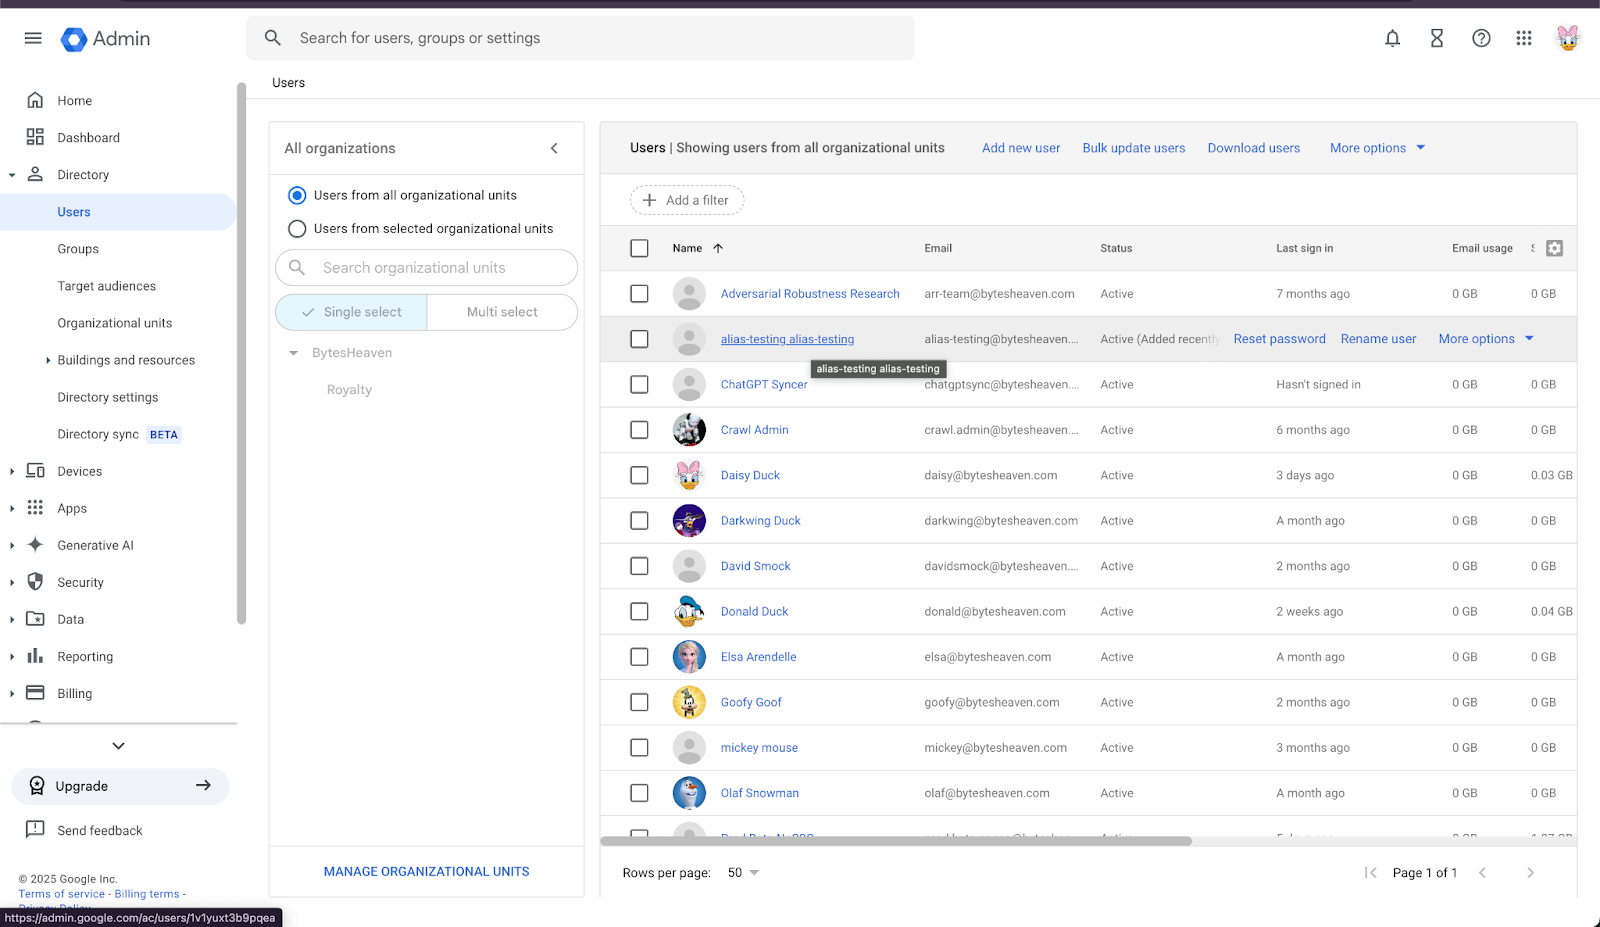
حدد مستخدمًا، ثم «إضافة عناوين بريد إلكتروني بديلة».
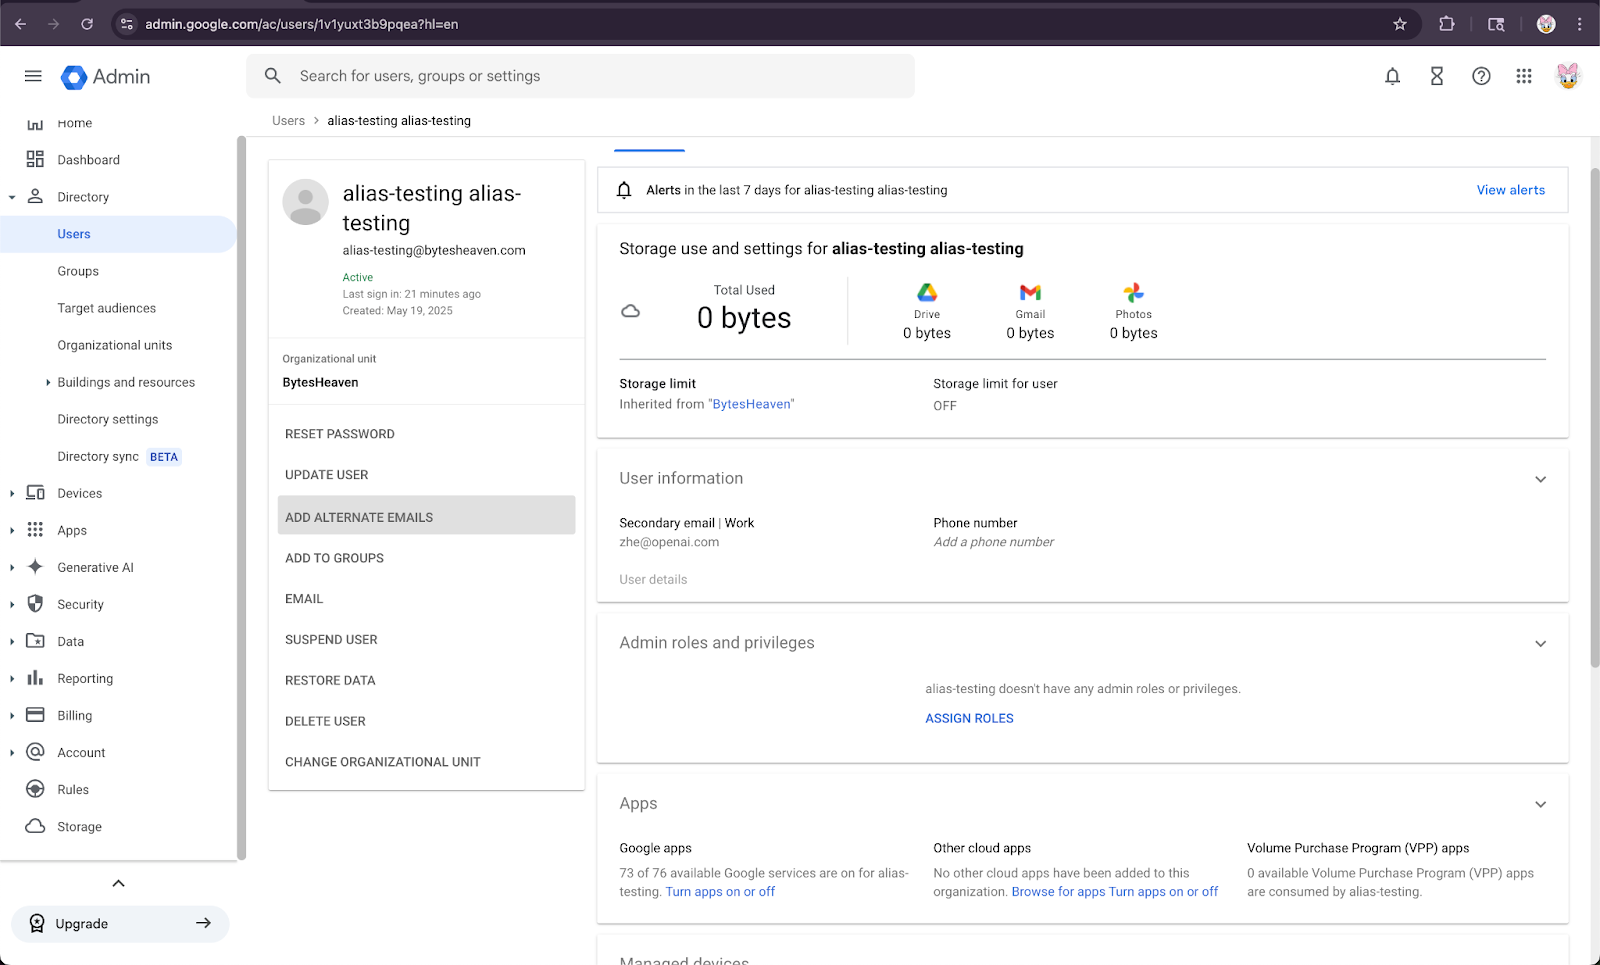
أضف بريدًا إلكترونيًا بديلاً. تأكد من أنه يطابق حساب ChatGPT الخاص بالمستخدم.

حدد حفظ
---
القيود المعروفة
عناوين البريد الإلكتروني الشخصية غير مدعومة
لا يمكن للمستخدمين الذين يسجّلون في ChatGPT باستخدام عناوين شخصية (مثل example@gmail.com) الاتصال بـ Google Workspace. هذا الإعداد غير مدعوم ويشكل خطرًا أمنيًا، لأنه يتيح الوصول إلى البيانات الداخلية من خارج المؤسسة.
أسماء Gmail المستعارة باستخدام "+" غير مدعومة
يتيح Gmail للمستخدمين إنشاء أسماء مستعارة بإضافة "+" إلى عناوينهم (مثل user+alias@gmail.com). هذا النوع من الأسماء المستعارة لا يعمل مع موصلات Google Drive المتزامنة. يجب تكوين الاسم المستعار صراحةً في Google Workspace.
رسالة خطأ شائعة
إذا لم تكن عناوين البريد الإلكتروني مرتبطة بشكل صحيح، فقد يواجه المستخدمون هذه الرسالة: «تعذر علينا ربط حسابك بـ Google Drive. انقر لمعرفة المزيد.»
إذا تلقى المستخدمون هذه الرسالة، فراجع الخطوات الواردة في هذا المستند وتأكد من اتباعها بدقة. إذا كانت هناك حاجة إلى مساعدة إضافية، فيرجى الاتصال بفريق الدعم لدينا.