管理者管理セットアップを使用して Google Workspace を ChatGPT に接続するには、まず Google の管理コンソールでアクセスを設定します:
サービス アカウントを作成し、Google Drive、ユーザー、グループへの読み取り専用アクセスを付与します。
このサービス アカウントは、ChatGPT ワークスペースに関連付けられているものと同じ Google アカウント配下で作成することを強くおすすめします。ChatGPT ワークスペース内のアカウントが Google Workspace で使用しているものと異なるメールドメインを持つ場合、ユーザーにこのコネクタを有効にするには追加の手順に従う必要があります。
サービス アカウントが代理として動作する管理者アカウントを作成します。
次に、ChatGPT 管理コンソールで設定を完了します:
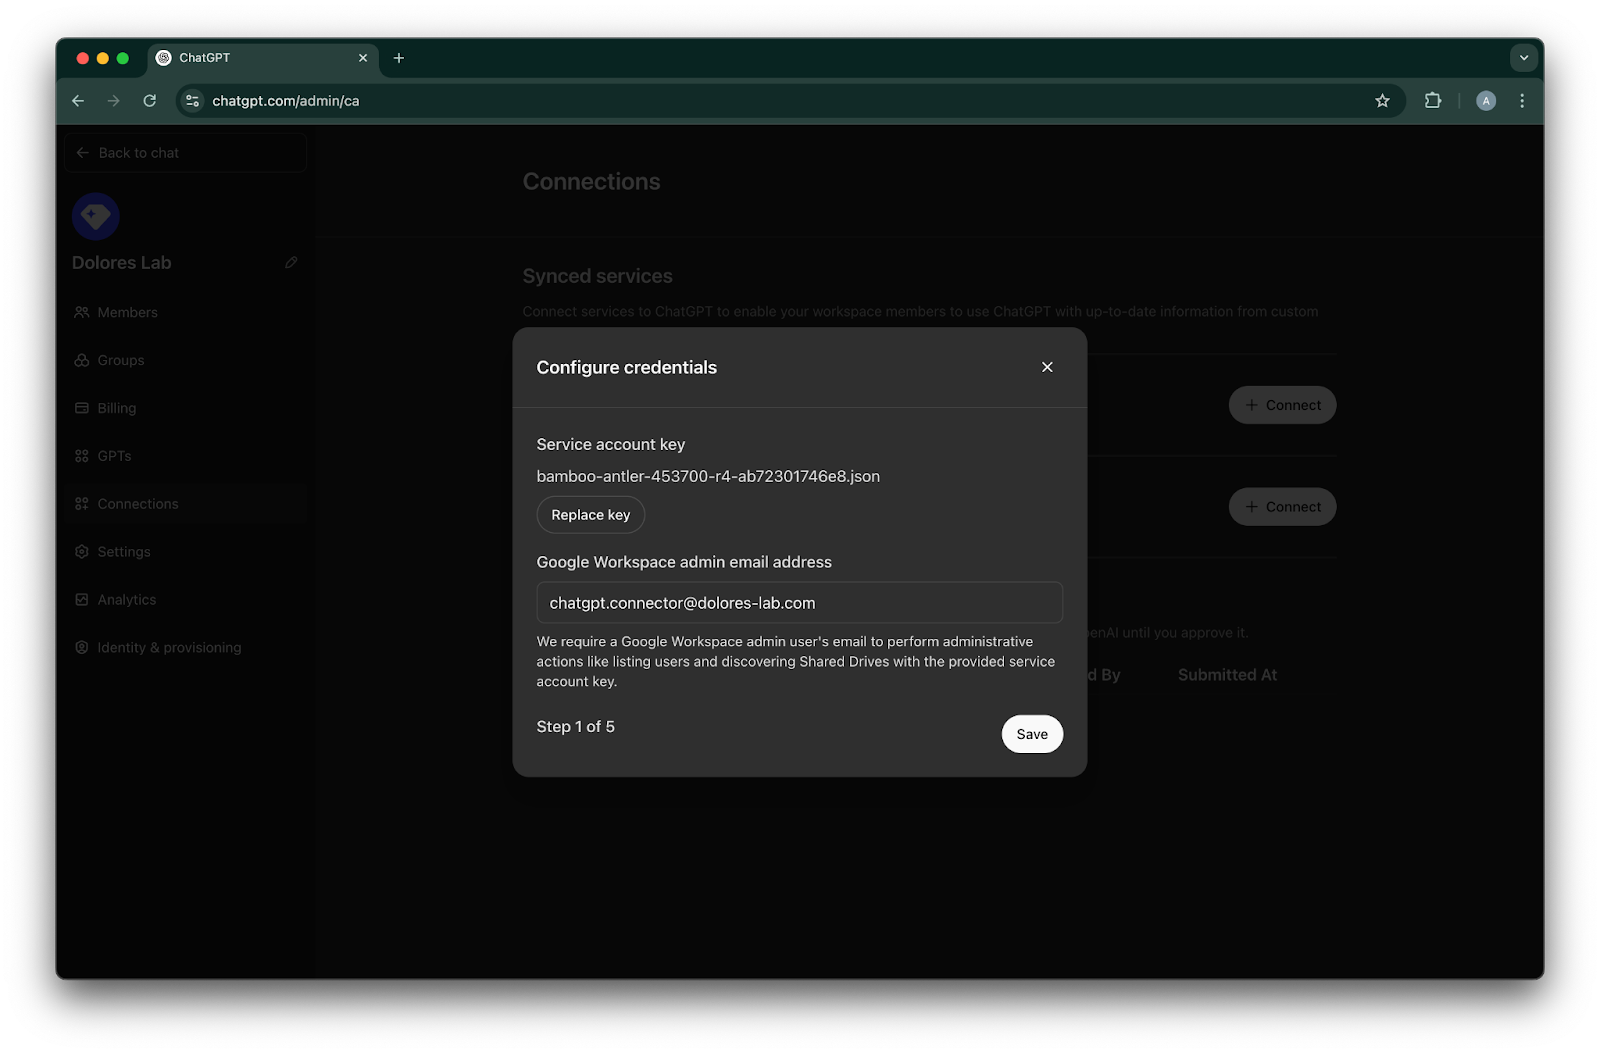
サービス アカウントの秘密鍵をアップロードします(Google から取得した JSON ファイル)
管理者アカウントを指定します(認証情報は不要です)。
同期するファイルを選択し、接続にアクセスできるユーザーを選択します。
このガイドでは、これら 6 つの手順を順に説明します。
サービス アカウントの設定
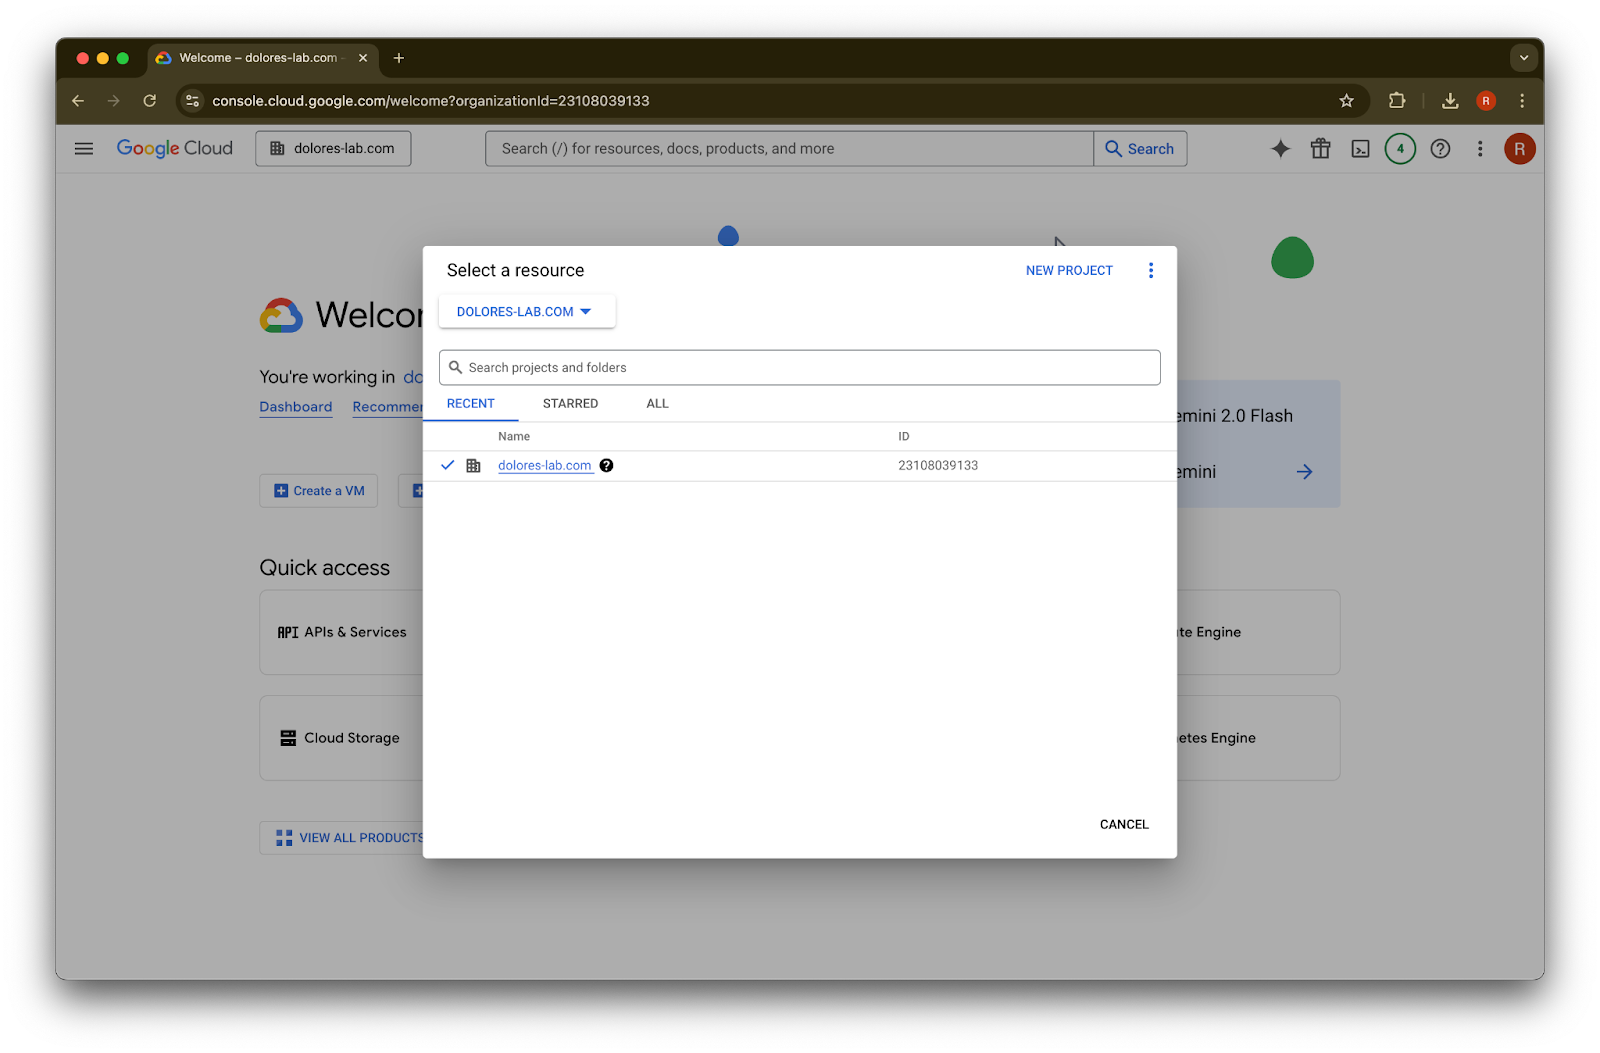
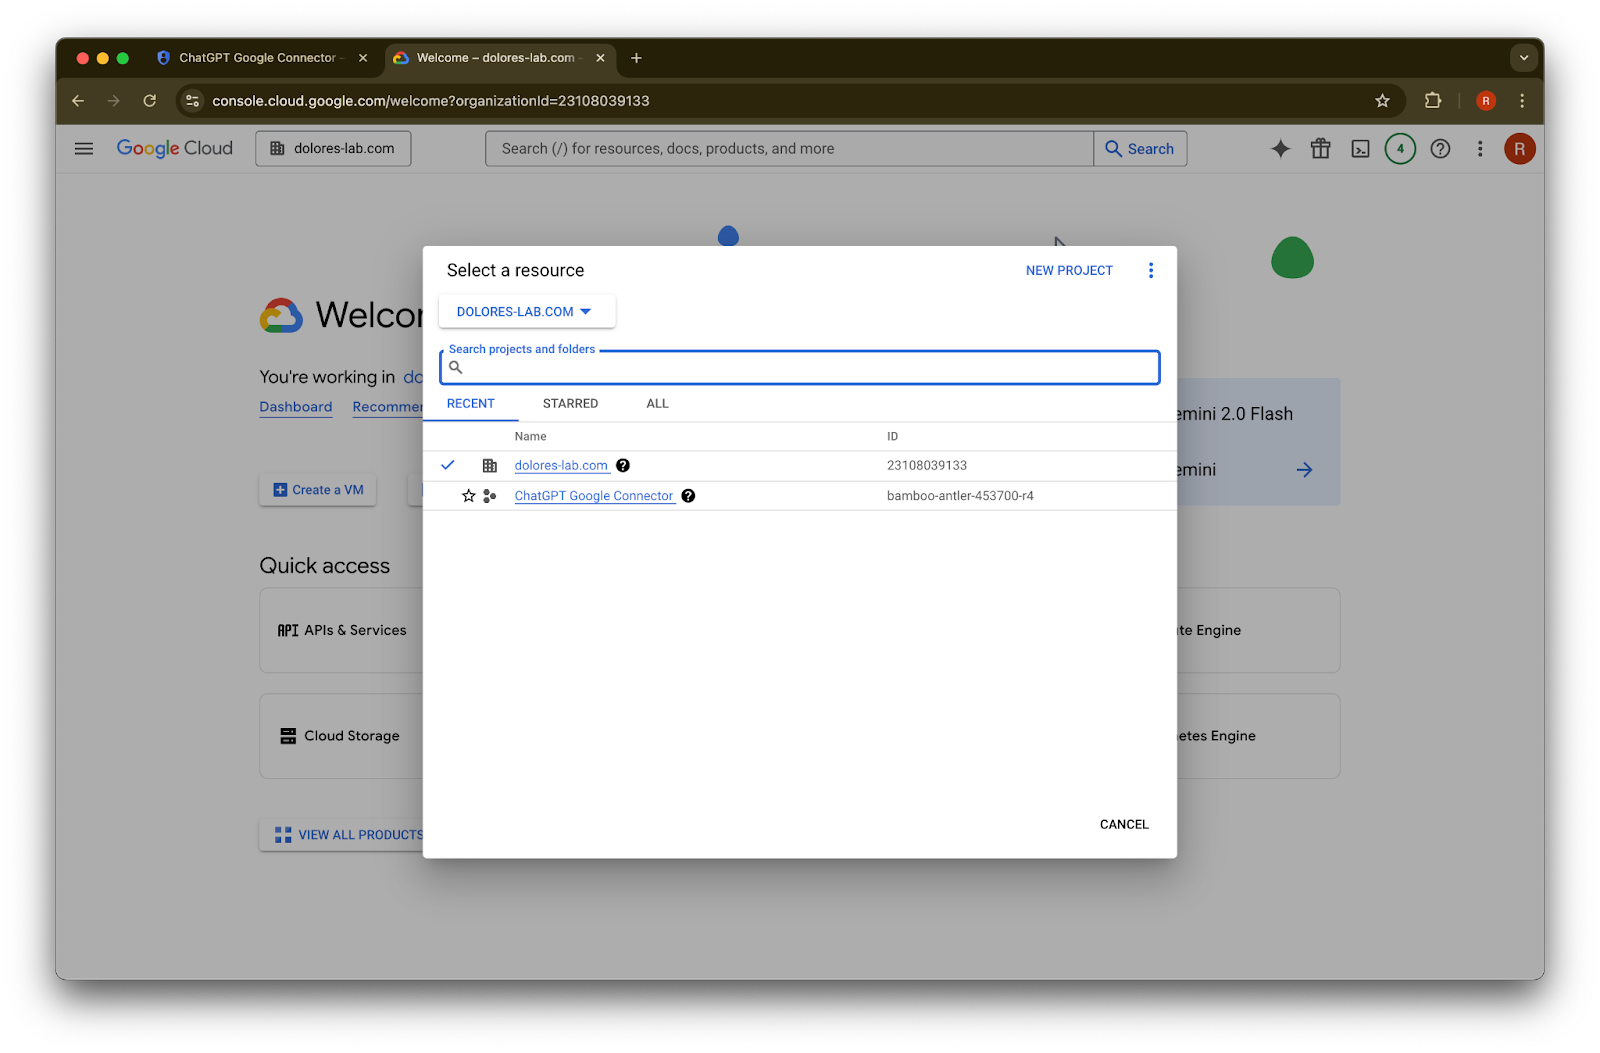
console.cloud.google.com に移動します。
プロジェクトのプルダウンをクリックします。ImageChatGPT ワークスペースに関連付けられているものと同じ Google workspace にログインしていることを確認してください(ChatGPT ワークスペースに関連付けられた Google workspace がなく、両者でメールアドレスが異なる場合は、追加の手順に従う必要があります。そうしないと、ユーザーが Google Drive 同期コネクタを利用できない可能性があります)。
New Project を選択します
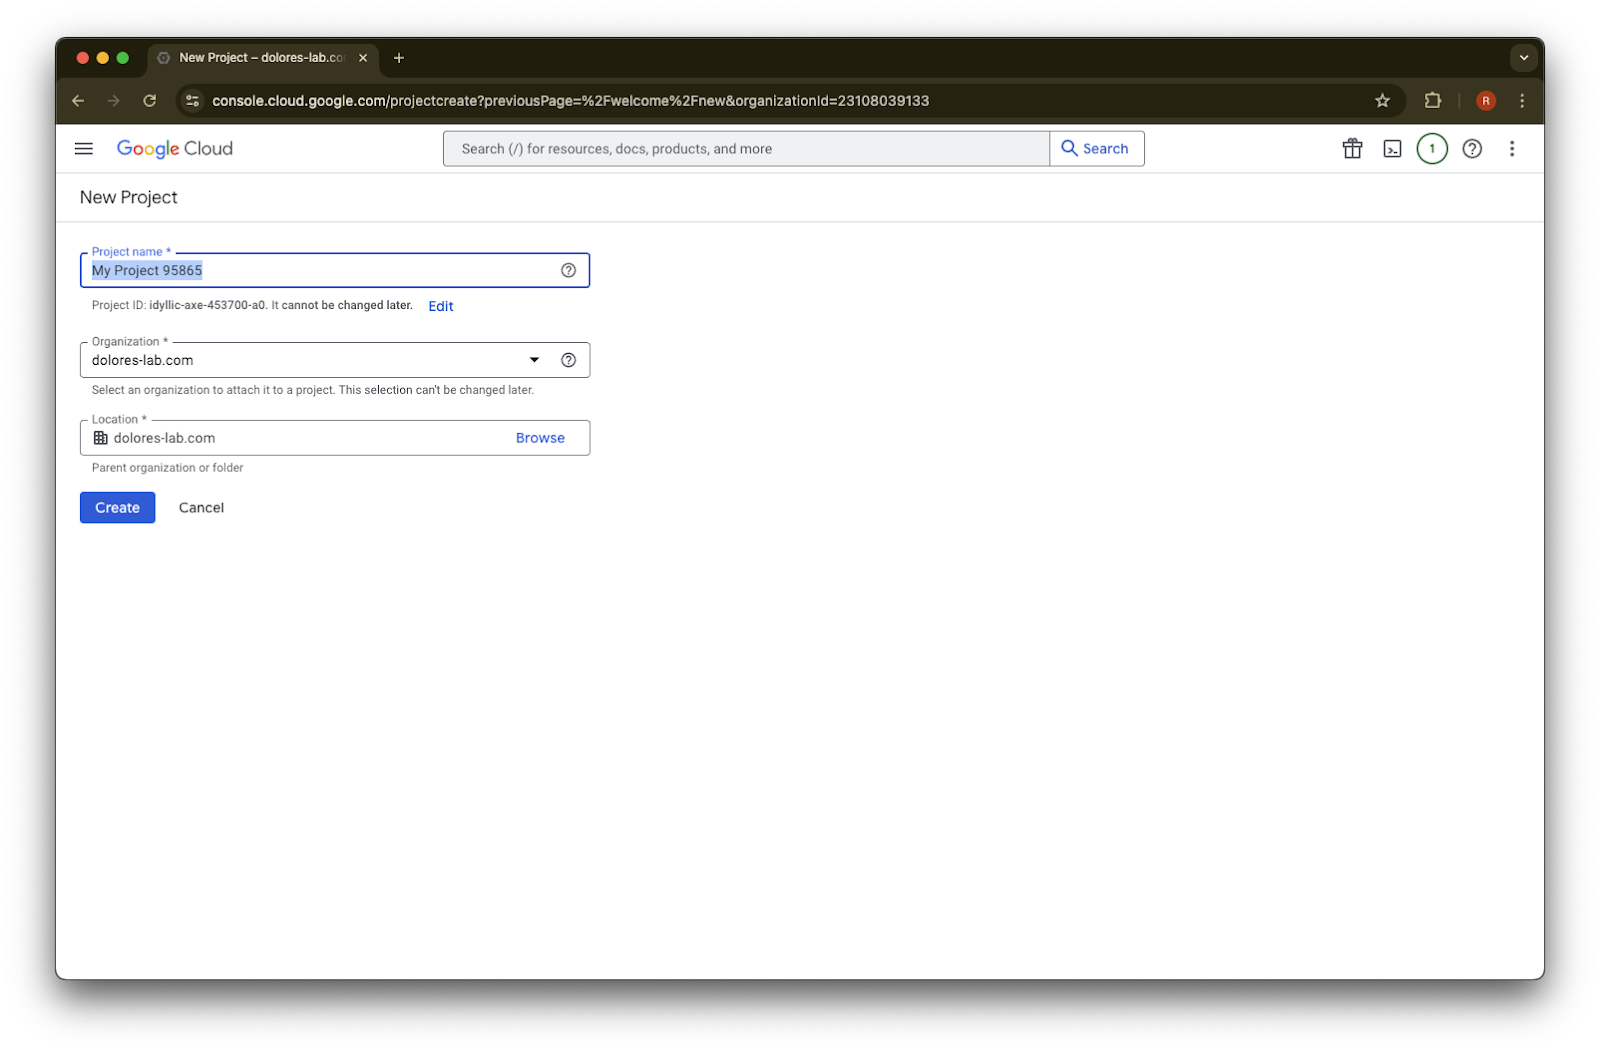
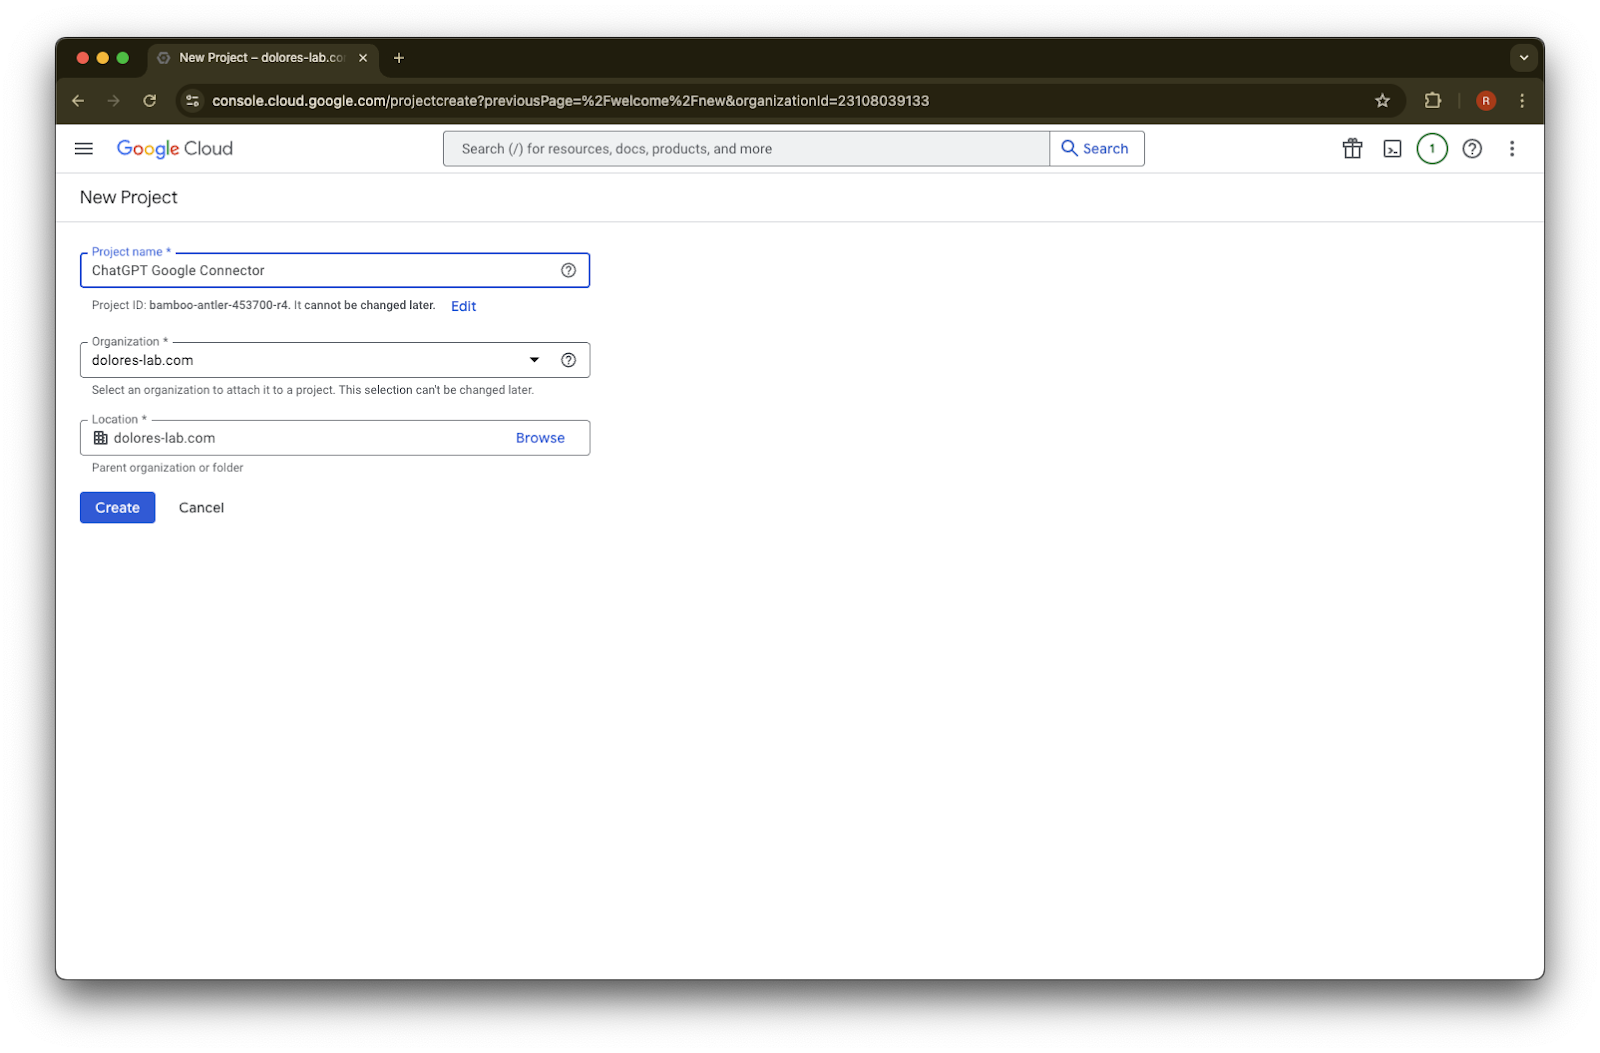
Project Name を入力します
プロジェクトを作成します
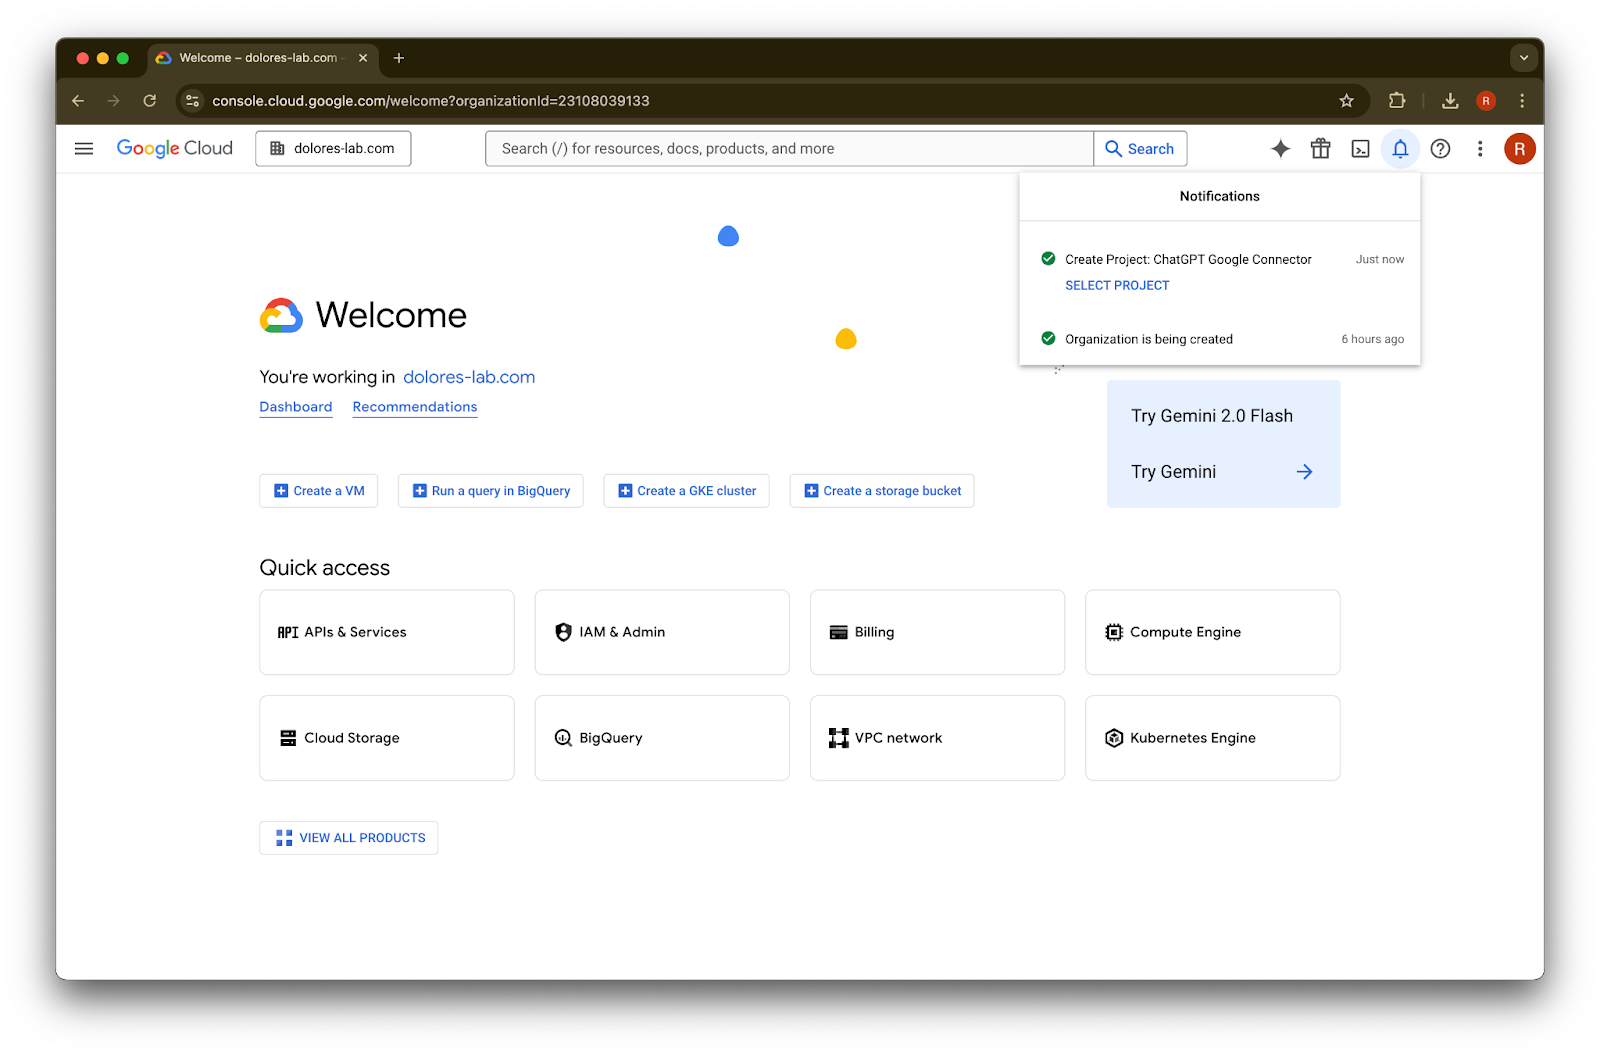
プロジェクトが作成されるまで待ち、Select Project をクリックします
APIs & Services をクリックします
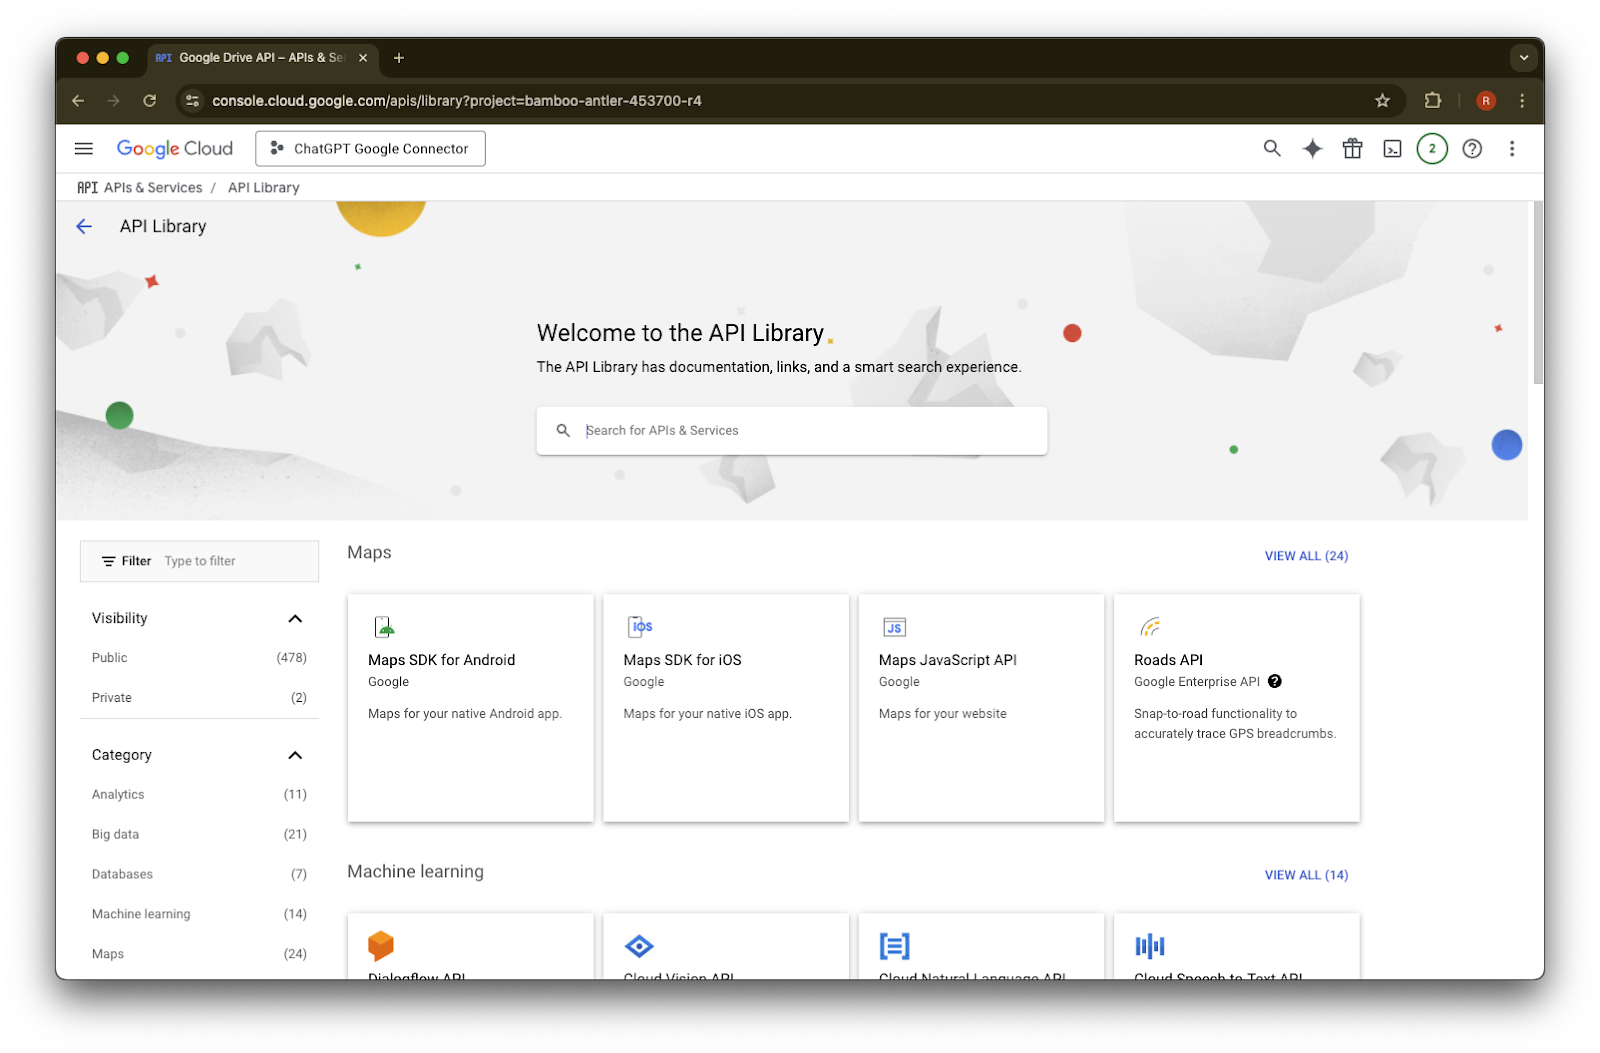
Library をクリックします
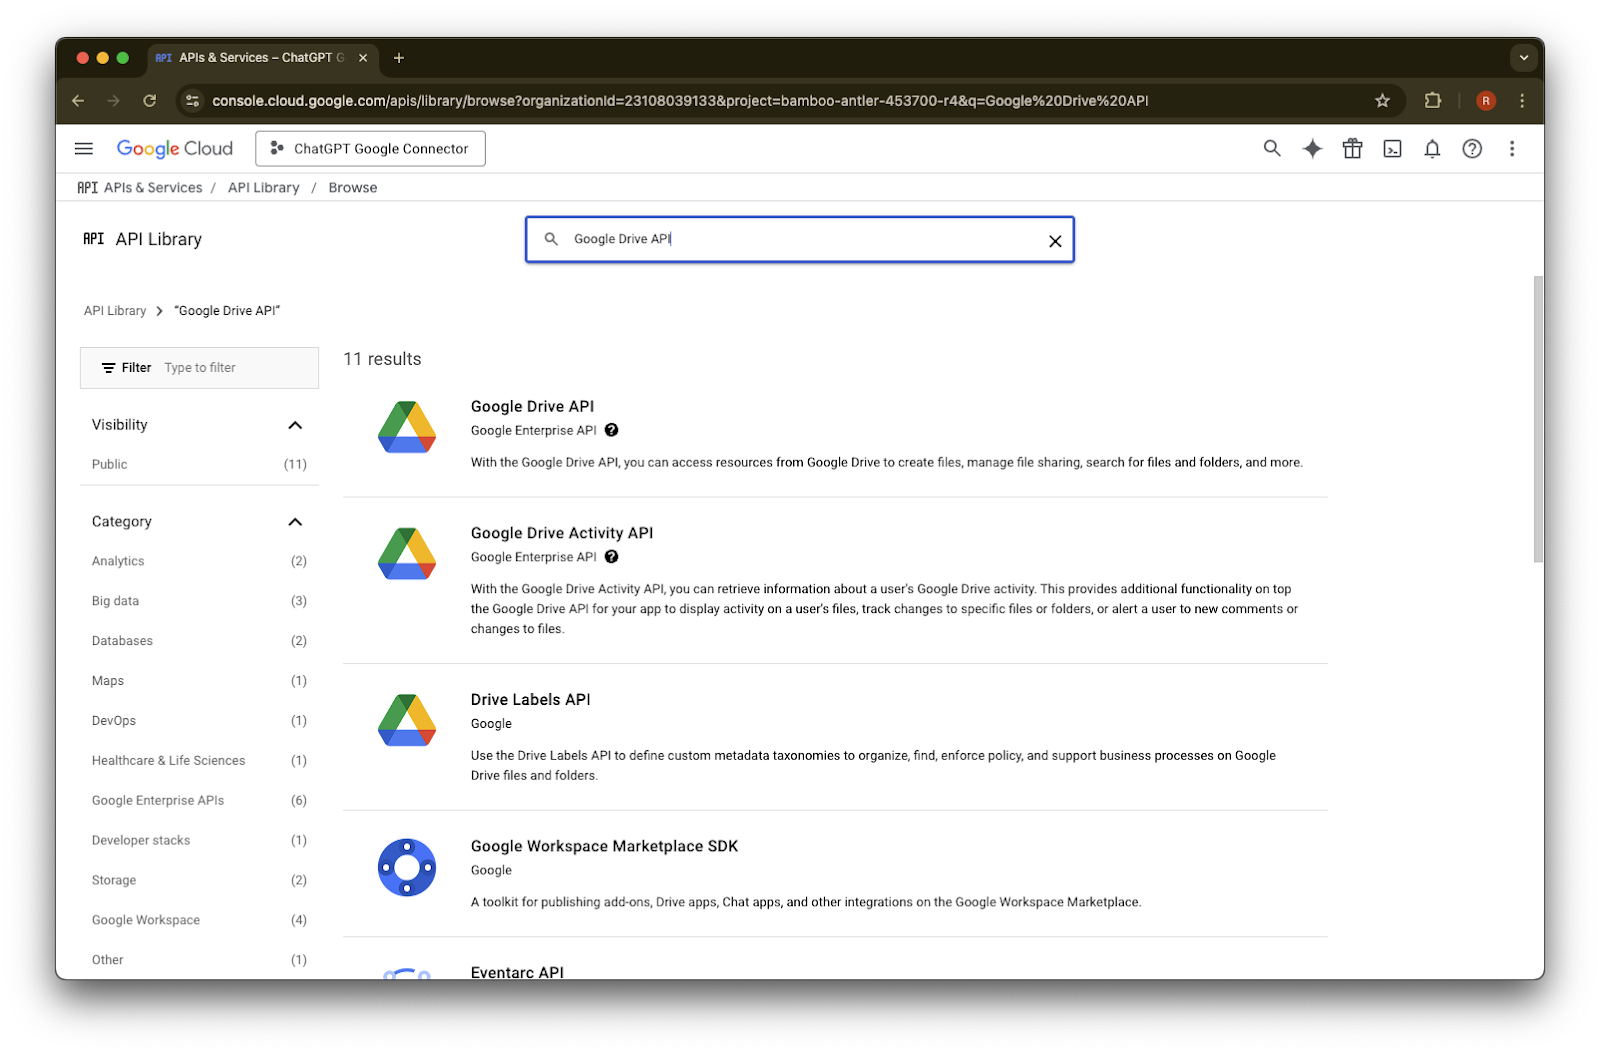
これから 3 つの API を追加します。検索ボックスを使って探してください
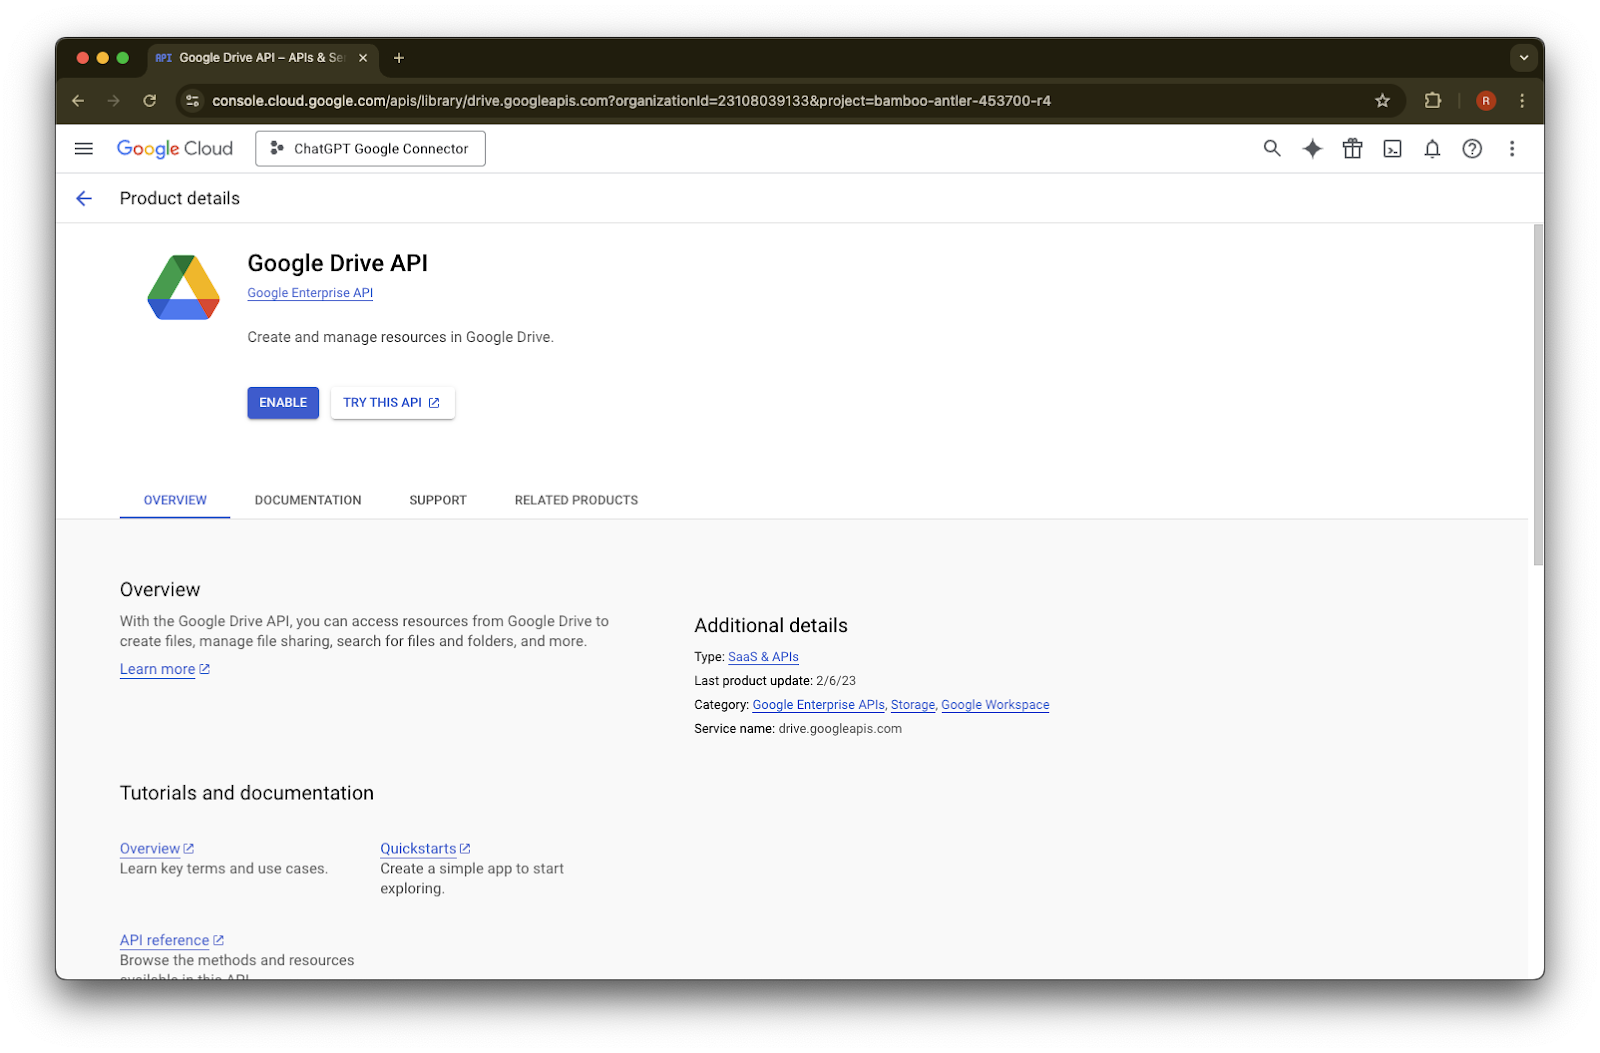
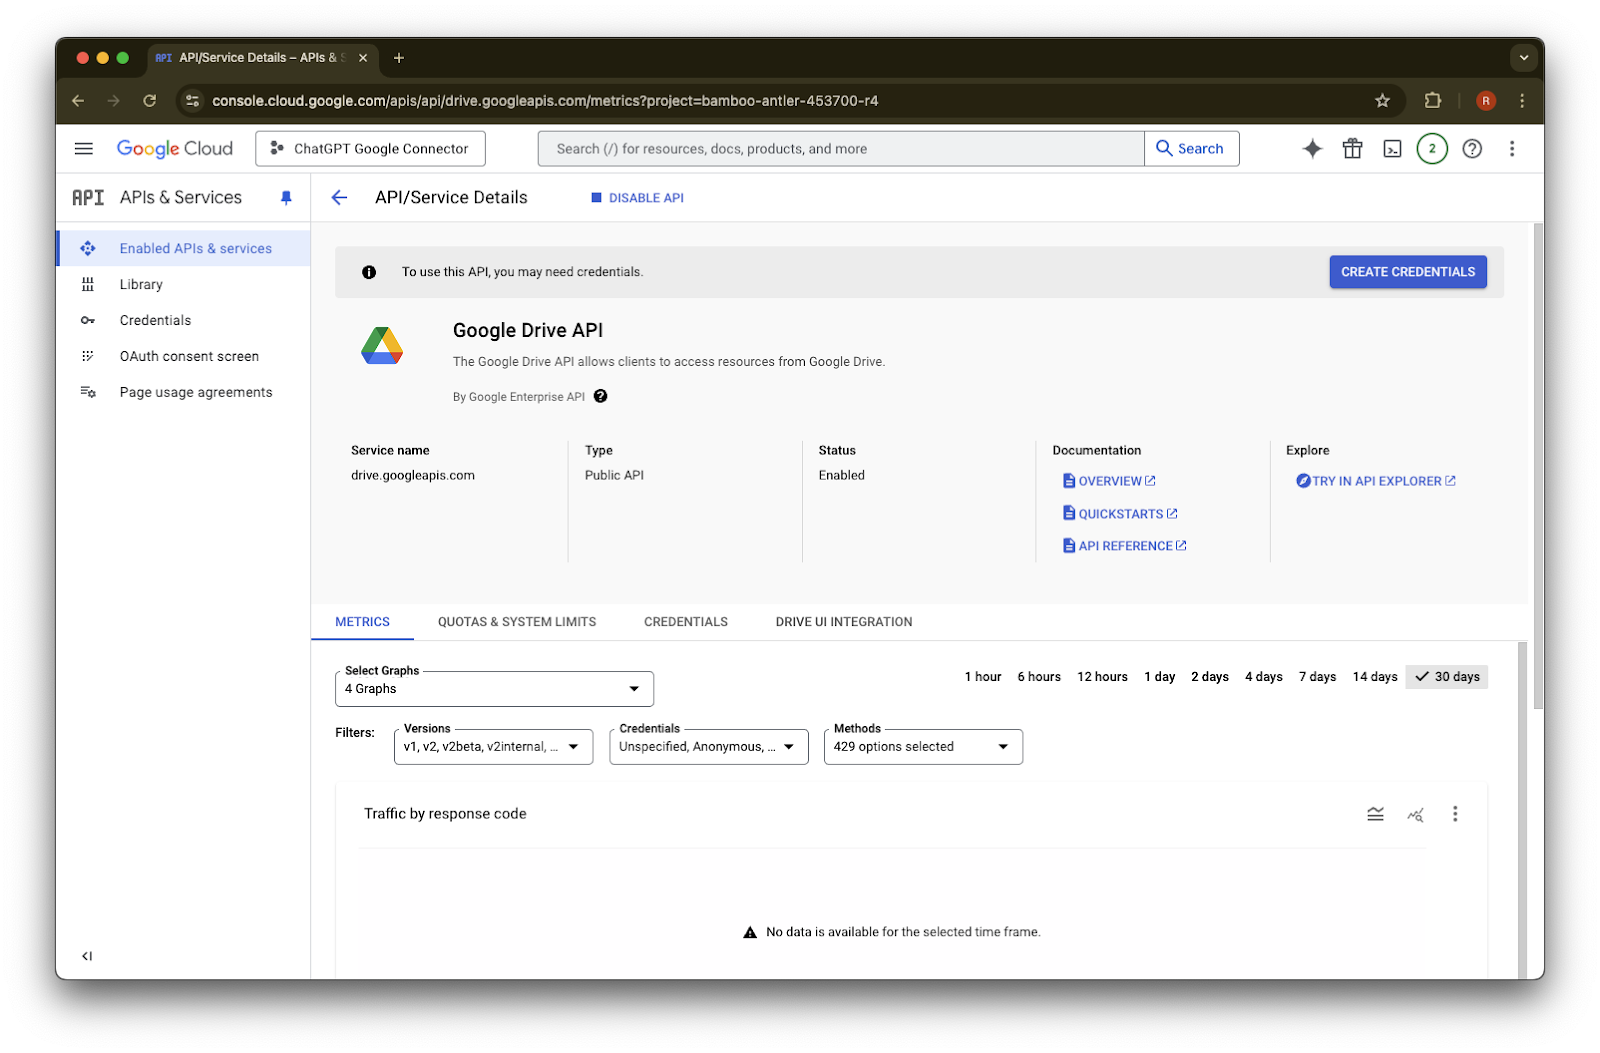
Google Drive API を検索して選択します
Enable をクリックします
Library をクリックします
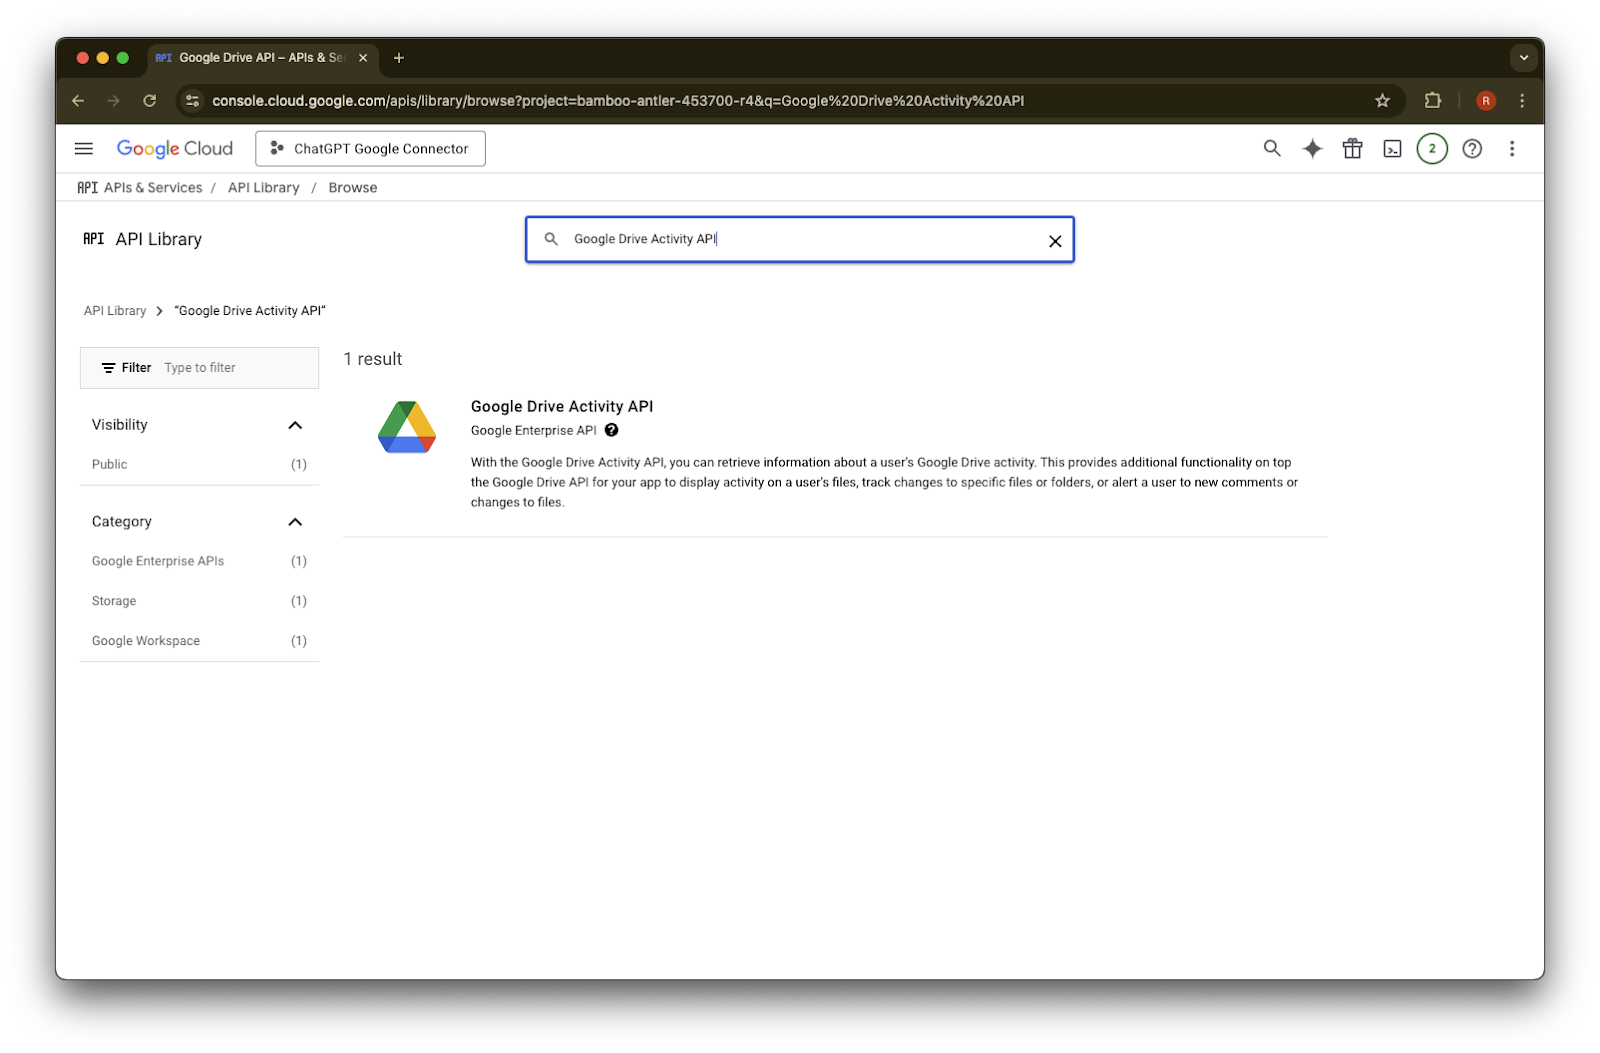
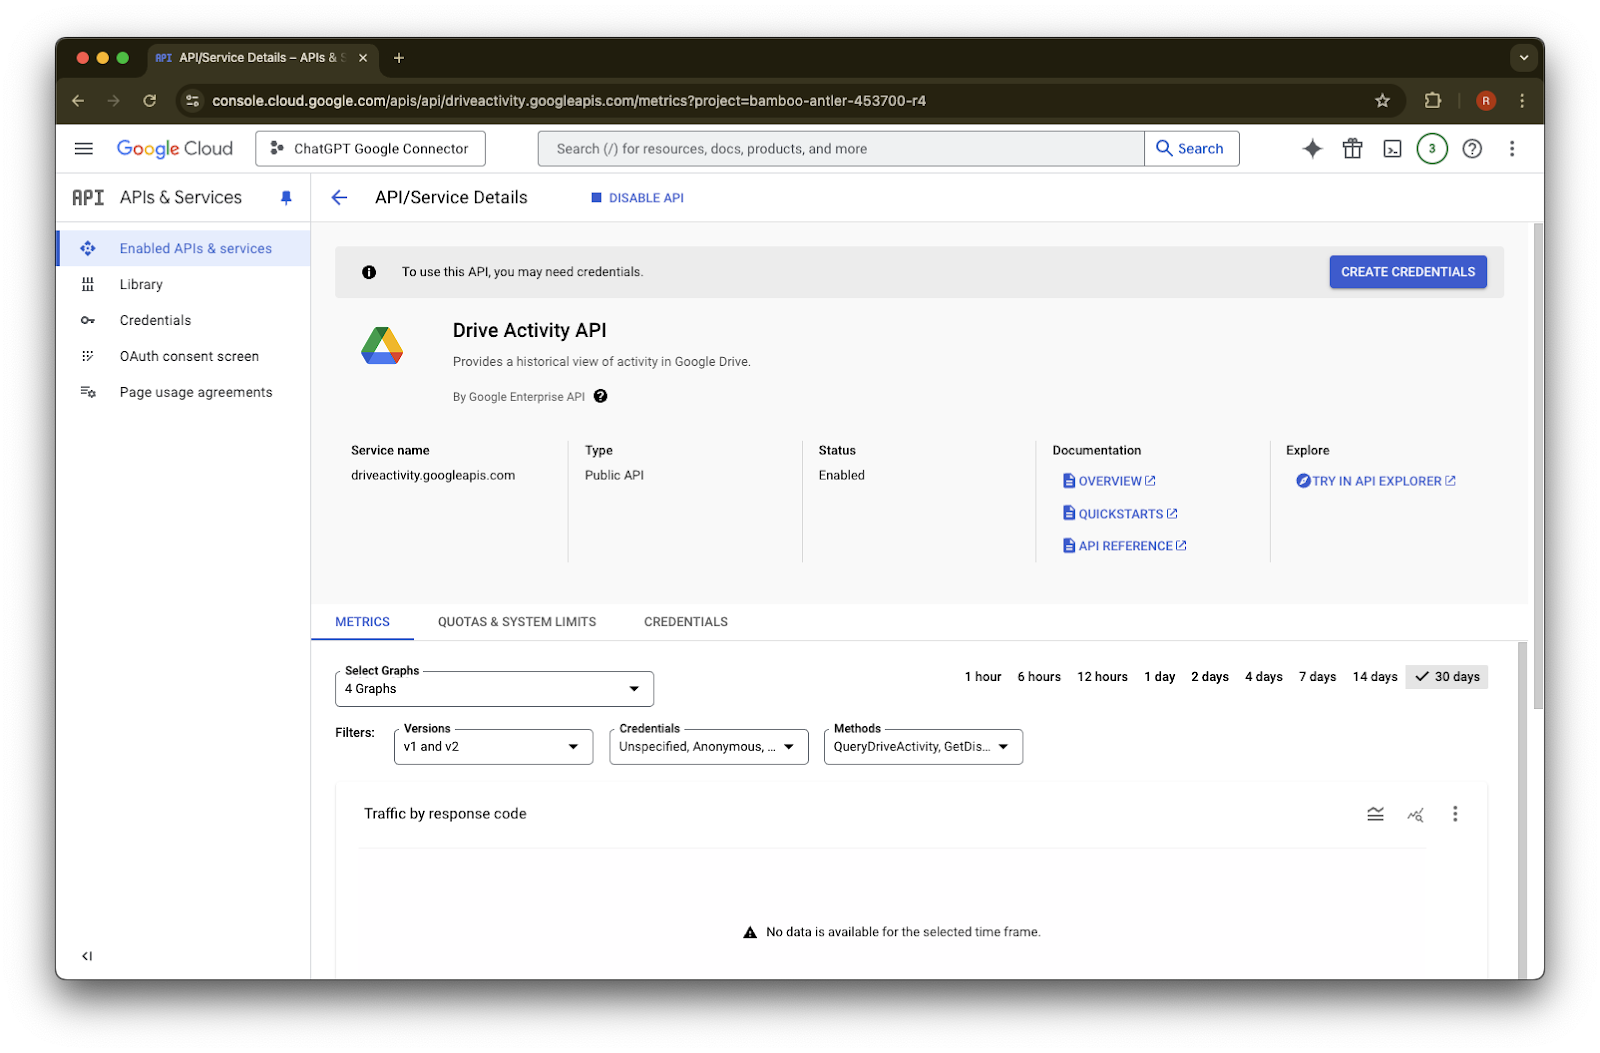
Google Drive Activity を検索します
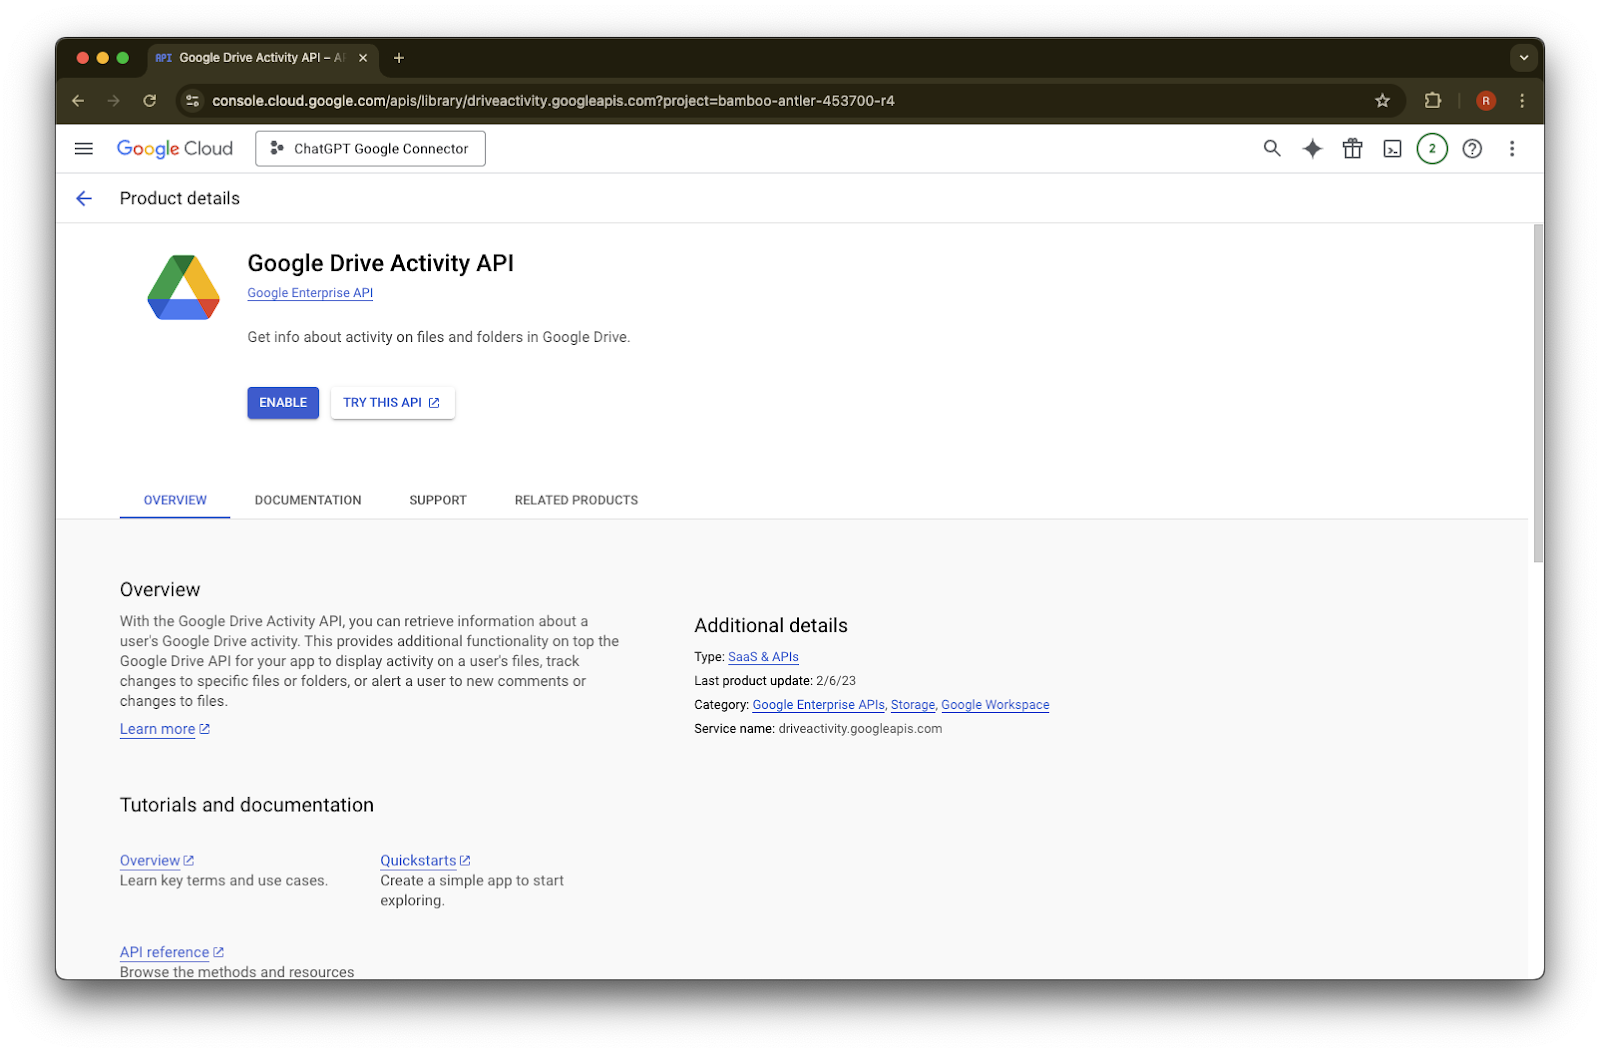
Google Drive Activity API を選択します
Enable をクリックします
Library をクリックします
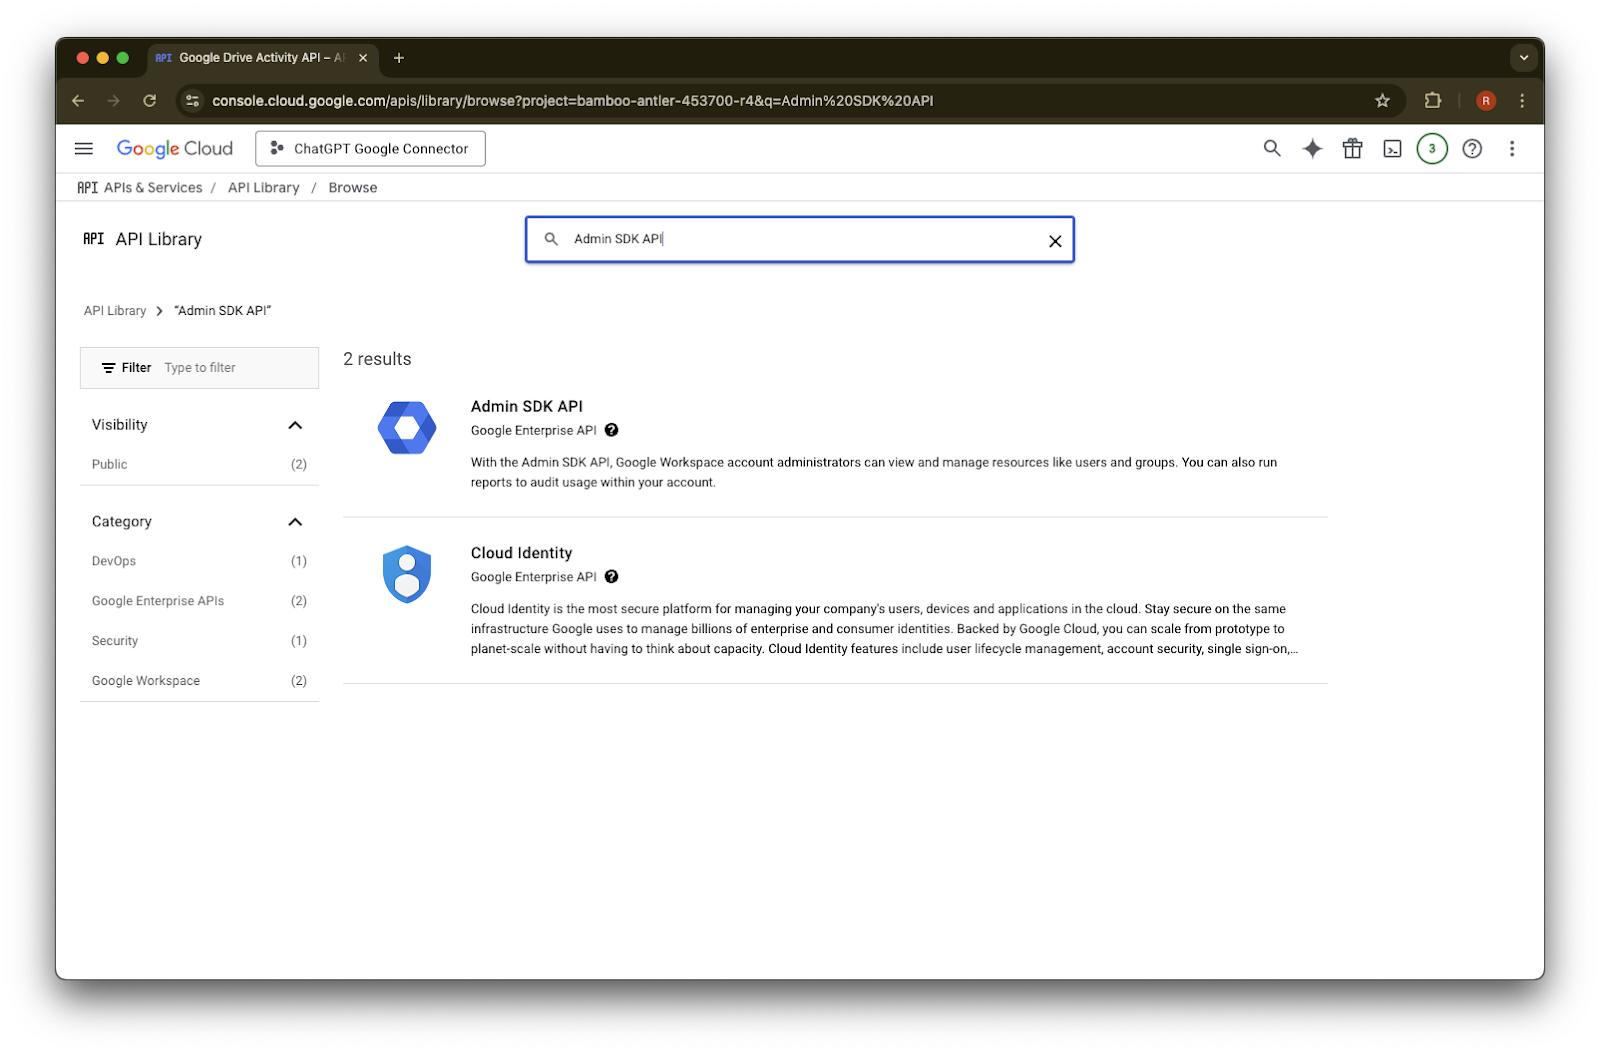
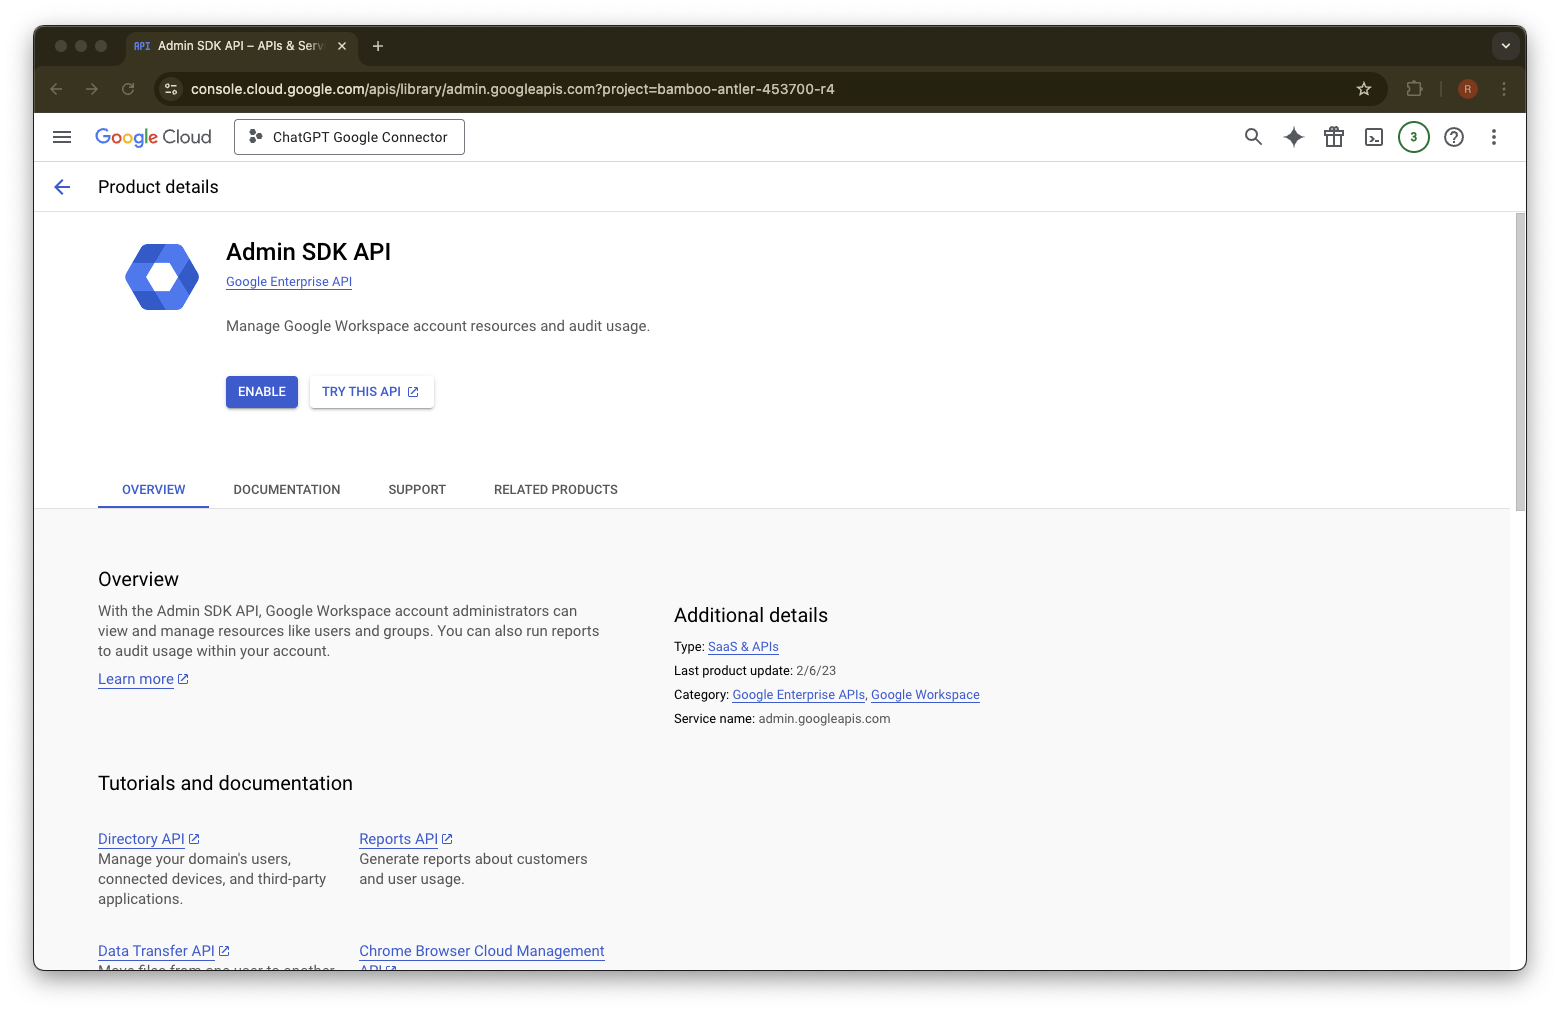
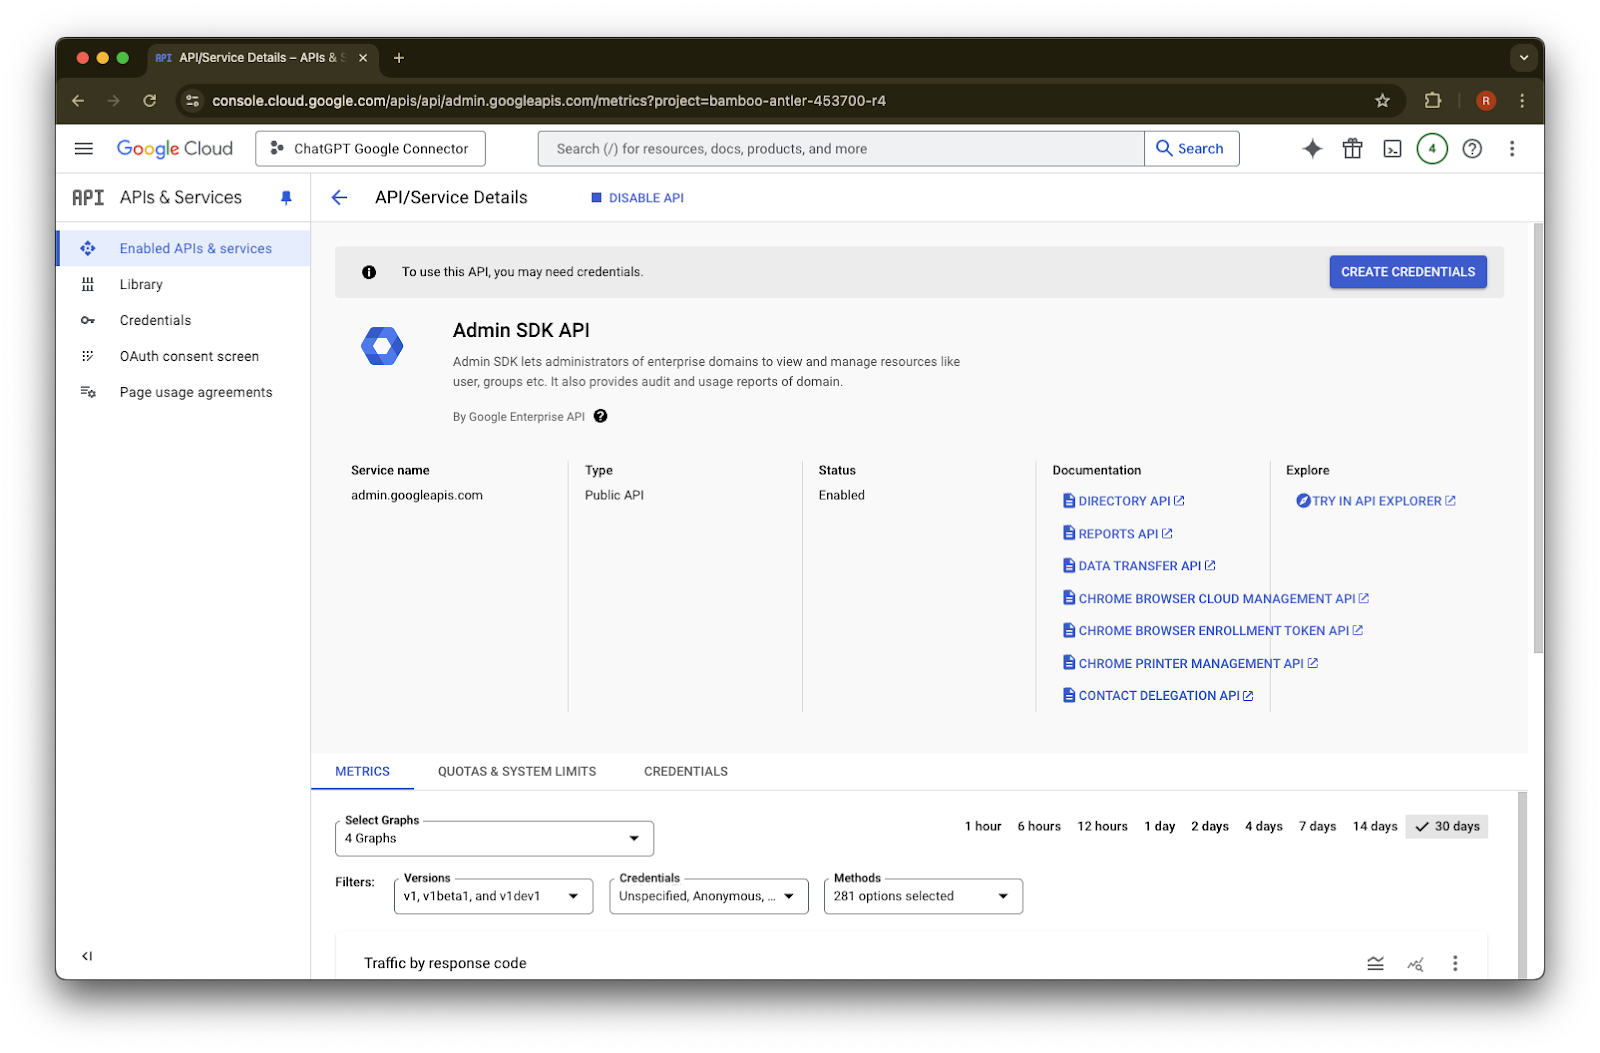
Admin SDK API を検索します
Admin SDK API
を選択しますEnable をクリックします
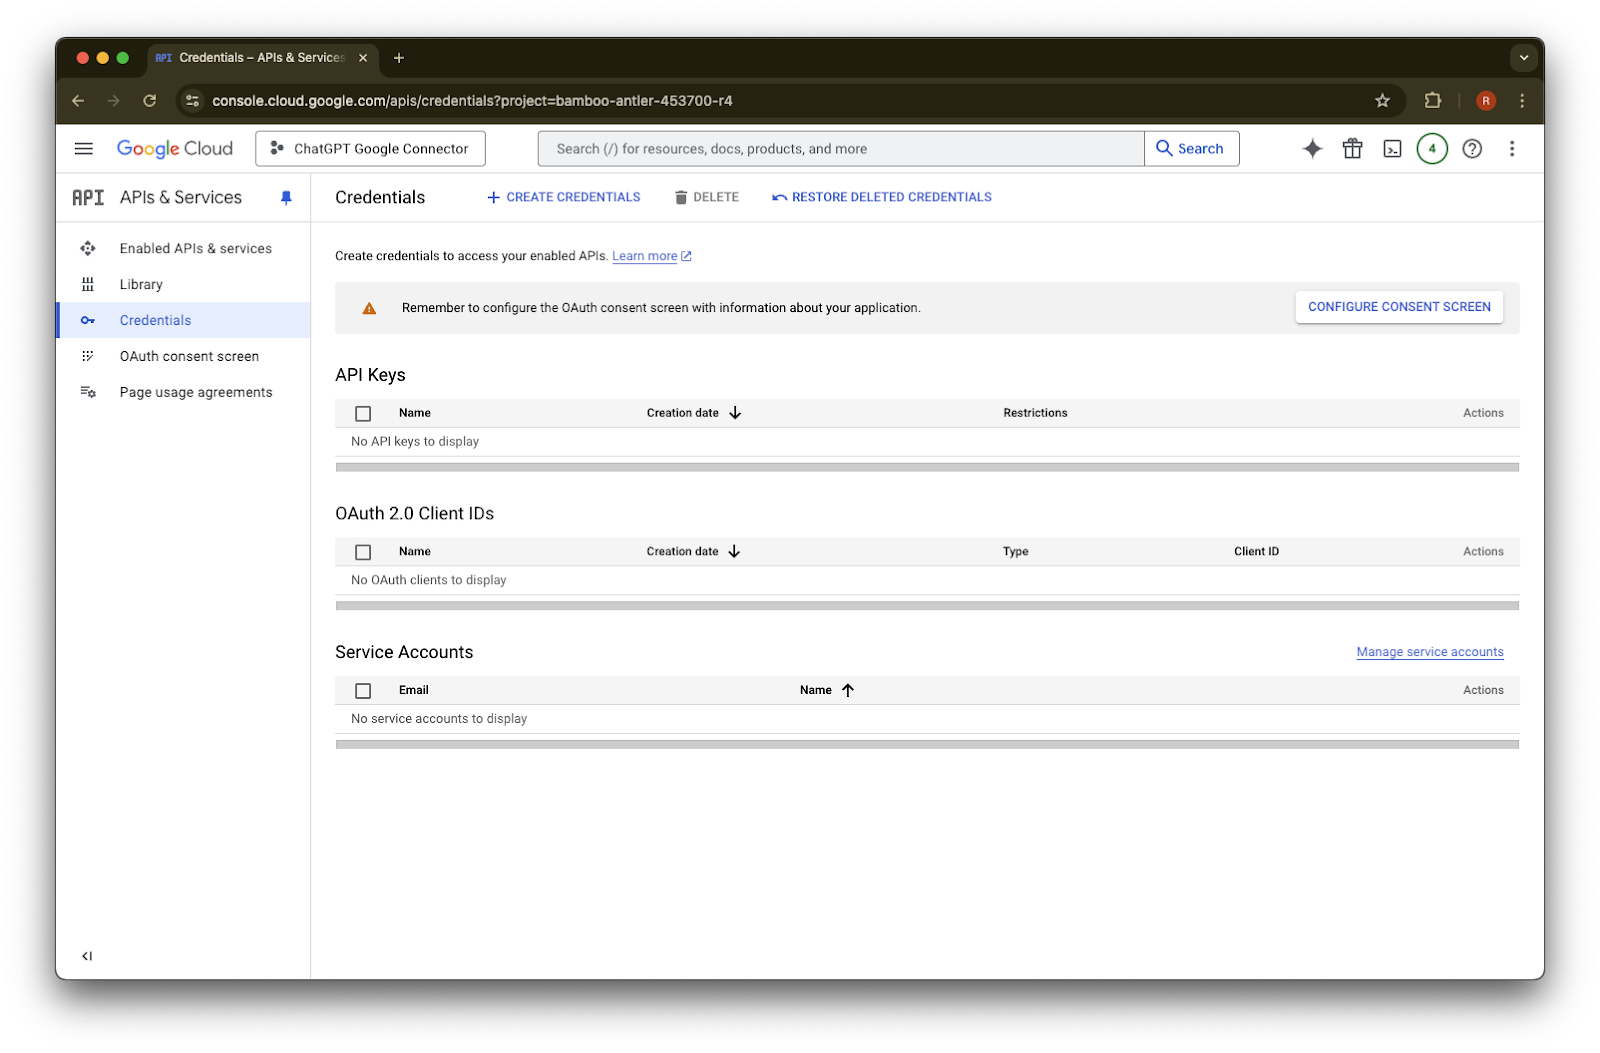
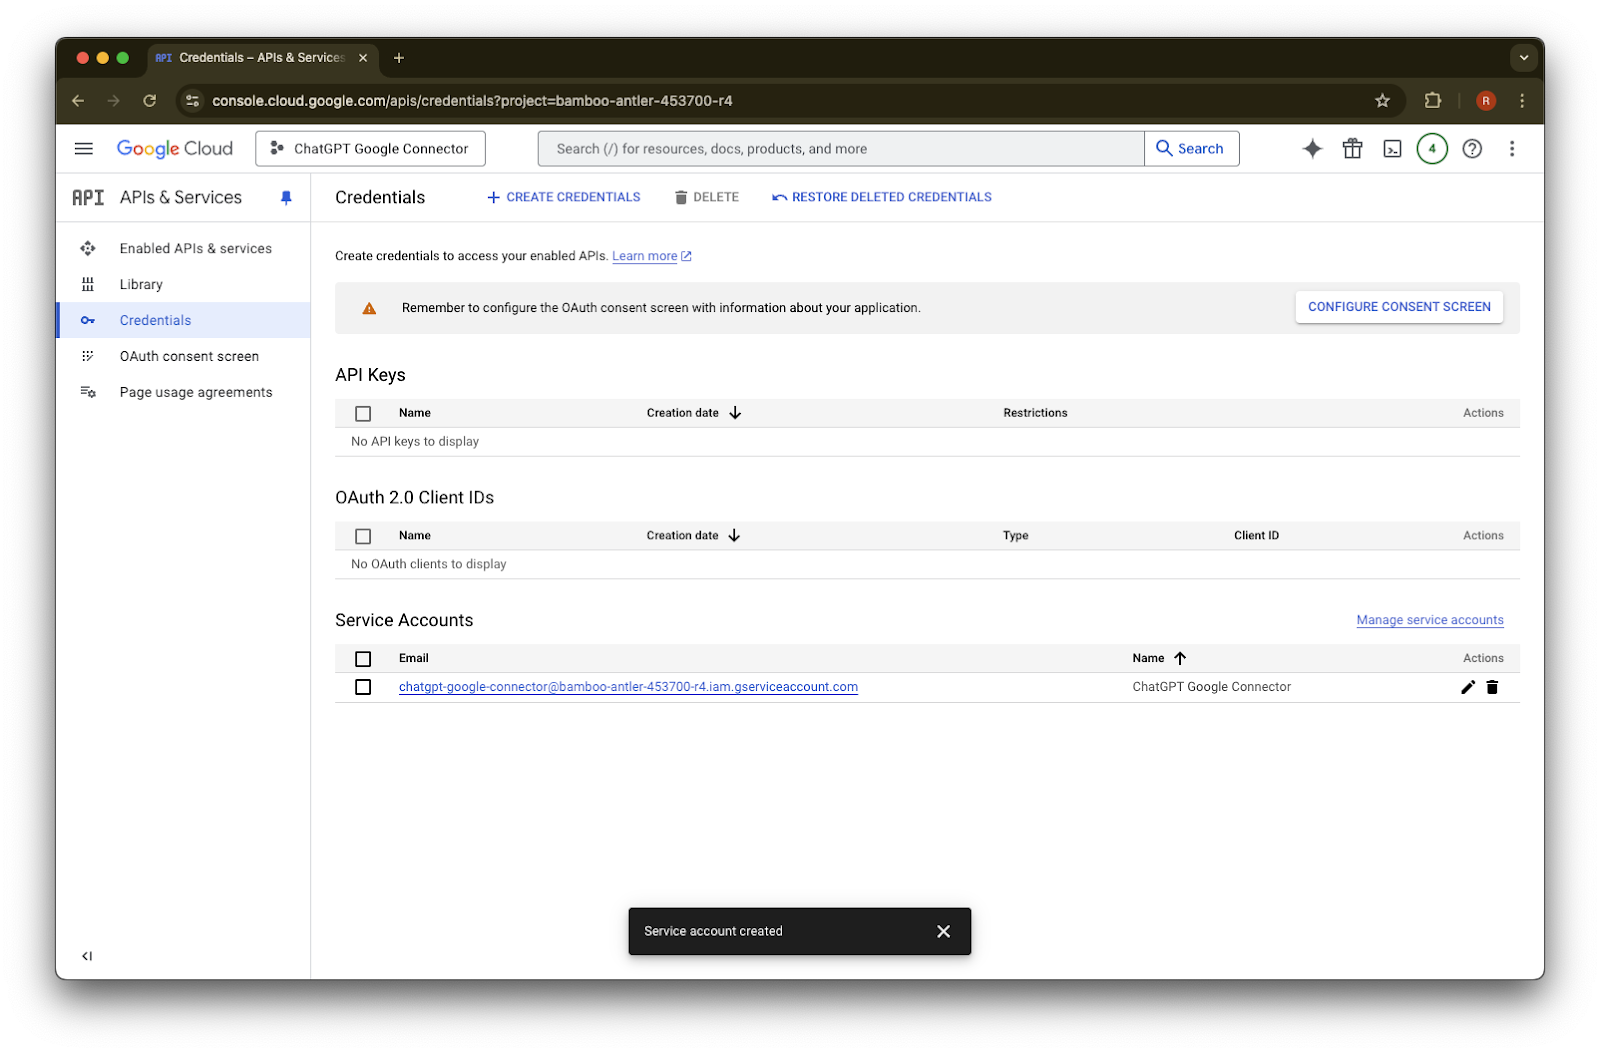
Credentials をクリックします
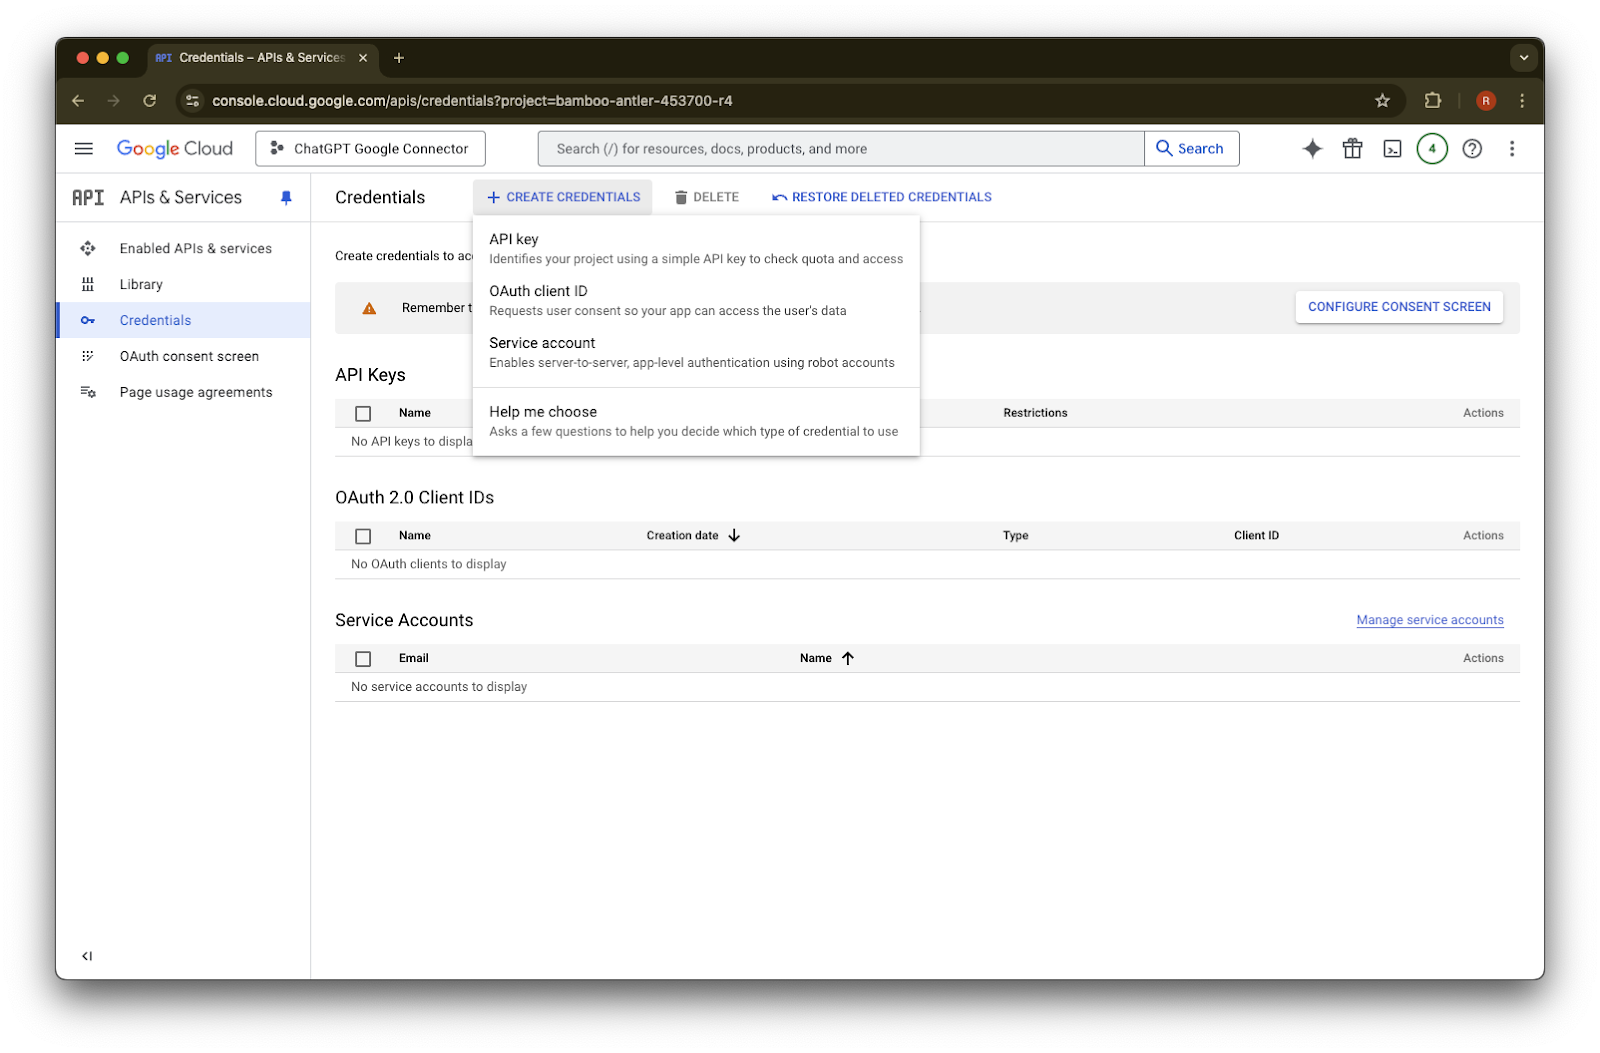
Create Credentials をクリックします
Service account をクリックします
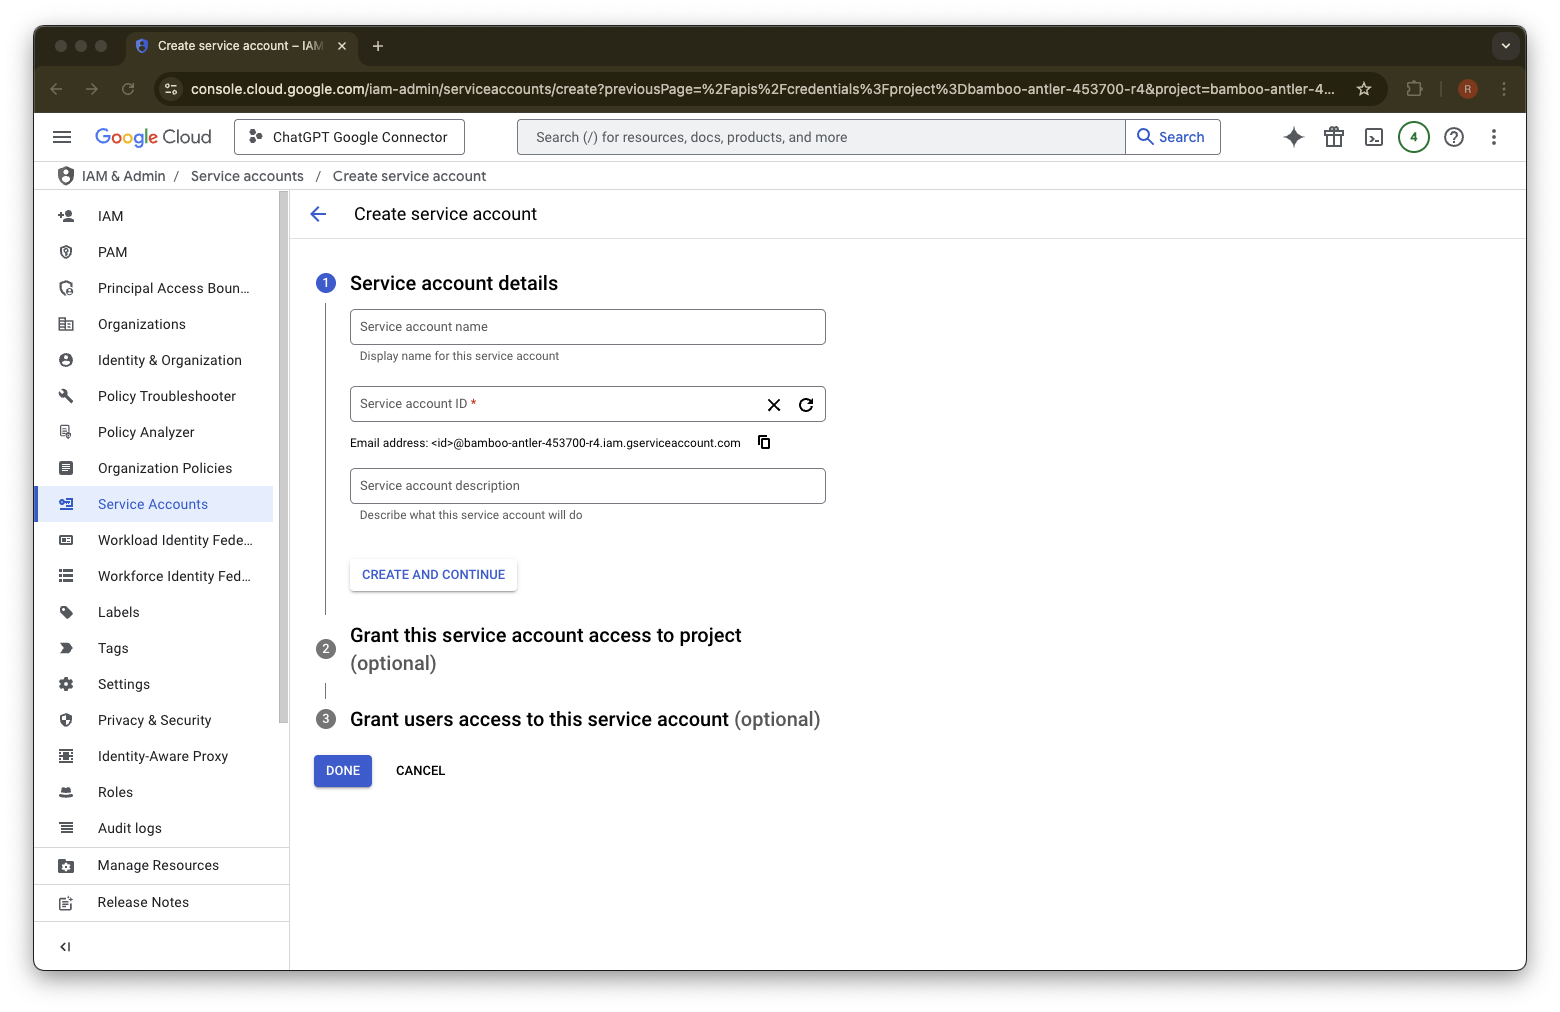
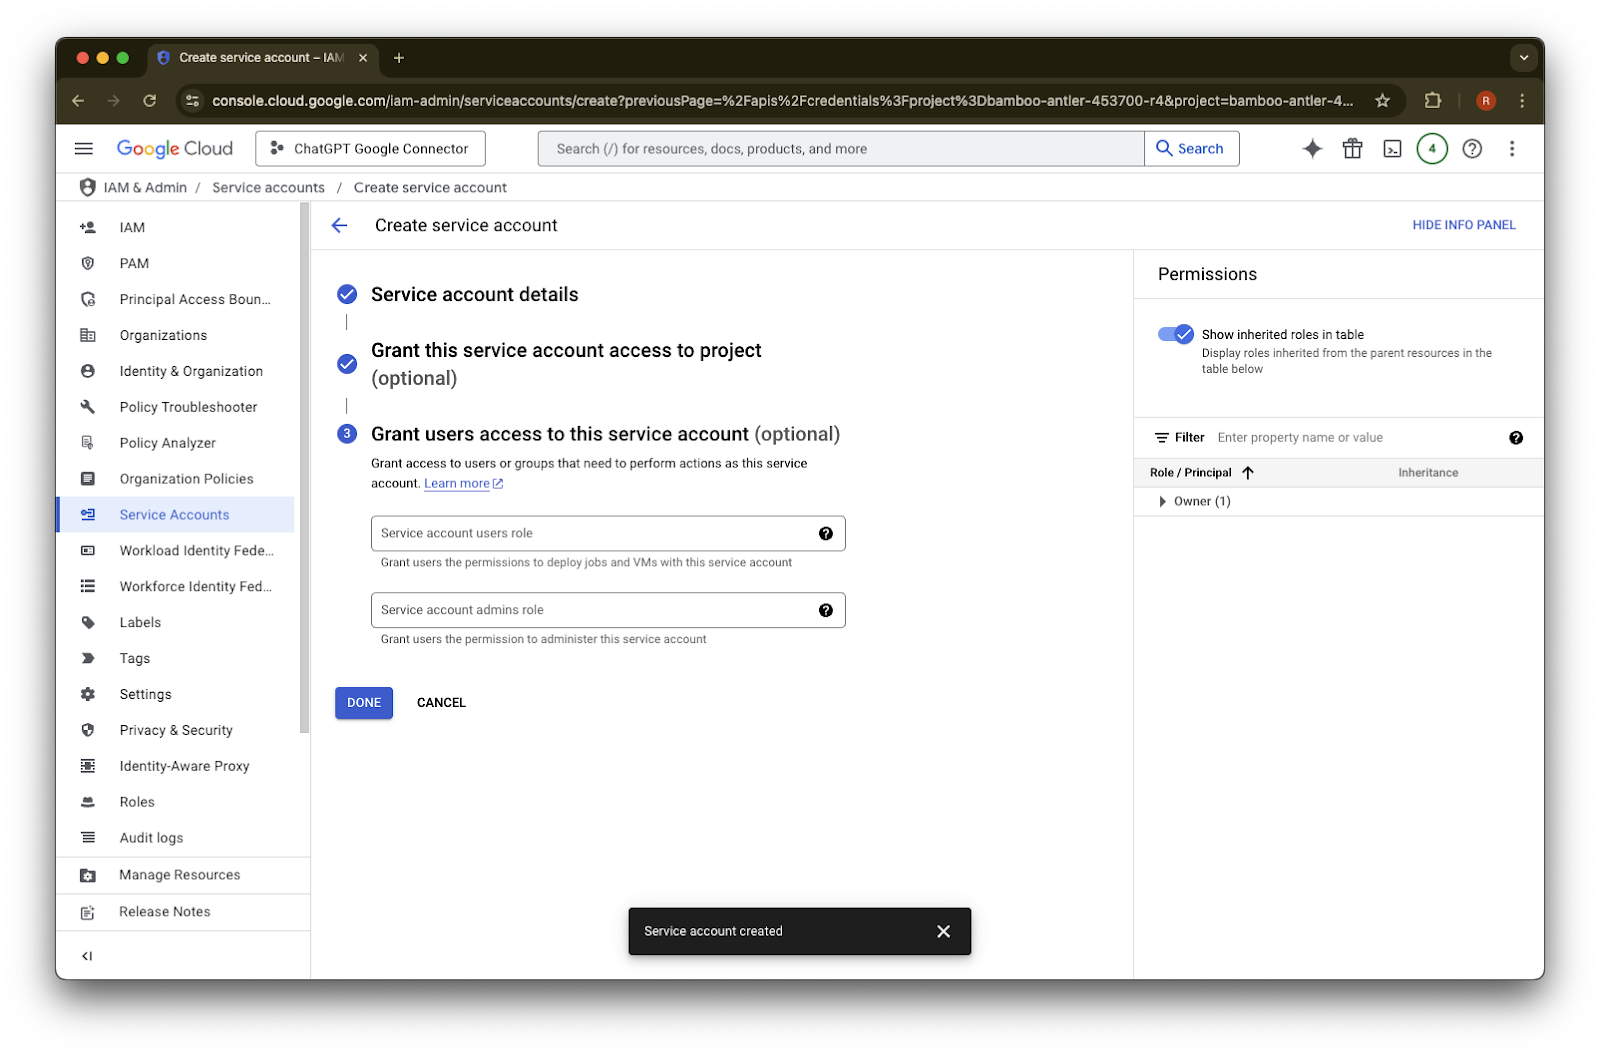
このサービス アカウントの名前と説明を任意で入力します
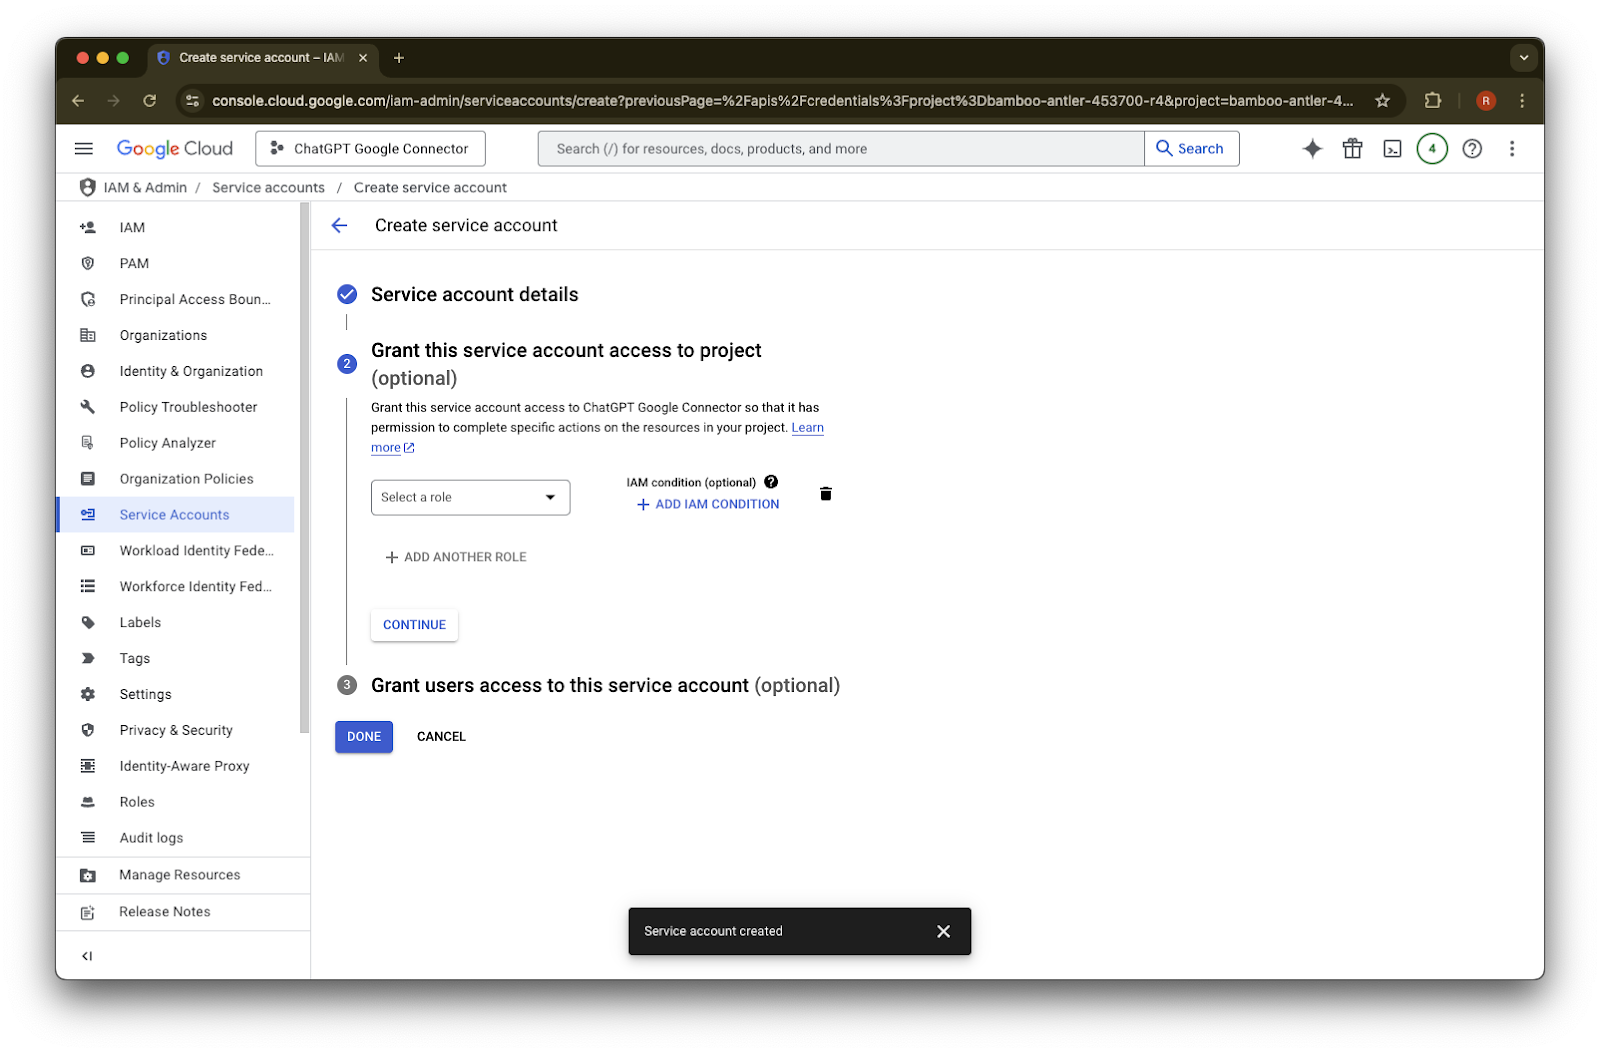
(任意)ロールを割り当てることもできますが、ChatGPT では必須ではありません。
(任意)サービス アカウントへのアクセスを付与することもできますが、ChatGPT では必須ではありません。
Done をクリックします。
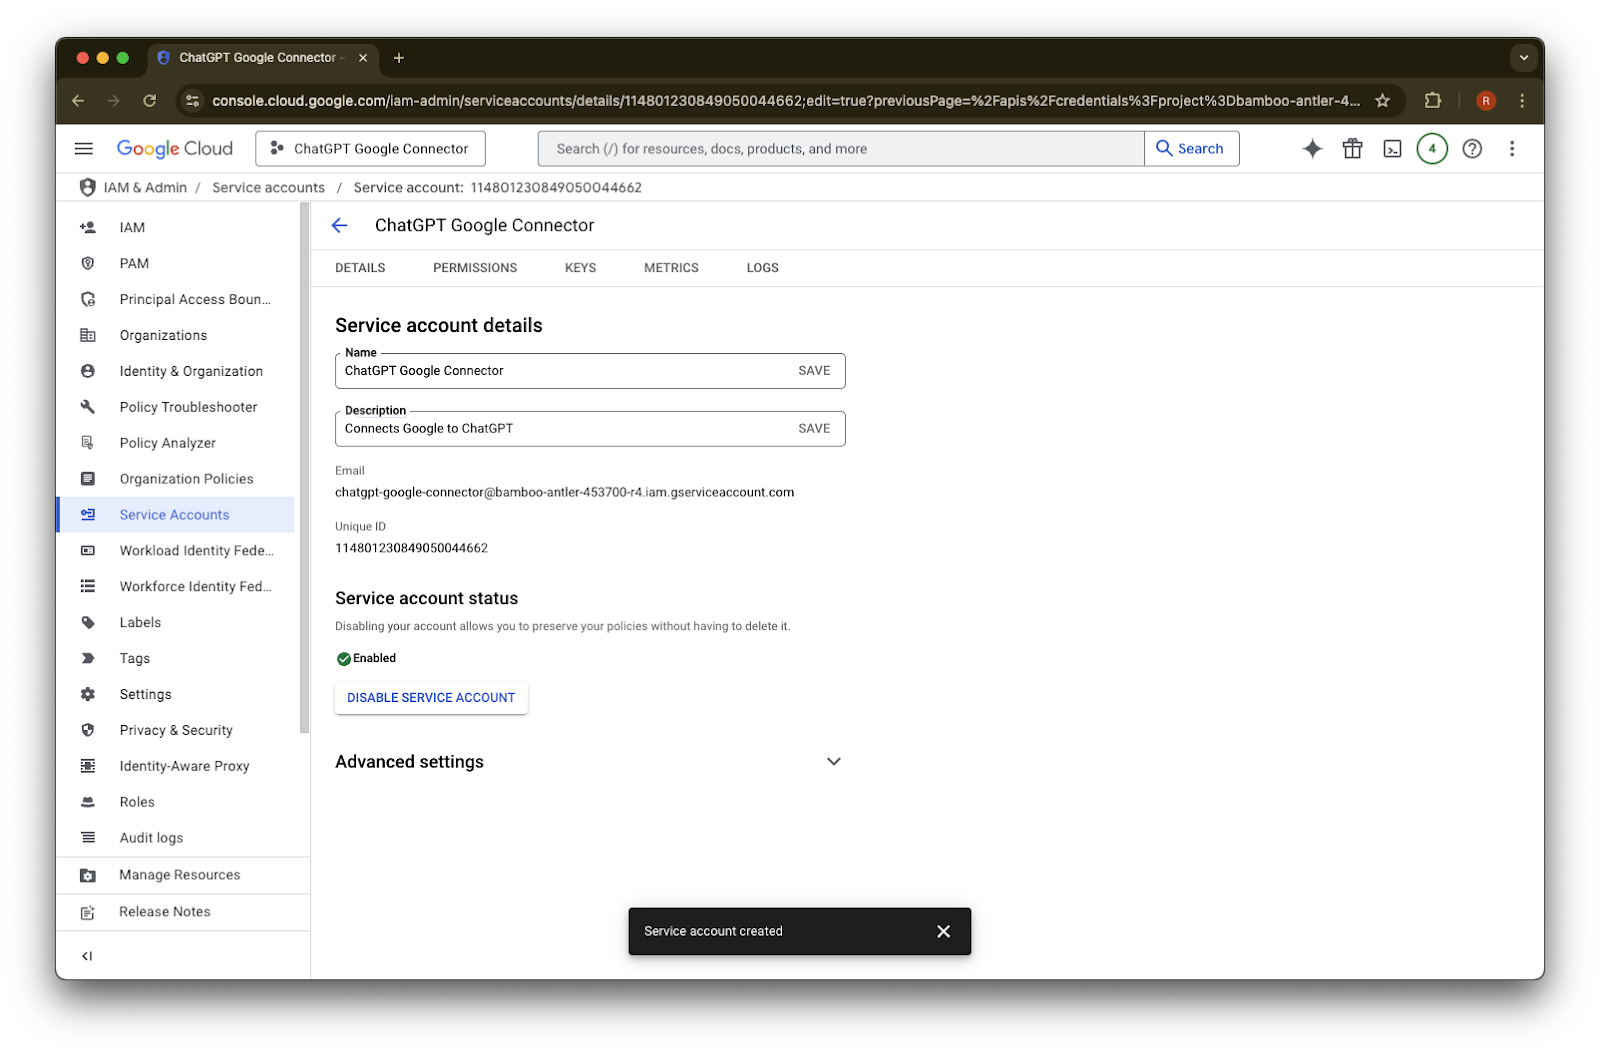
作成されたサービス アカウントをクリックします。
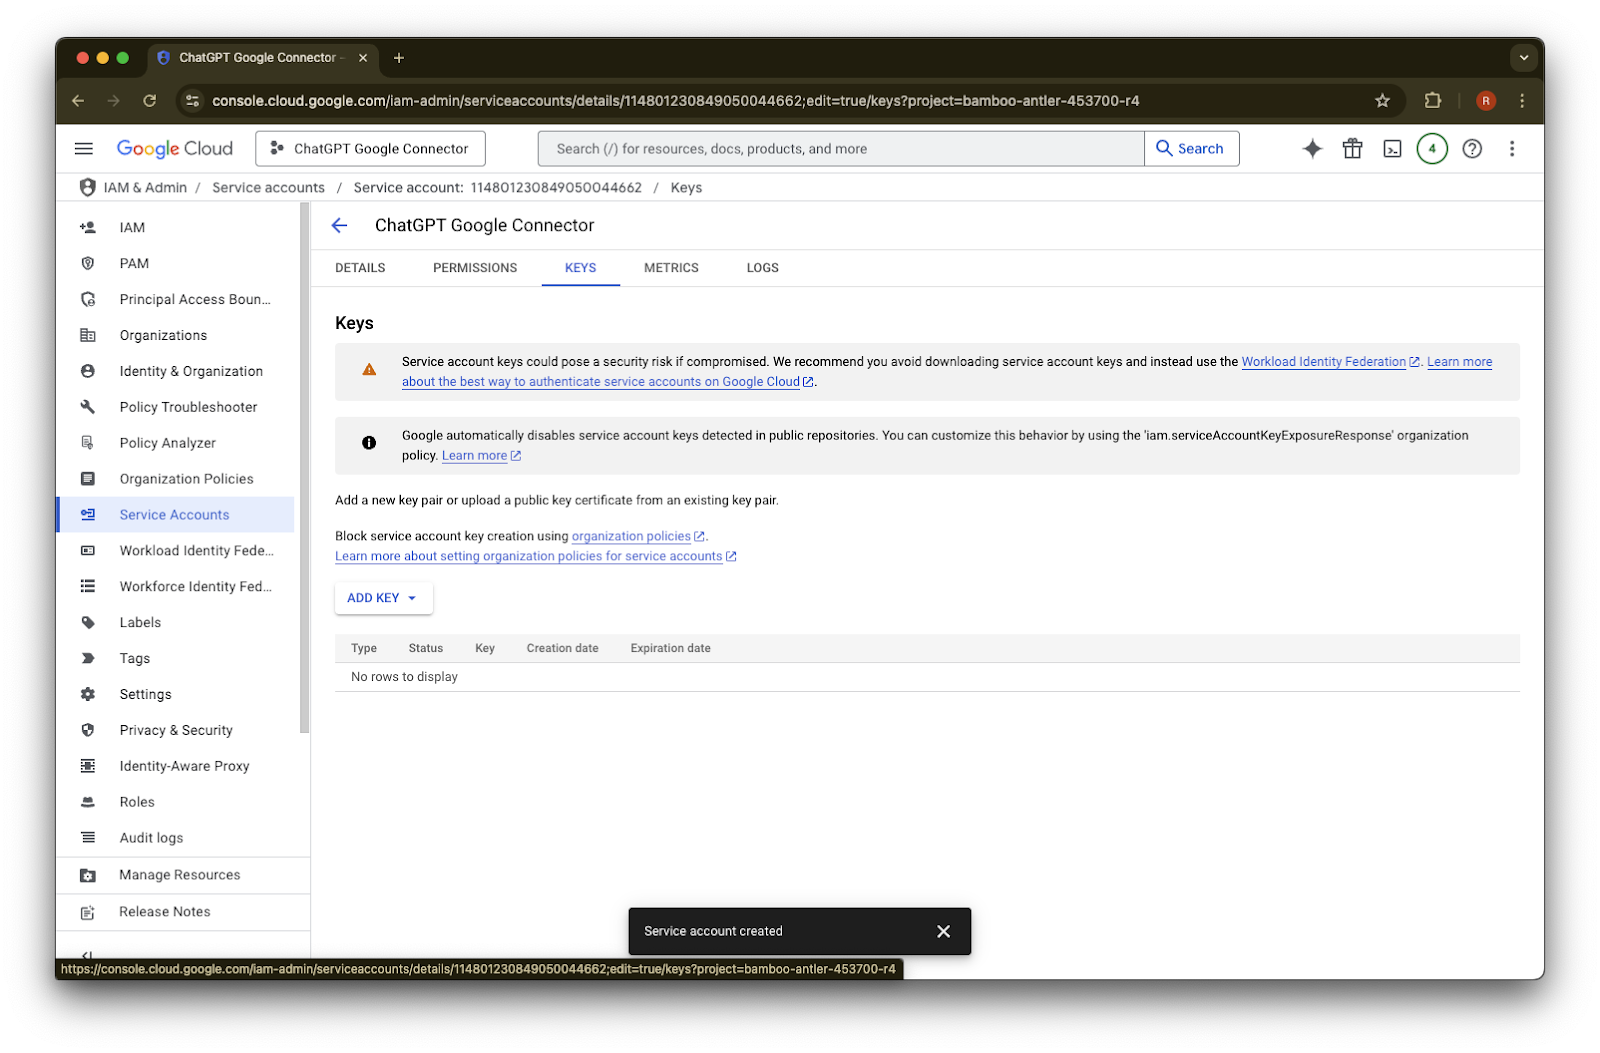
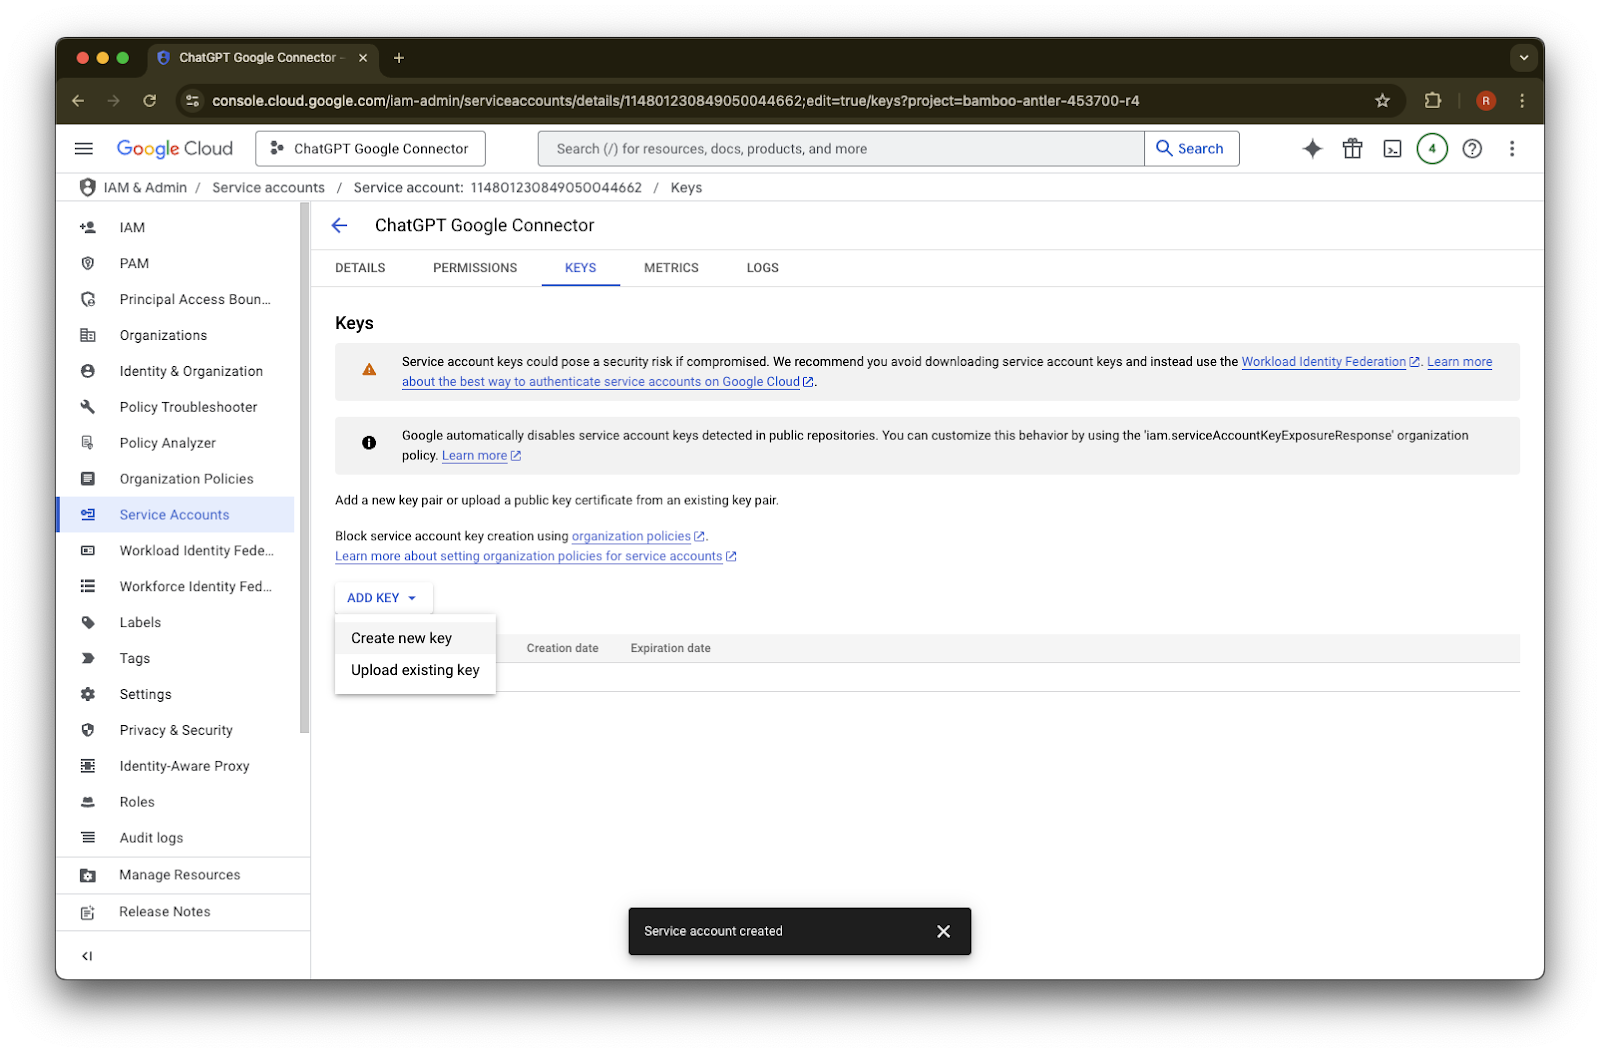
keys. をクリックします
Add Key をクリックします
Create new key をクリックします
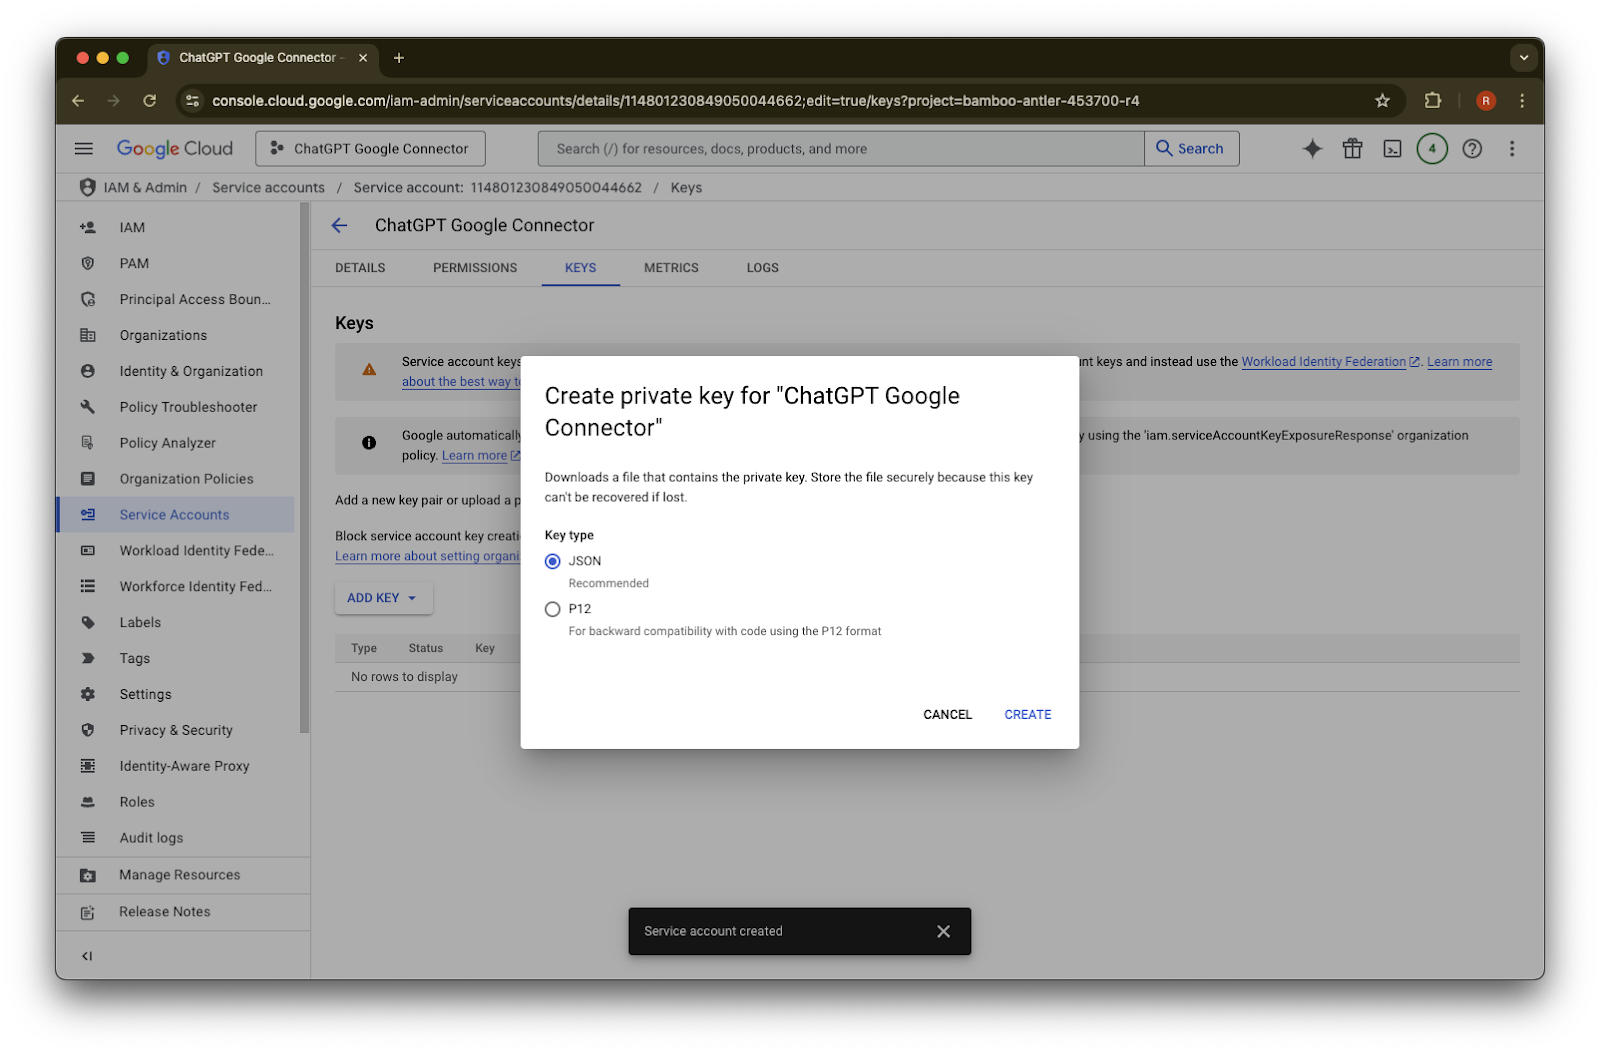
デフォルトの JSON キータイプのままにして、Create をクリックします
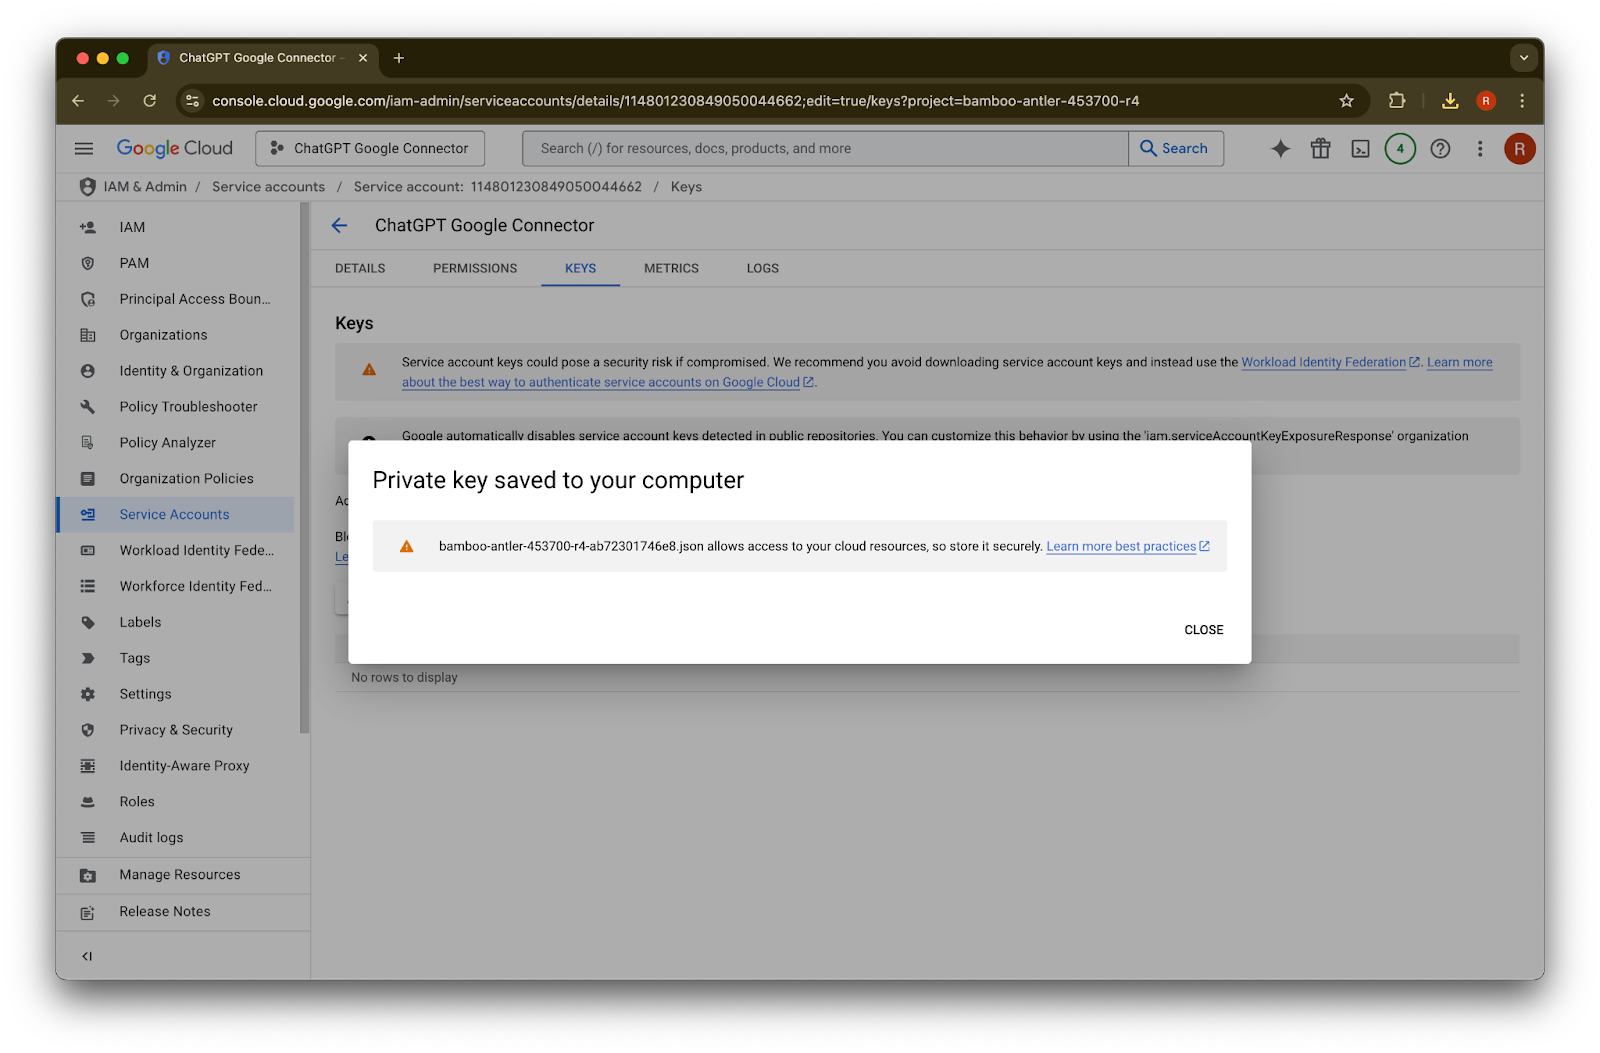
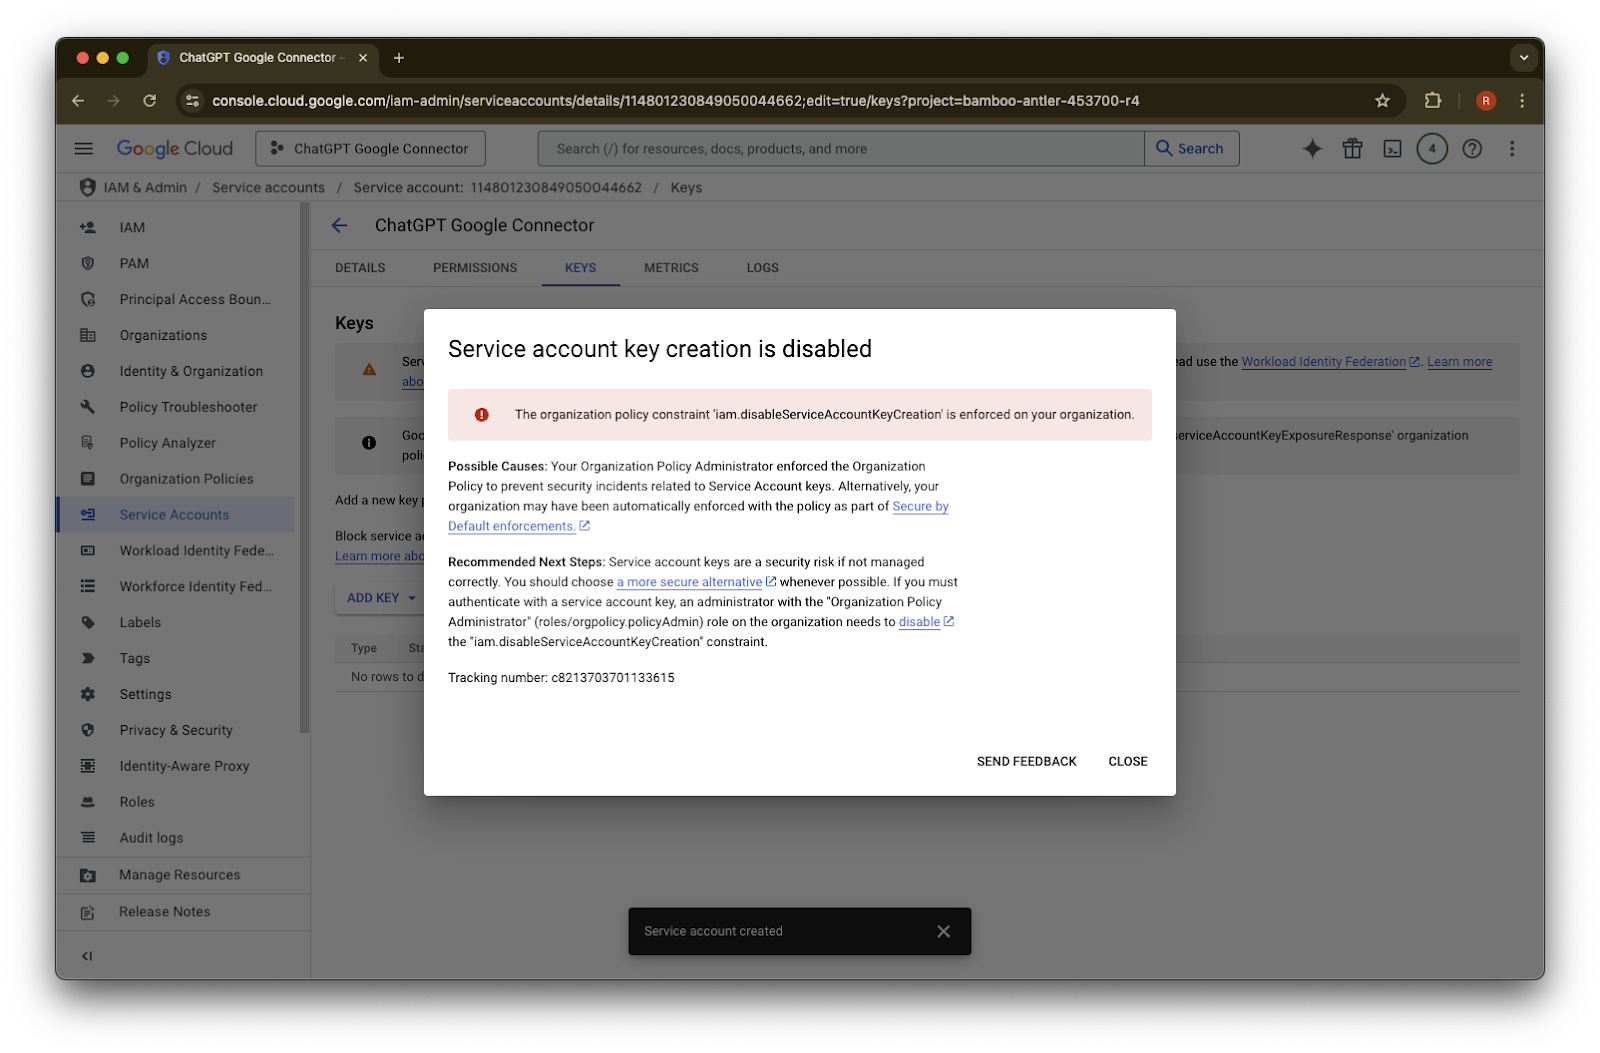
「Service account key creation is disabled」というエラー メッセージが表示された場合は、作成を有効にするためにこちらの手順に従ってください。Close をクリックします。キーがコンピューターにダウンロードされました。後で ChatGPT 管理コンソールにアップロードします。
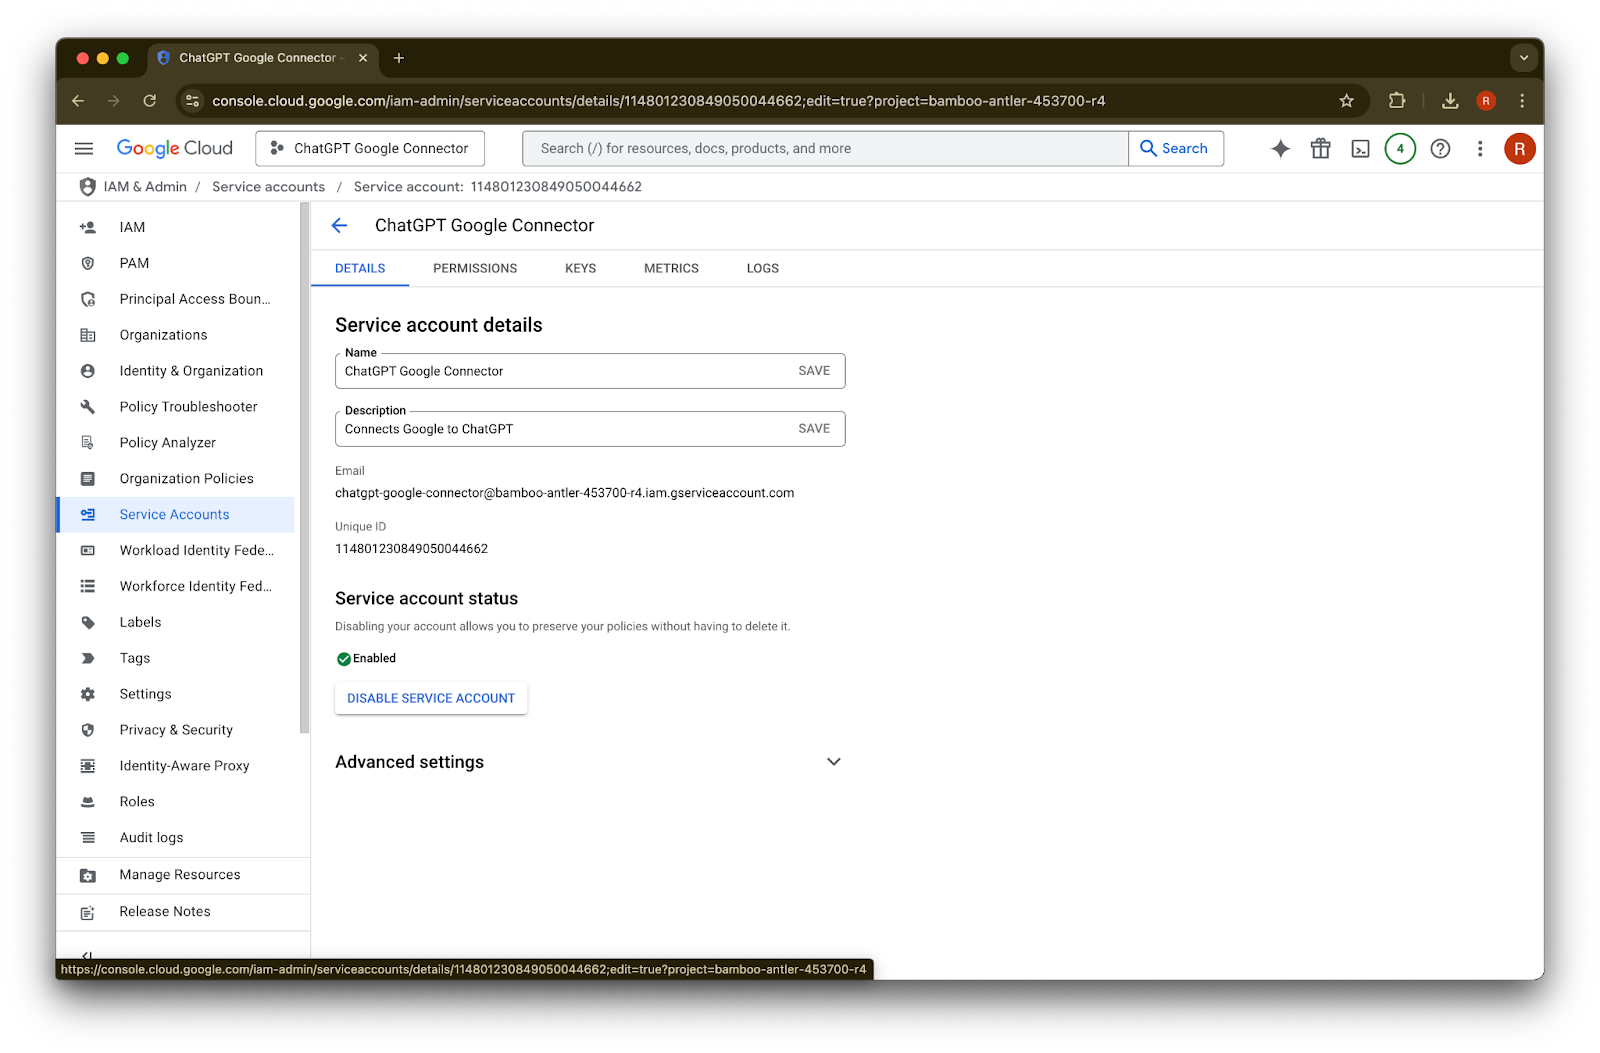
details をクリックします
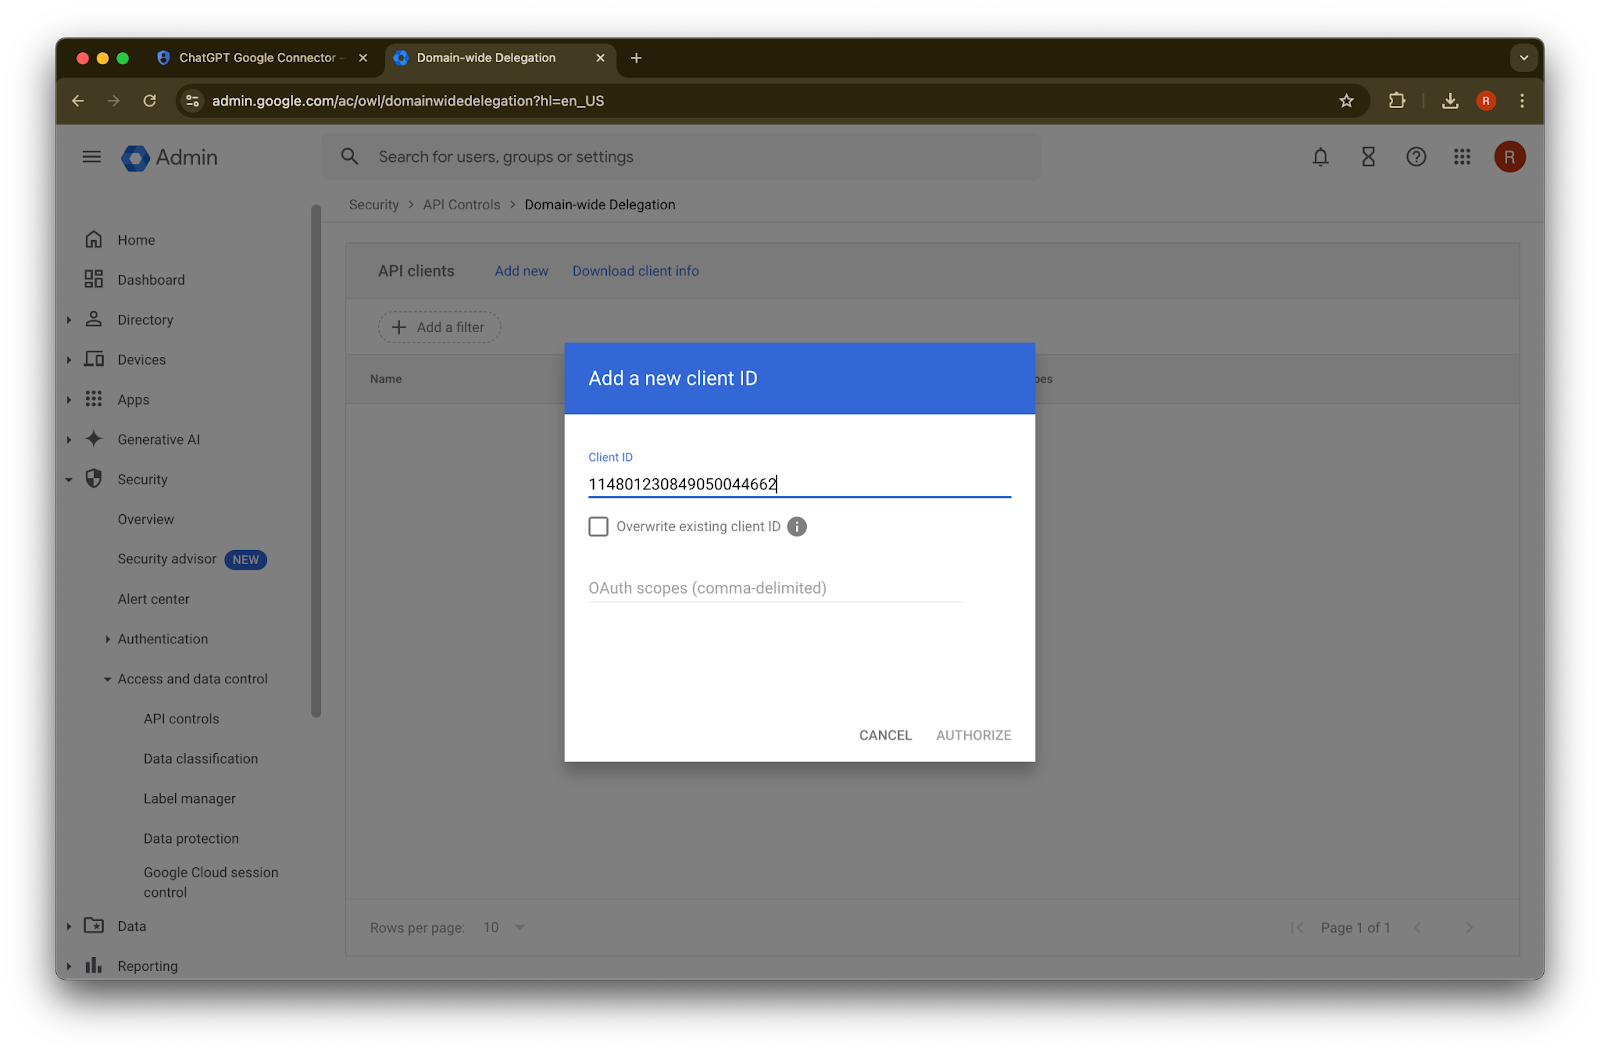
Unique ID をメモしておきます。これは手順 42 で必要になります。
Advanced settings を展開します
下にスクロールして View Google Workspace Admin Console をクリックします。Google Workspace コンソールが新しいタブで開きます。
Show more をクリックします
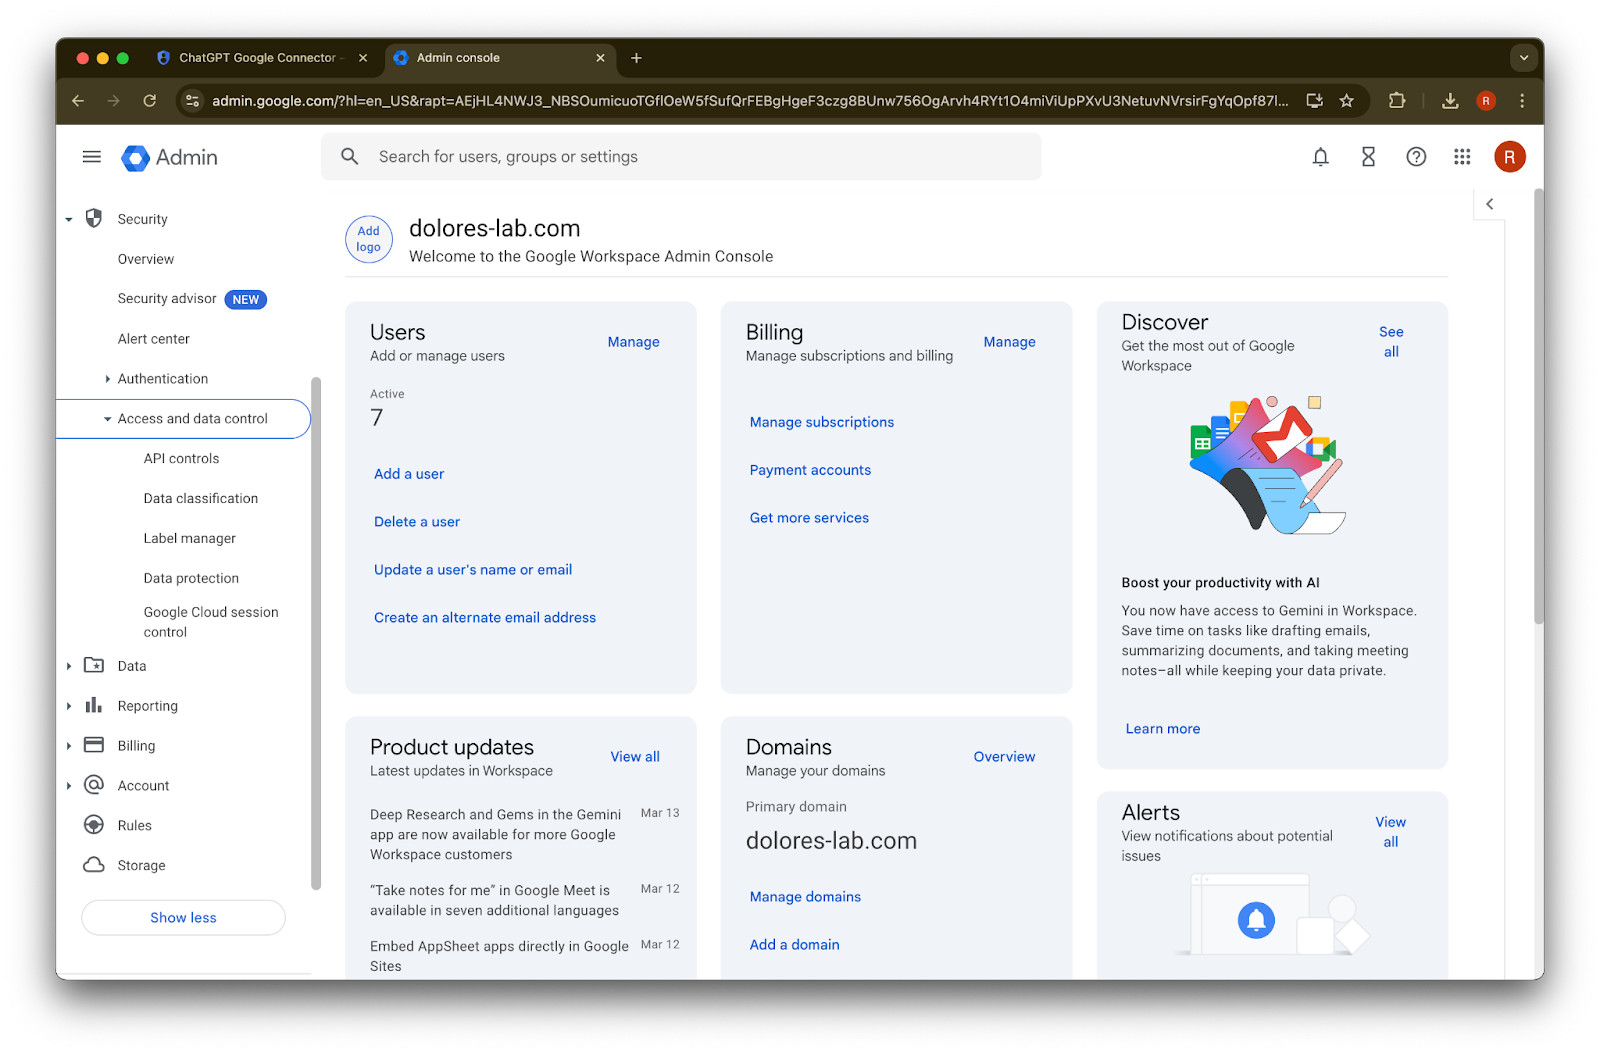
Security セクションを展開します
Access and data controls セクションを展開します
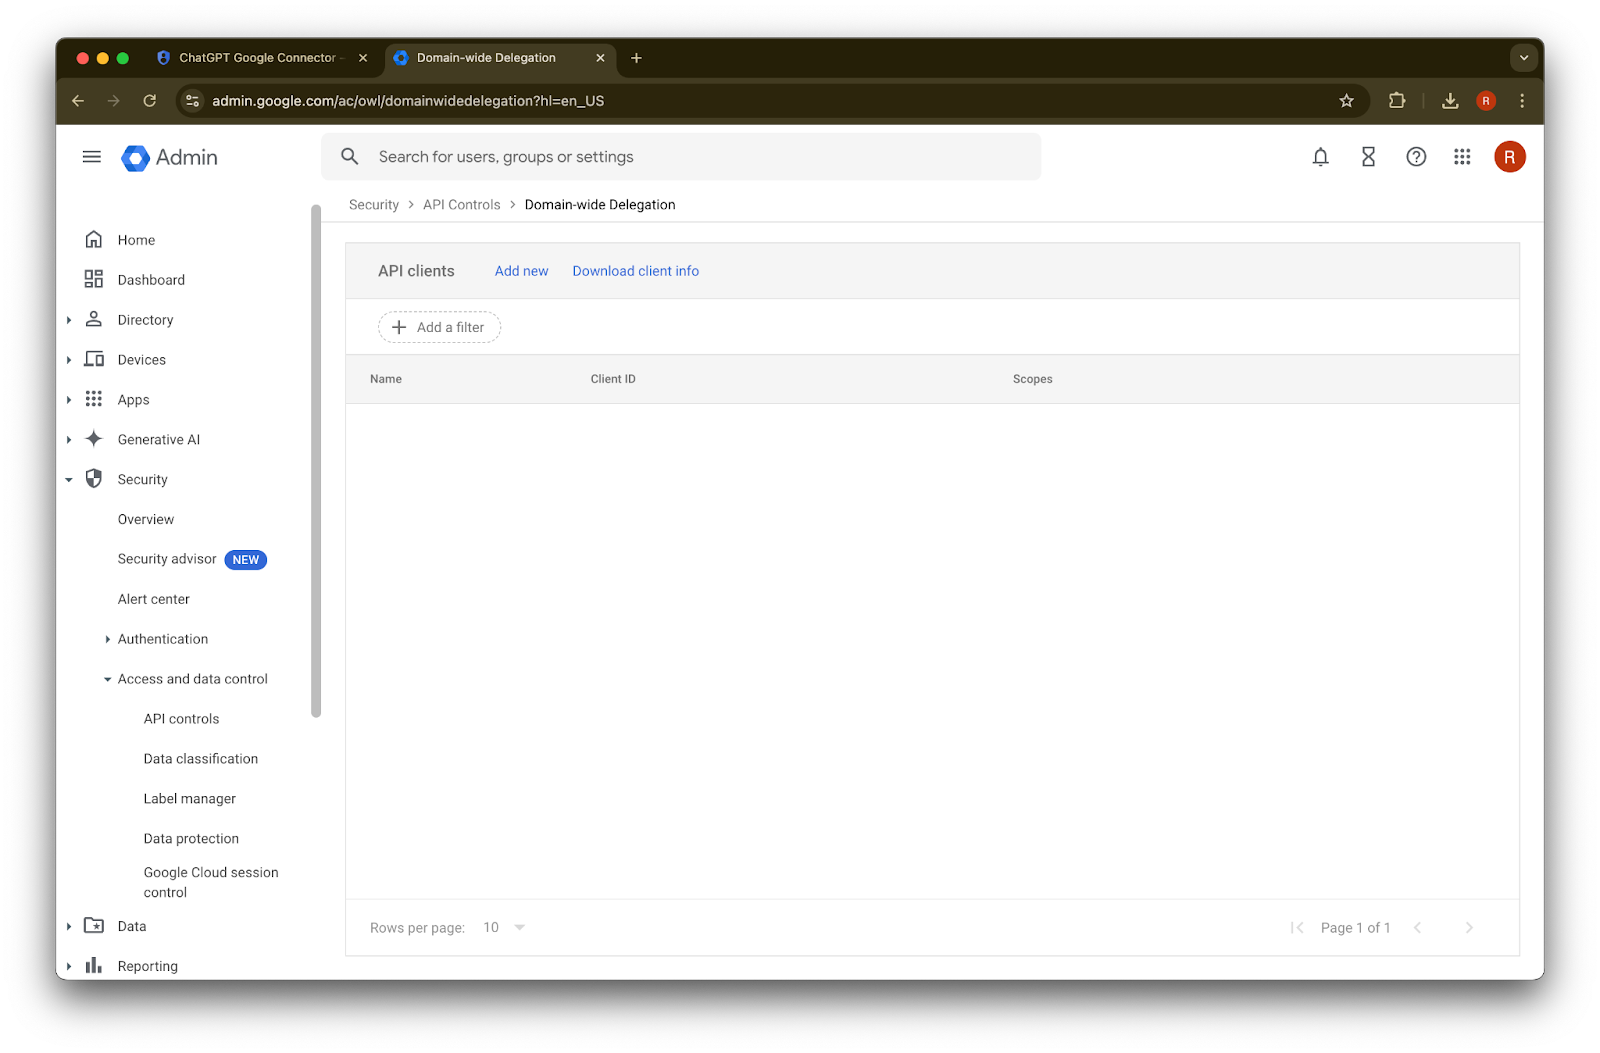
API controls セクションをクリックします
Manage Domain Wide Delegation をクリックします
Add new をクリックします
先ほどメモしたUnique ID を、このClient ID の値として使用します
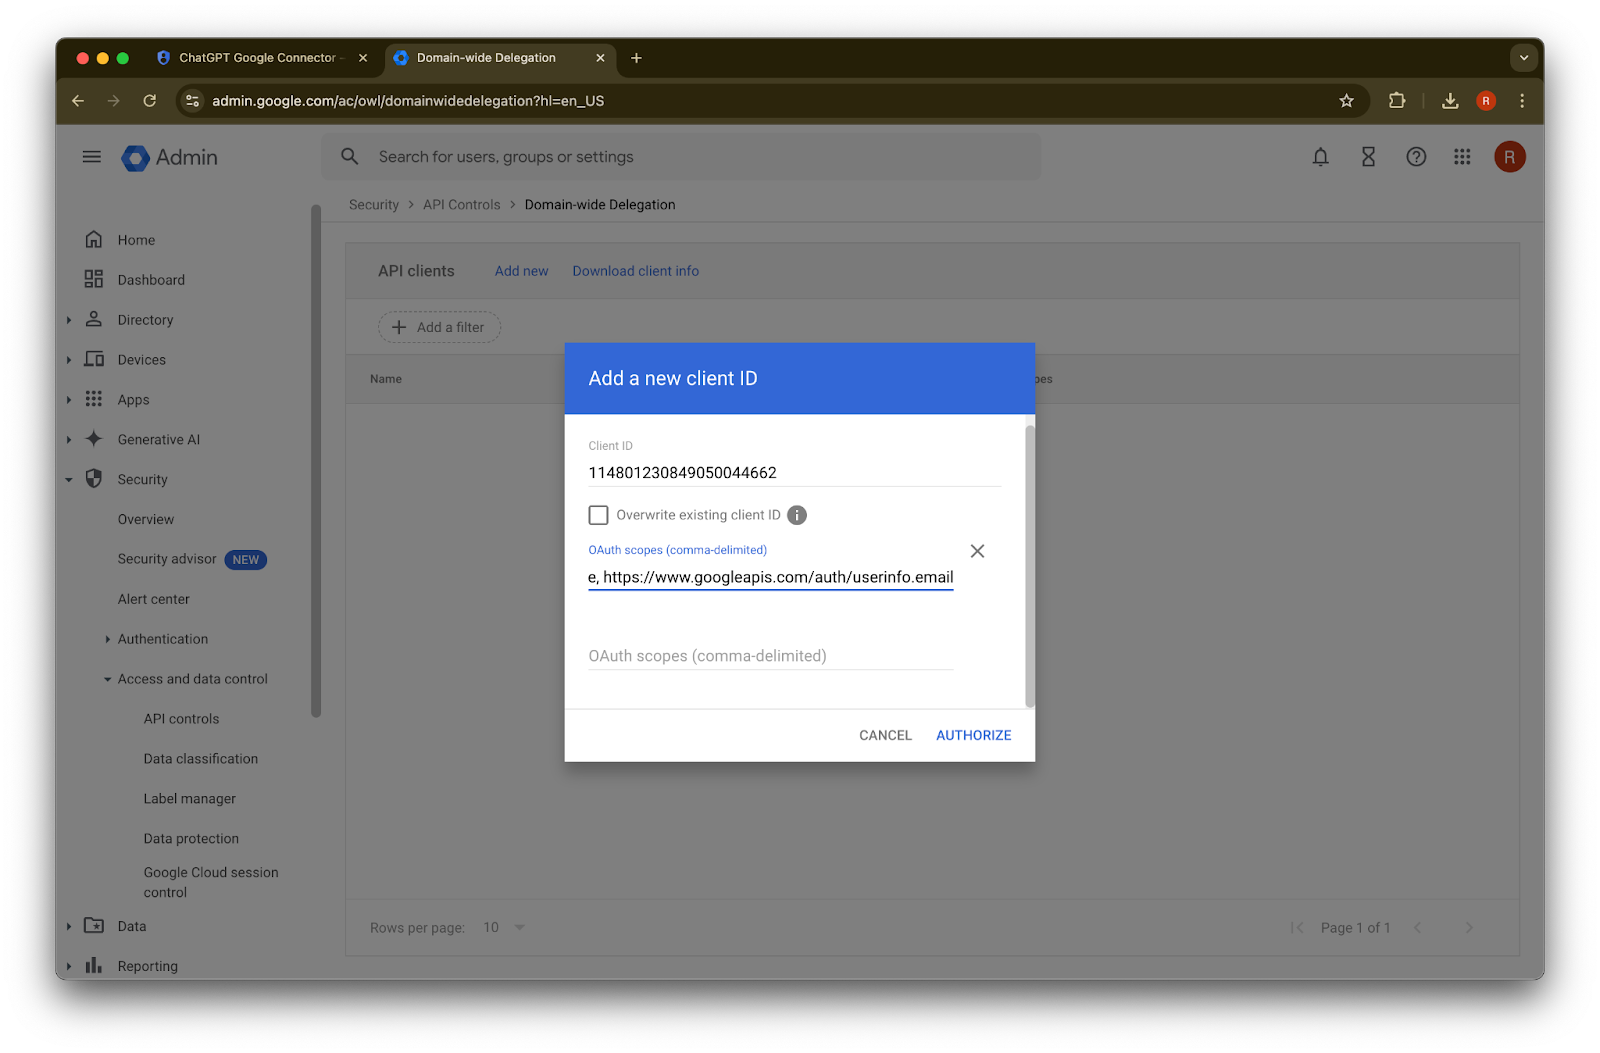
OAuth scopes については、次のカンマ区切りの認証スコープ値を参照し、コピーして貼り付けてください:


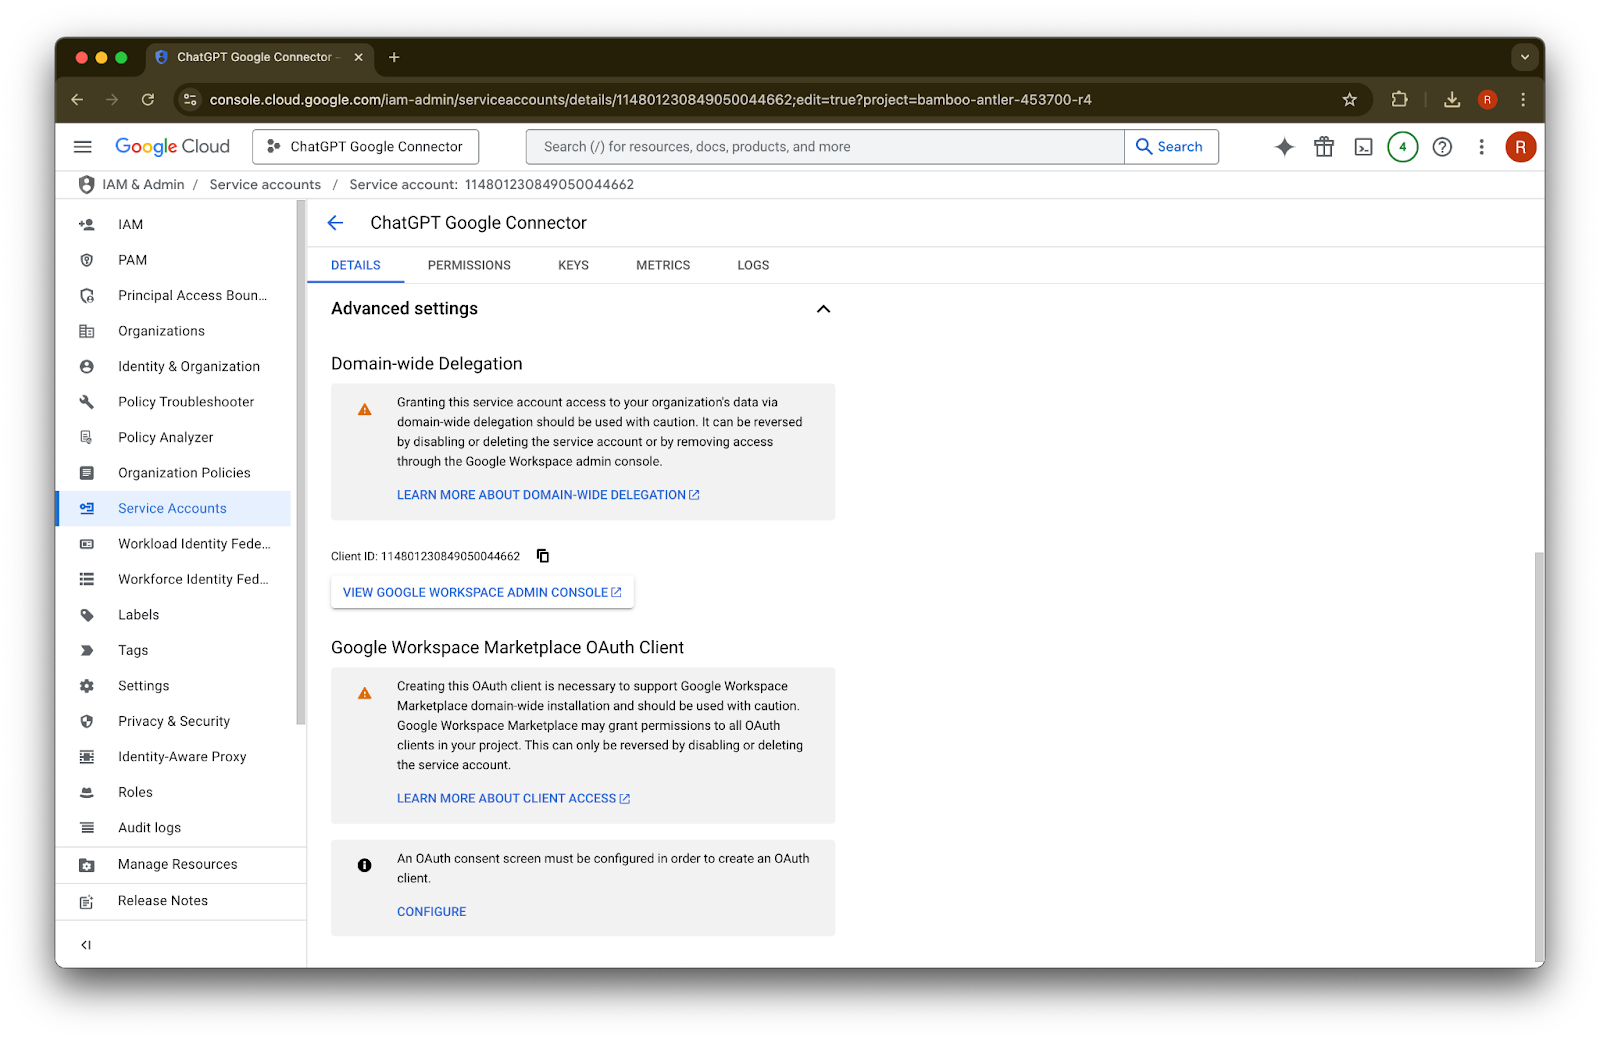

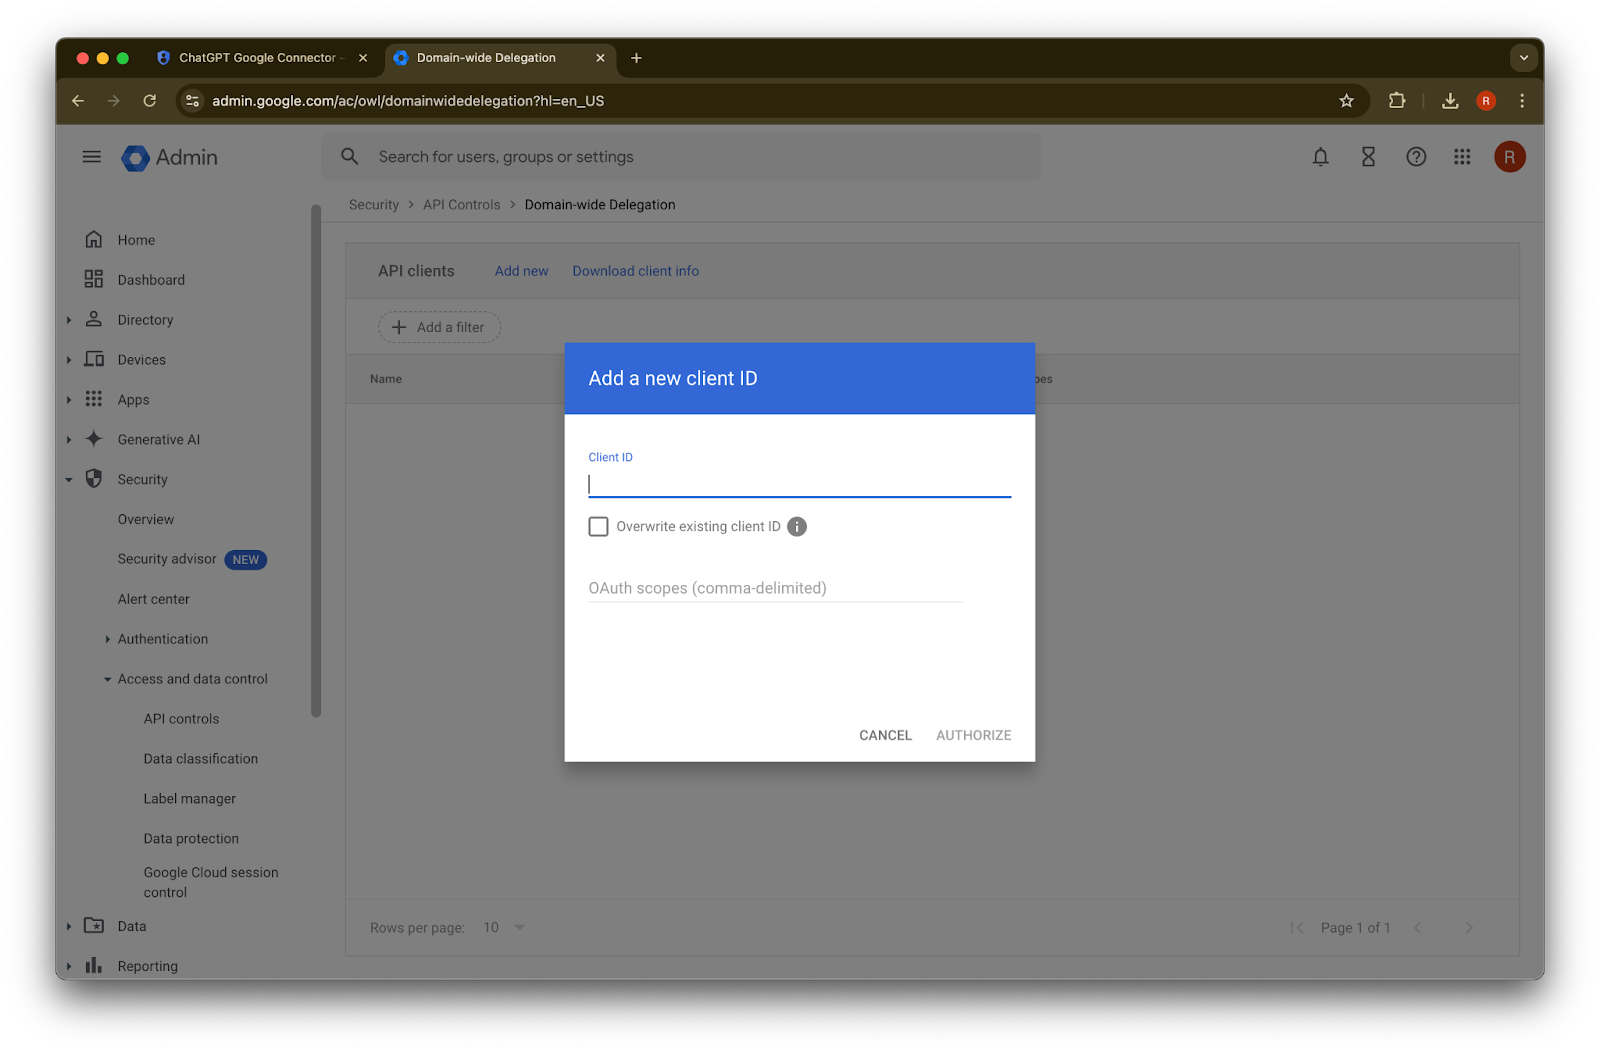
https://www.googleapis.com/auth/admin.directory.group.readonly, https://www.googleapis.com/auth/admin.directory.group.member.readonly, https://www.googleapis.com/auth/admin.directory.user.readonly, https://www.googleapis.com/auth/admin.directory.user.alias.readonly, https://www.googleapis.com/auth/drive.activity.readonly, https://www.googleapis.com/auth/drive.metadata.readonly, https://www.googleapis.com/auth/drive.readonly, https://www.googleapis.com/auth/userinfo.profile, https://www.googleapis.com/auth/userinfo.email| スコープ | 推論 |
| admin.directory.group.readonly | グループベースの権限を適用するため |
| admin.directory.group.member.readonly | グループベースの権限を適用するため |
| admin.directory.user.alias.readonly | ユーザーがエイリアス経由で権限を付与されている場合に対応するため |
| drive.activity.readonly | ファイルに変更が発生した際に通知を受けるため |
| drive.metadata.readonly | ファイル内容と関連メタデータ(例: 最終更新日)を同期するため |
| drive.readonly | ファイル内容と関連メタデータ(例: 最終更新日)を同期するため |
| userinfo.profile | ファイルを同期する対象ユーザーを特定するため |
| userinfo.email | ファイルを同期する対象ユーザーを特定するため |
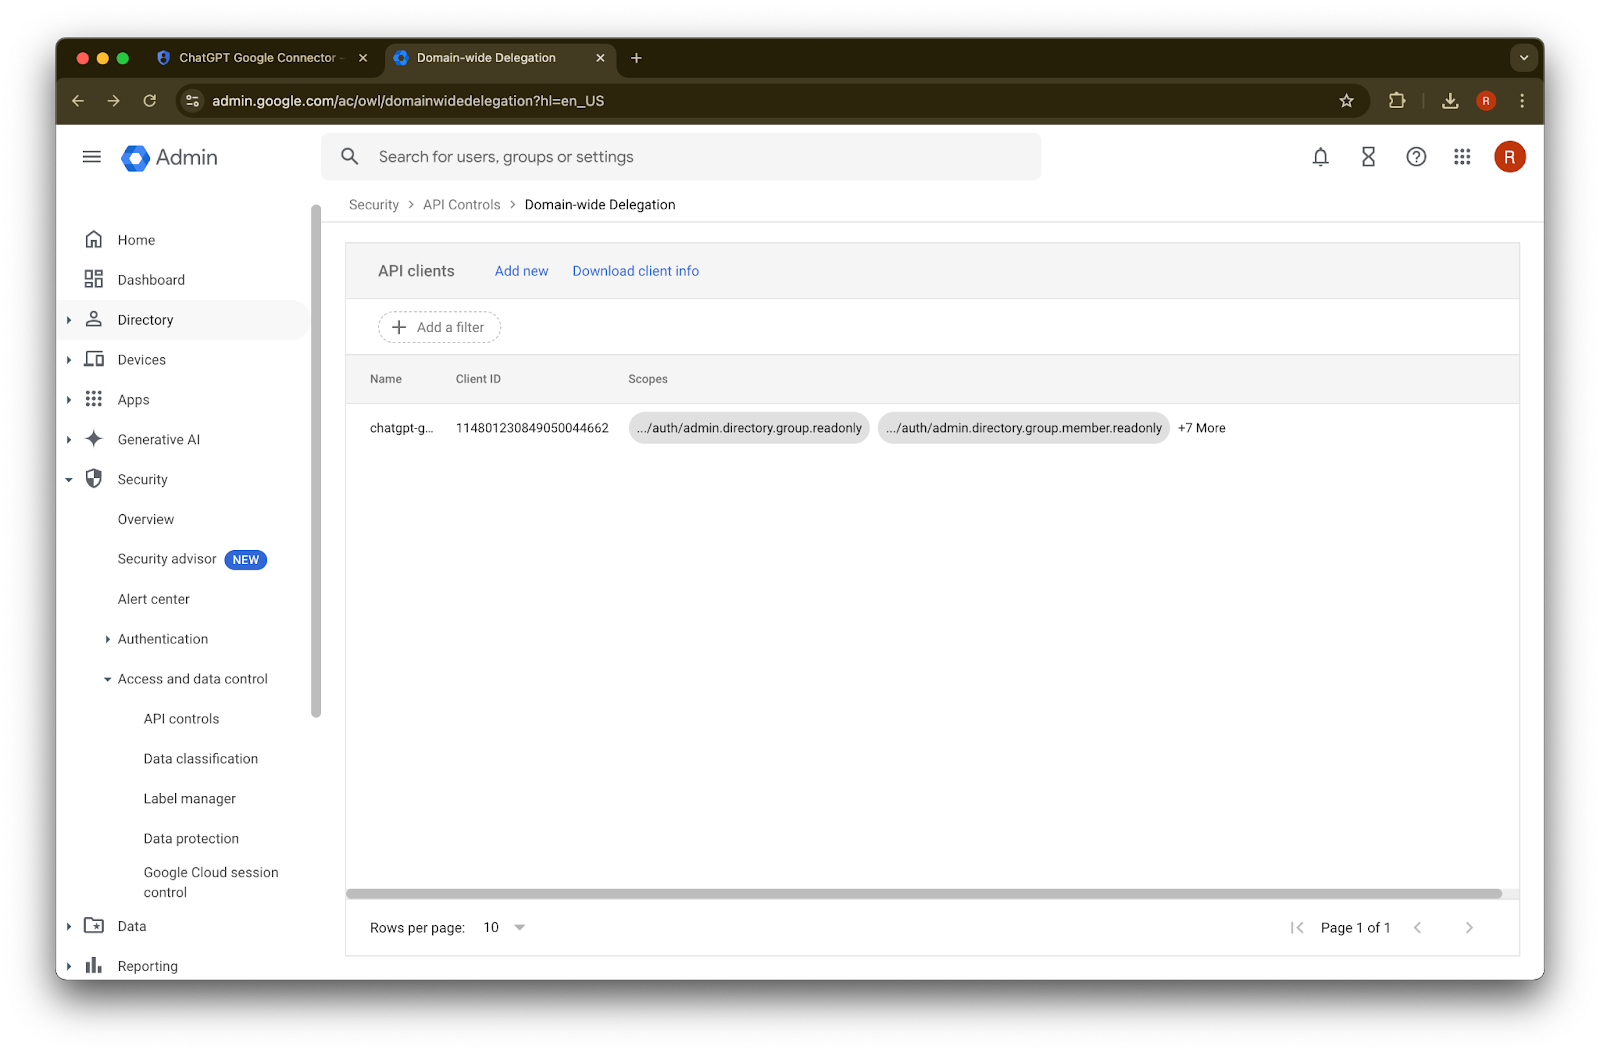
45. Authorize をクリックします
46. 完了です。
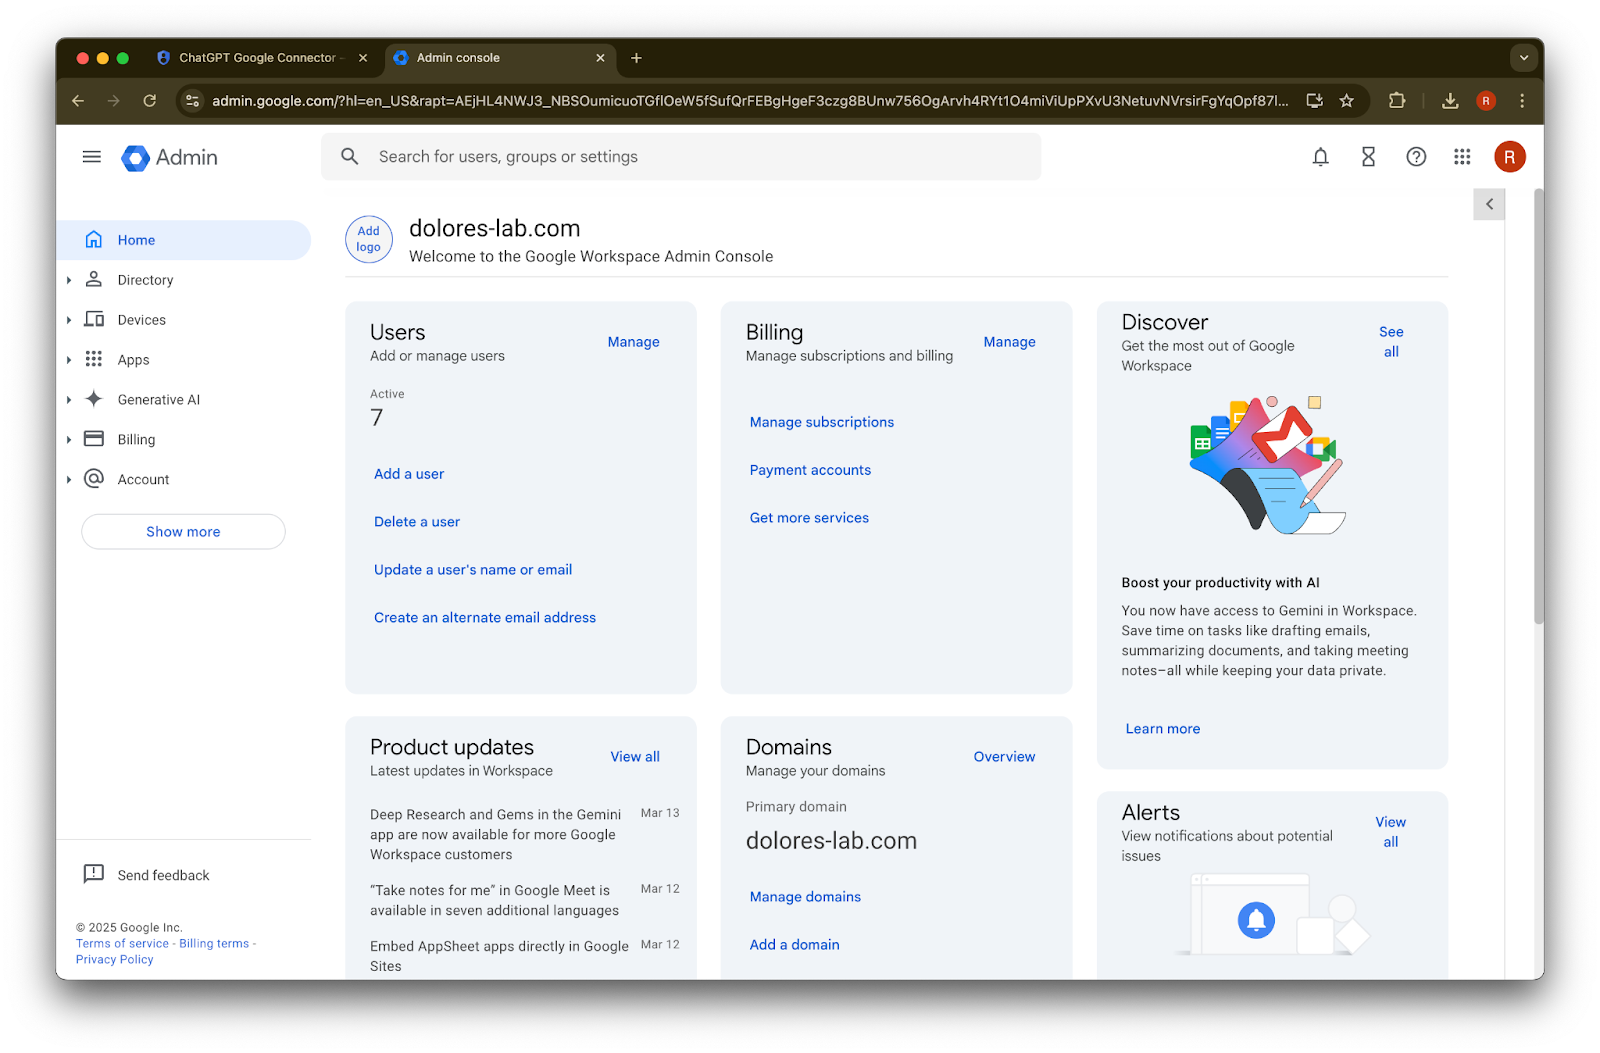
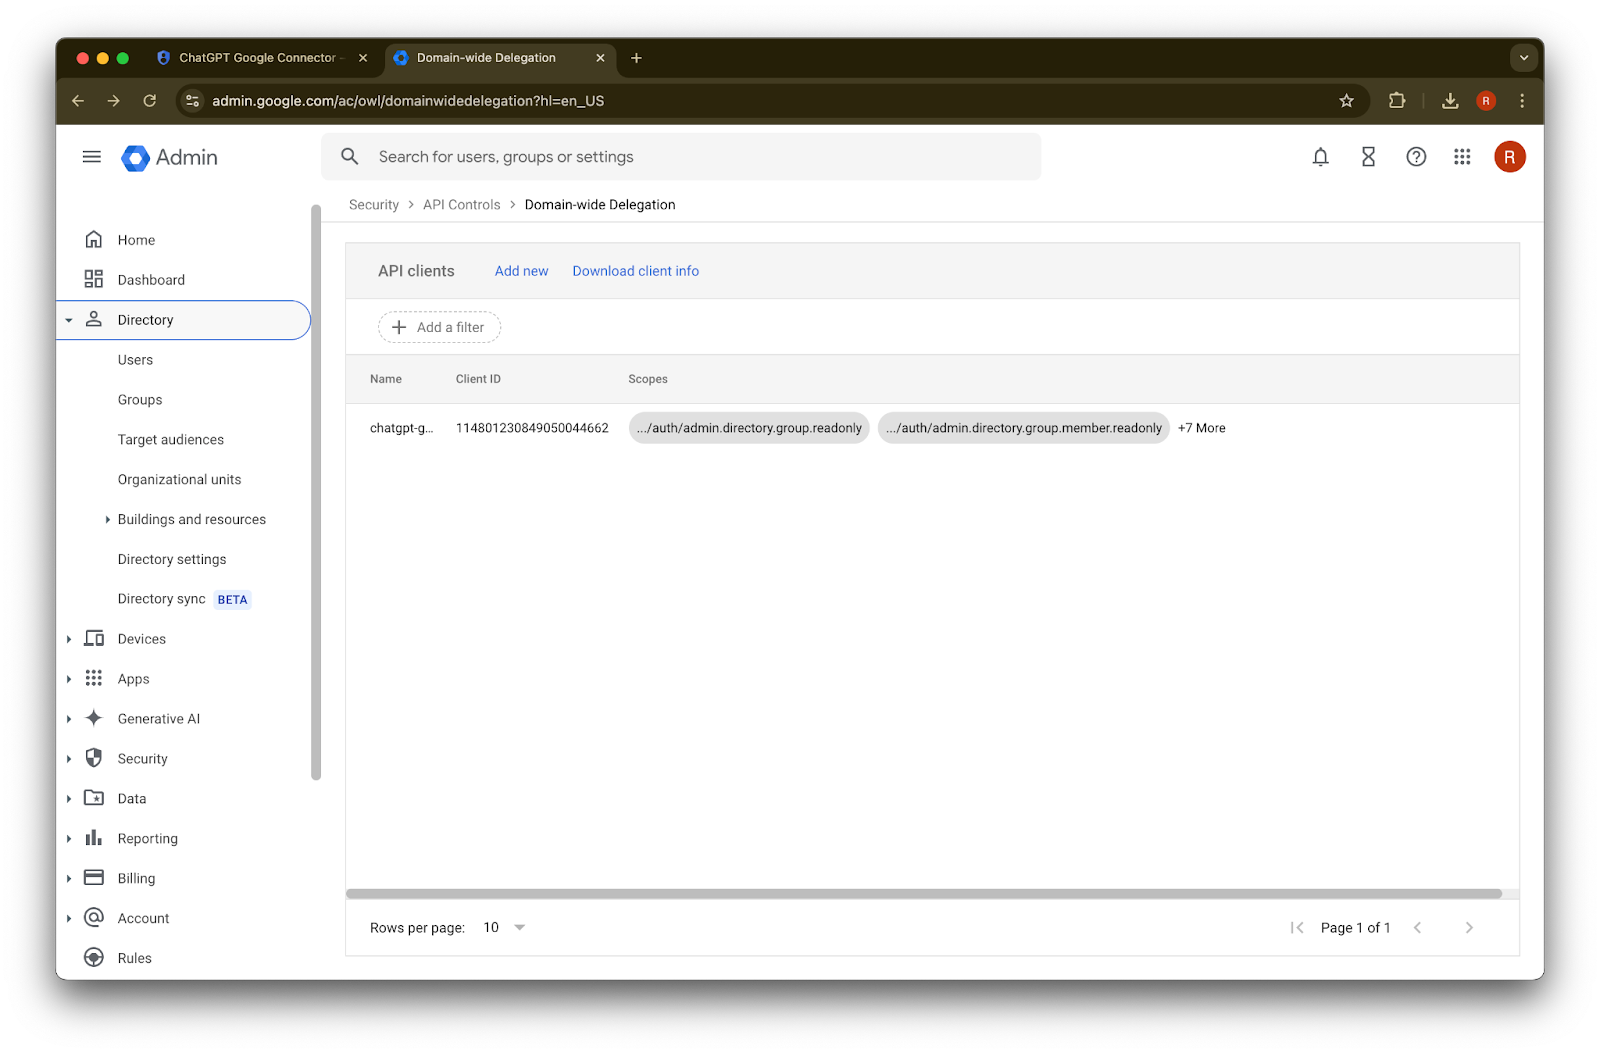
管理者アカウントの設定
Directory を展開します
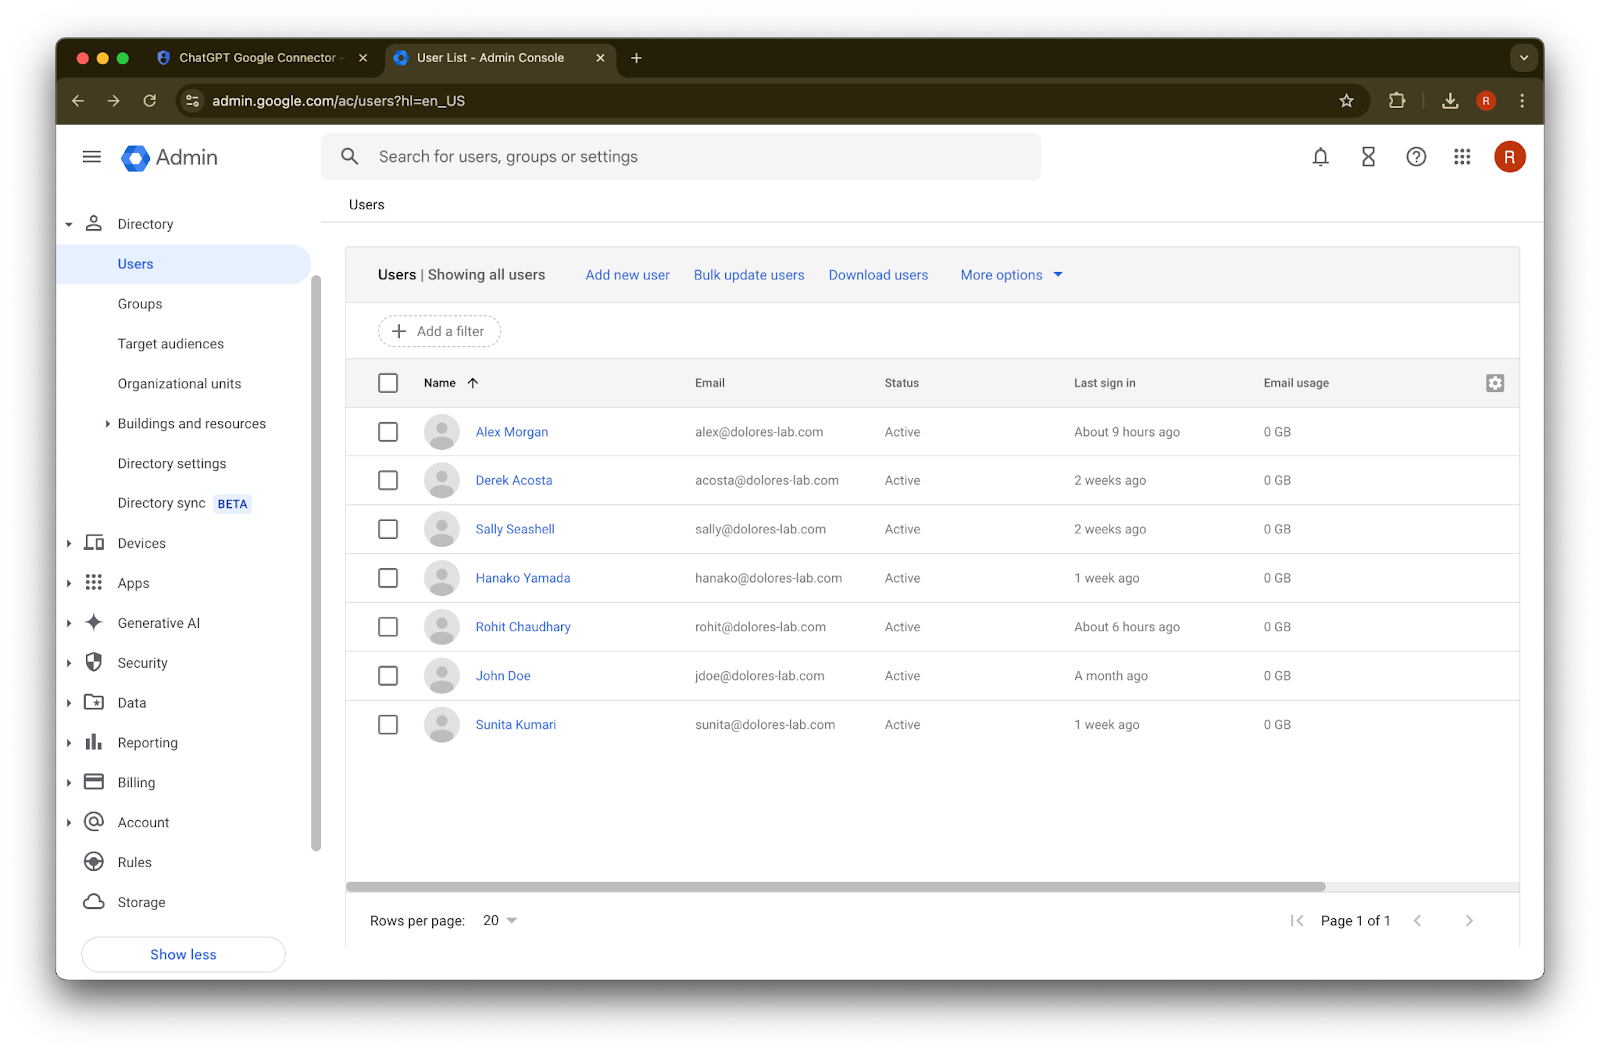
Users をクリックします
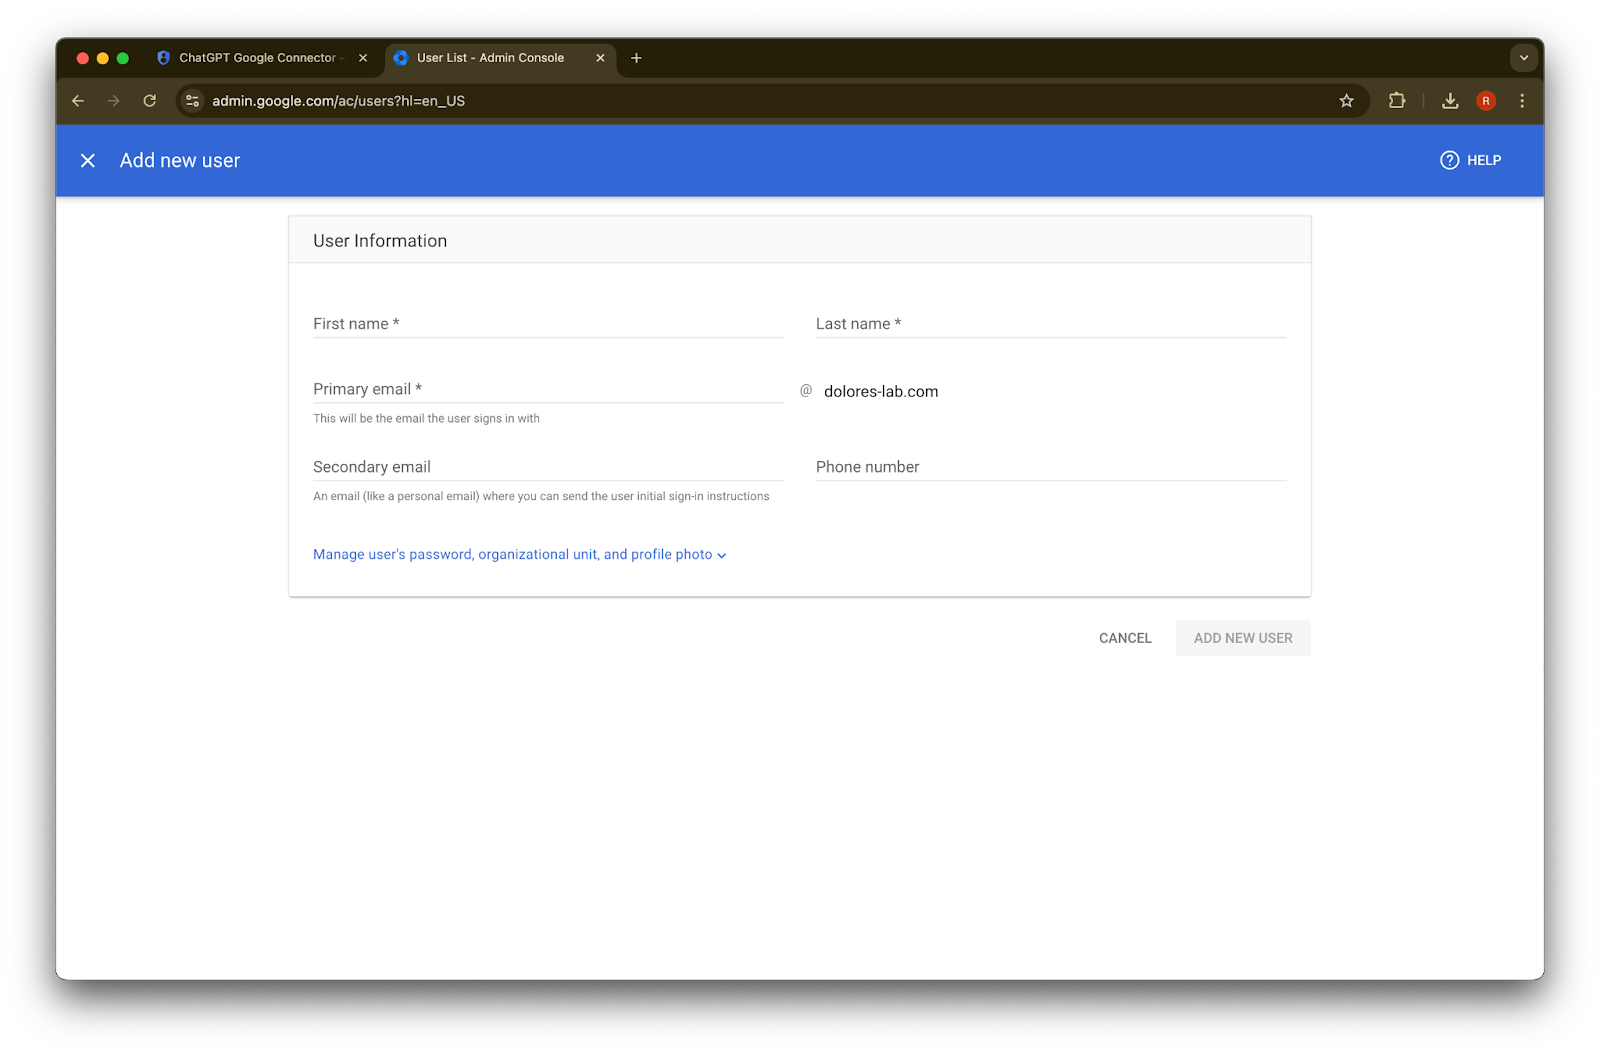
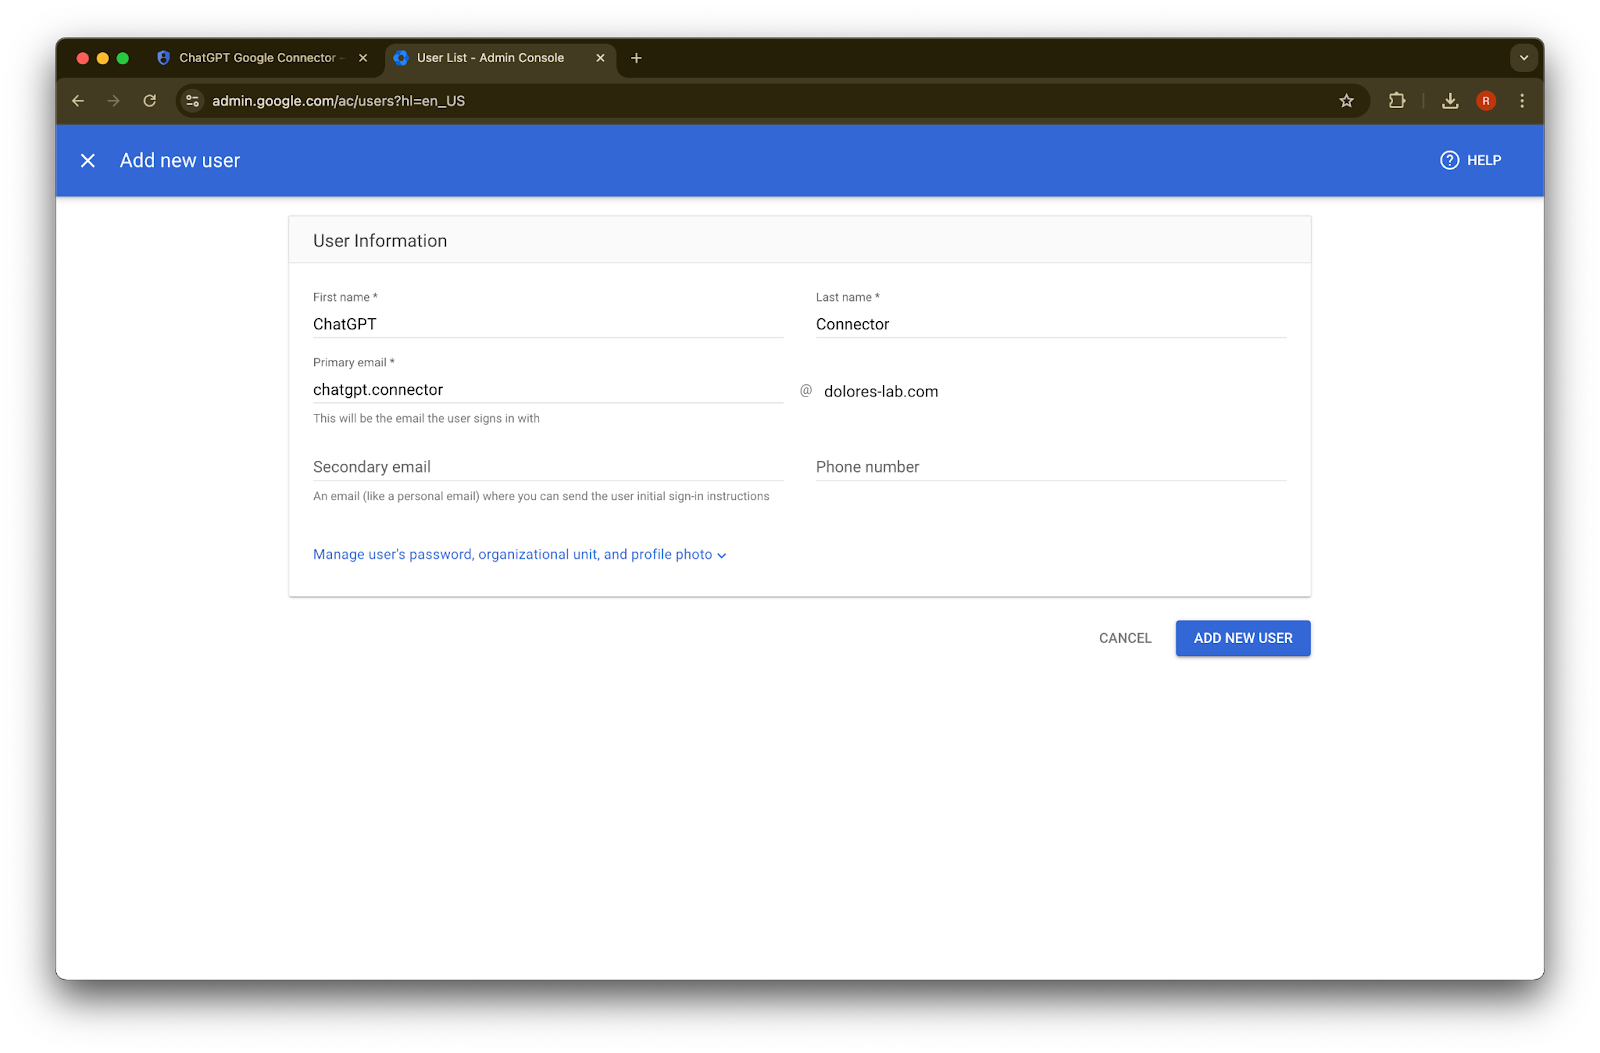
任意の名、姓、プライマリ メールアドレスを入力します
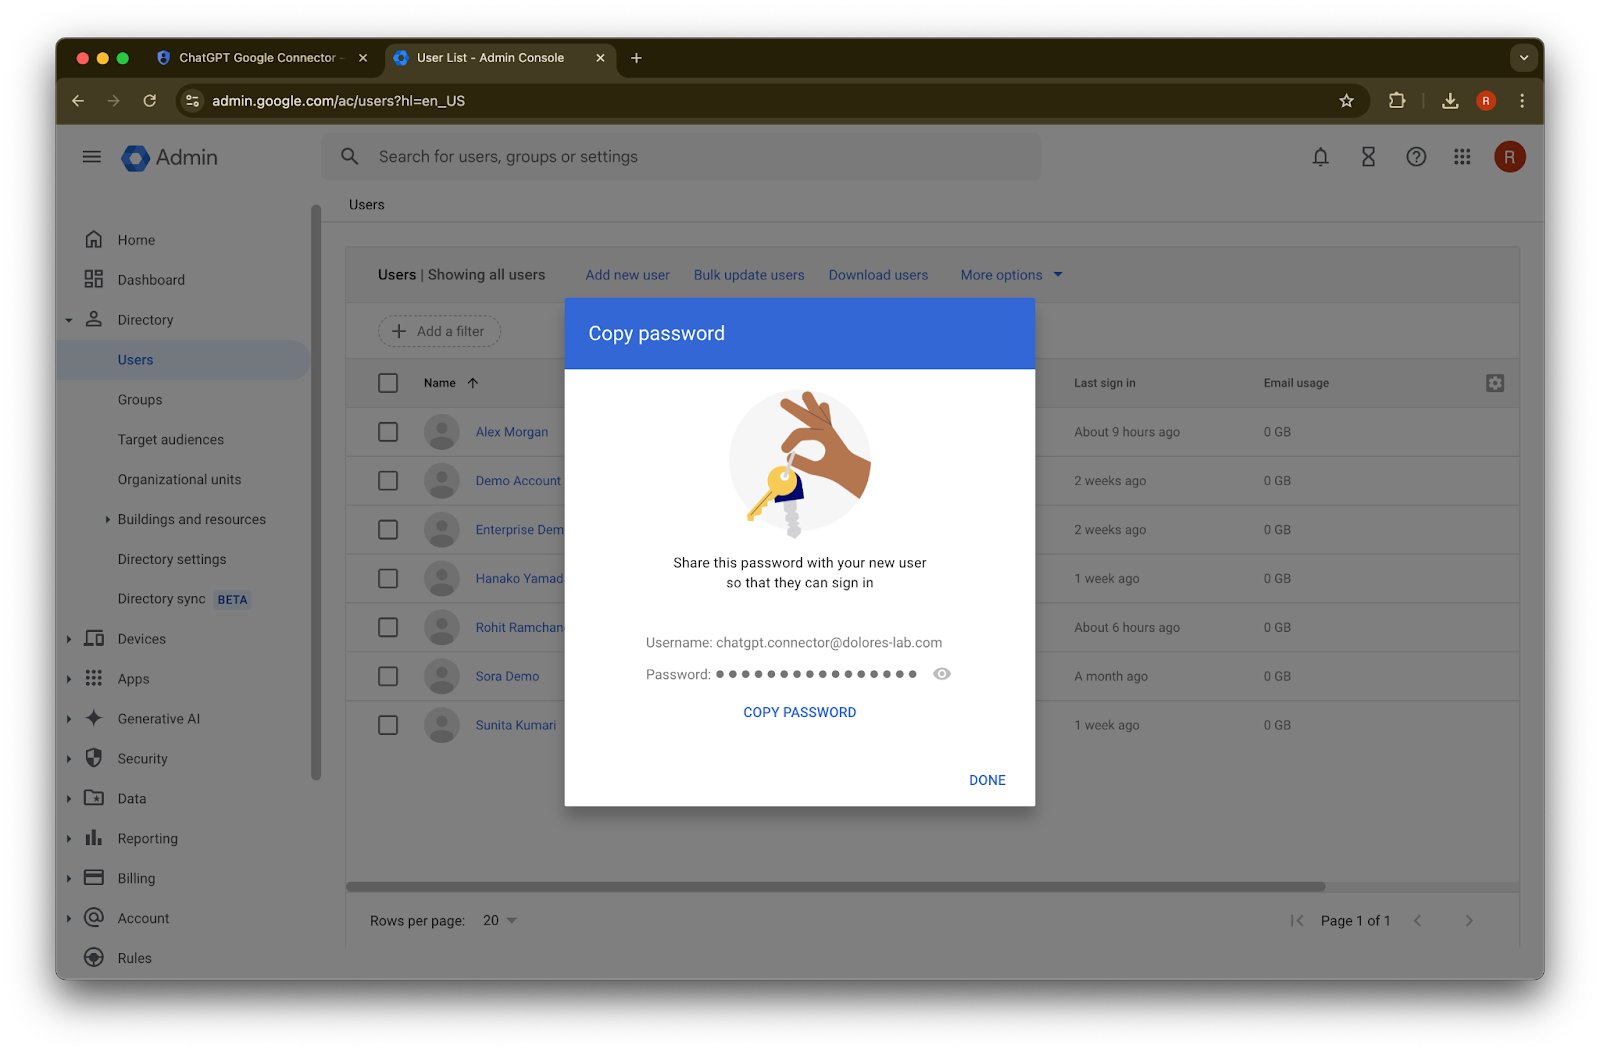
Add new user
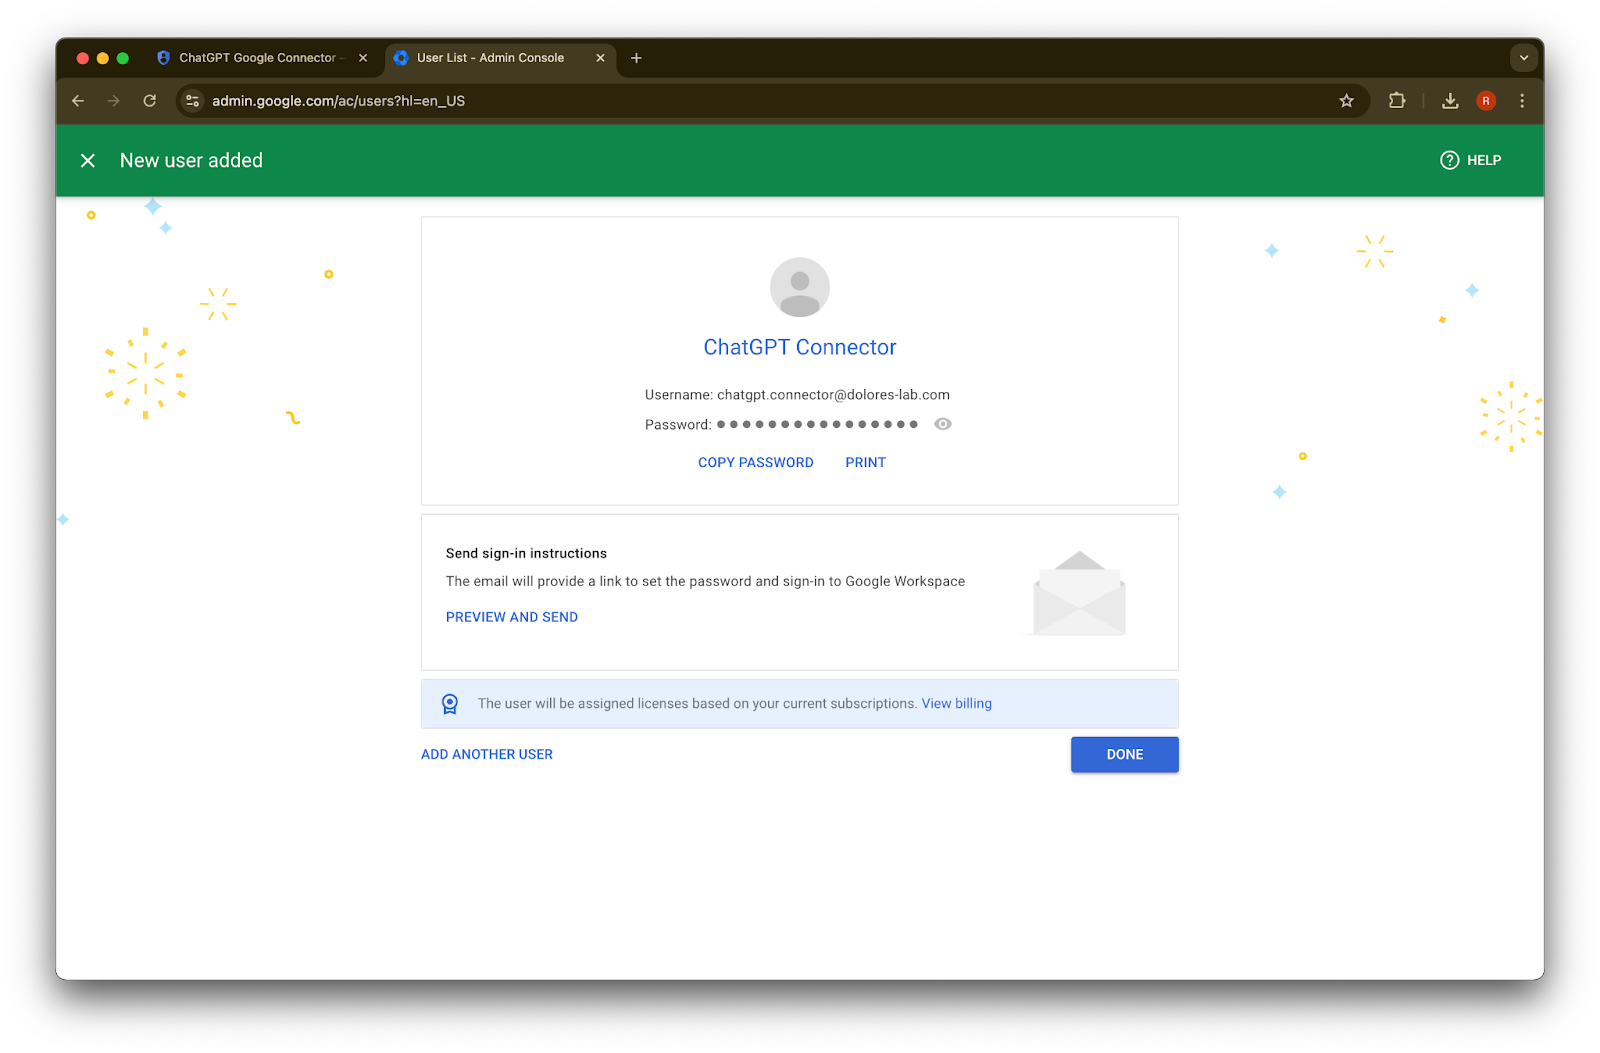
をクリックします(任意) これらの認証情報を記録しておきます。ChatGPT ではこれらの認証情報は不要です。
Done をクリックします。
作成したアカウントをクリックします。一覧に表示されない場合は、ページを更新するか、キャッシュと Cookie を削除してから再度お試しください。
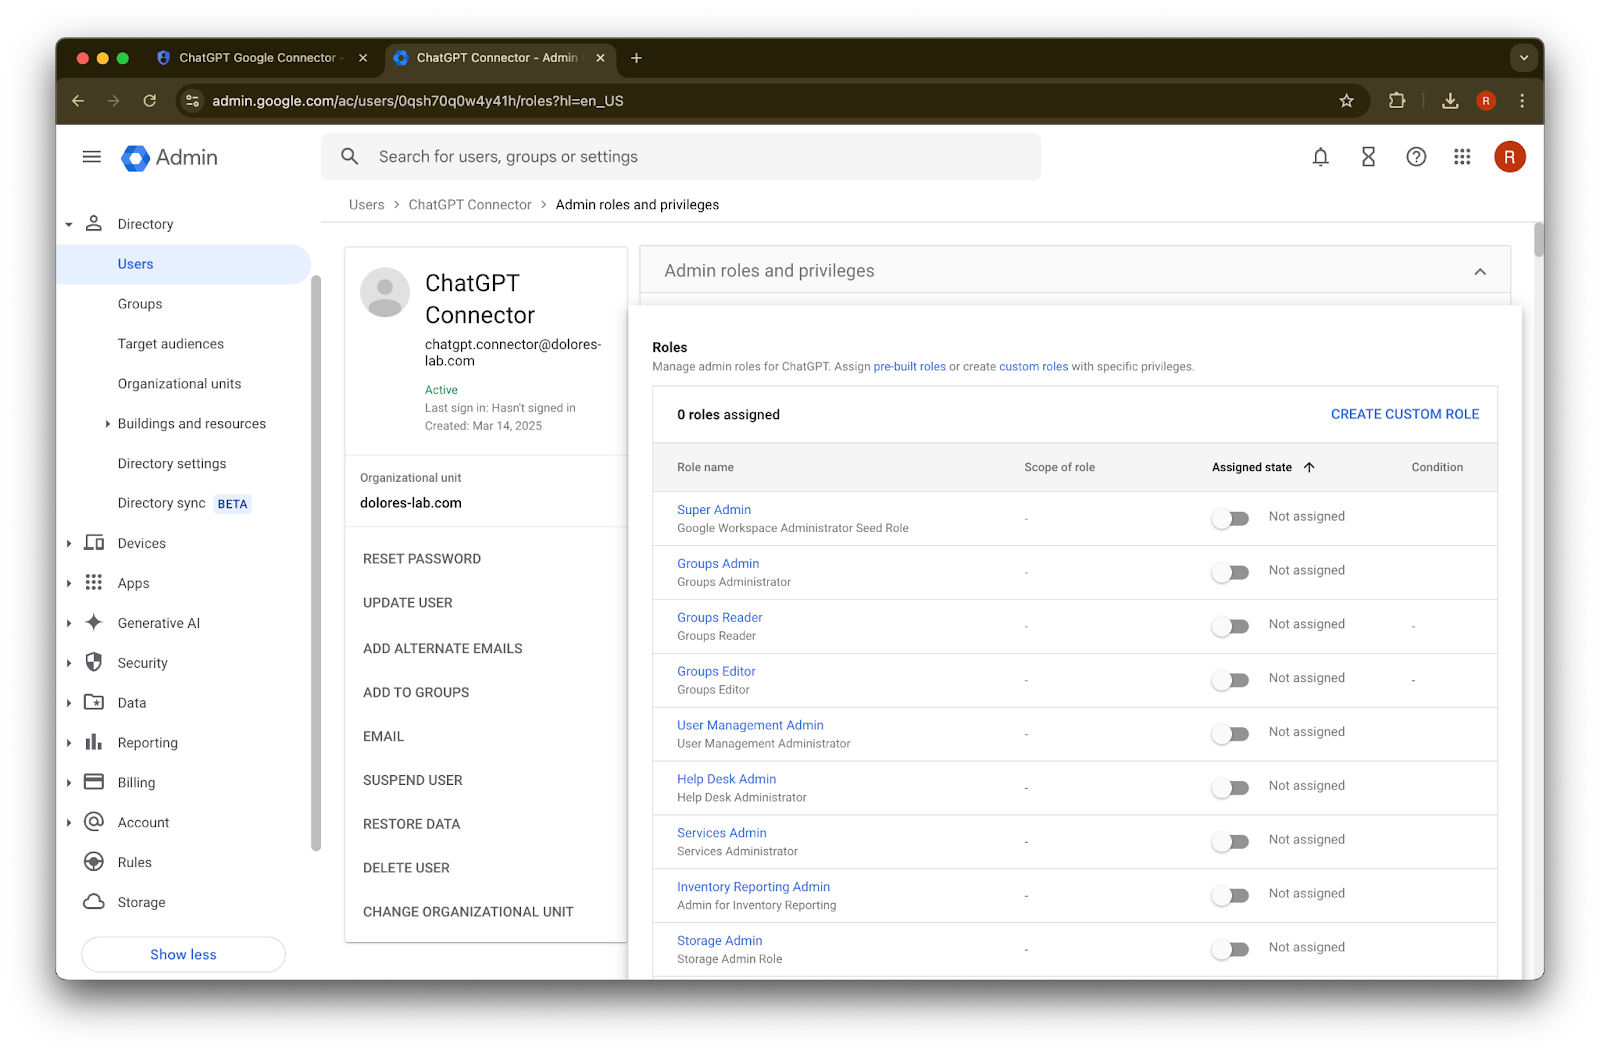
assign roles をクリックします。
Groups Reader、User Management Admin、および Storage Admin ロールをオンにします。
下にスクロールして Save. をクリックします。これで管理者アカウントの作成と設定が正常に完了しました。

ChatGPT 管理コンソールで設定を完了する
ChatGPT に移動し、ページ右上のプロフィール アイコンをクリックします。
ワークスペースを管理
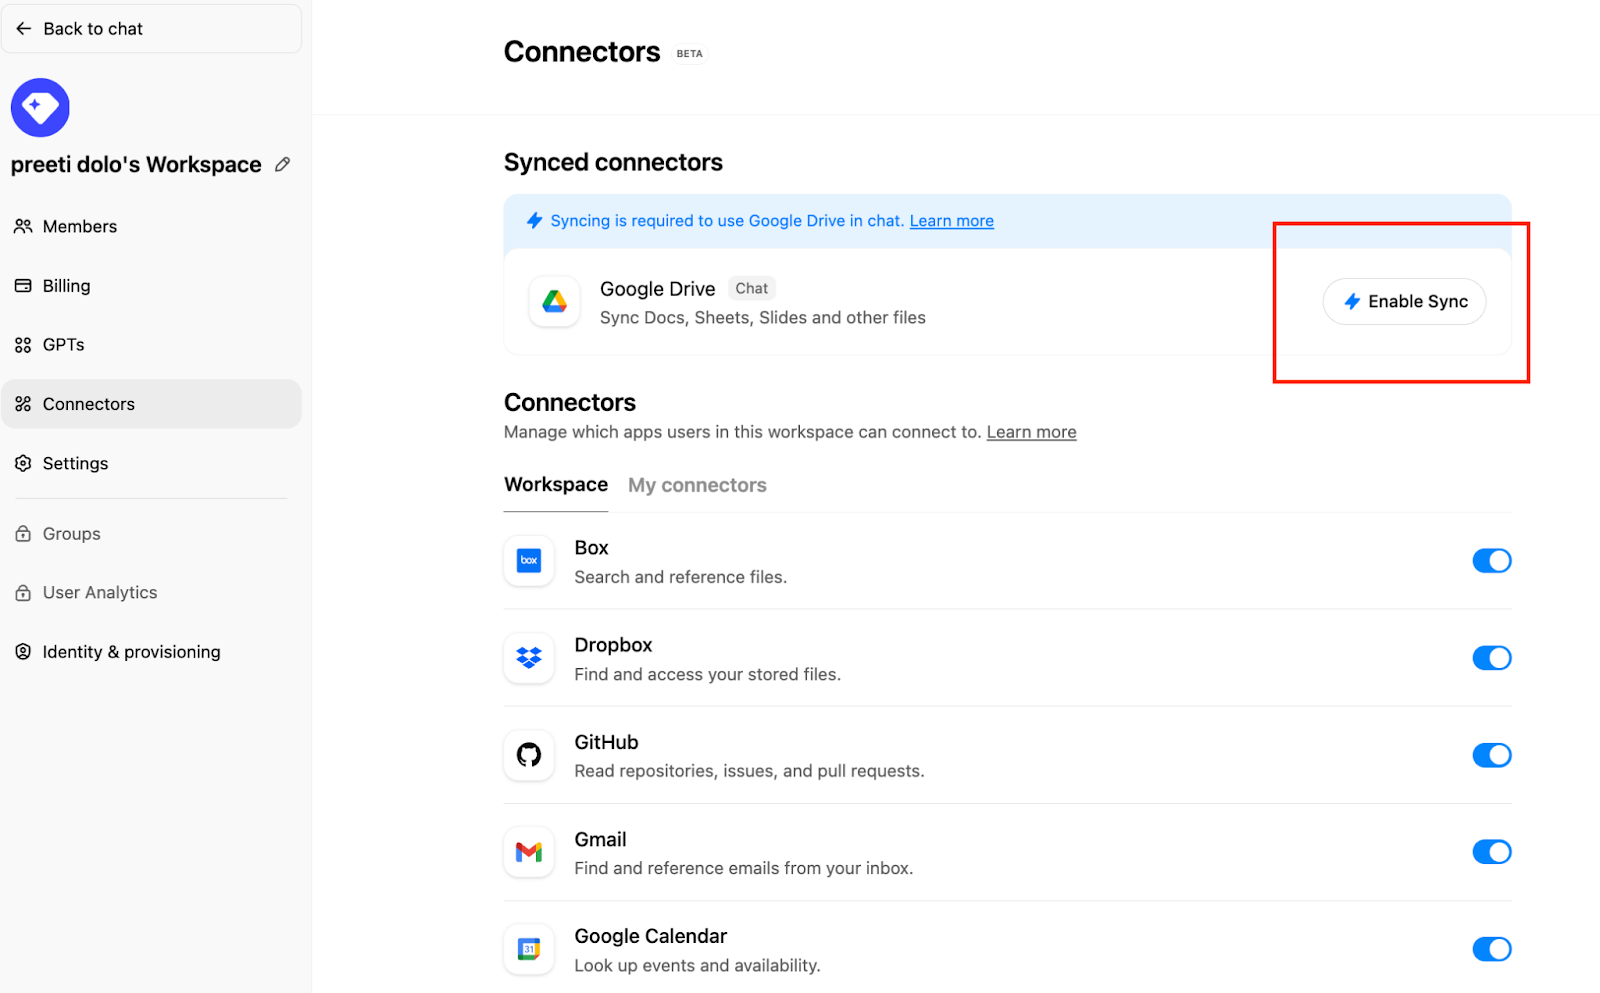
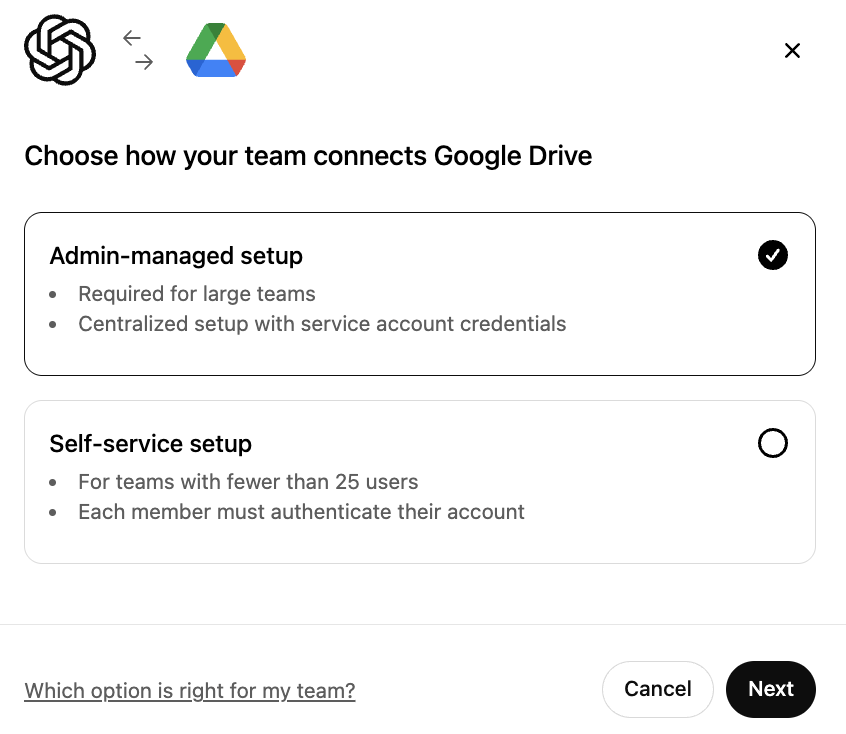
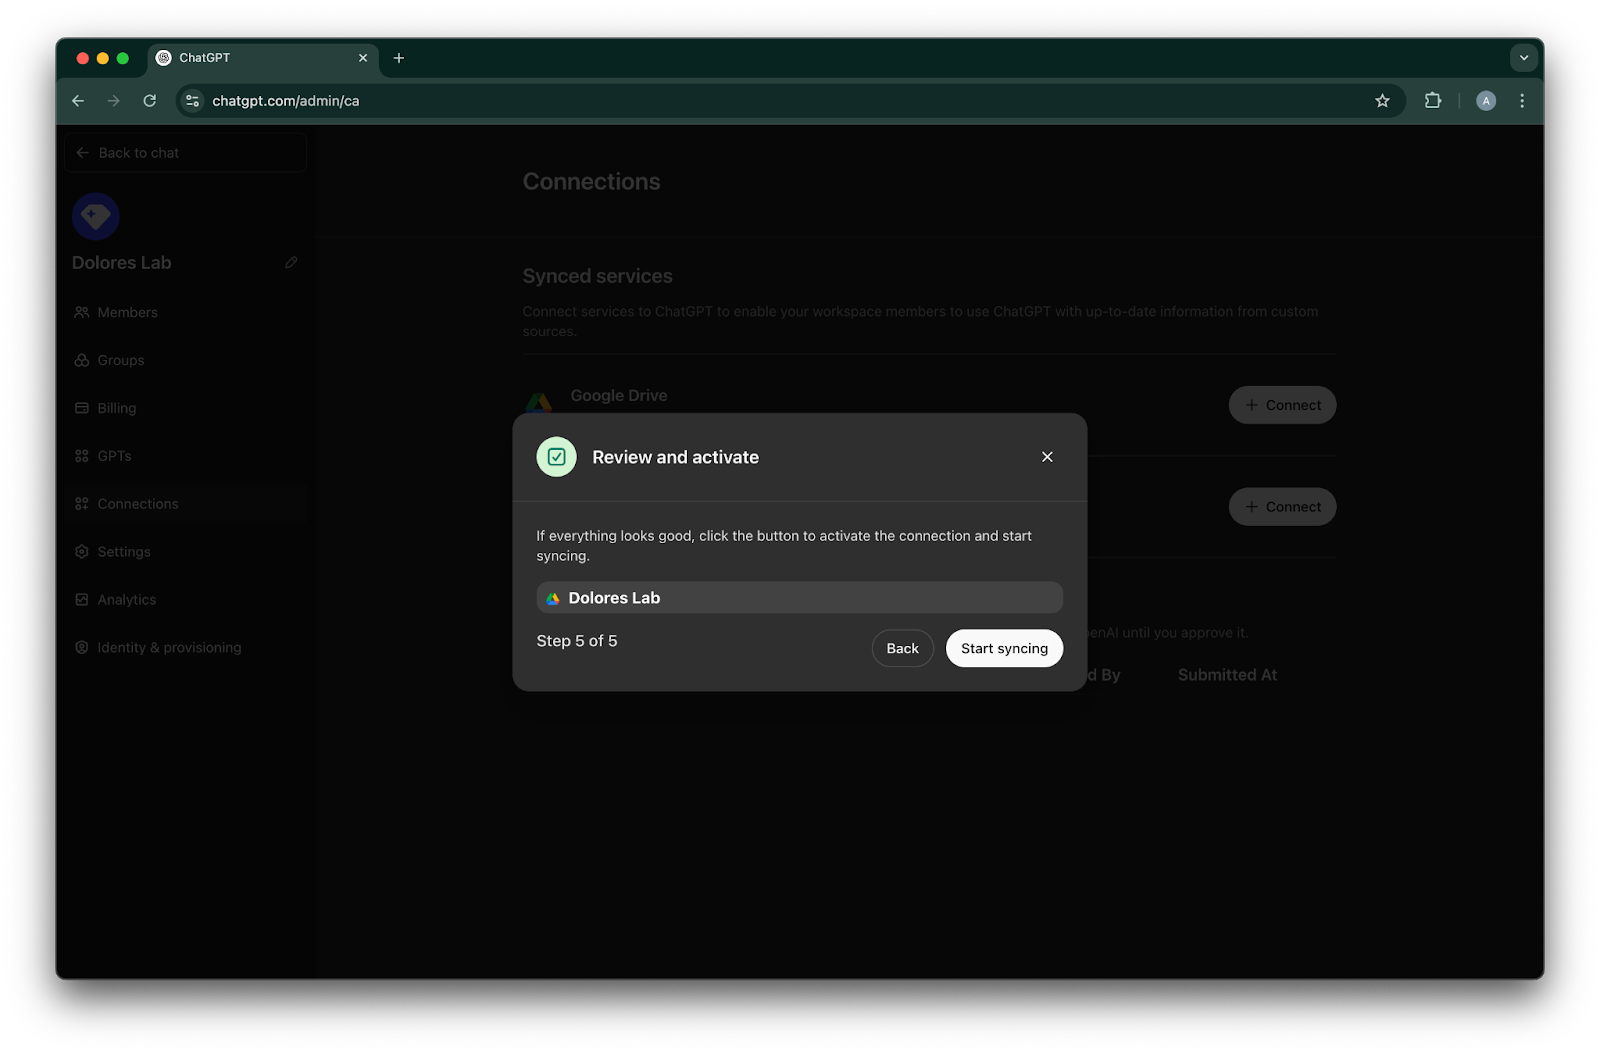
をクリックしますConnections をクリックし、次に「Synced connectors」 → Enable Sync の順にクリックします
Admin-managed が選択されていることを確認し、Next をクリックします
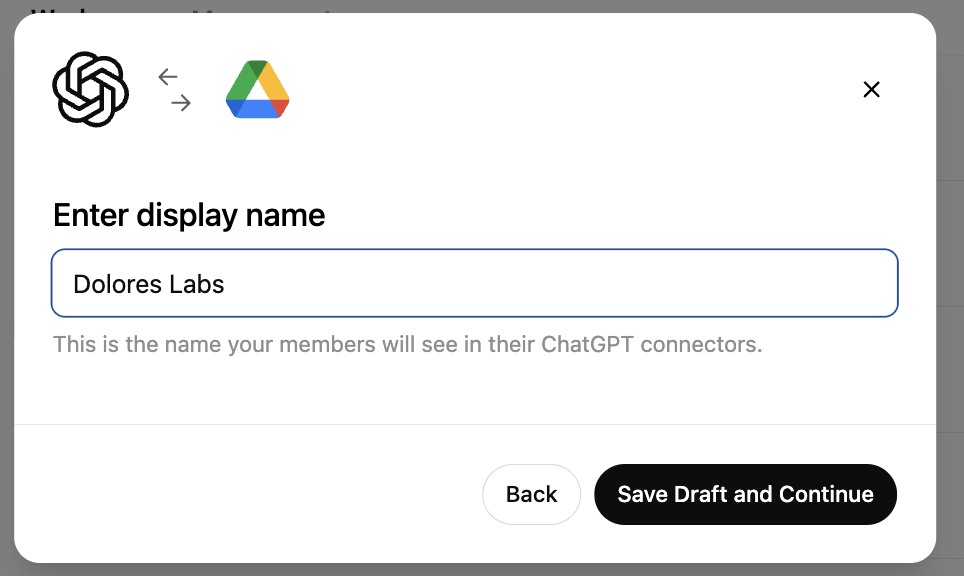
表示名を入力します。Google Workspace の名前を使用することをおすすめします。
なお、現在のところ接続名の変更には対応していません。Save Draft and Continue をクリックします
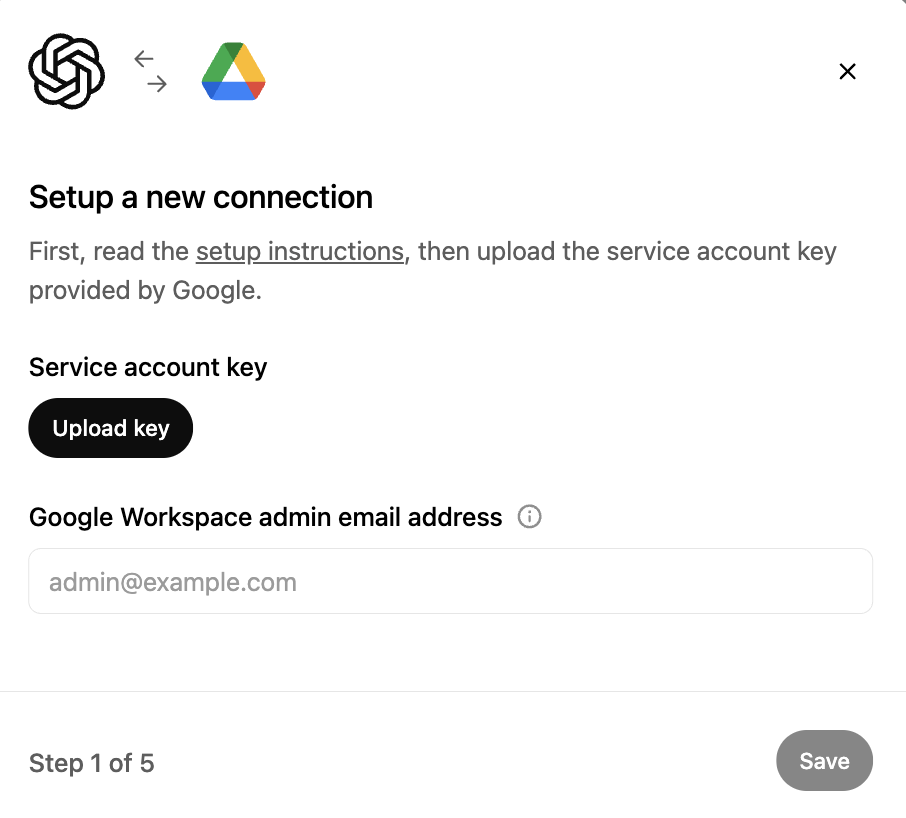
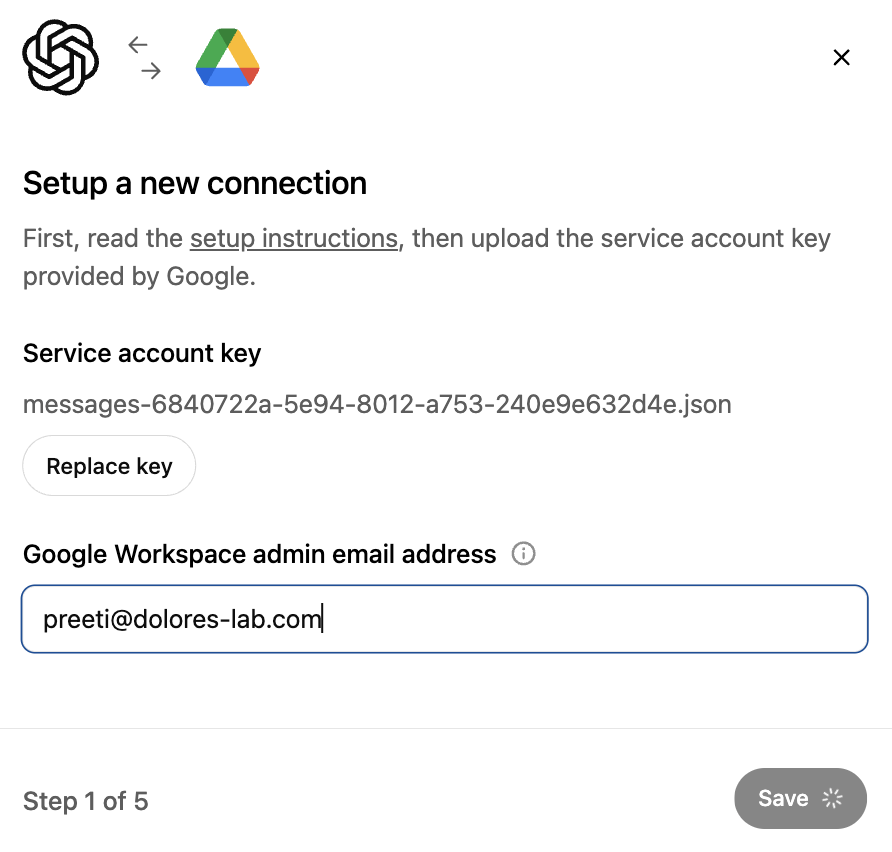
Upload key をクリックします。上記でサービス アカウントを設定する際にダウンロードしたキーである JSON ファイルを選択します。このキーが正確であることを確認してください
管理者メールアドレスを入力します。これは先ほど作成した管理者アカウントです。
Save. をクリックします
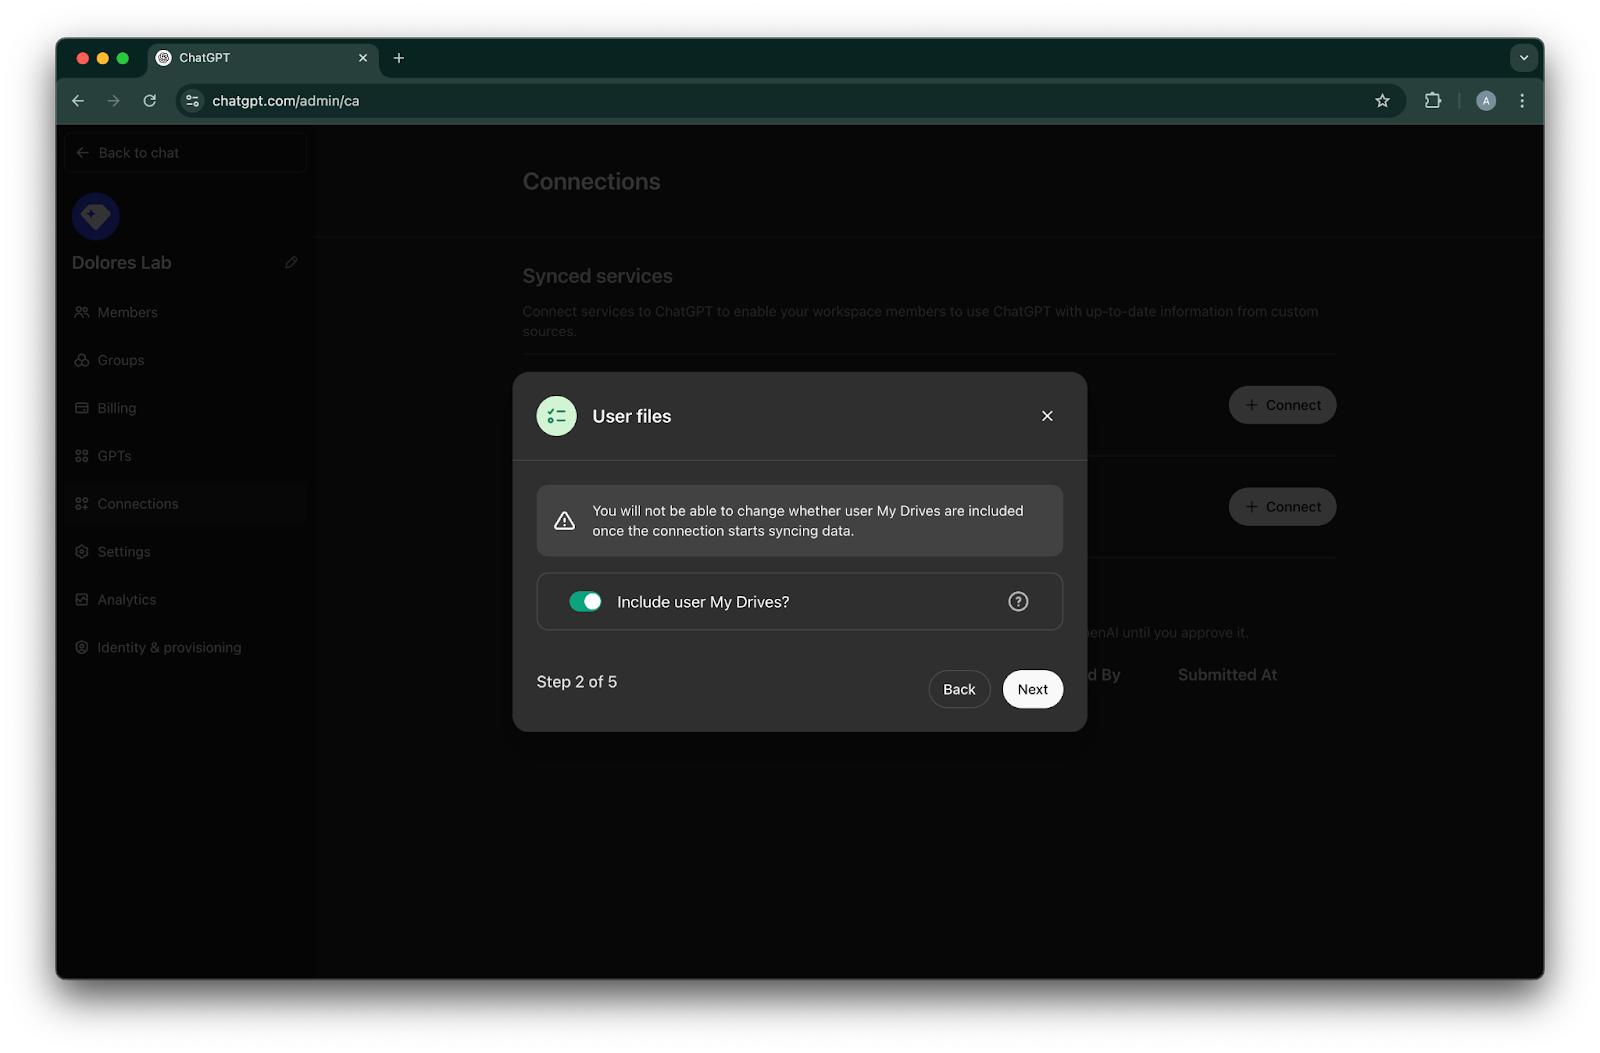
すべてのユーザーの My Drive 内のファイルを含めるかどうかを選択します。
Next をクリックします
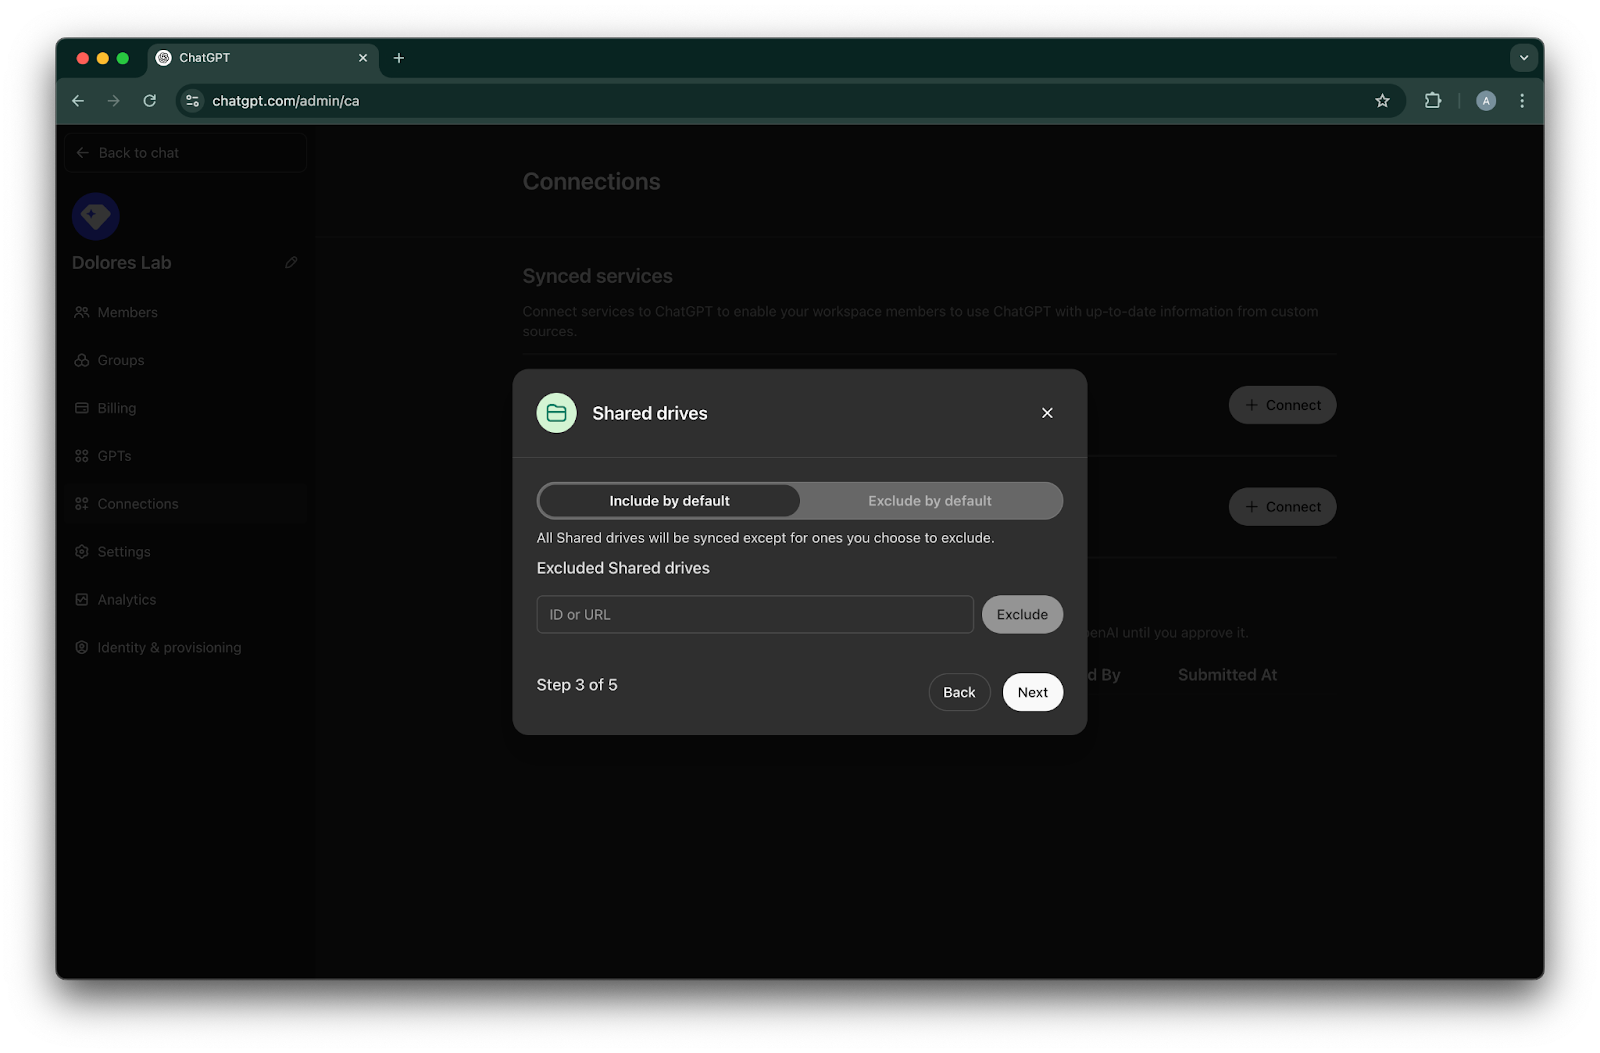
共有ドライブの管理方法を選択します。以下の 3 つのシナリオに対応しています:
すべての共有ドライブを含める場合は、Include by default を選択し、除外する共有ドライブ ID は追加しません
大半の共有ドライブを含める場合は、Include by default を選択し、除外したい共有ドライブの ID を追加します
大半の共有ドライブを除外する場合は、Exclude by default を選択し、含めたい共有ドライブの ID を追加します
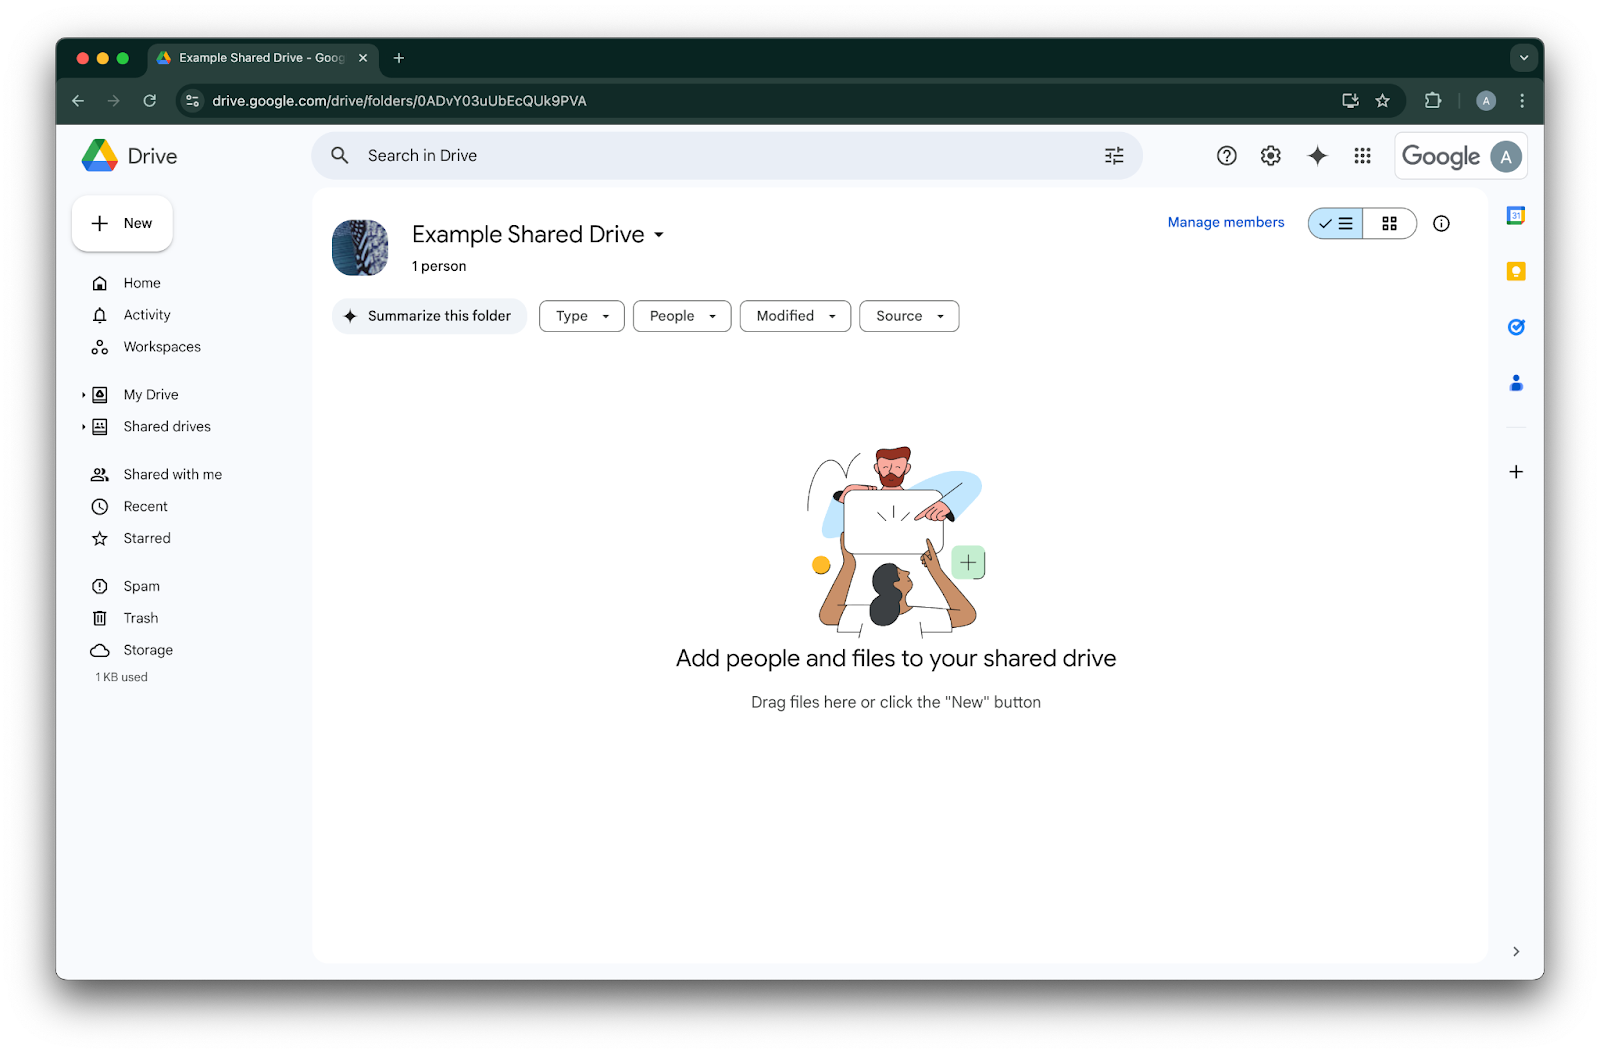
共有ドライブの ID を確認するには、Web ブラウザーでその共有ドライブに移動します。URL の末尾部分が共有ドライブ ID です。
次の例では、`0ADvY03uUbEcQUk9PVA` です'Next をクリックします
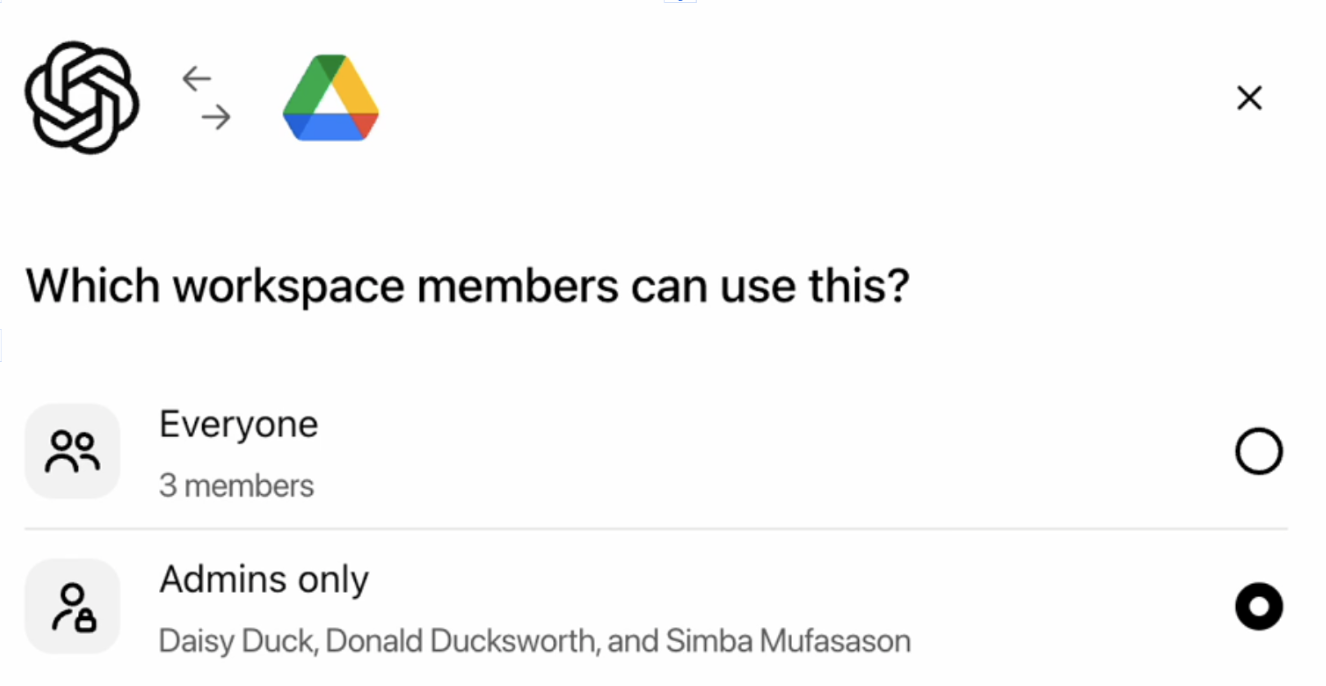
Google Drive 接続にアクセスできるユーザーを選択します。ChatGPT ワークスペースの管理者のみにするか、全員に有効化するかを選べます。全員に有効化した場合、ワークスペースに追加された新規ユーザーも自動的に含まれます。
Start syncing をクリックします
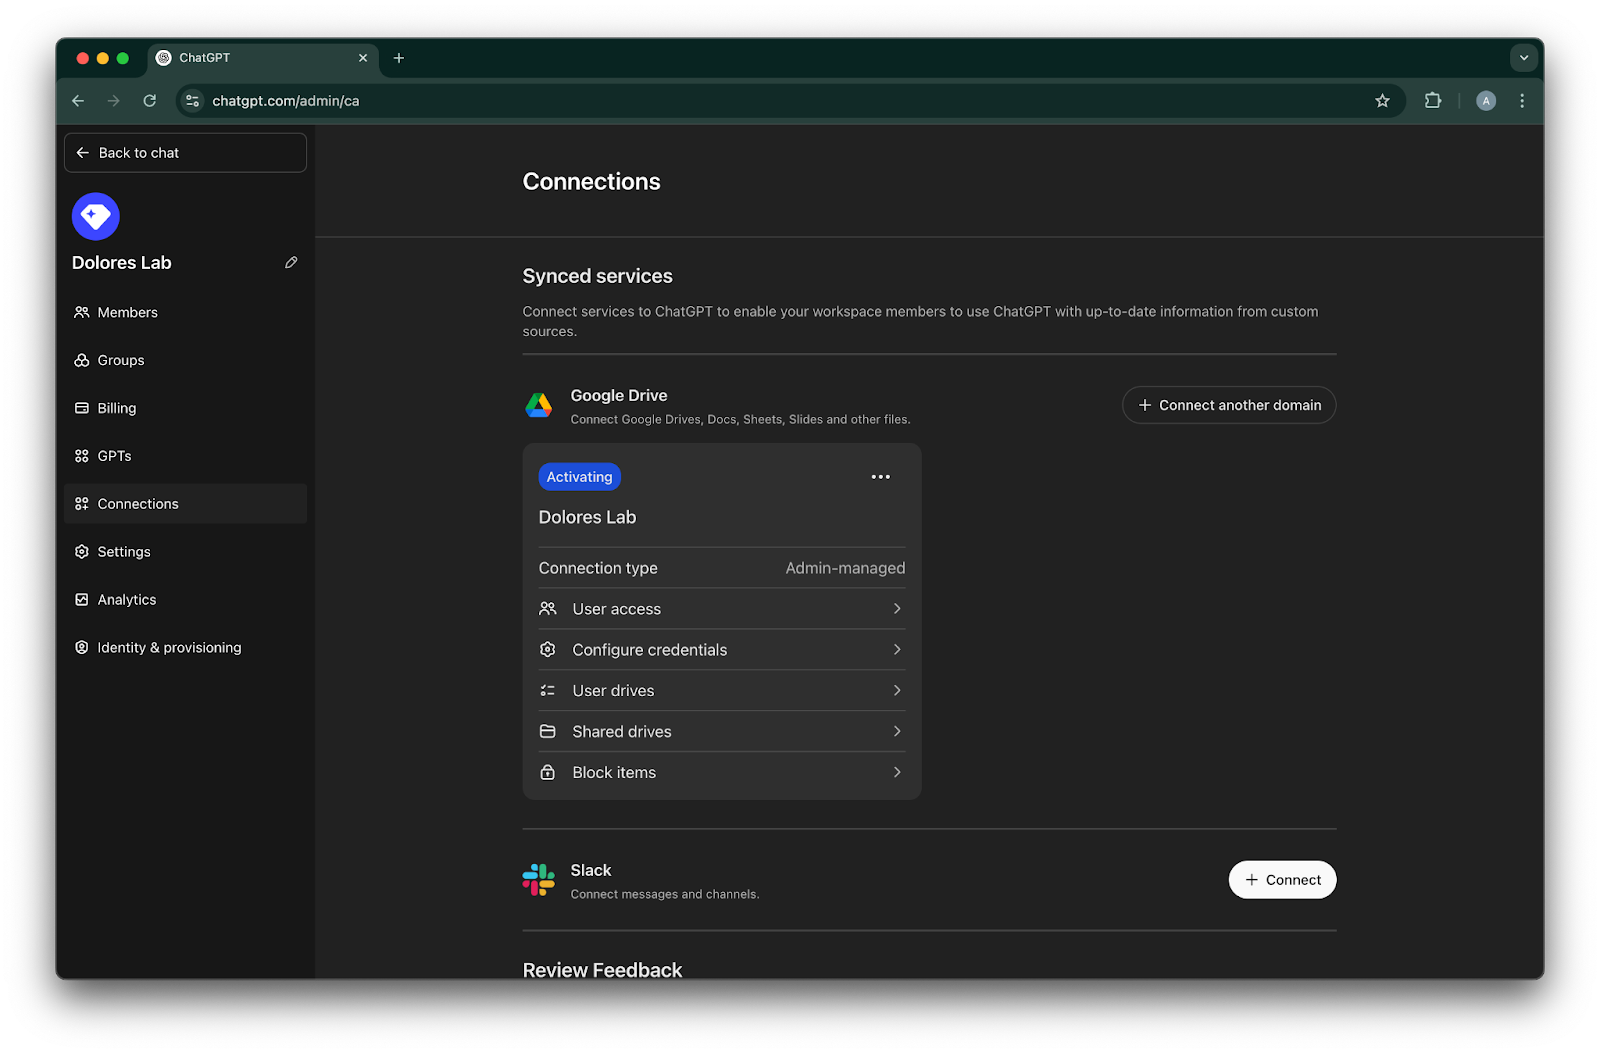
これで Google Drive 接続が正常に作成されました。
同期はすぐに開始されますが、設定に応じて含まれるファイル数によっては、完了まで数時間から数日かかる場合があります。
過去 30 日以内に追加または編集されたファイルの同期が完了すると、このコネクタは有効化したユーザーが利用できるようになります。


サービス アカウント キー作成の有効化
次のエラーが表示される場合は、この特定のプロジェクトでサービス アカウントの作成を有効にする必要があります:
> 組織ポリシー制約「iam.disableServiceAccountKeyCreation」が組織に適用されています。
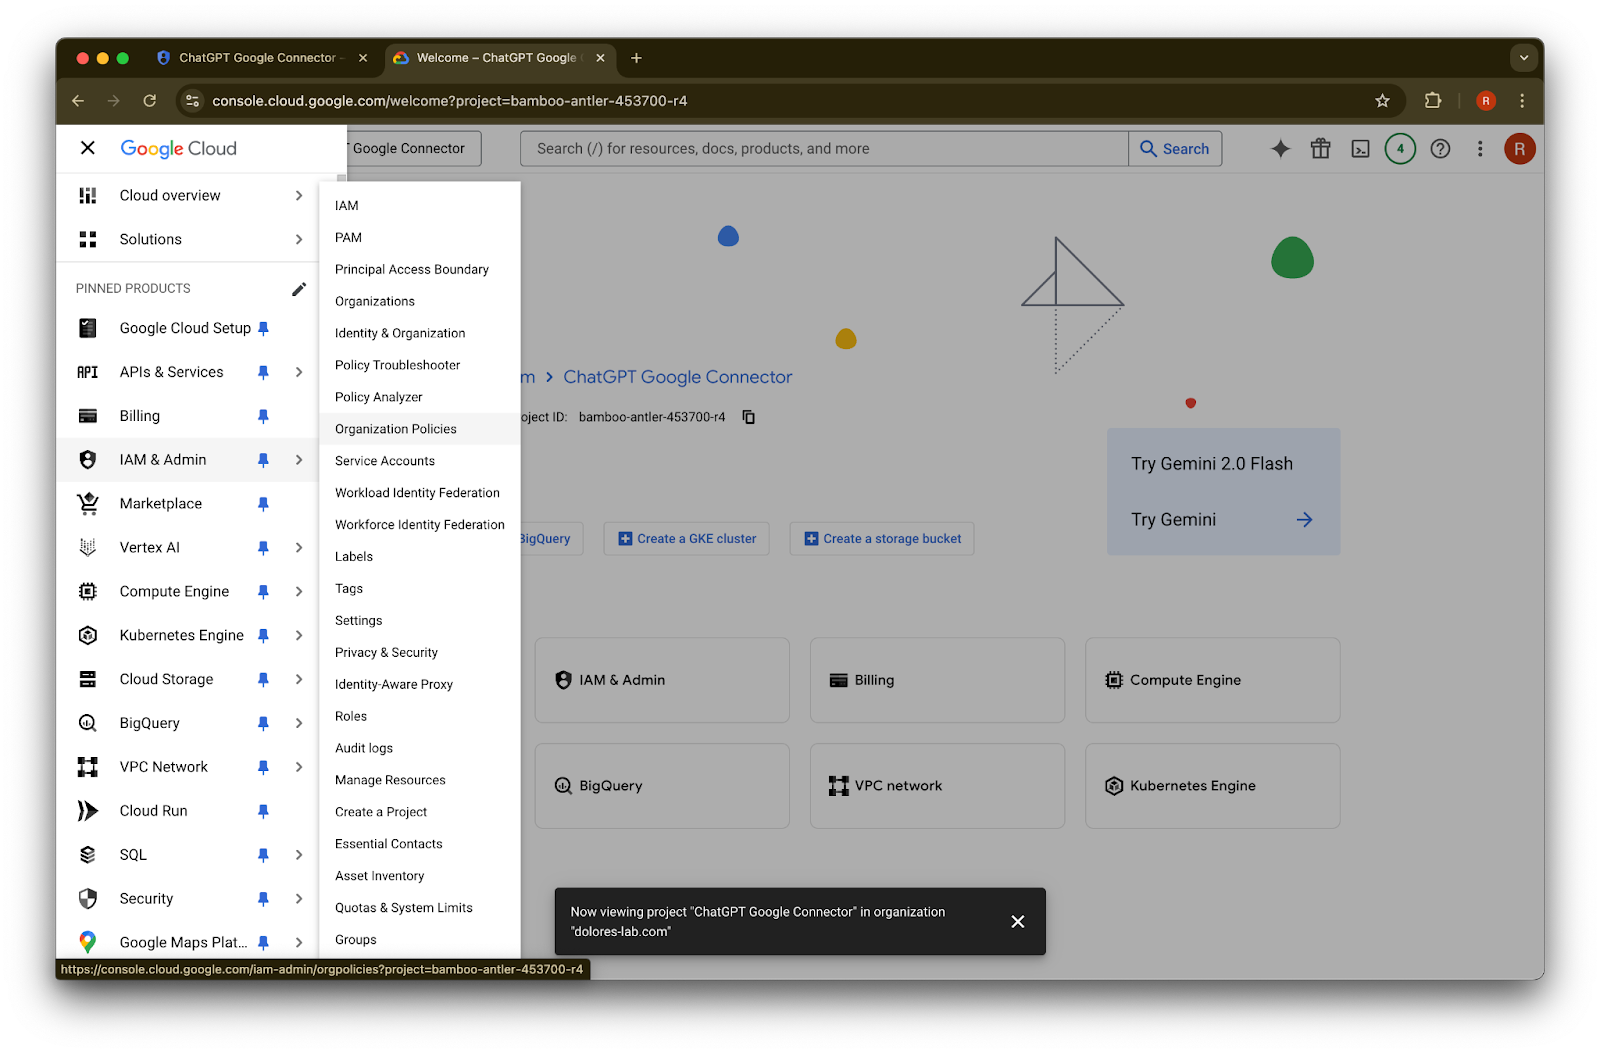
新しいタブを開き、console.cloud.google.com に移動します。選択されているプロジェクトが、すでに選択したものと同じであることを確認してください。
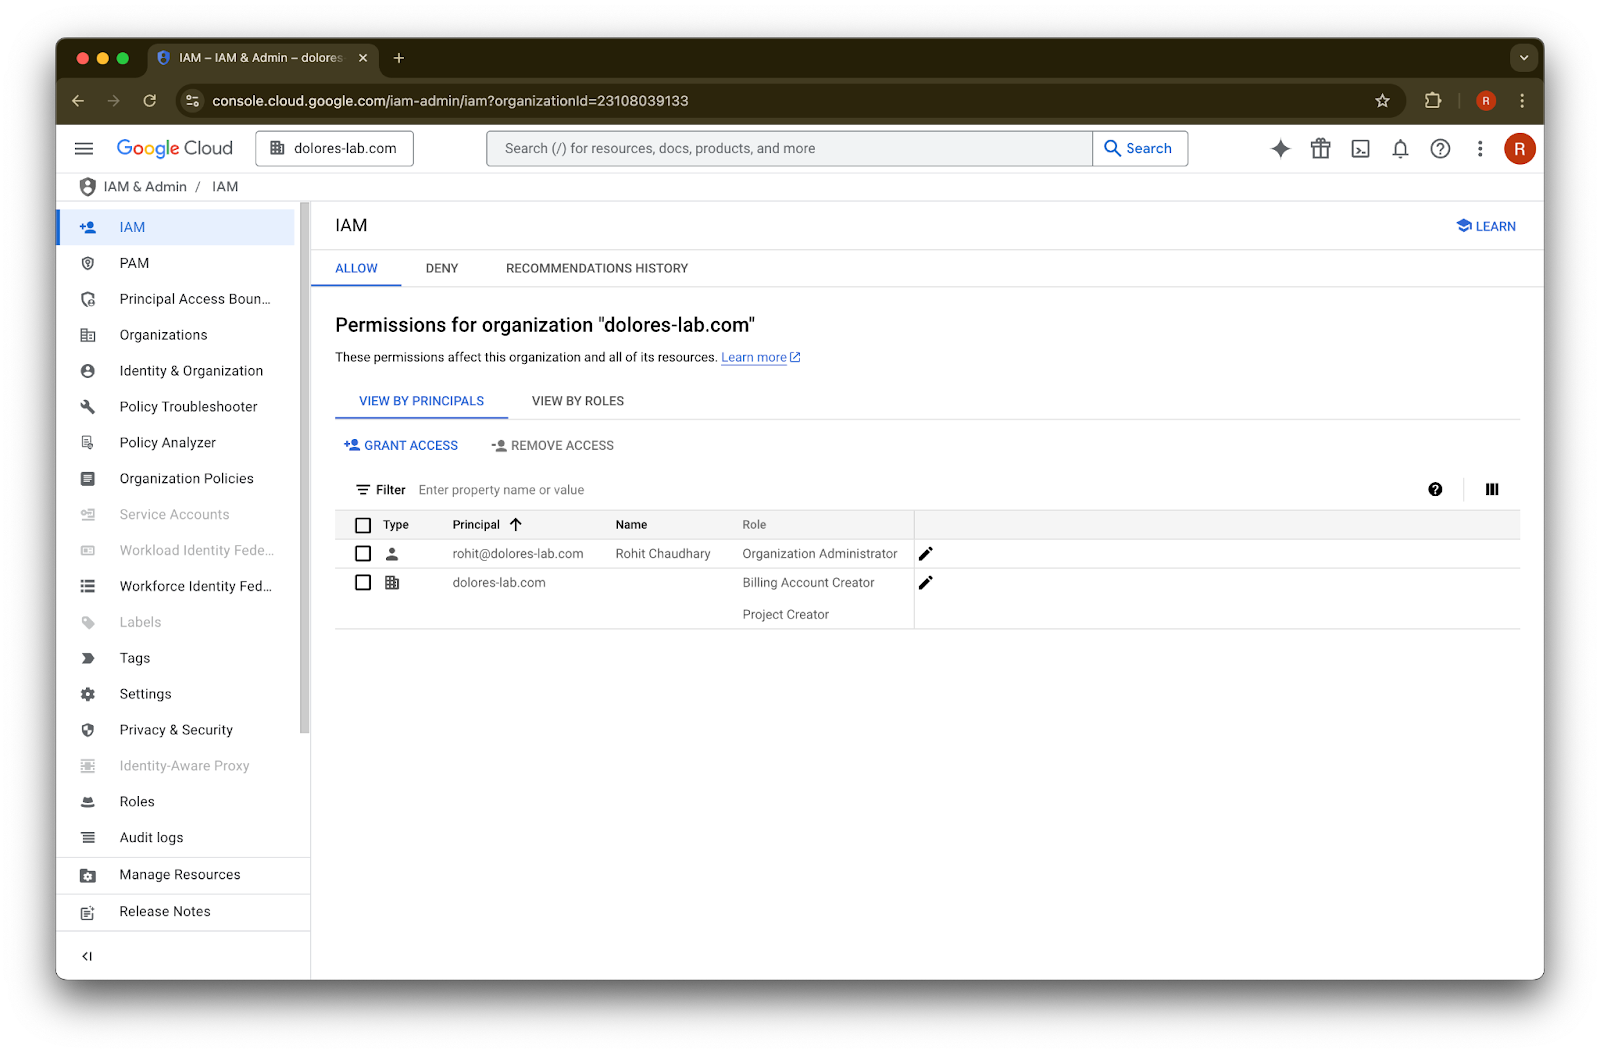
左上のメニュー アイコンをクリックします。IAM & Admin にカーソルを合わせます
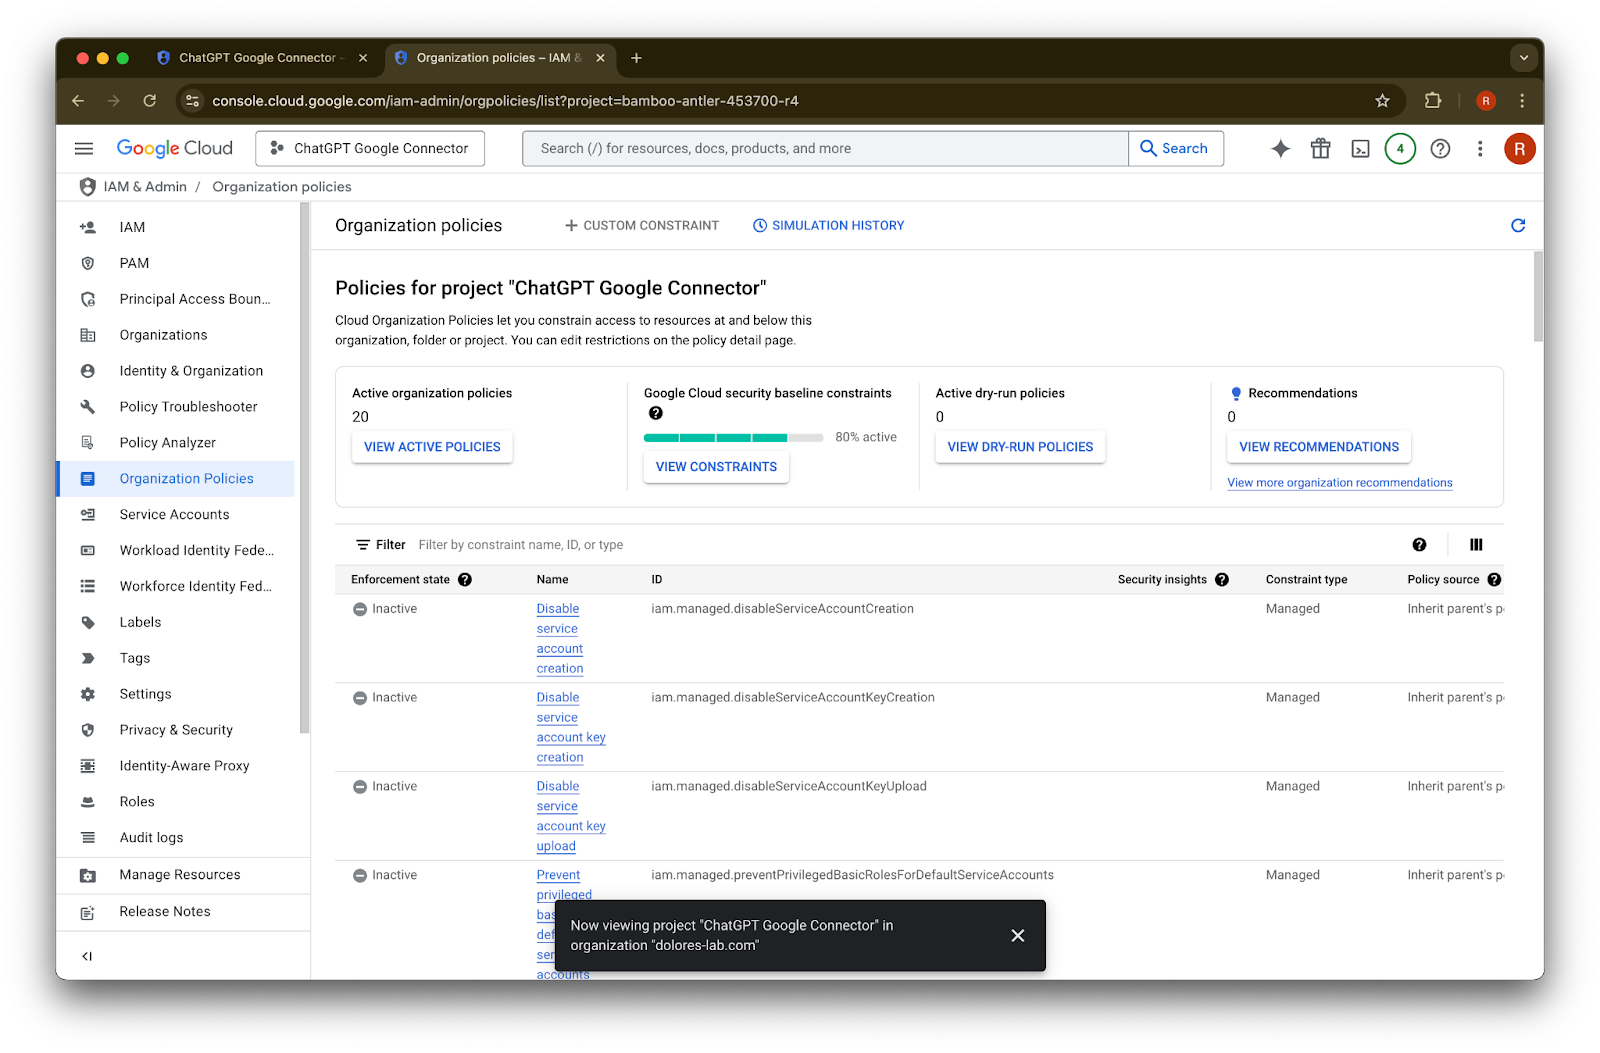
Organizational Policies をクリックします
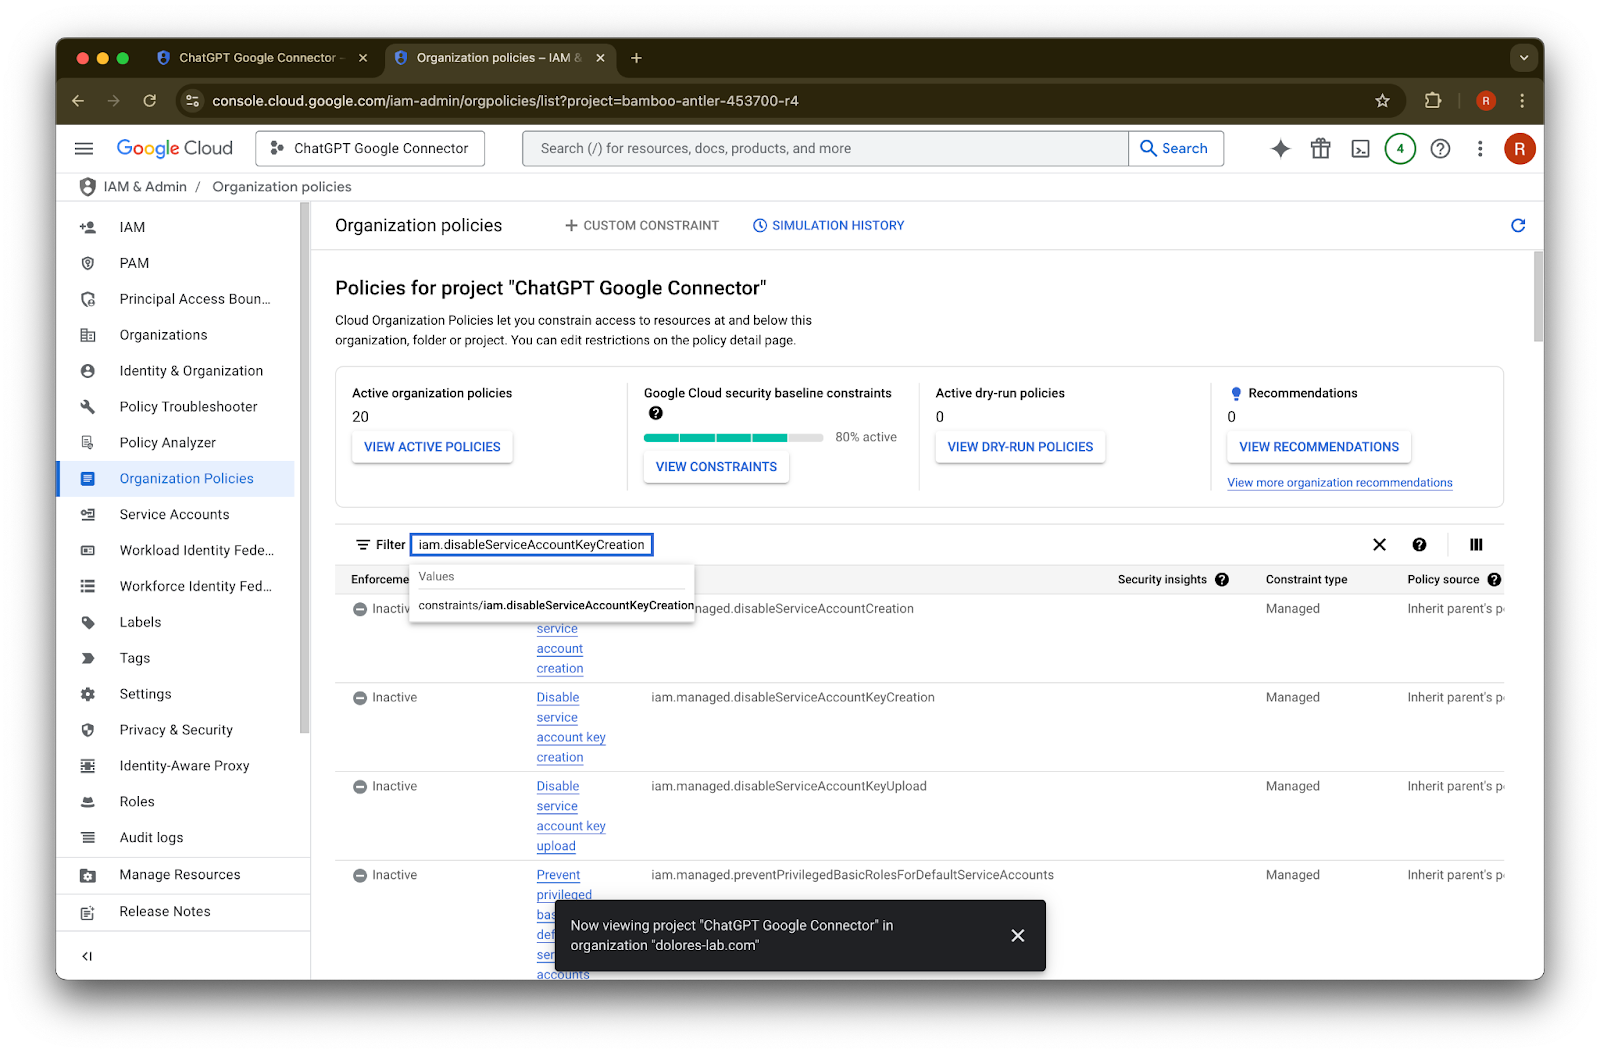
iam.disableServiceAccountKeyCreation
を検索しますconstraints/iam.disableServiceAccountKeyCreation
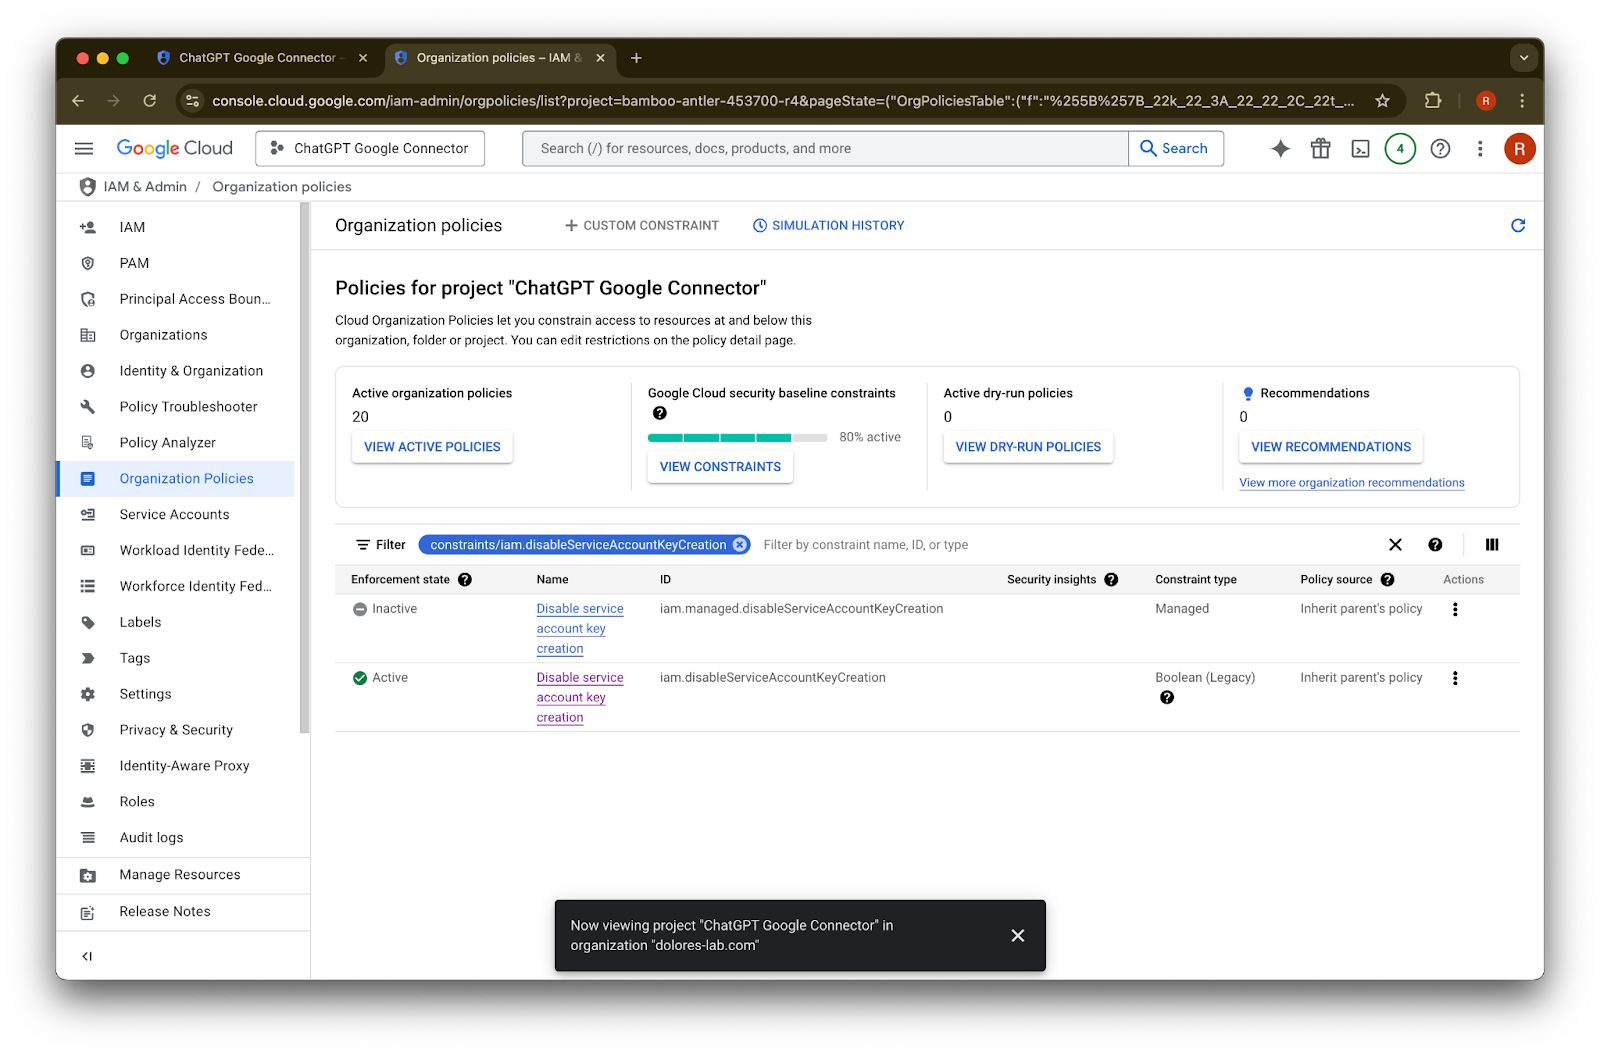
の結果をクリックしますID が iam.disableServiceAccountKeyCreation
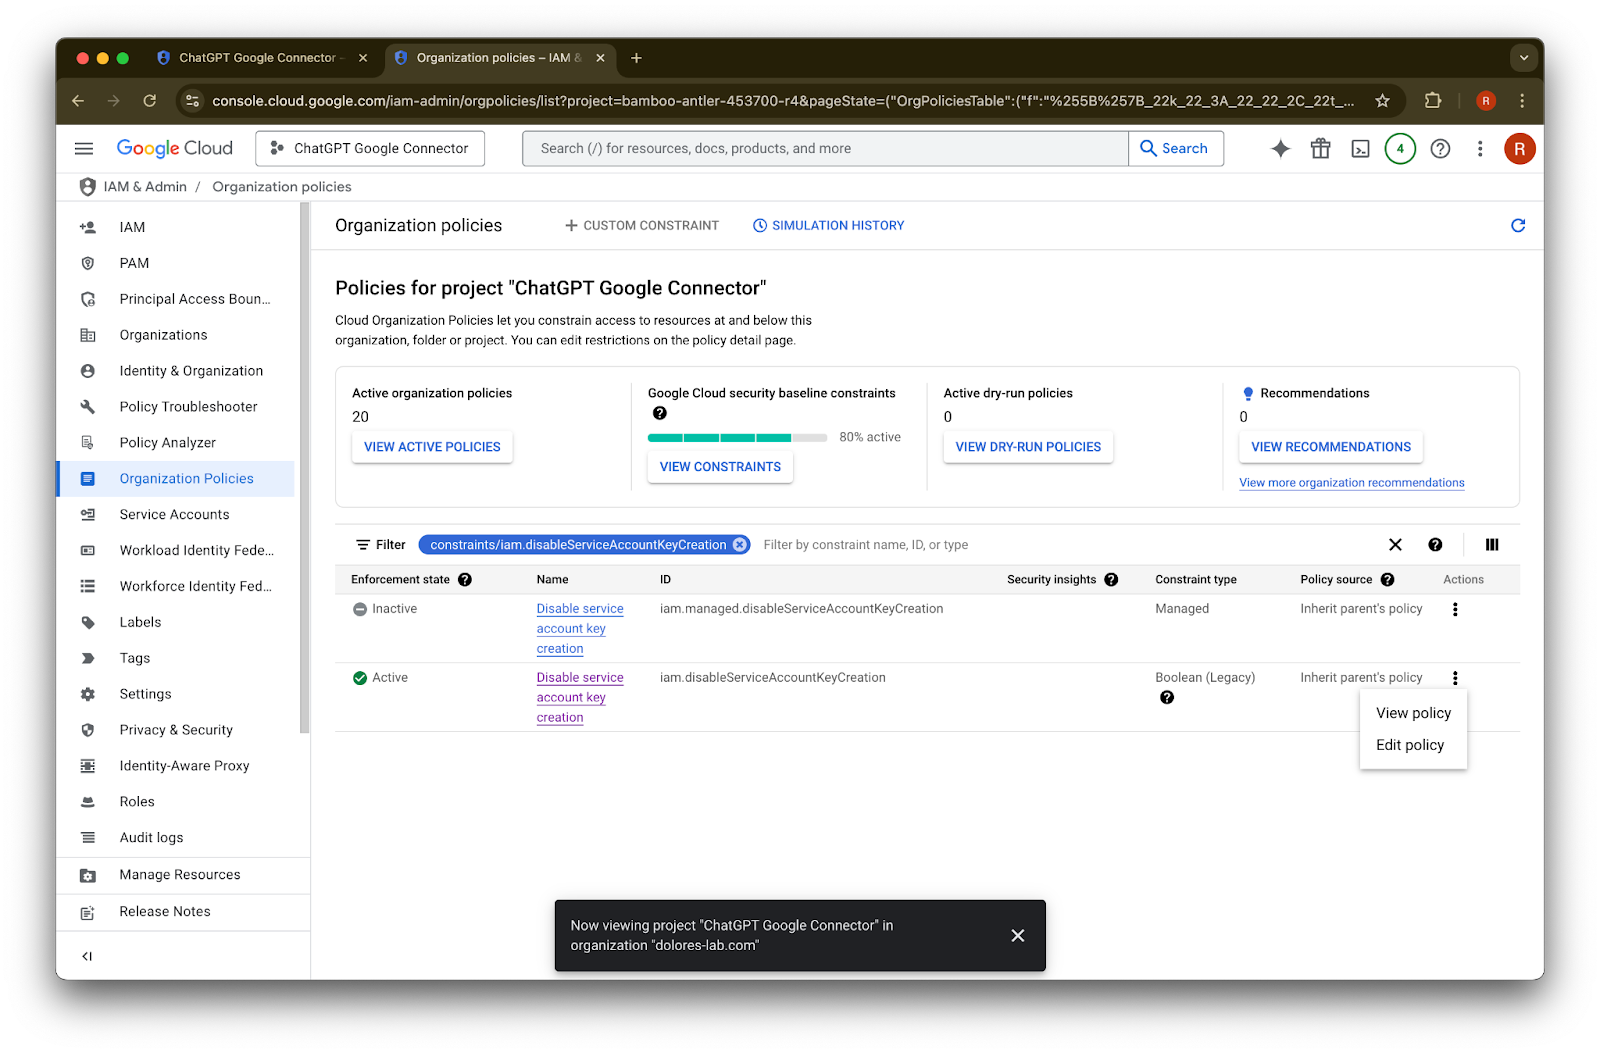
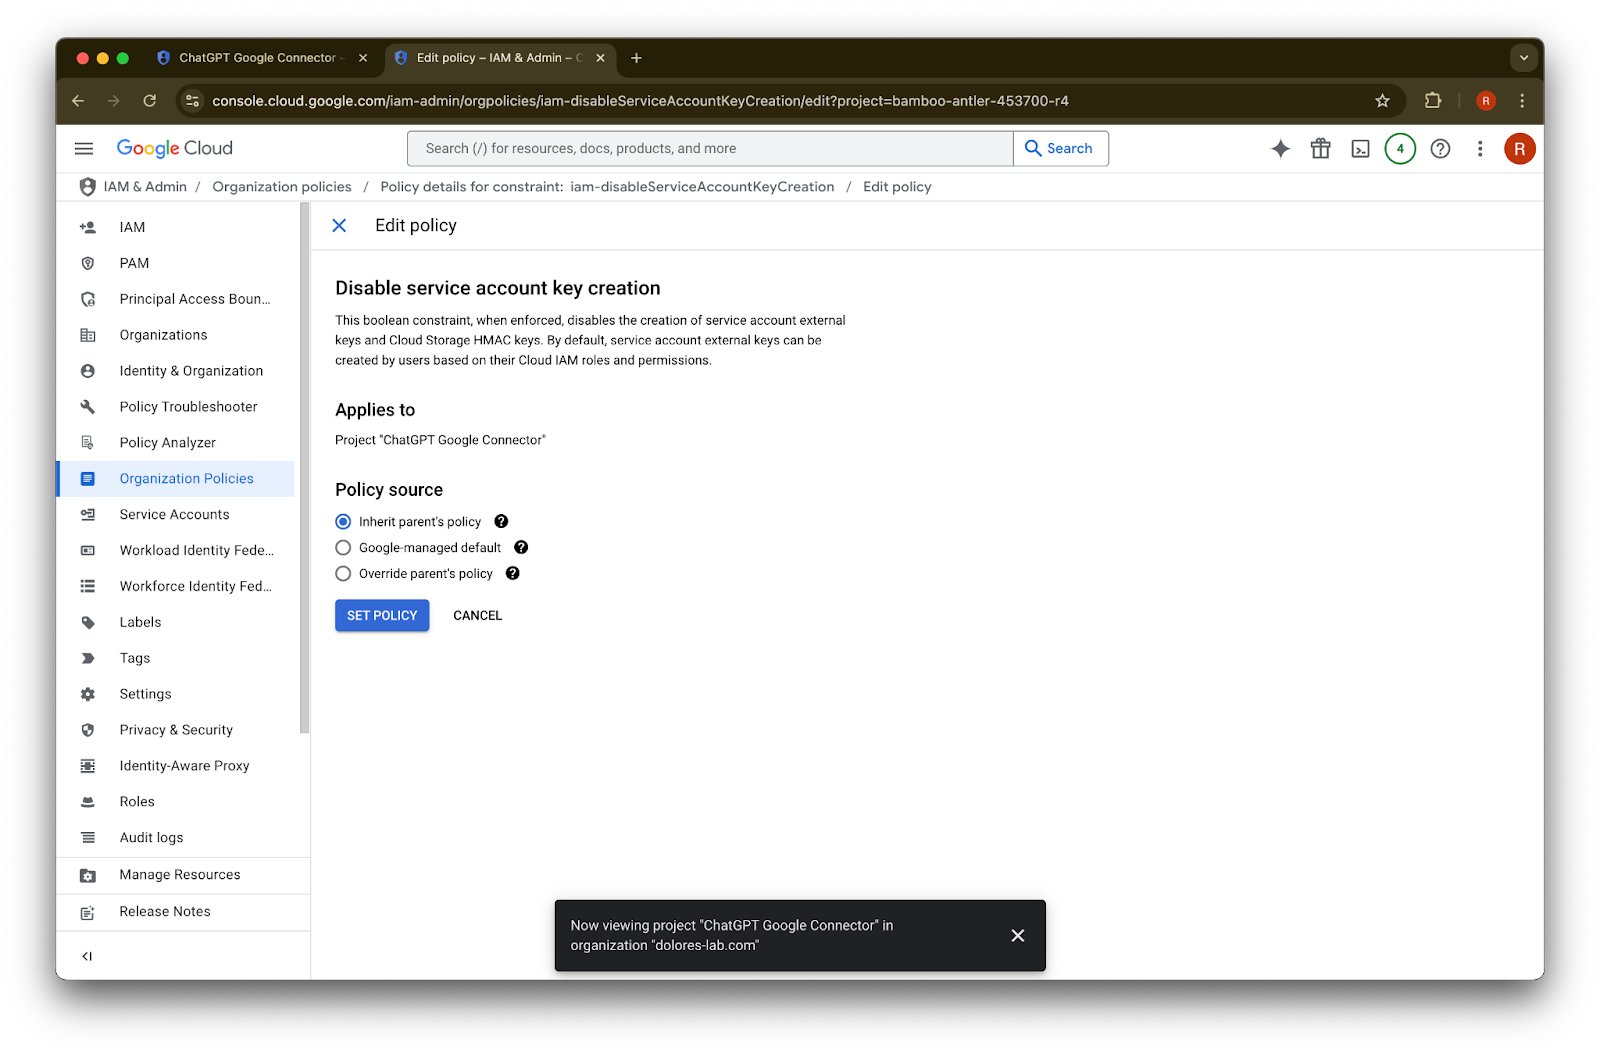
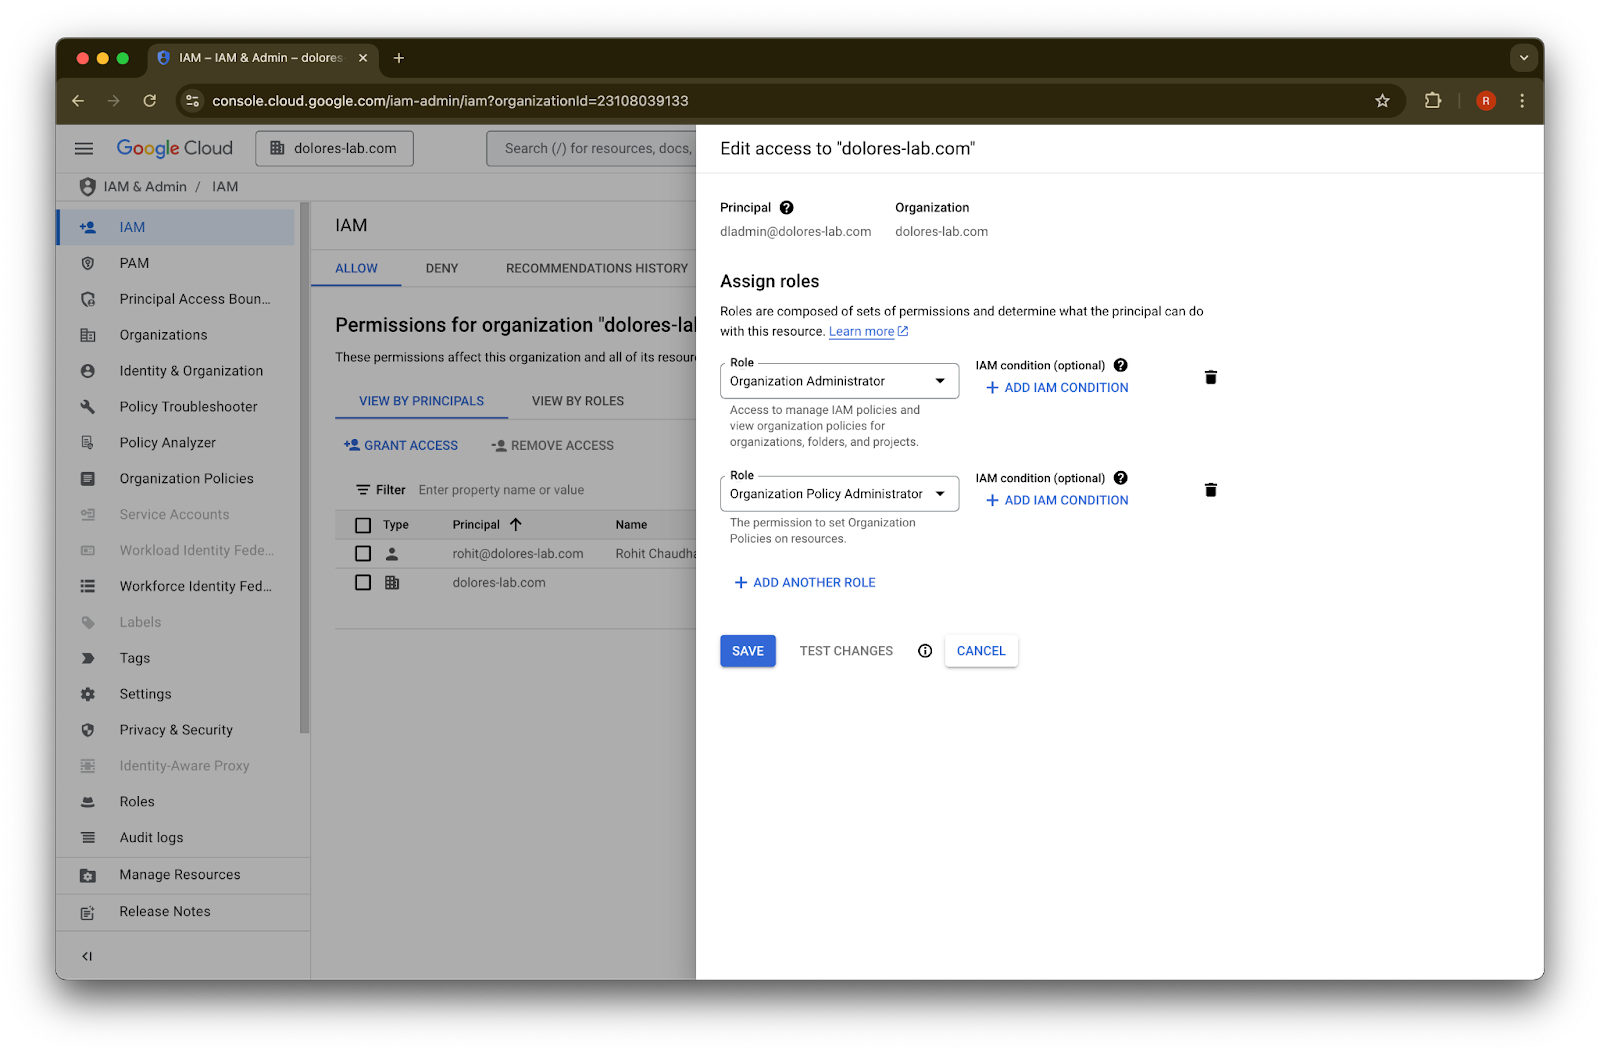
の行の … をクリックしますEdit policy をクリックします。Edit policy が無効になっている場合は、Organization Policy Administrator になる必要があります。
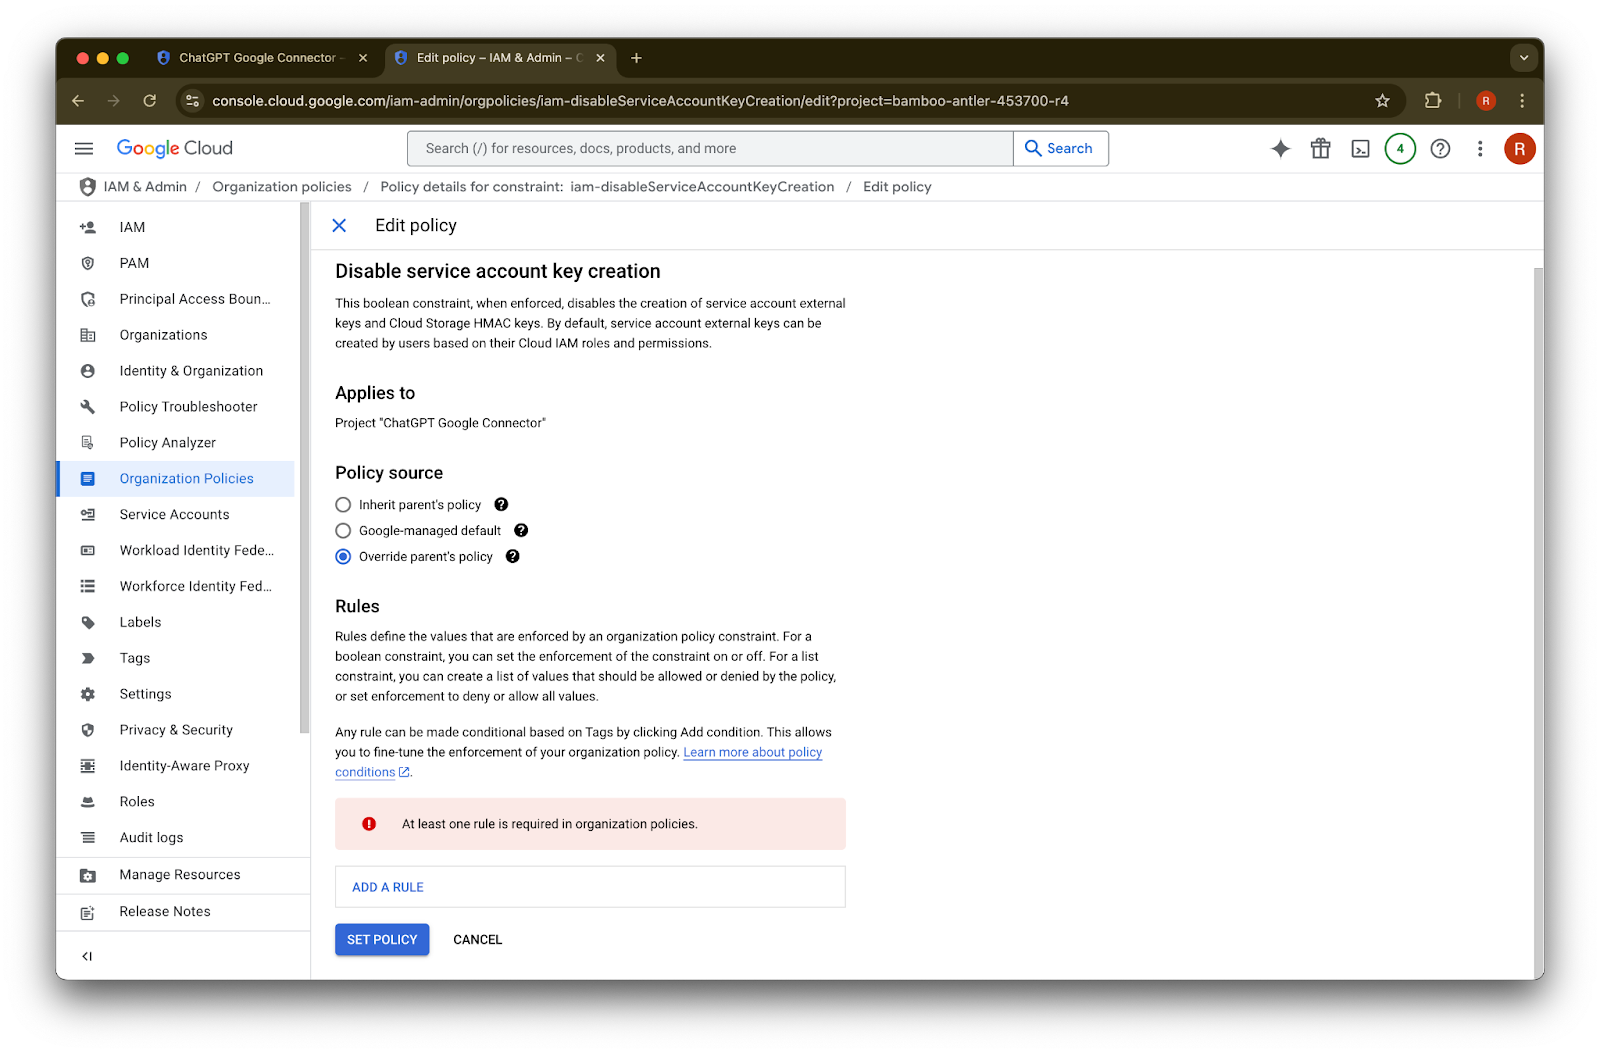
Override parent’s policy
をクリックしますAdd a rule
をクリックしますSet Policy
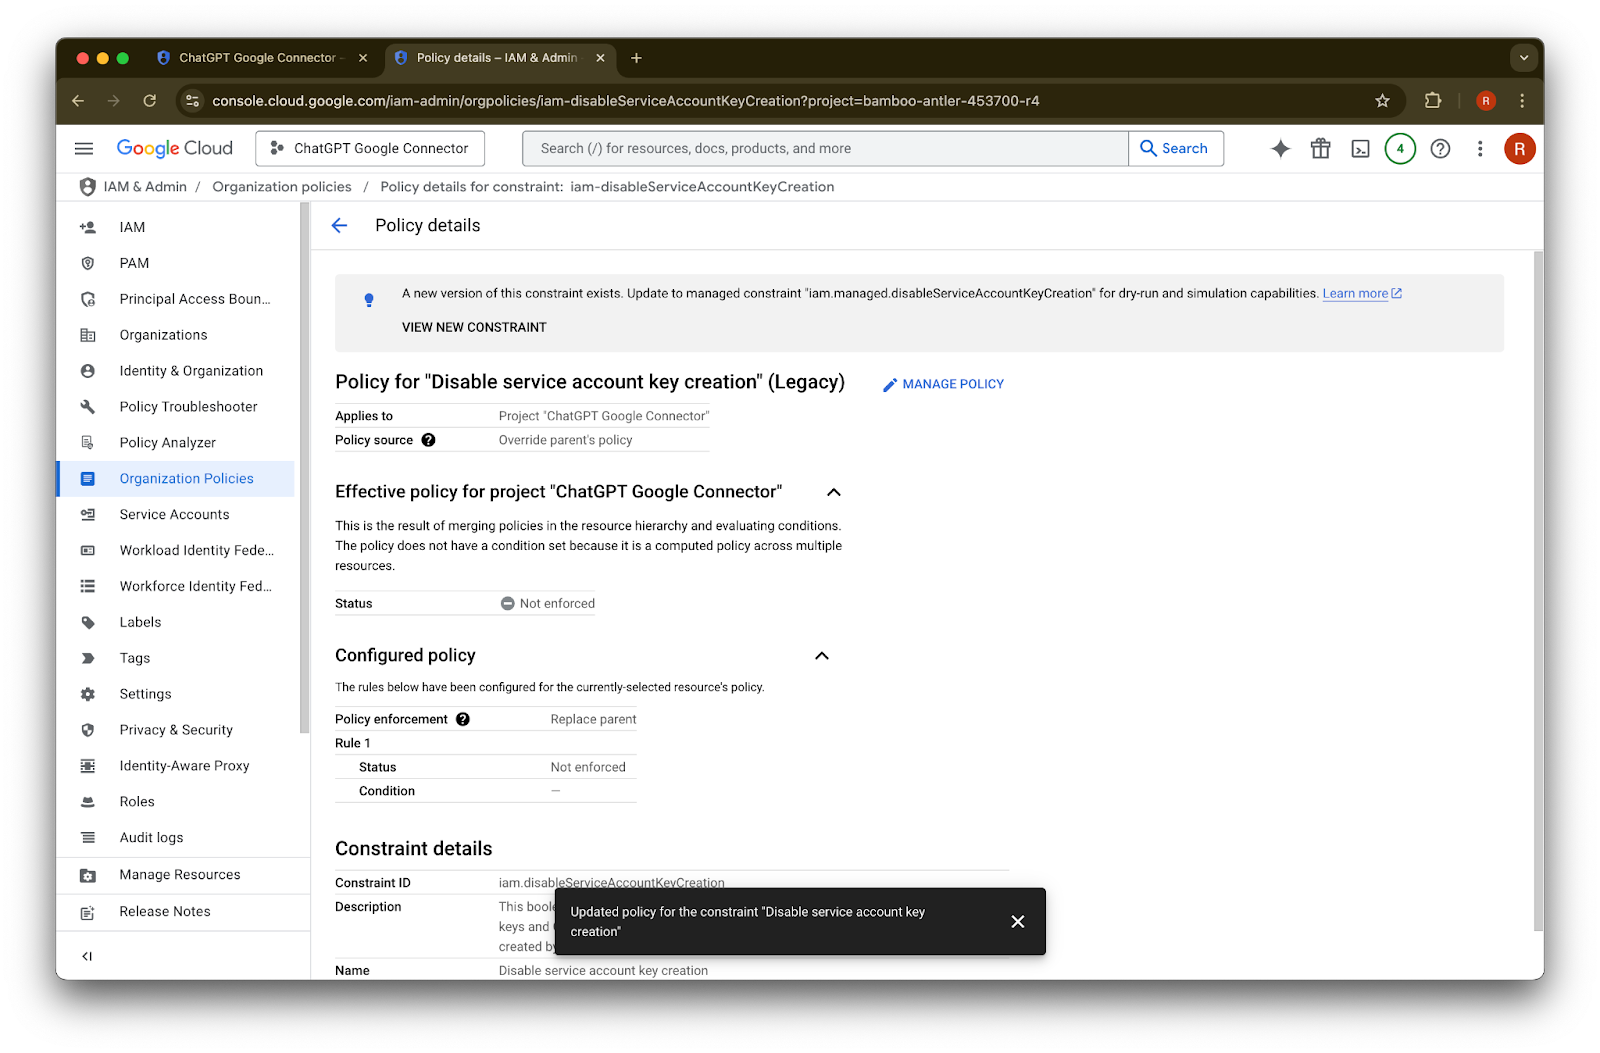
をクリックしますこれでサービス アカウント キーを作成できます。この有効化が反映されるまで数分かかる場合があります。


Organization Policy Administrator になる
console.cloud.google.com に移動し、プロジェクト/組織セレクターをクリックします
your organization
をクリックします左上のメニュー アイコンをクリックします
IAM & Admin
にカーソルを合わせますIAM
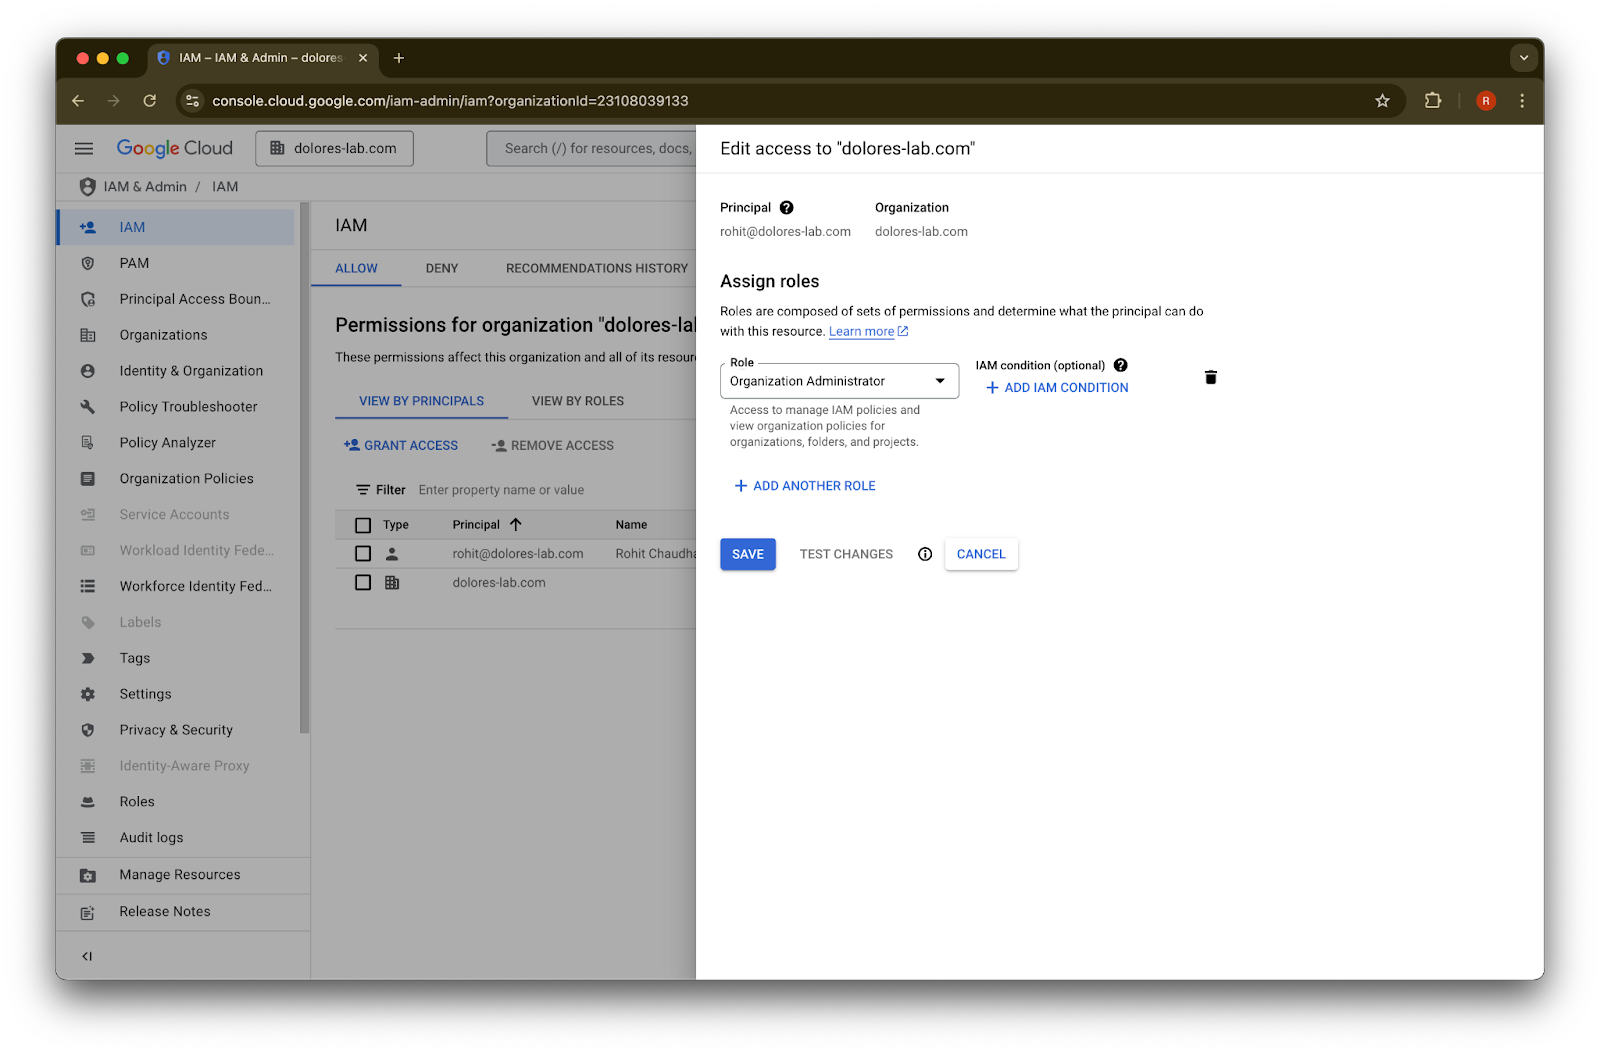
をクリックします自分のアカウントの鉛筆アイコン をクリックします
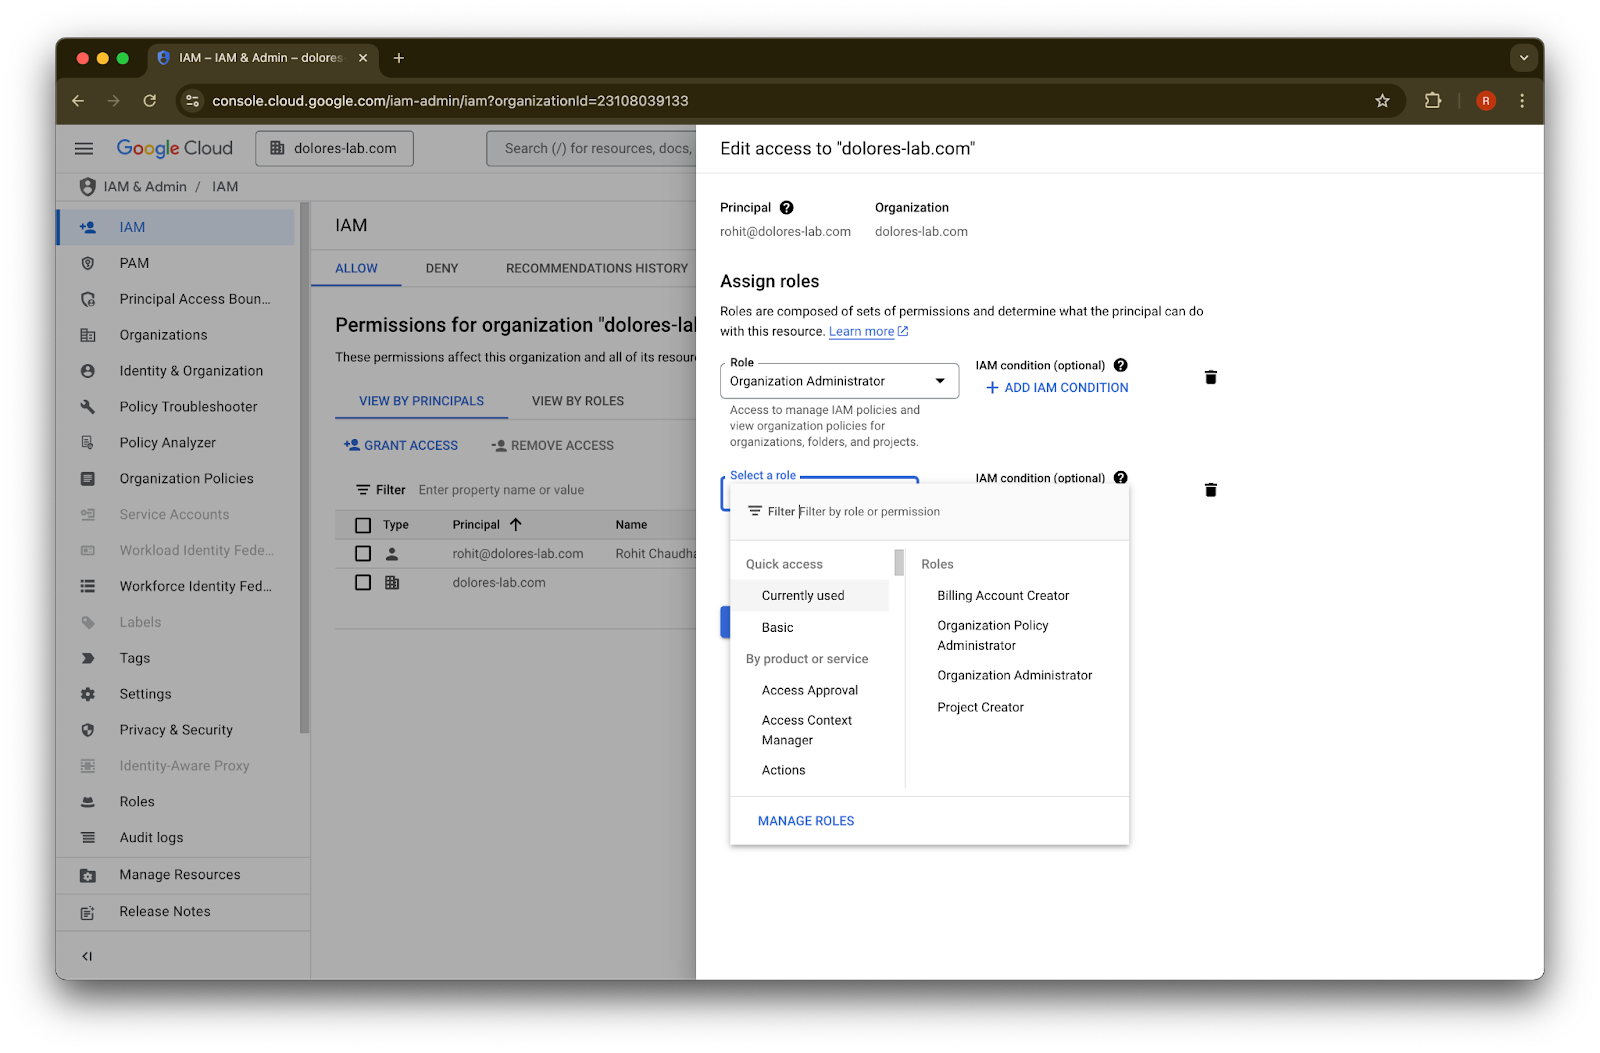
Add Another Role
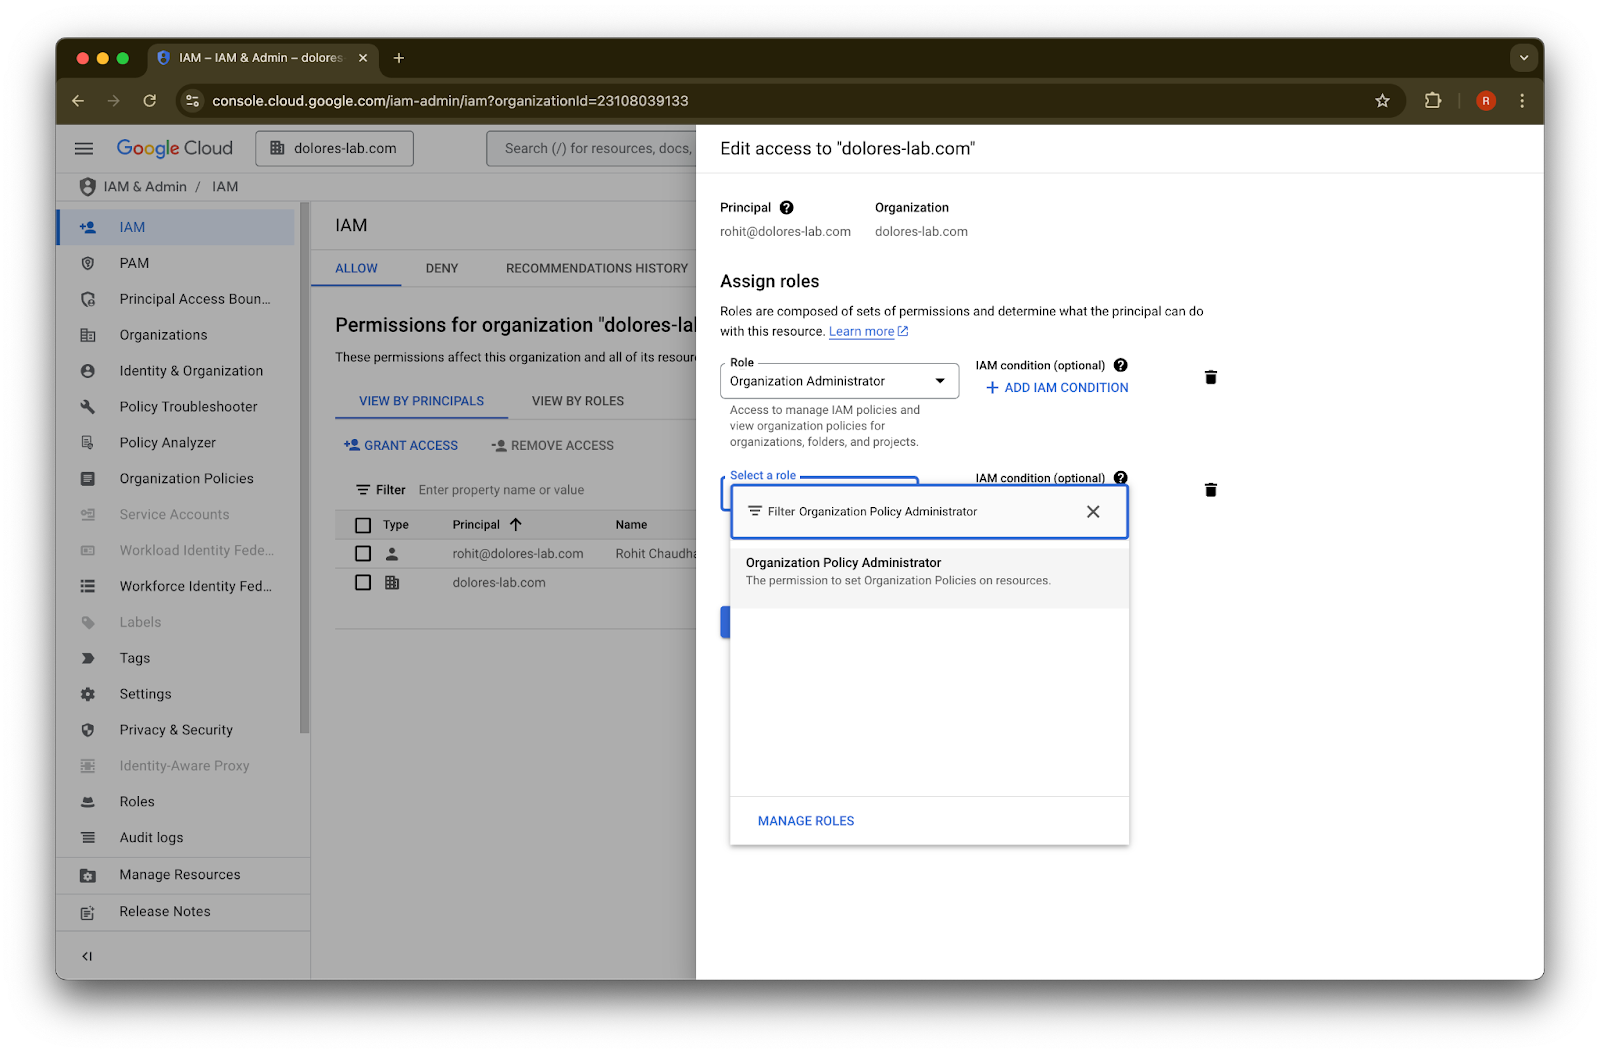
をクリックしますOrganization Policy Administrator
を検索しますOrganization Policy Administrator
をクリックしますSave をクリックします
これで、サービス アカウント キー作成を有効にする権限がアカウントに付与されました。反映まで数分かかる場合があります。
Google Workspace と ChatGPT で異なるメールアカウントを維持するために Google メール エイリアスを使用する
Google Drive 同期コネクタの管理者管理セットアップを使用して Google Workspace を ChatGPT ワークスペースに接続する管理者で、組織で ChatGPT と Google Workspace に異なるメールドメインを使用している場合、ユーザーが Google Drive 同期コネクタに正常にアクセスできるようにするには追加の手順が必要です。
推奨事項: 可能な限り、Google Workspace と ChatGPT アカウントの両方で同じプライマリ メールアドレスを使用してください。
これが難しい場合は、以下の手順に従って、ChatGPT のサインイン用メールアドレスと一致する Google Workspace のメール エイリアスを設定してください。
Google Workspace エイリアスを追加する手順
各ユーザーの ChatGPT メールアドレスを Google Workspace アカウントに関連付けられるようにするため、Google Admin Console で次の手順に従ってください:
Admin Console に移動します。 Directory > Users に移動します
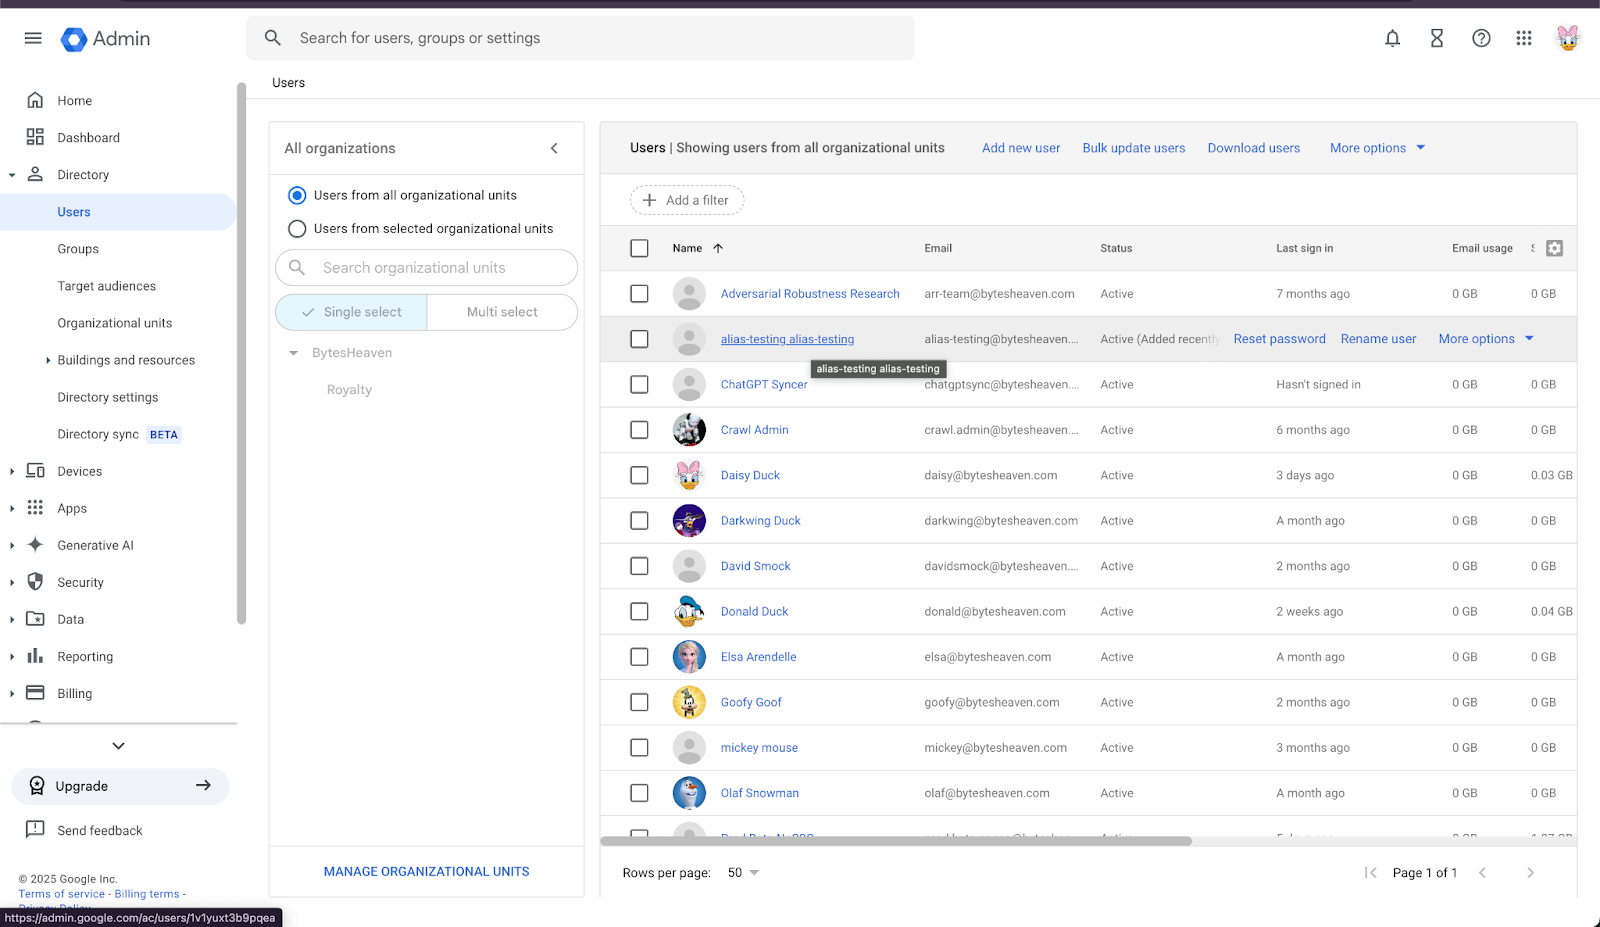
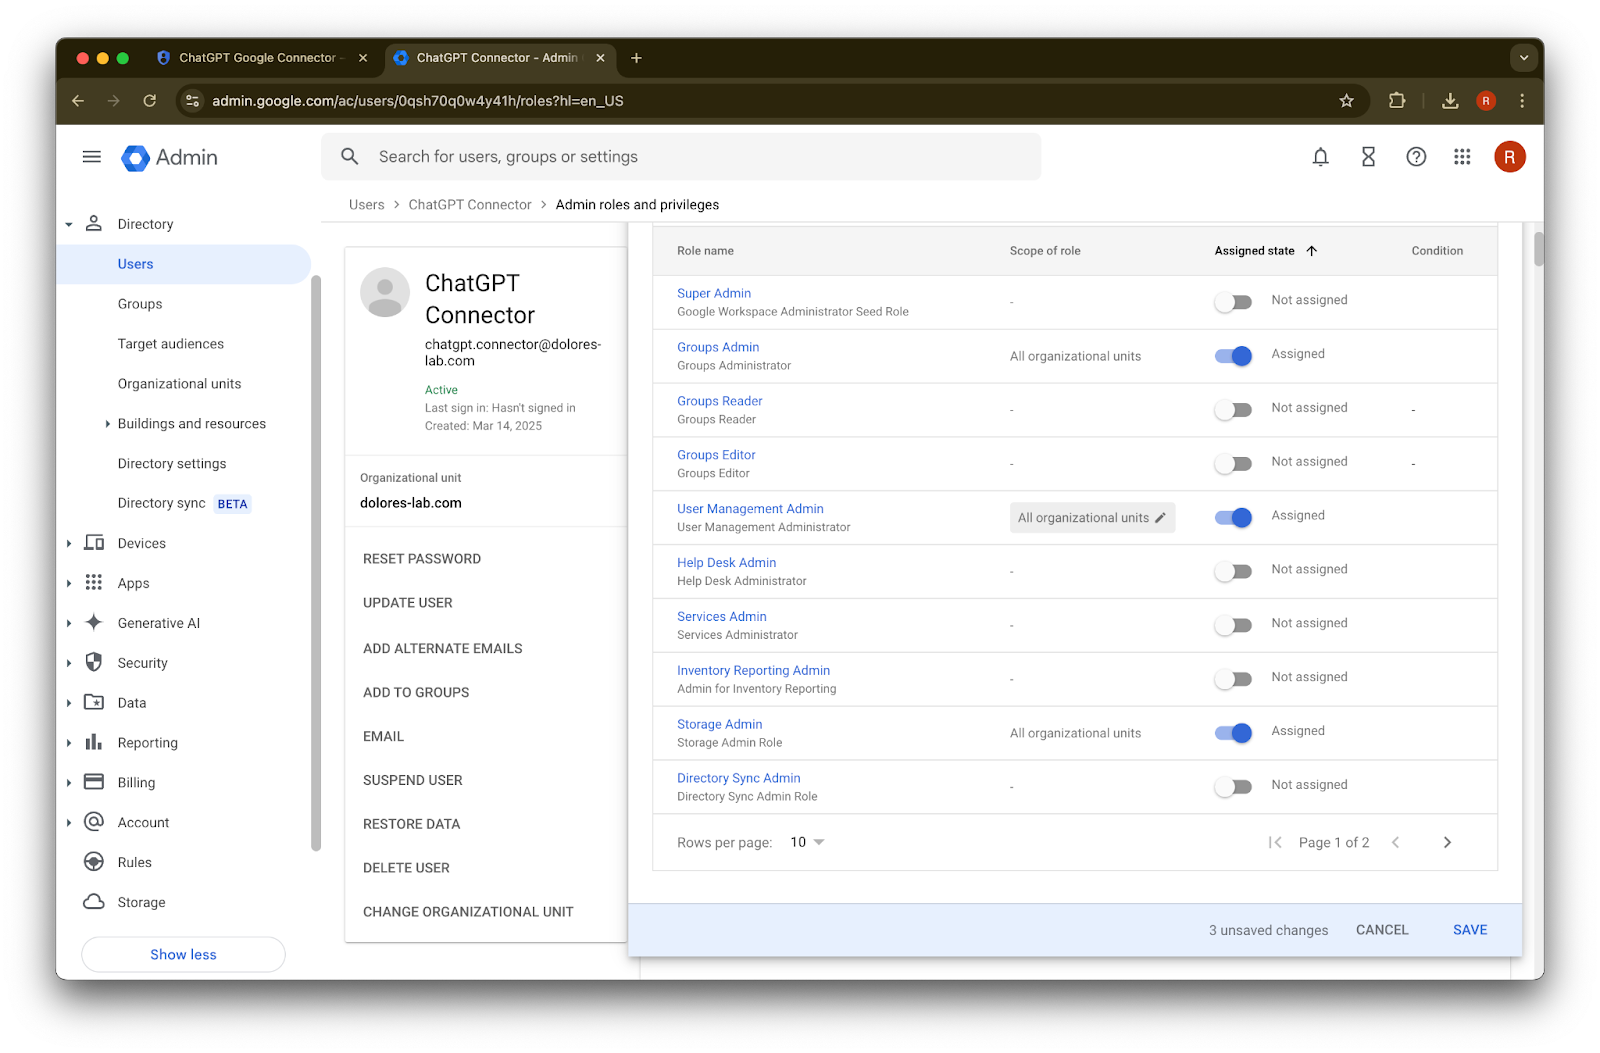
2. ユーザーを選択し、次に「ADD ALTERNATIVE EMAILS」を選択します。
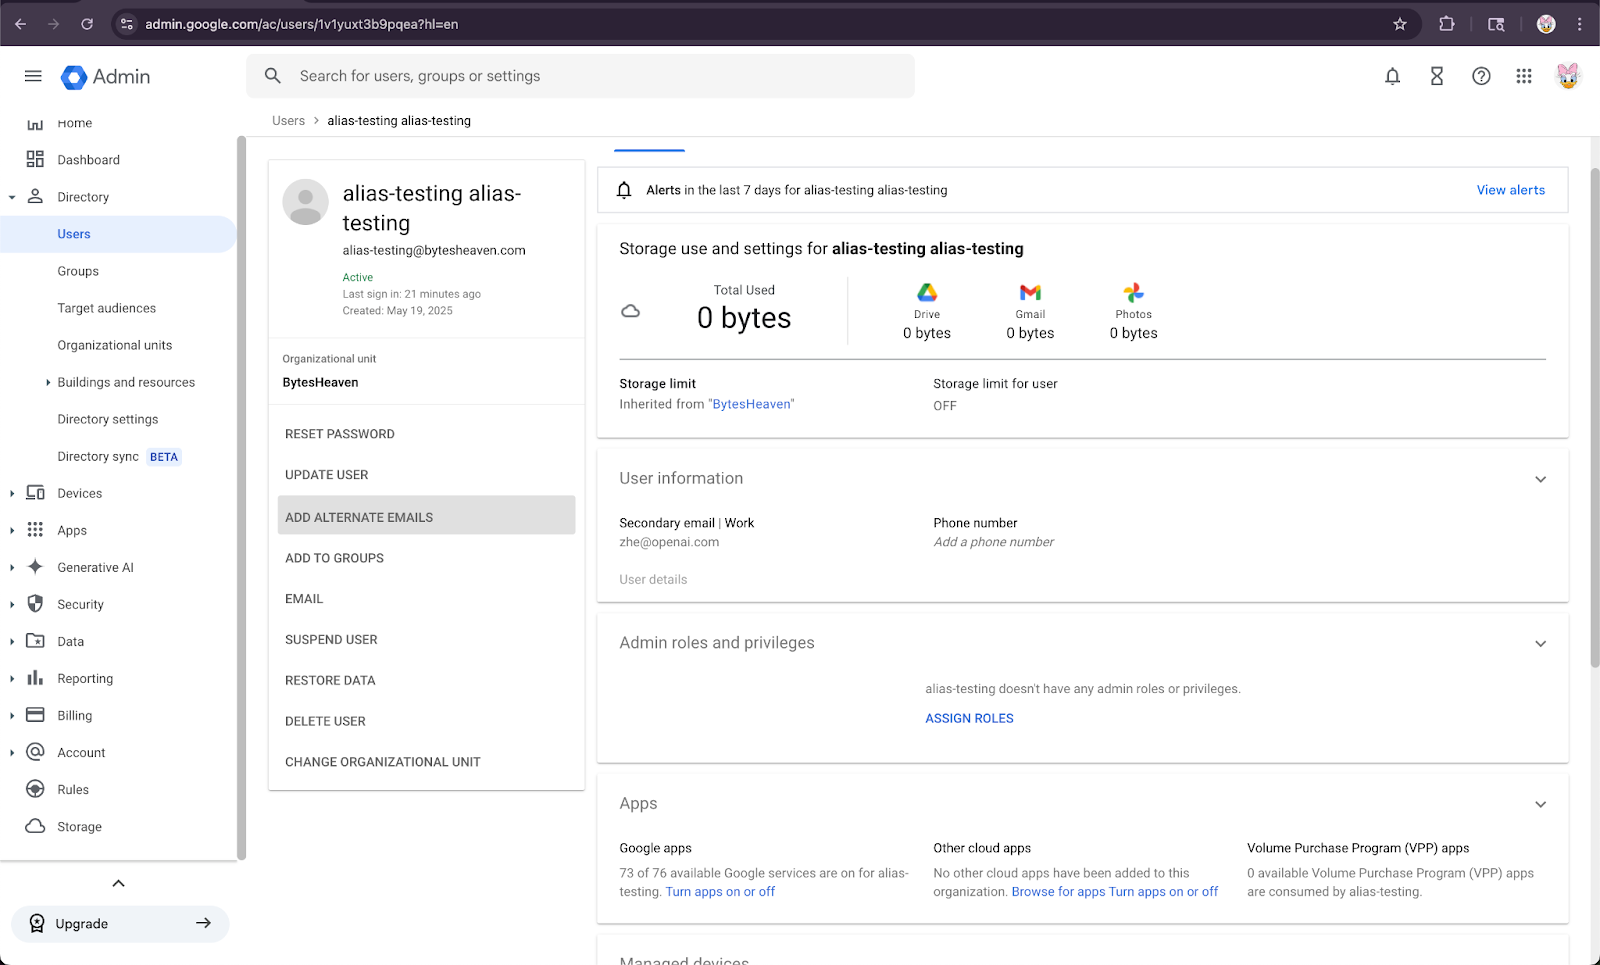
3. 代替メールアドレスを追加します。ユーザーの ChatGPT アカウントに対応していることを確認してください。

4. Save を選択します
既知の制限事項
個人用メールアドレスはサポートされていません
個人用アドレス(例: example@gmail.com)で ChatGPT に登録したユーザーは、Google Workspace に接続できません。この設定はサポート対象外であり、組織外から内部データへのアクセスを可能にするため、セキュリティ リスクがあります。
Gmail の「+」エイリアスはサポートされていません
Gmail では、アドレスに「+」を追加してエイリアスを作成できます(例: user+alias@gmail.com)。この種類のエイリアスは Google Drive 同期コネクタでは機能しません。エイリアスは Google Workspace で明示的に設定する必要があります。
よくあるエラー メッセージ
メールアドレスが適切に関連付けられていない場合、ユーザーには次のメッセージが表示されることがあります: 「Google Drive にアカウントを接続できませんでした。詳しくはこちら。」
このメッセージが表示された場合は、このドキュメントの手順を見直し、正確に実施されていることを確認してください。さらにサポートが必要な場合は、サポート チームにお問い合わせください。